2017-05-10
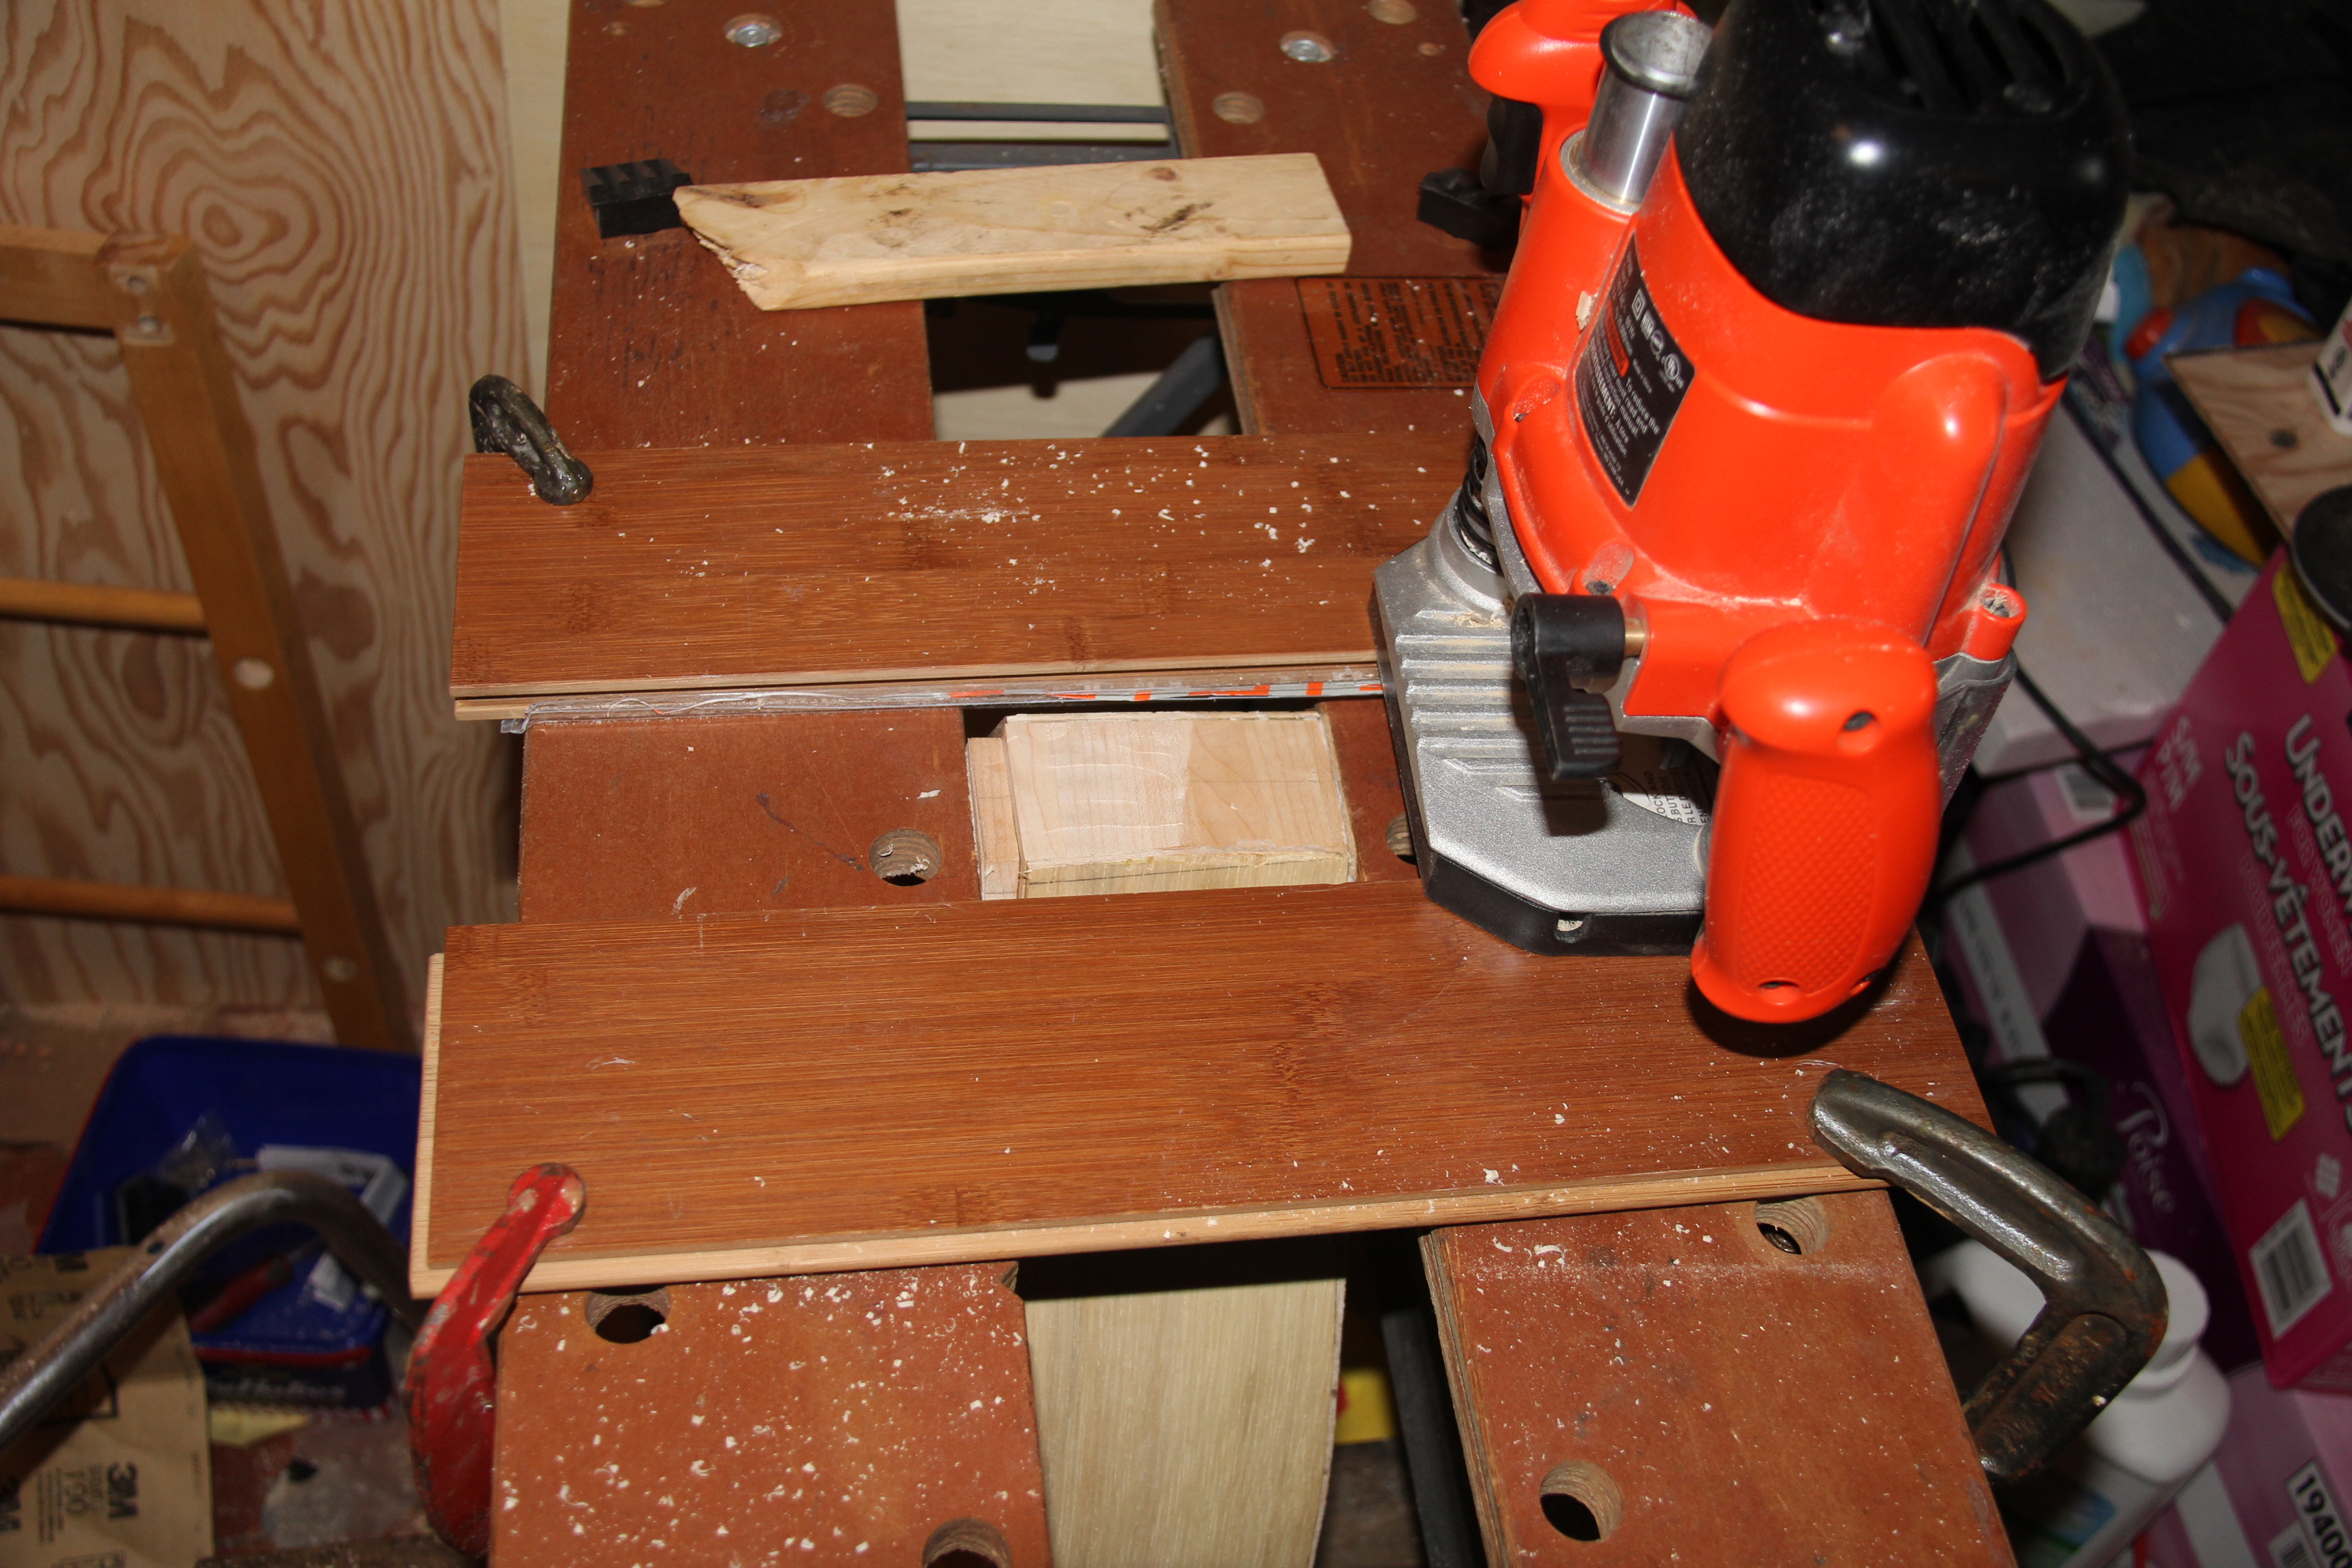
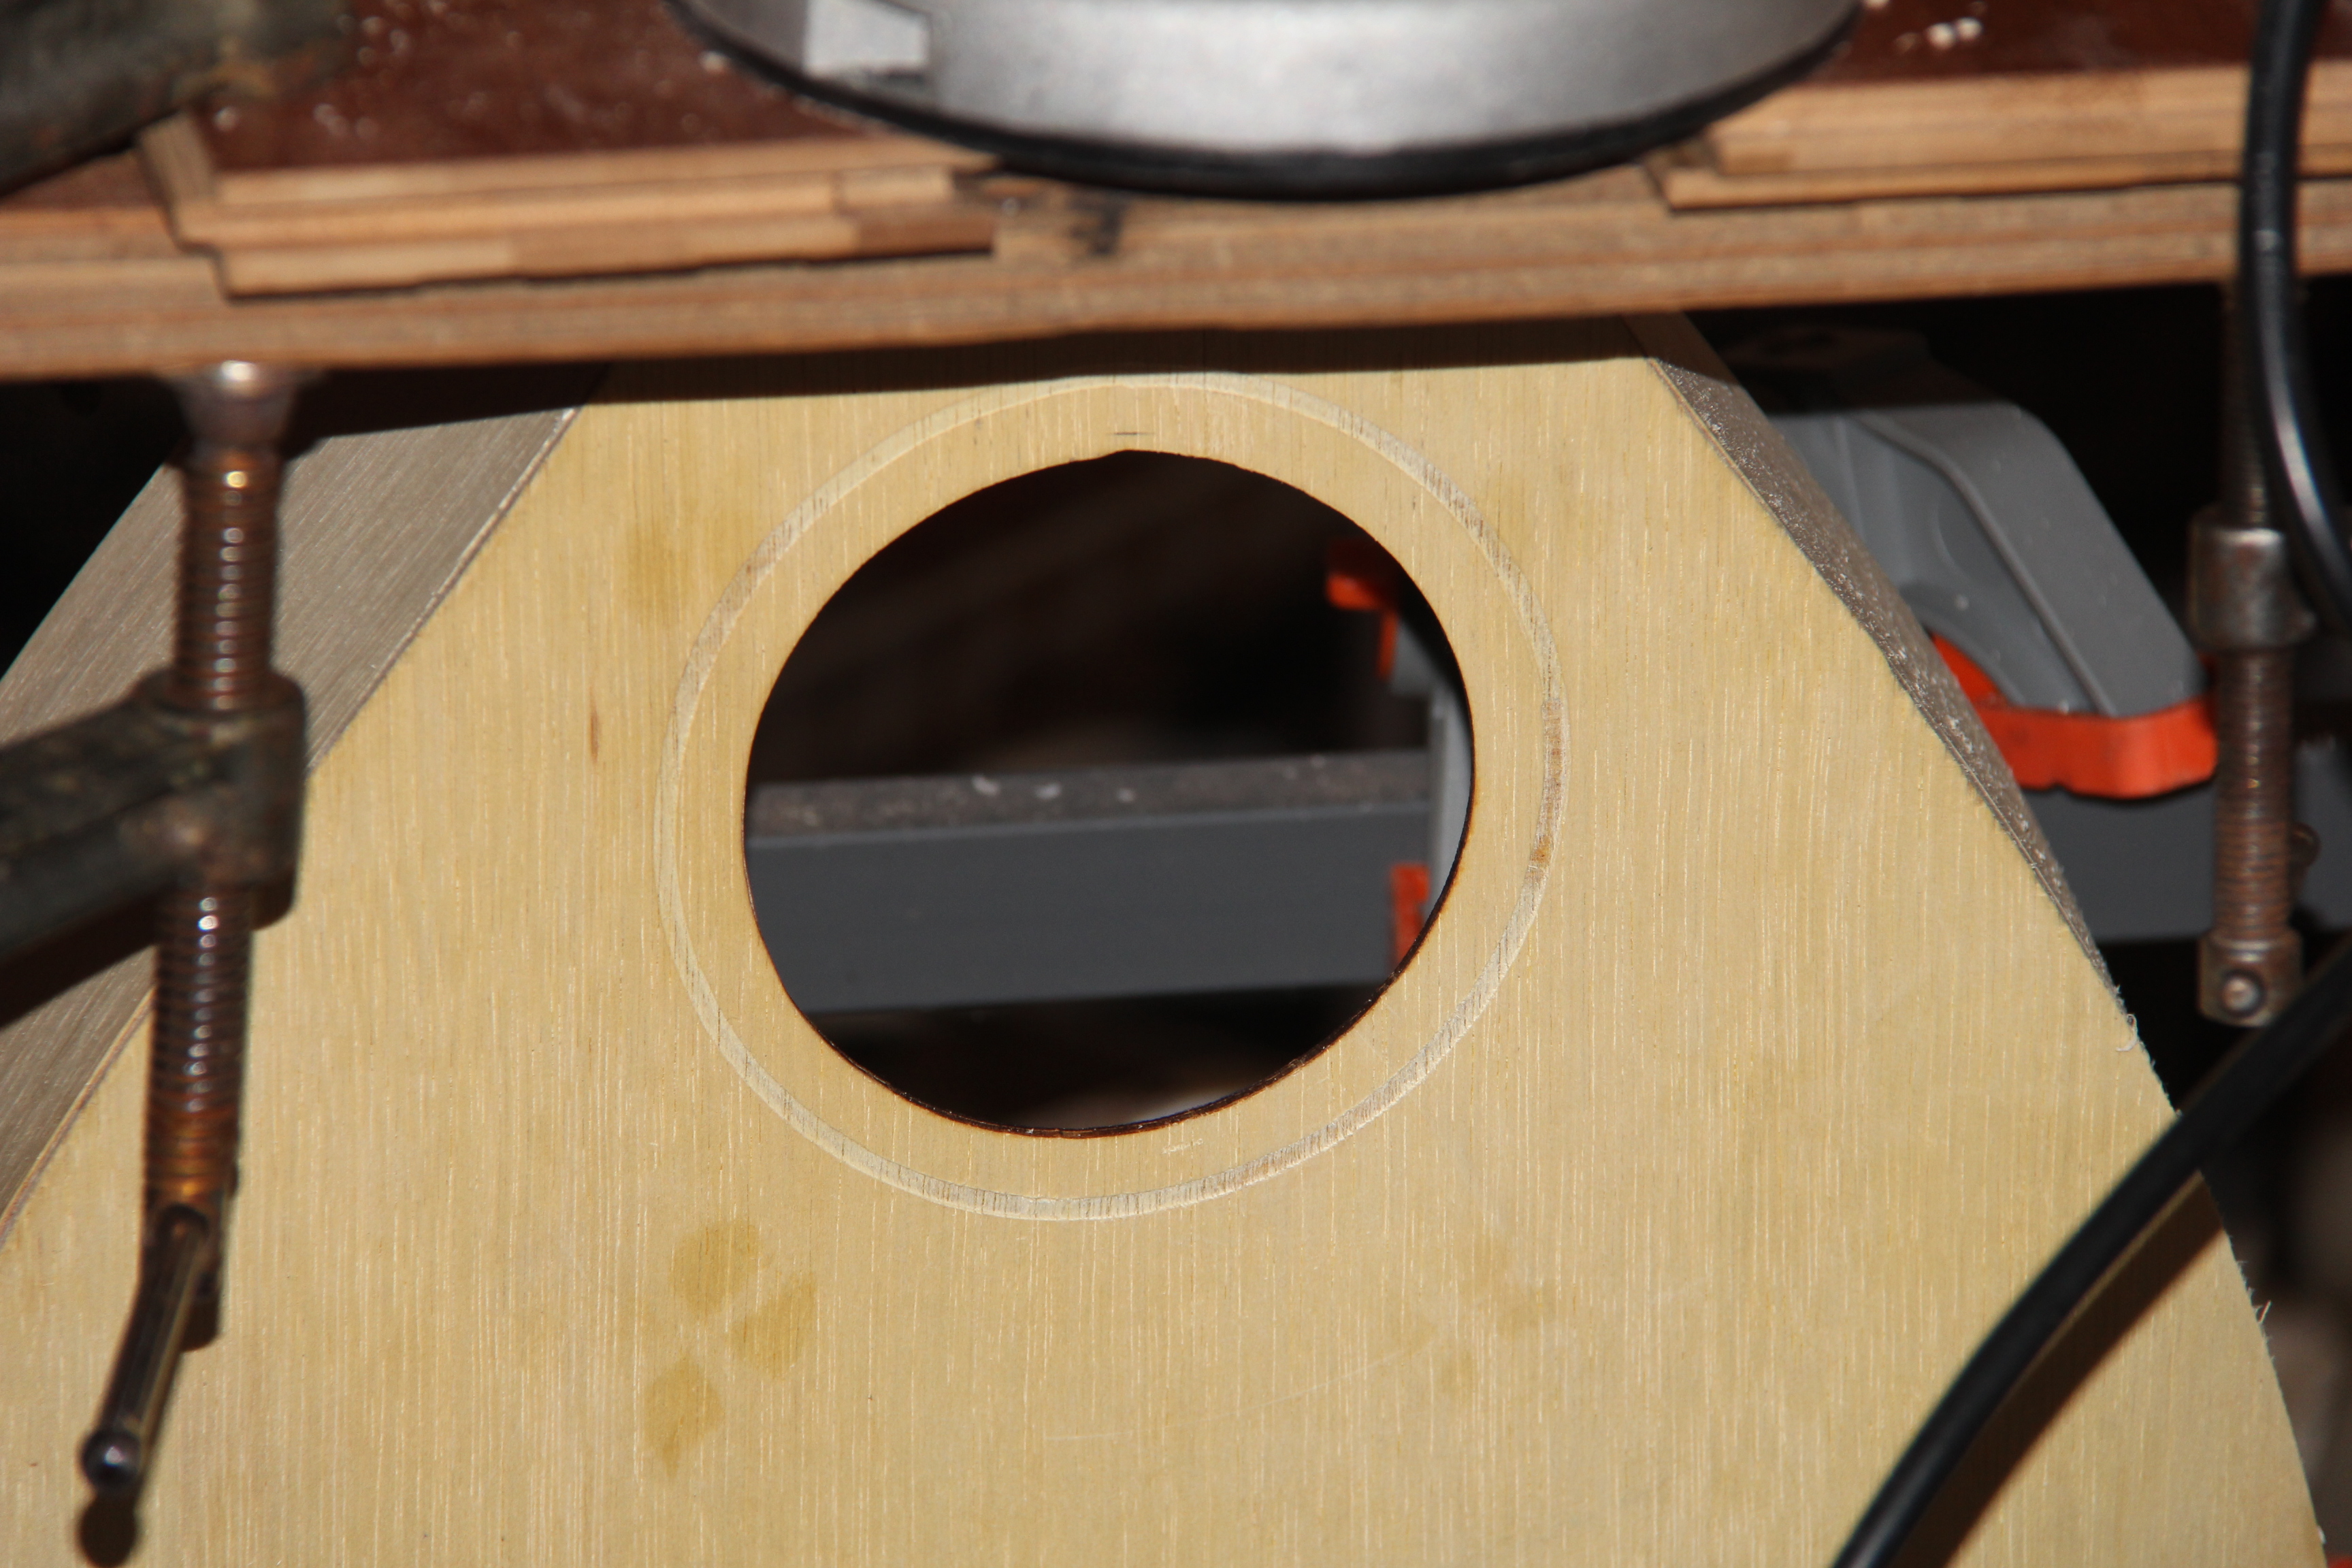
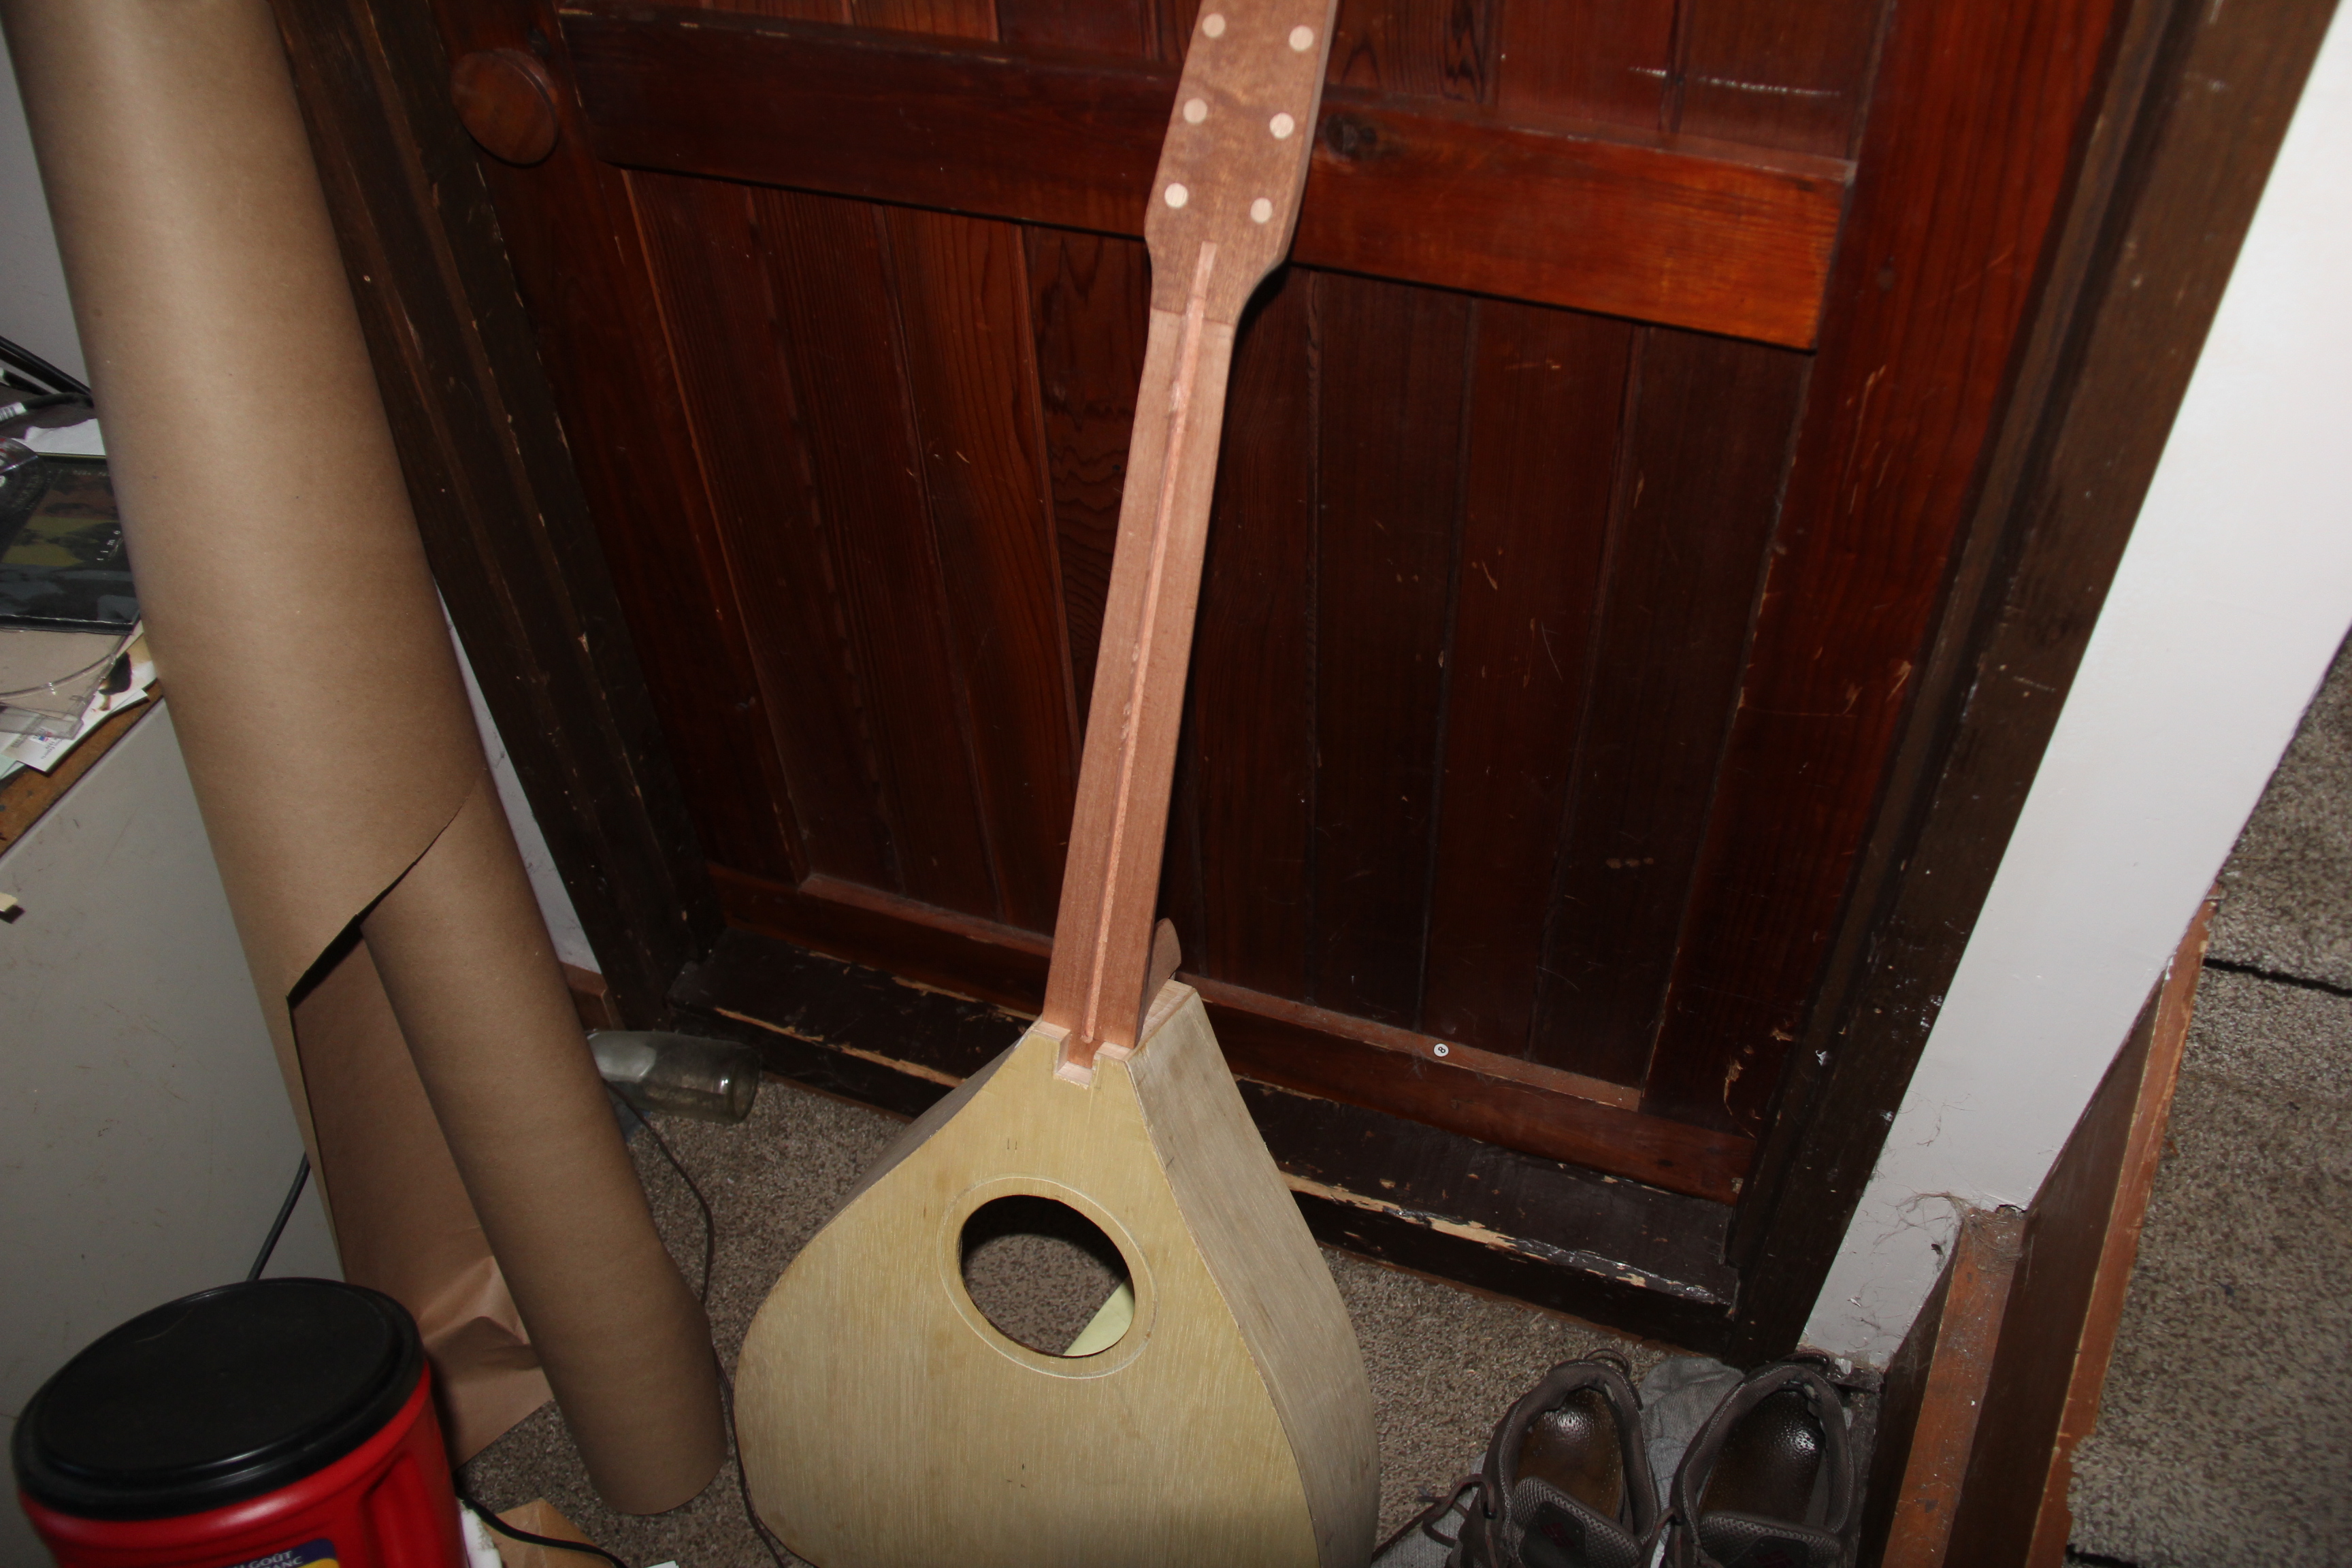
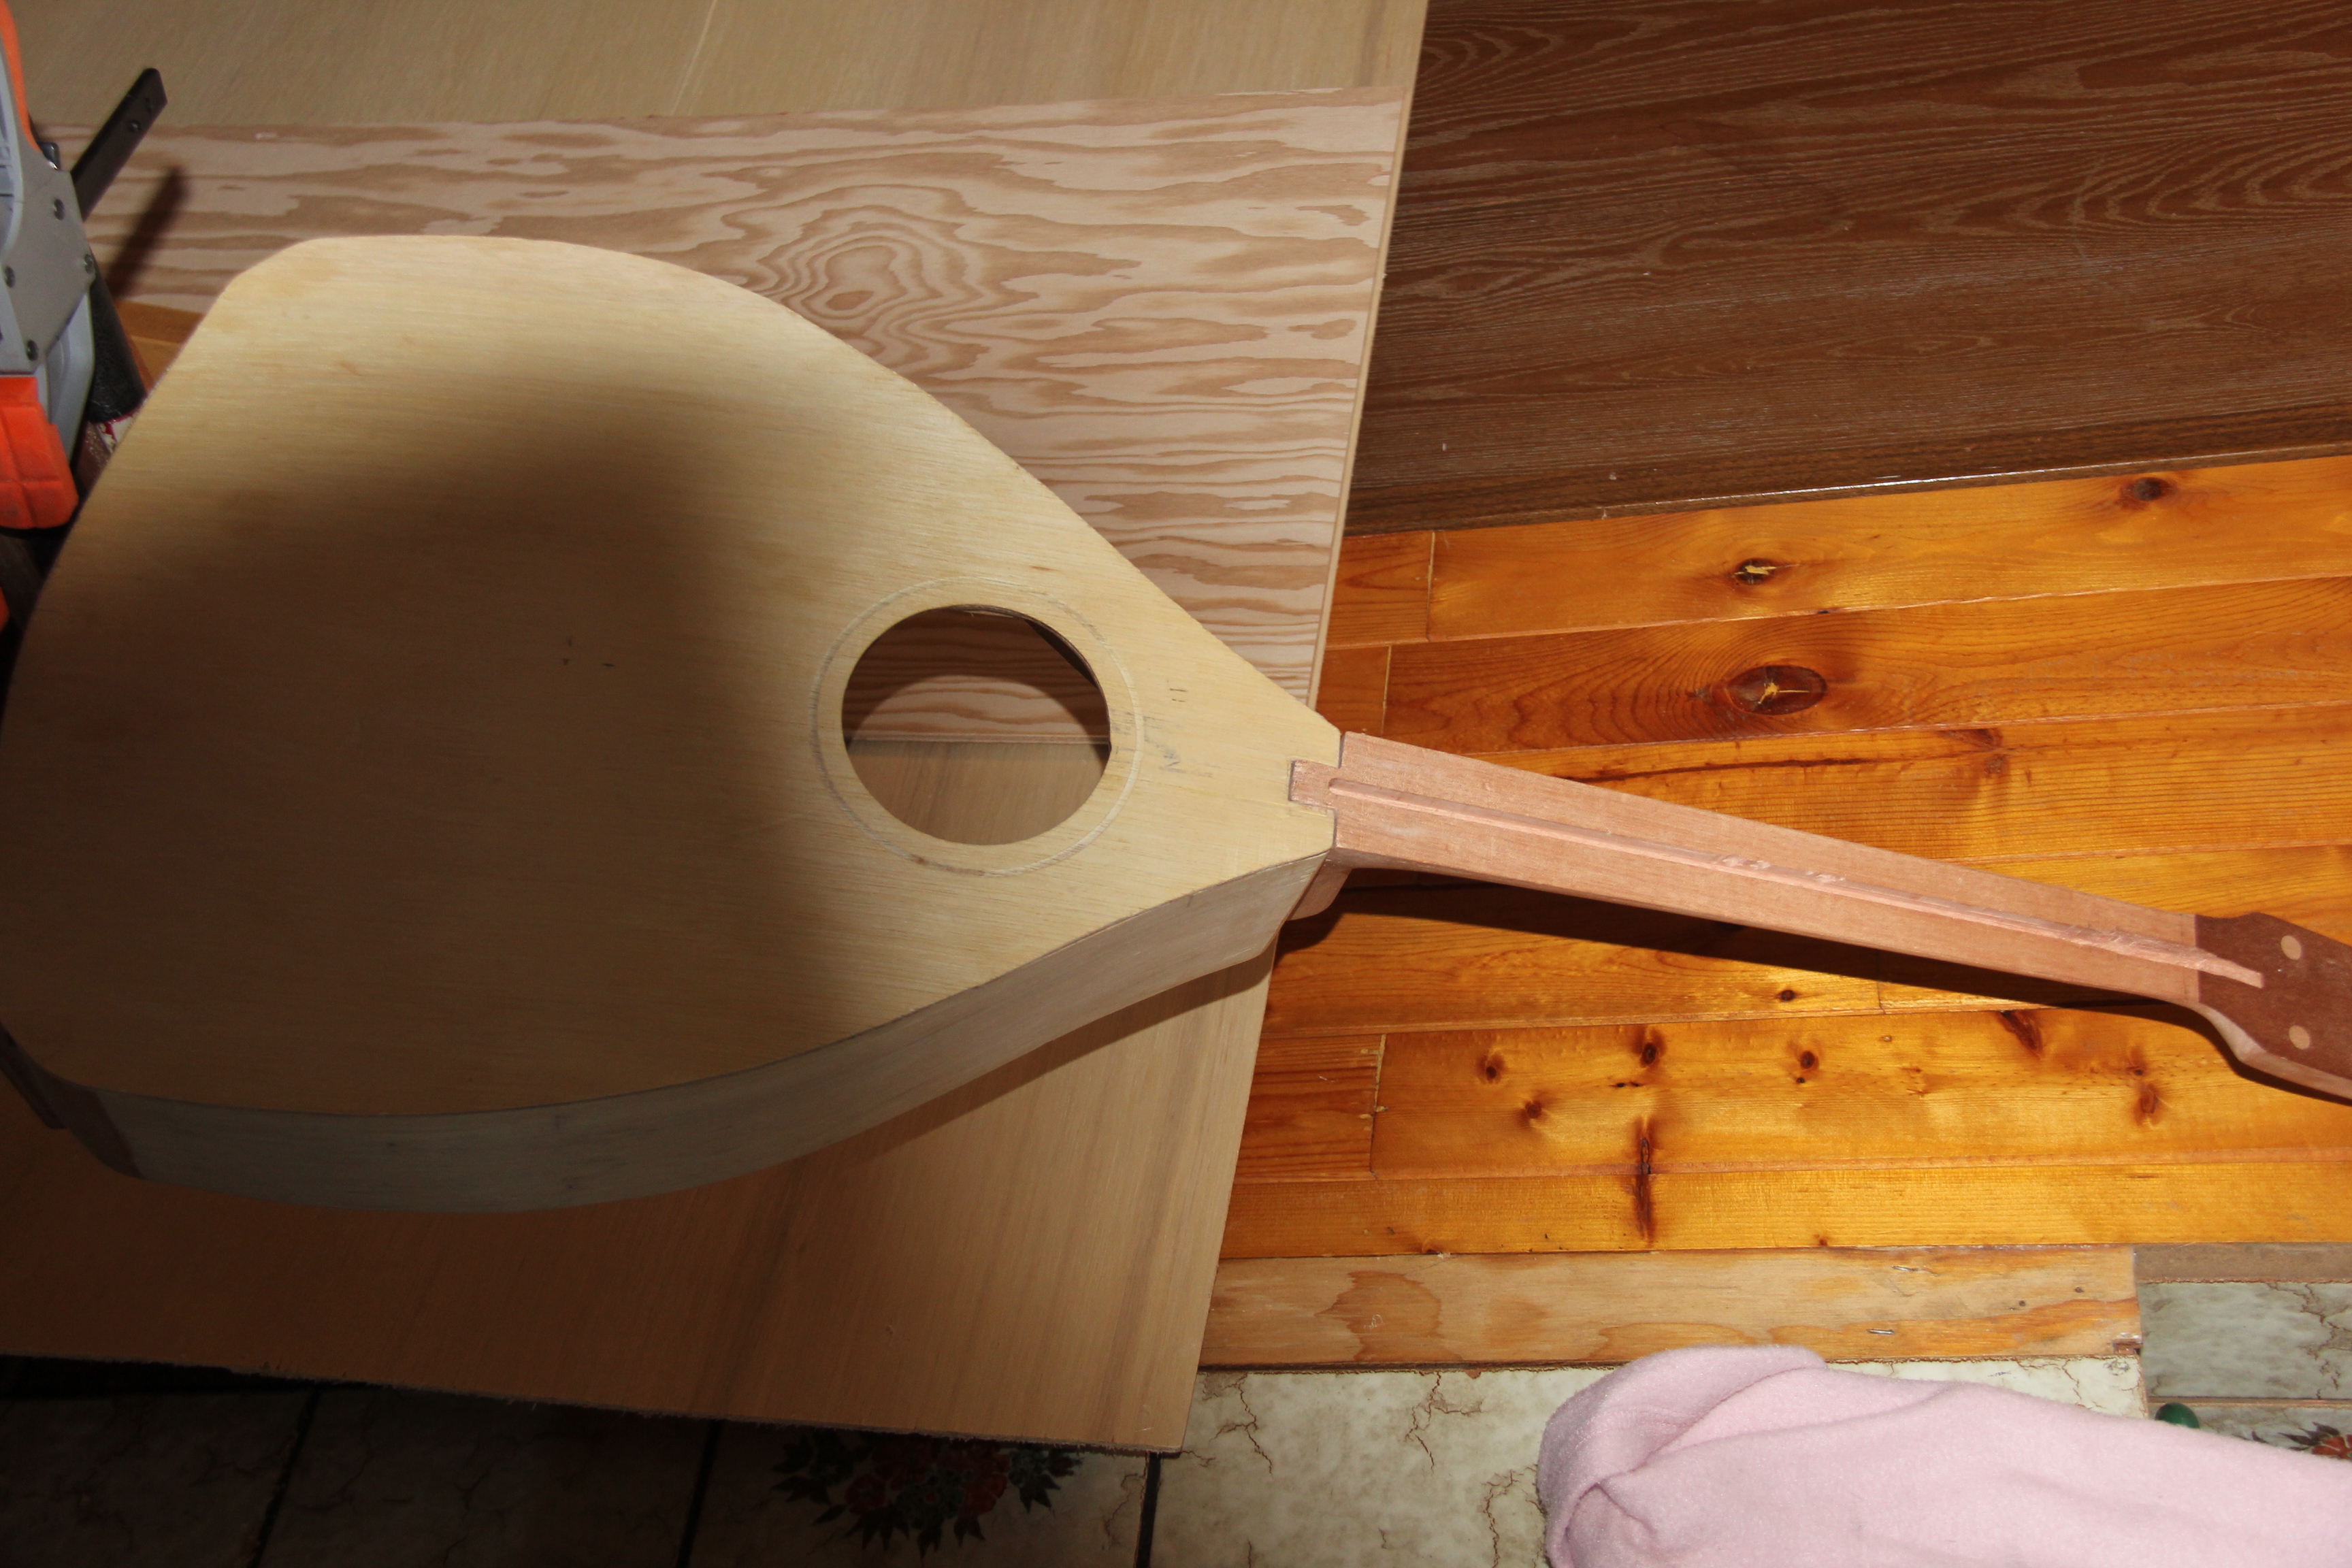
Previous page of the Mandocello build - Next page of the Mandocello build - Index of the Mandocello buildThe first thing I need to do now that the front is glued on is to fit the neck. This has to be fully finished before I can add the back. The first thing to do is shave the neck block to the right angle. This should be about 5 degrees back to line up the neck with the neck part of the front. With the curve or arch of the front this will leave about one inch of height from the front to the strings which just happens to be about the height of the bridge. Here is the setup for this. The third picture shows the sound hole as promised...
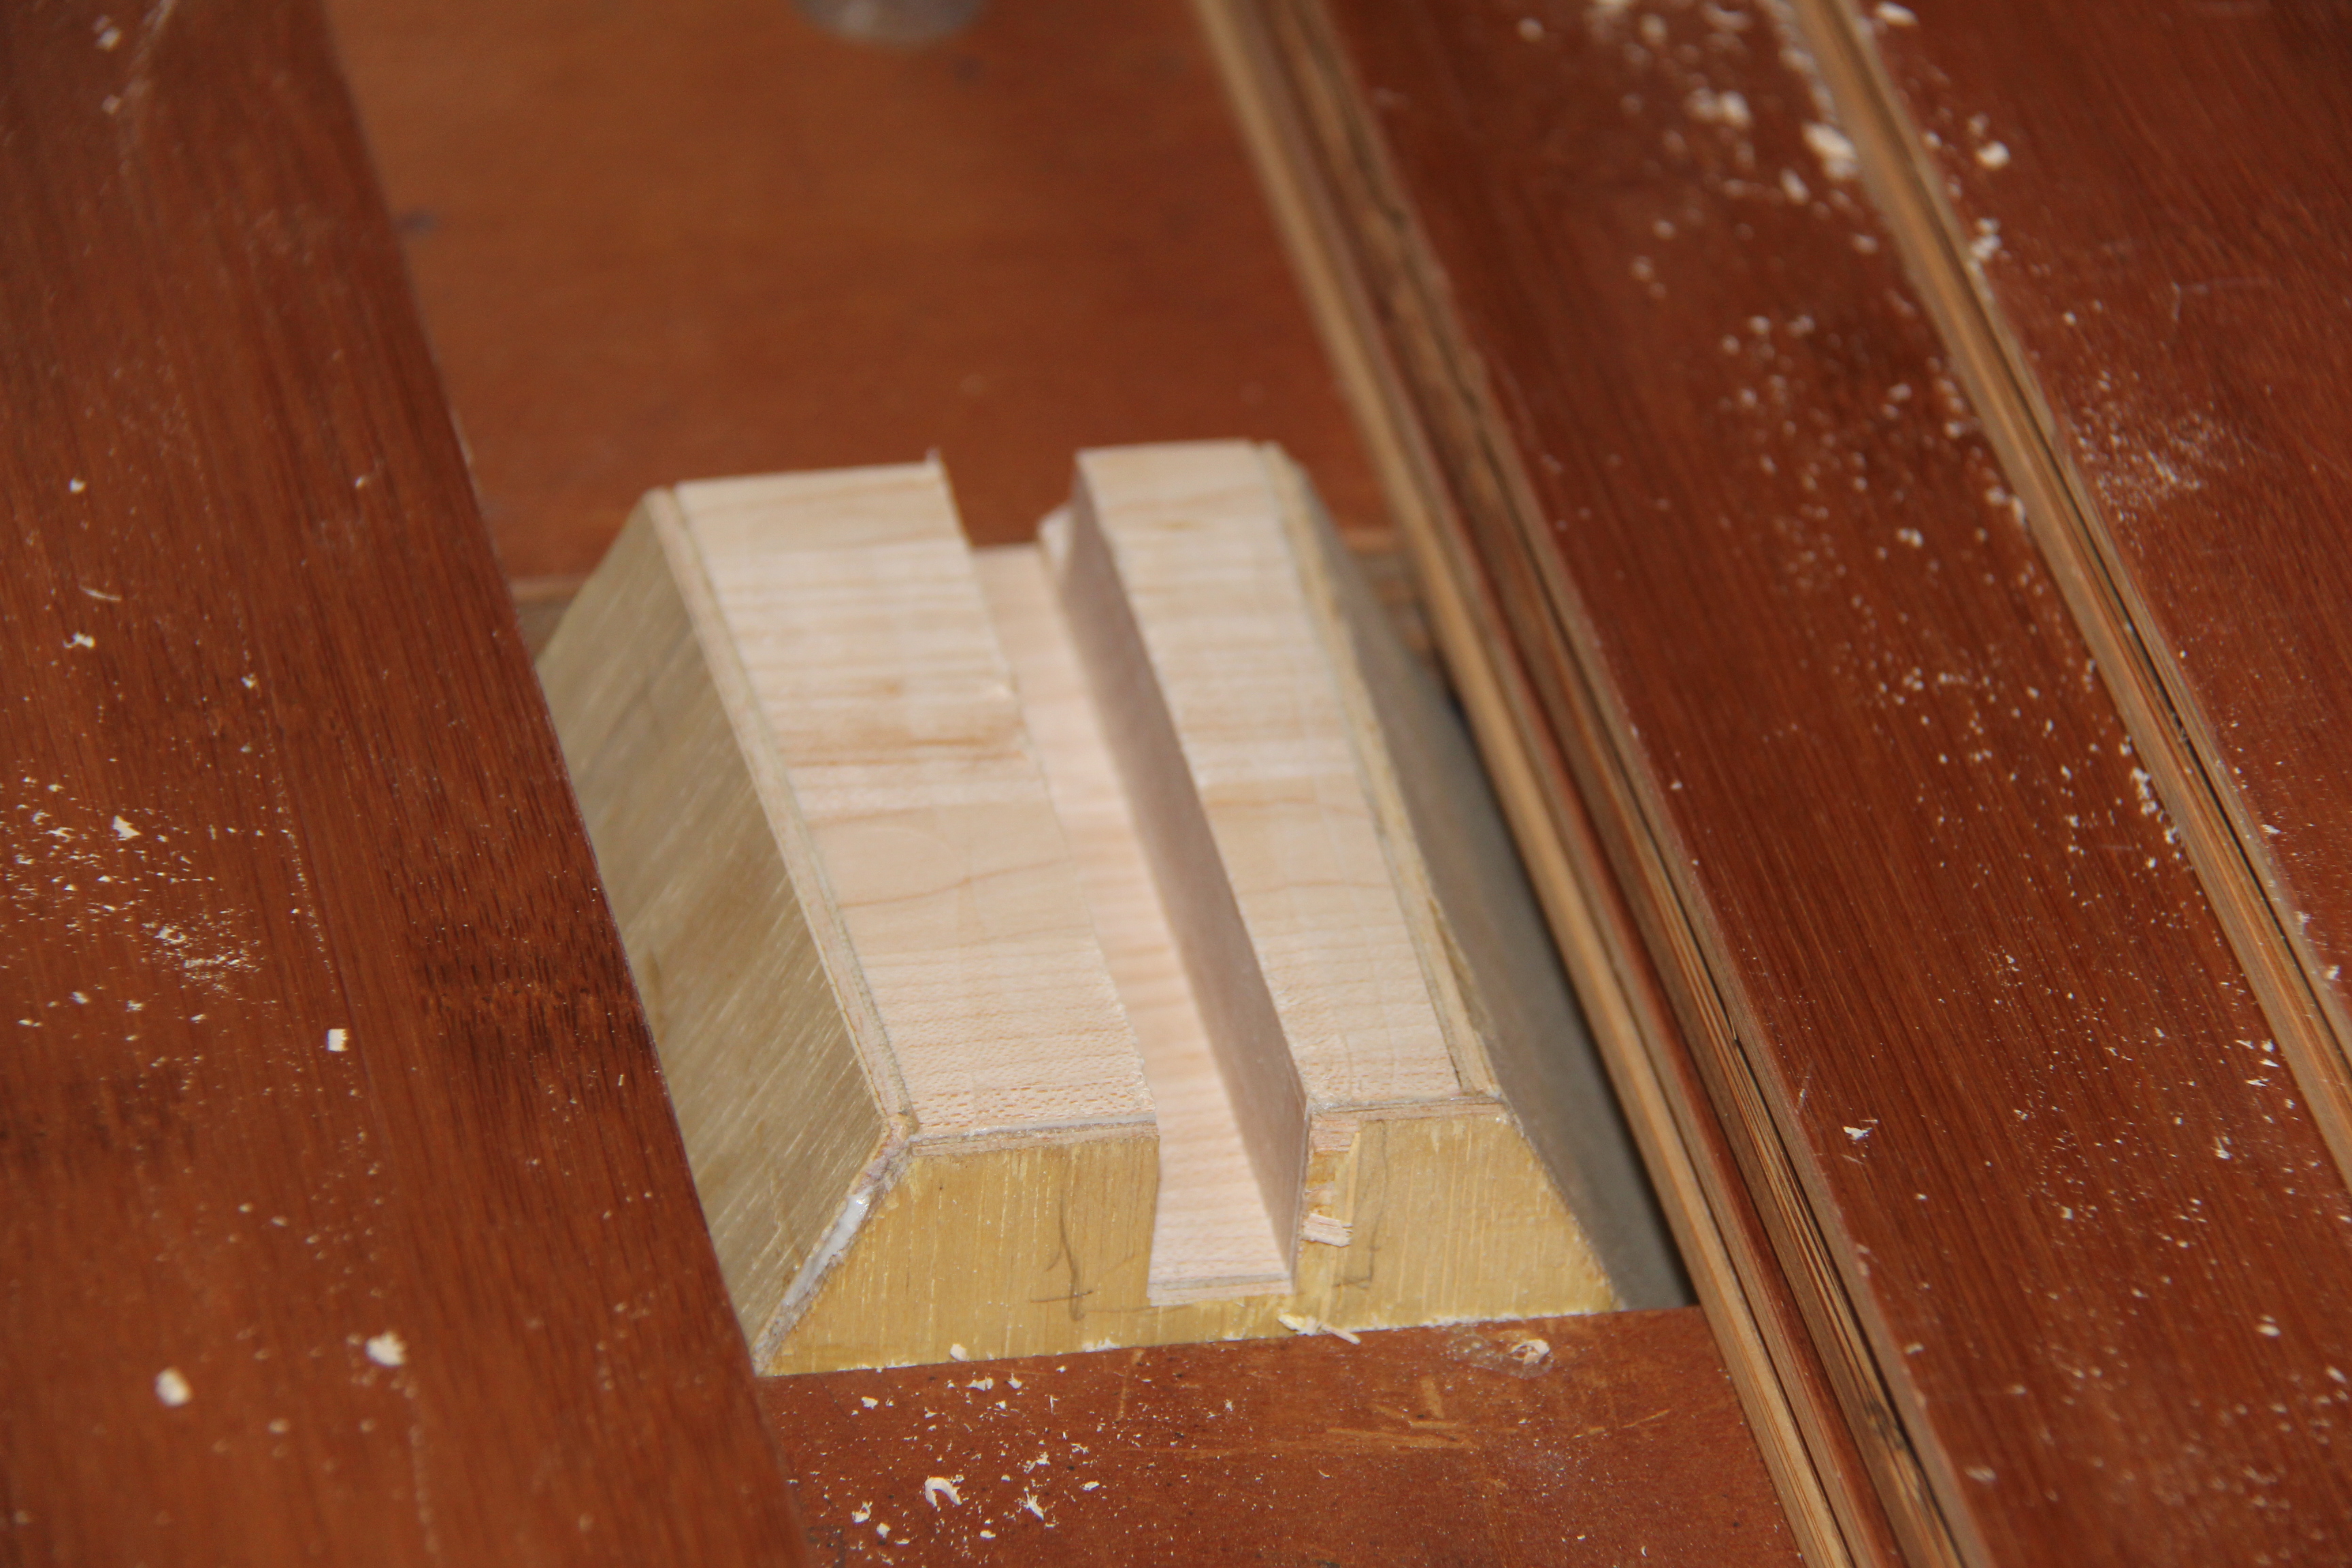
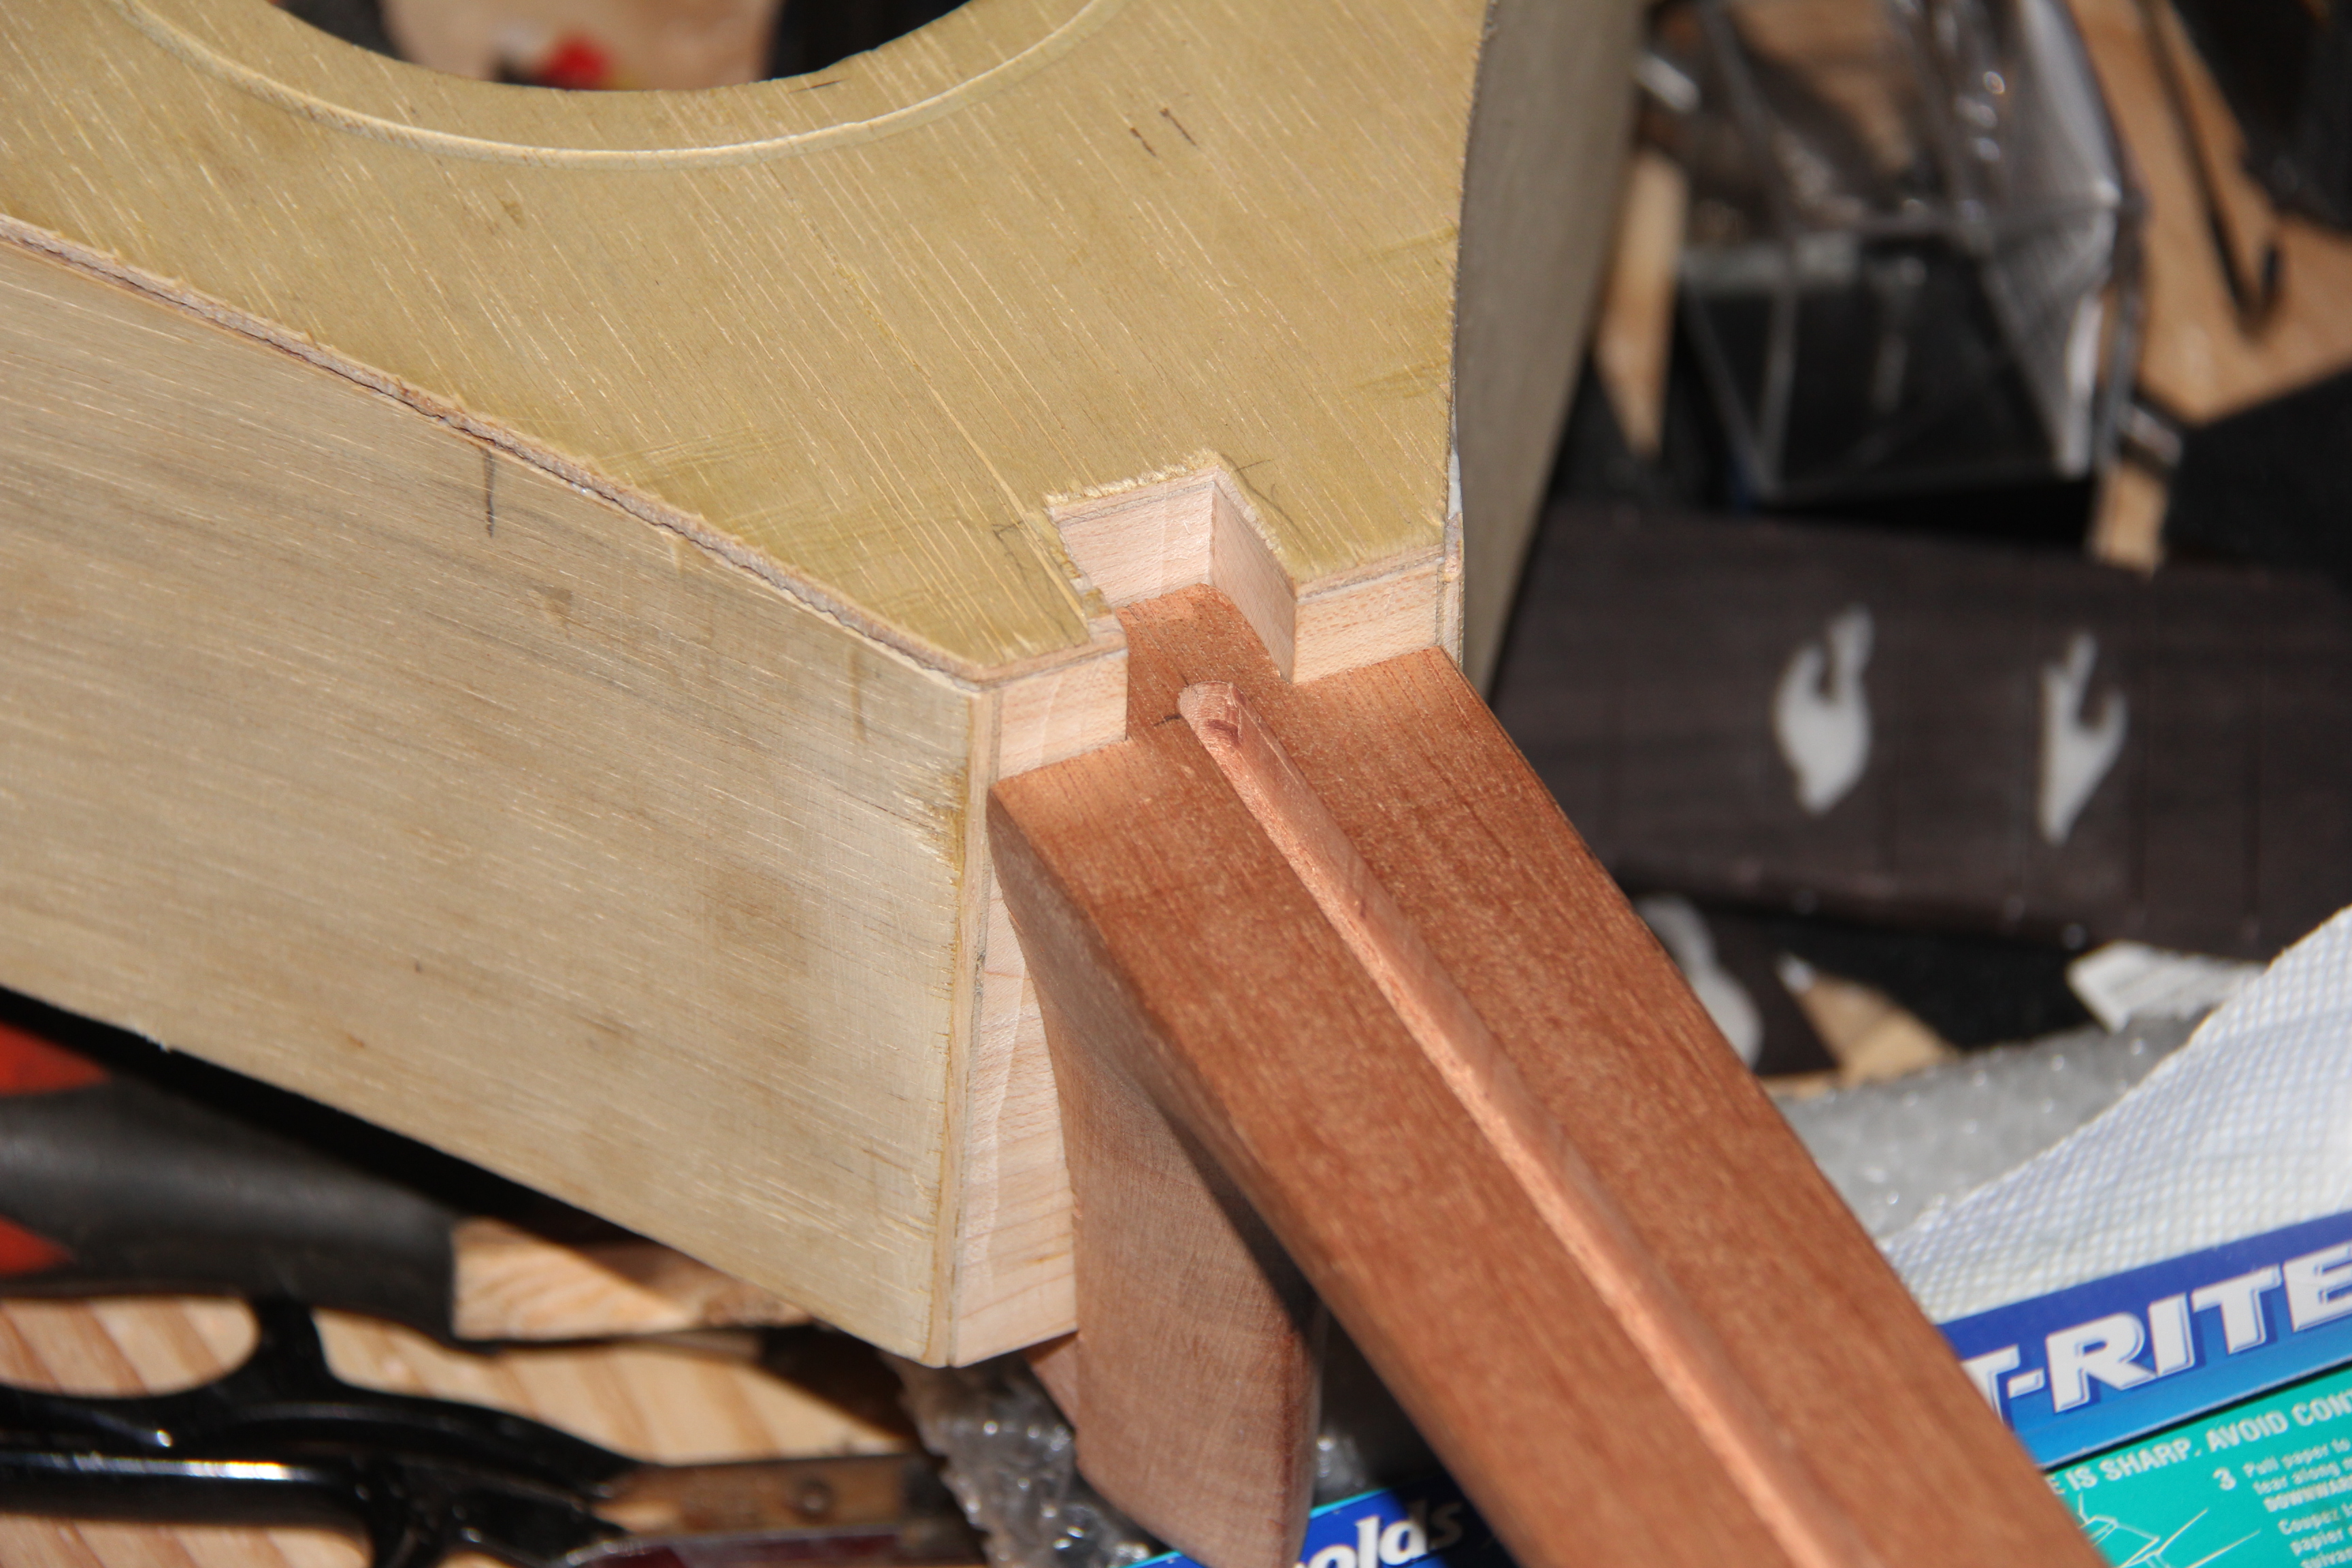
Next is the slot for the neck tenon. First one half then the other.
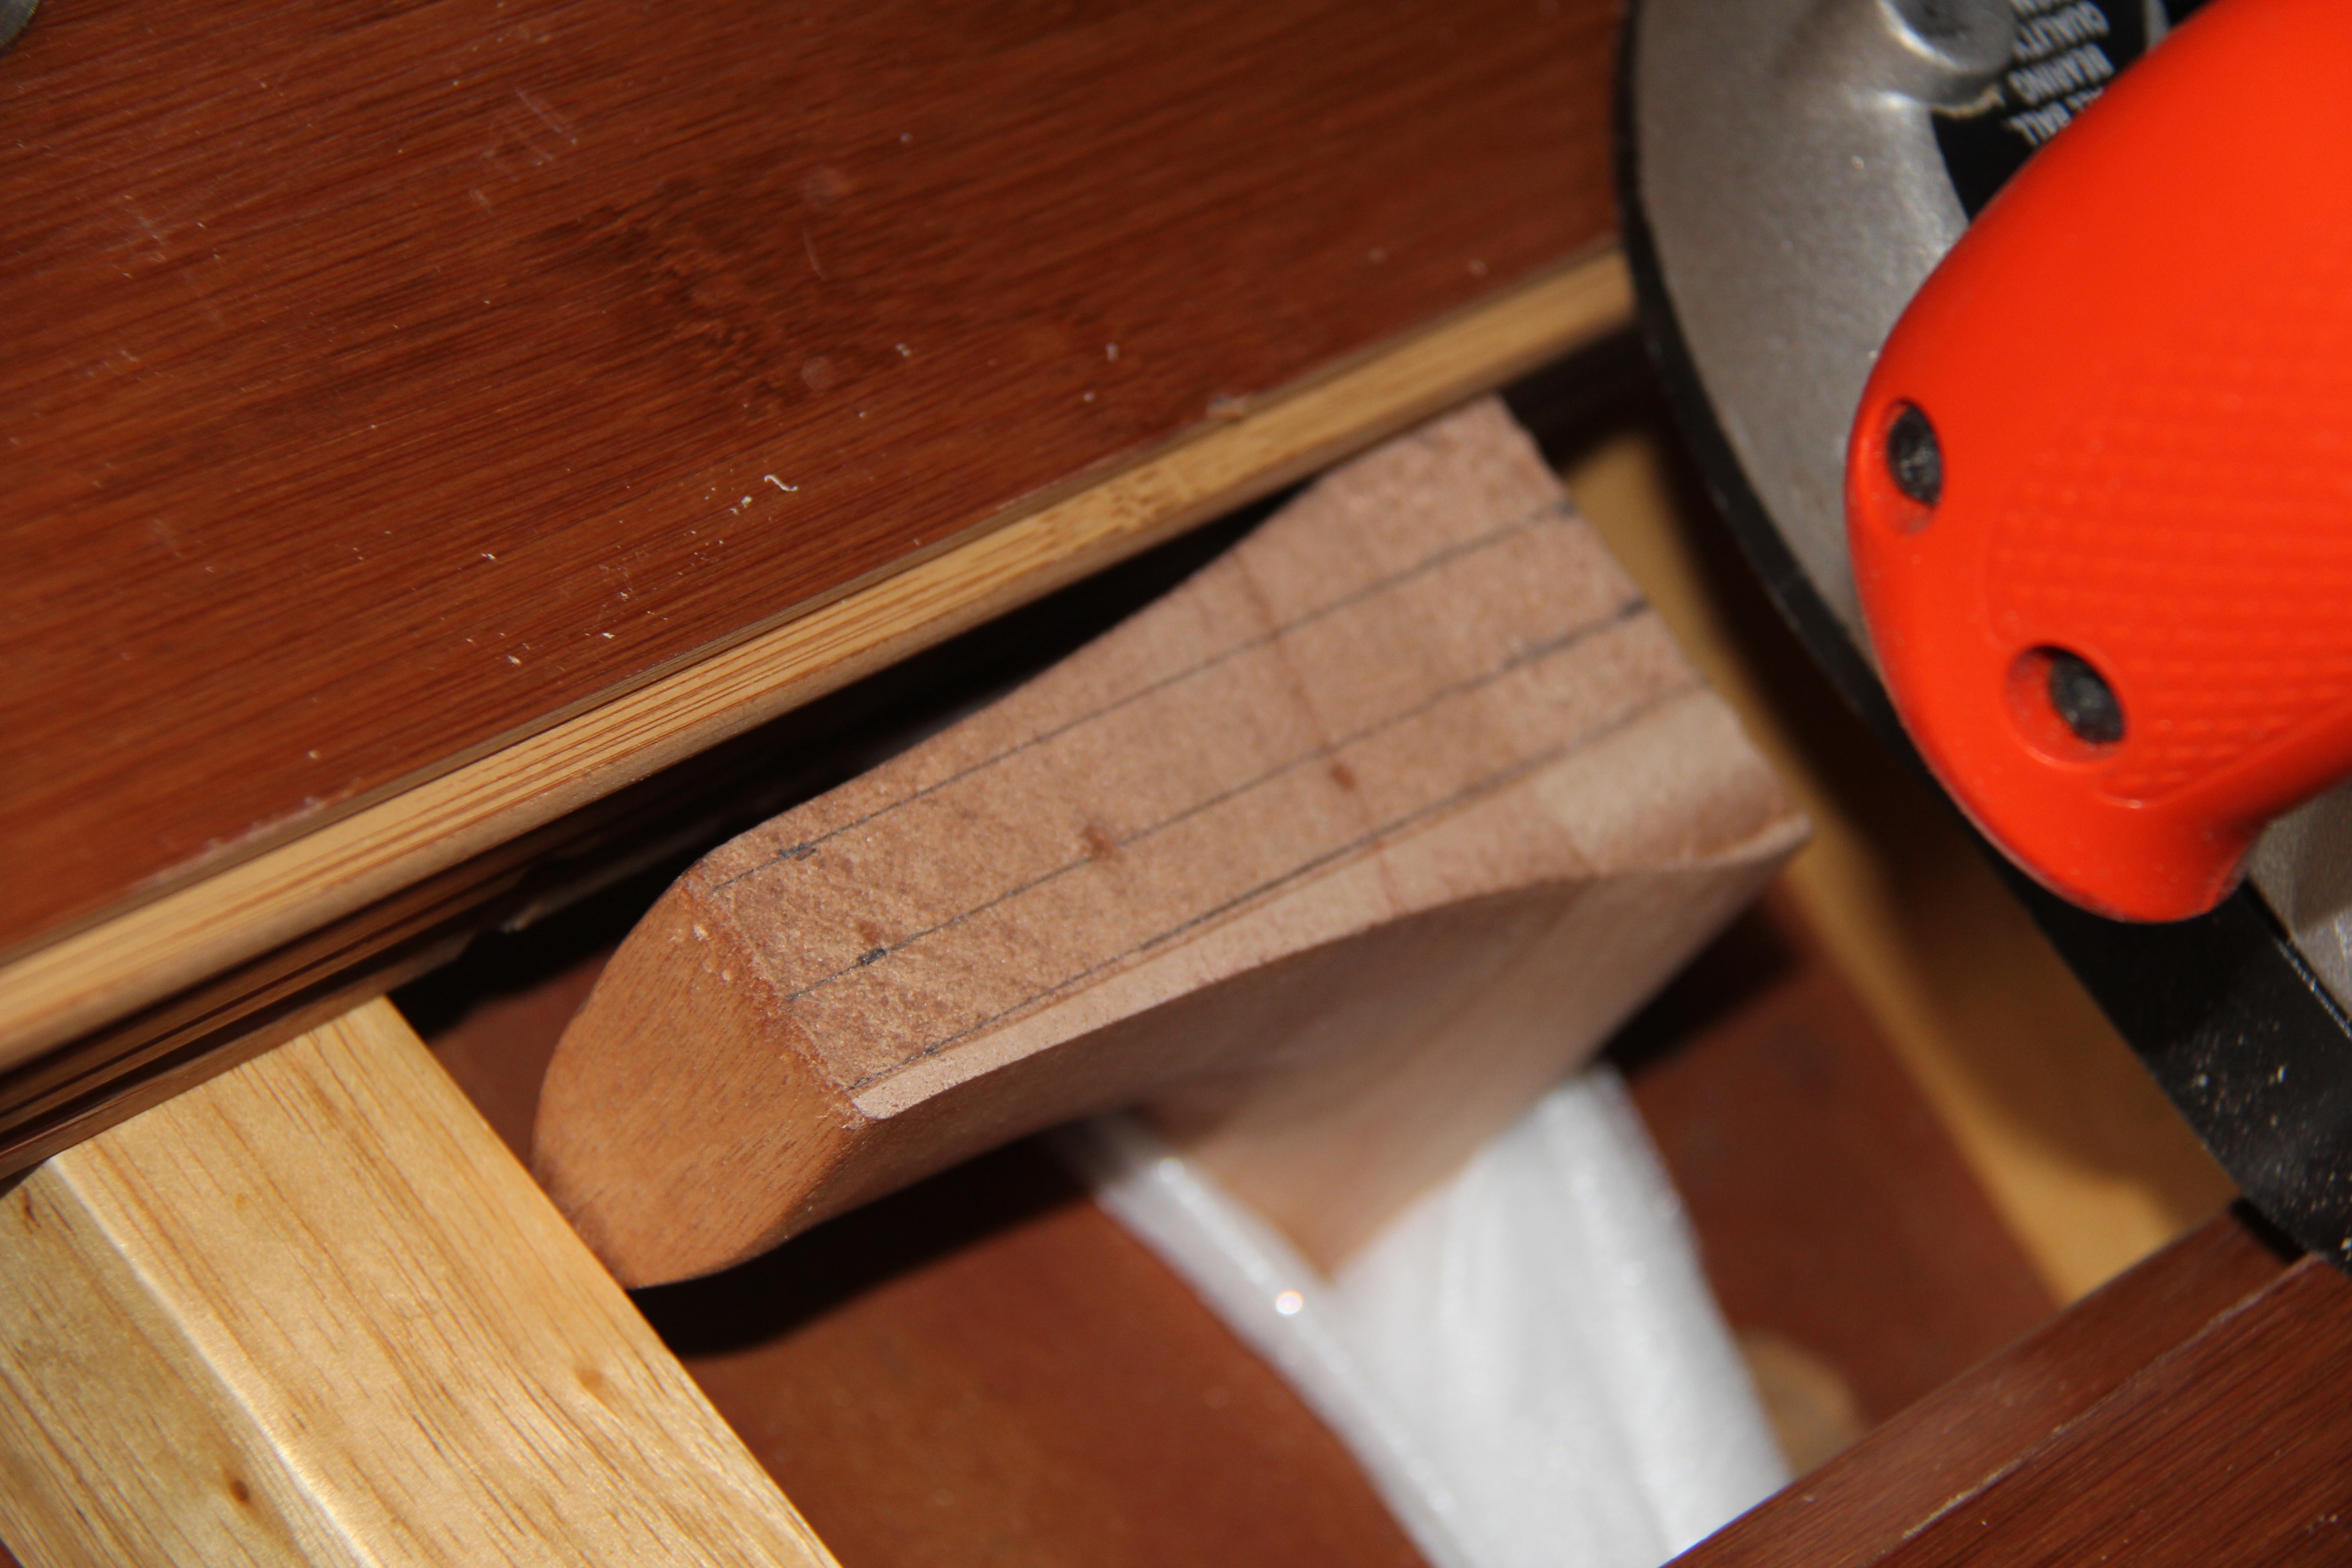
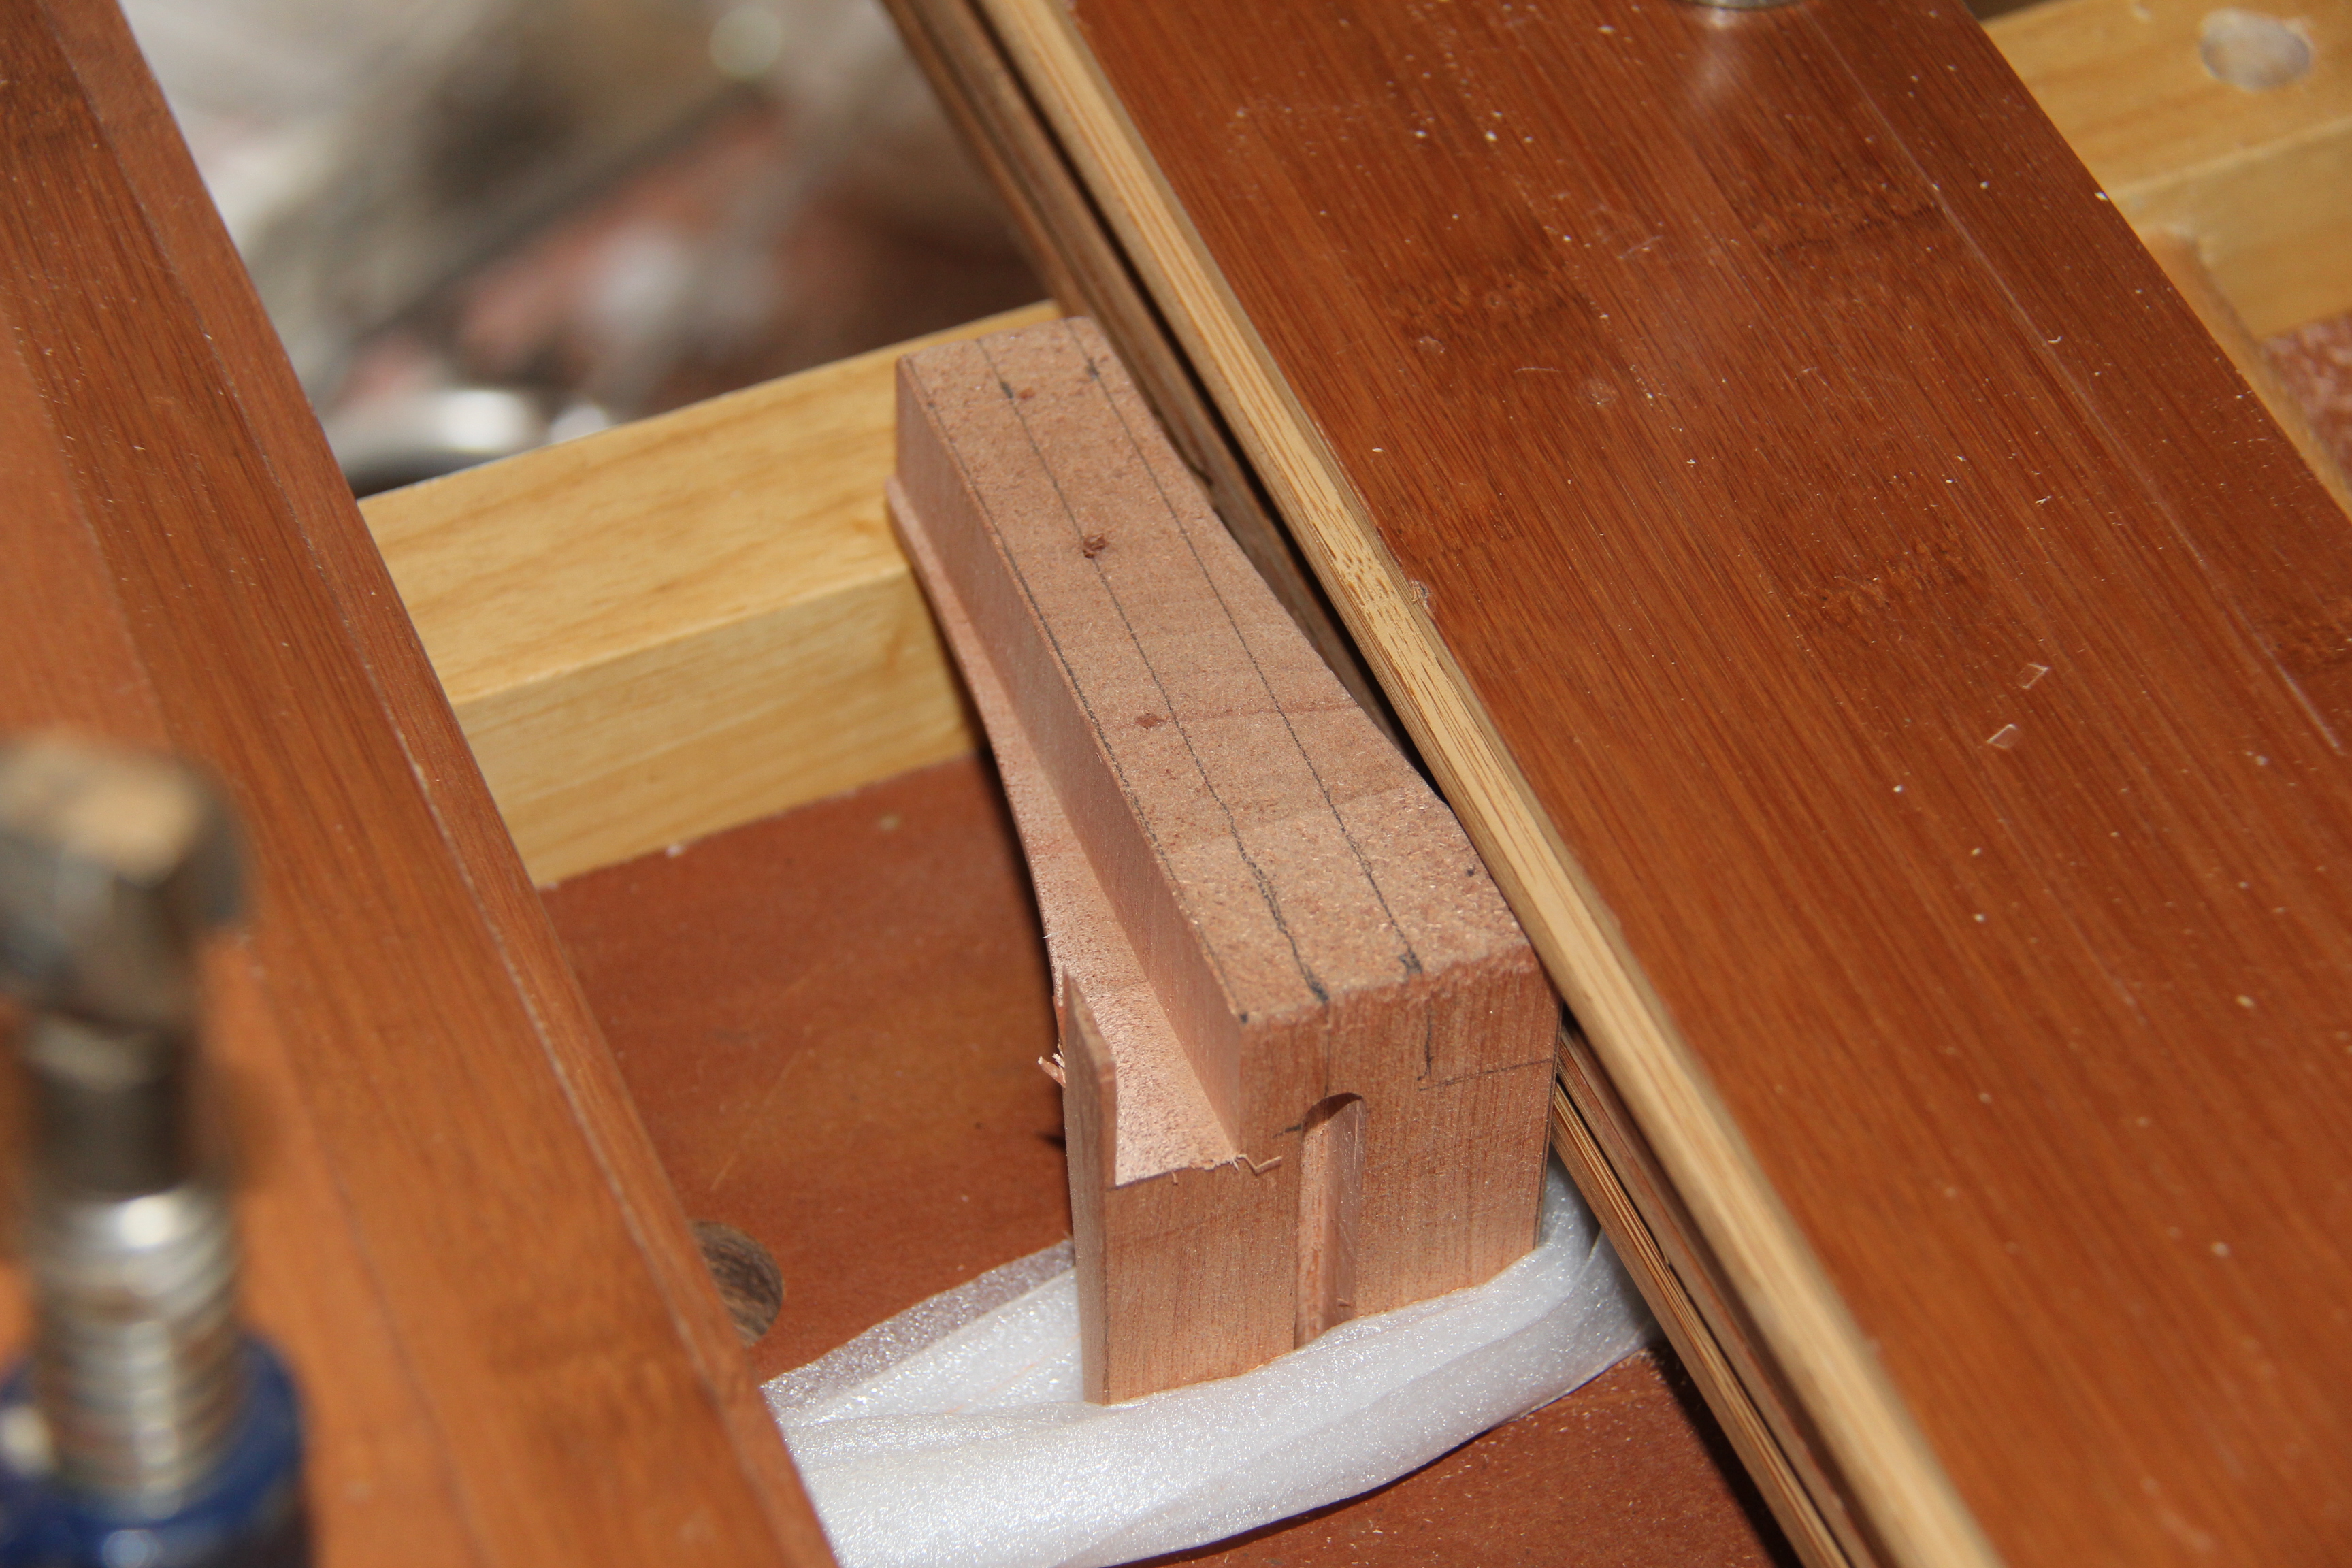
Next the neck tenon. I am cutting it just a bit wide so I can fit it nice and tight.
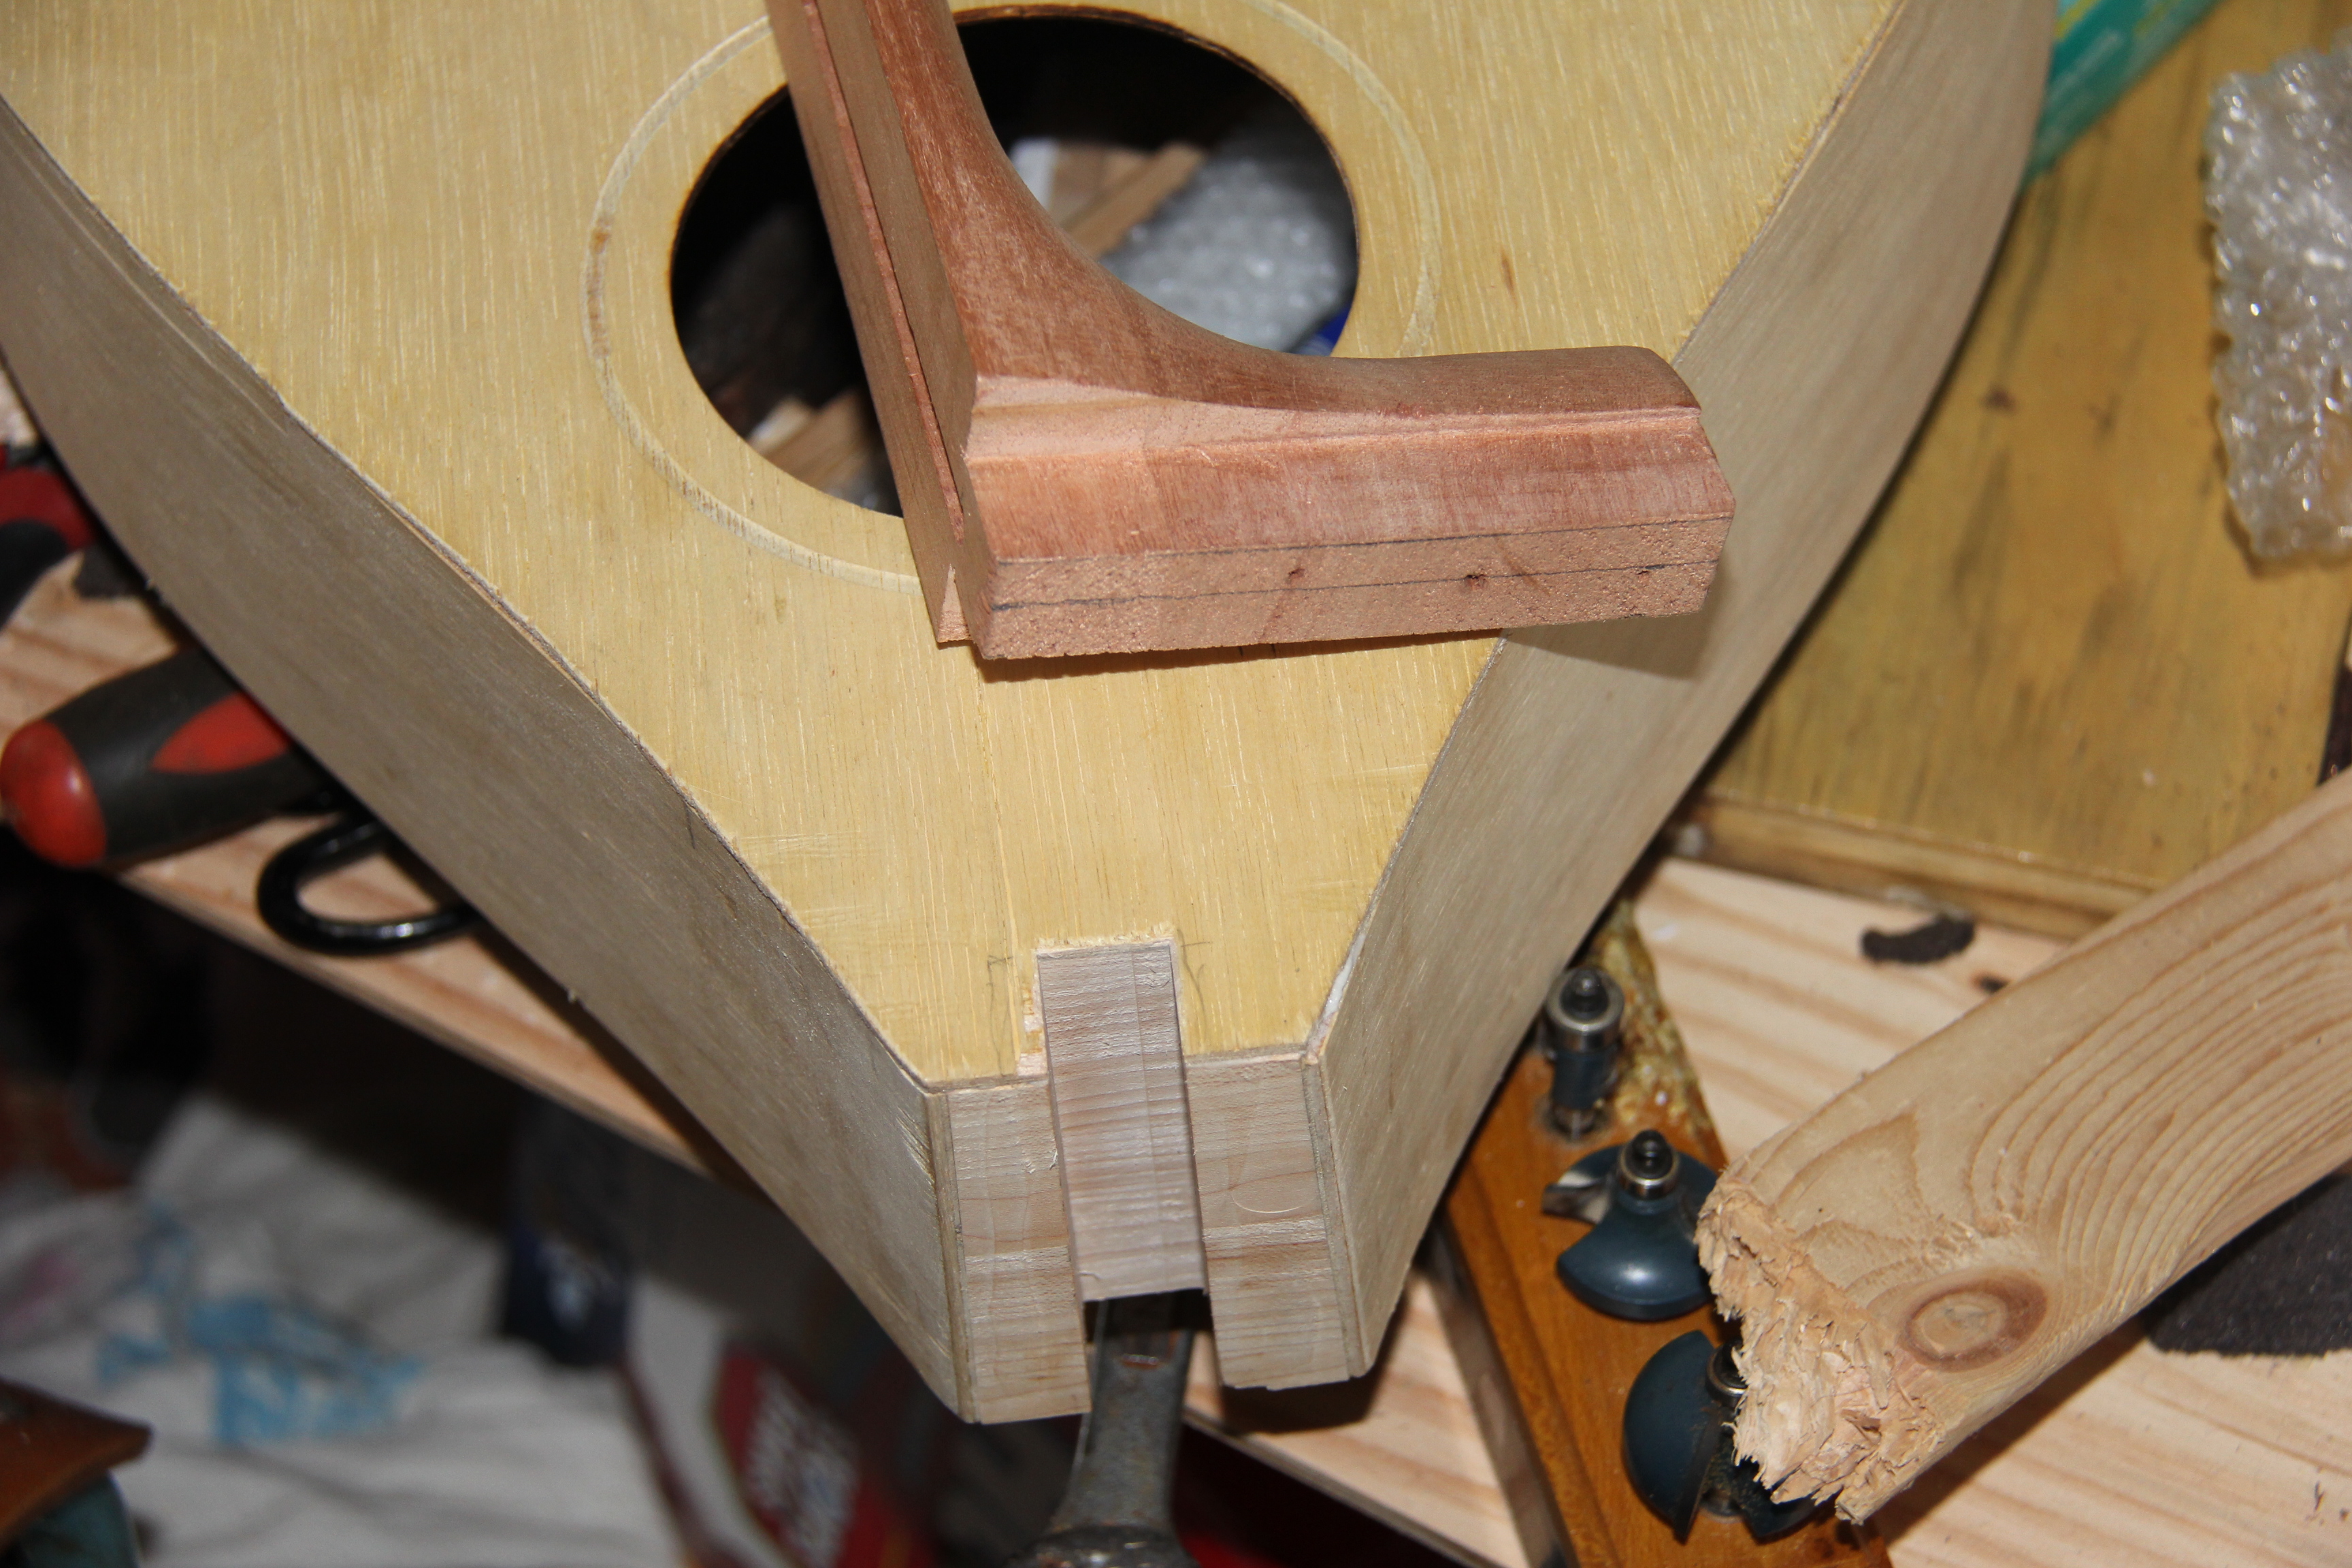
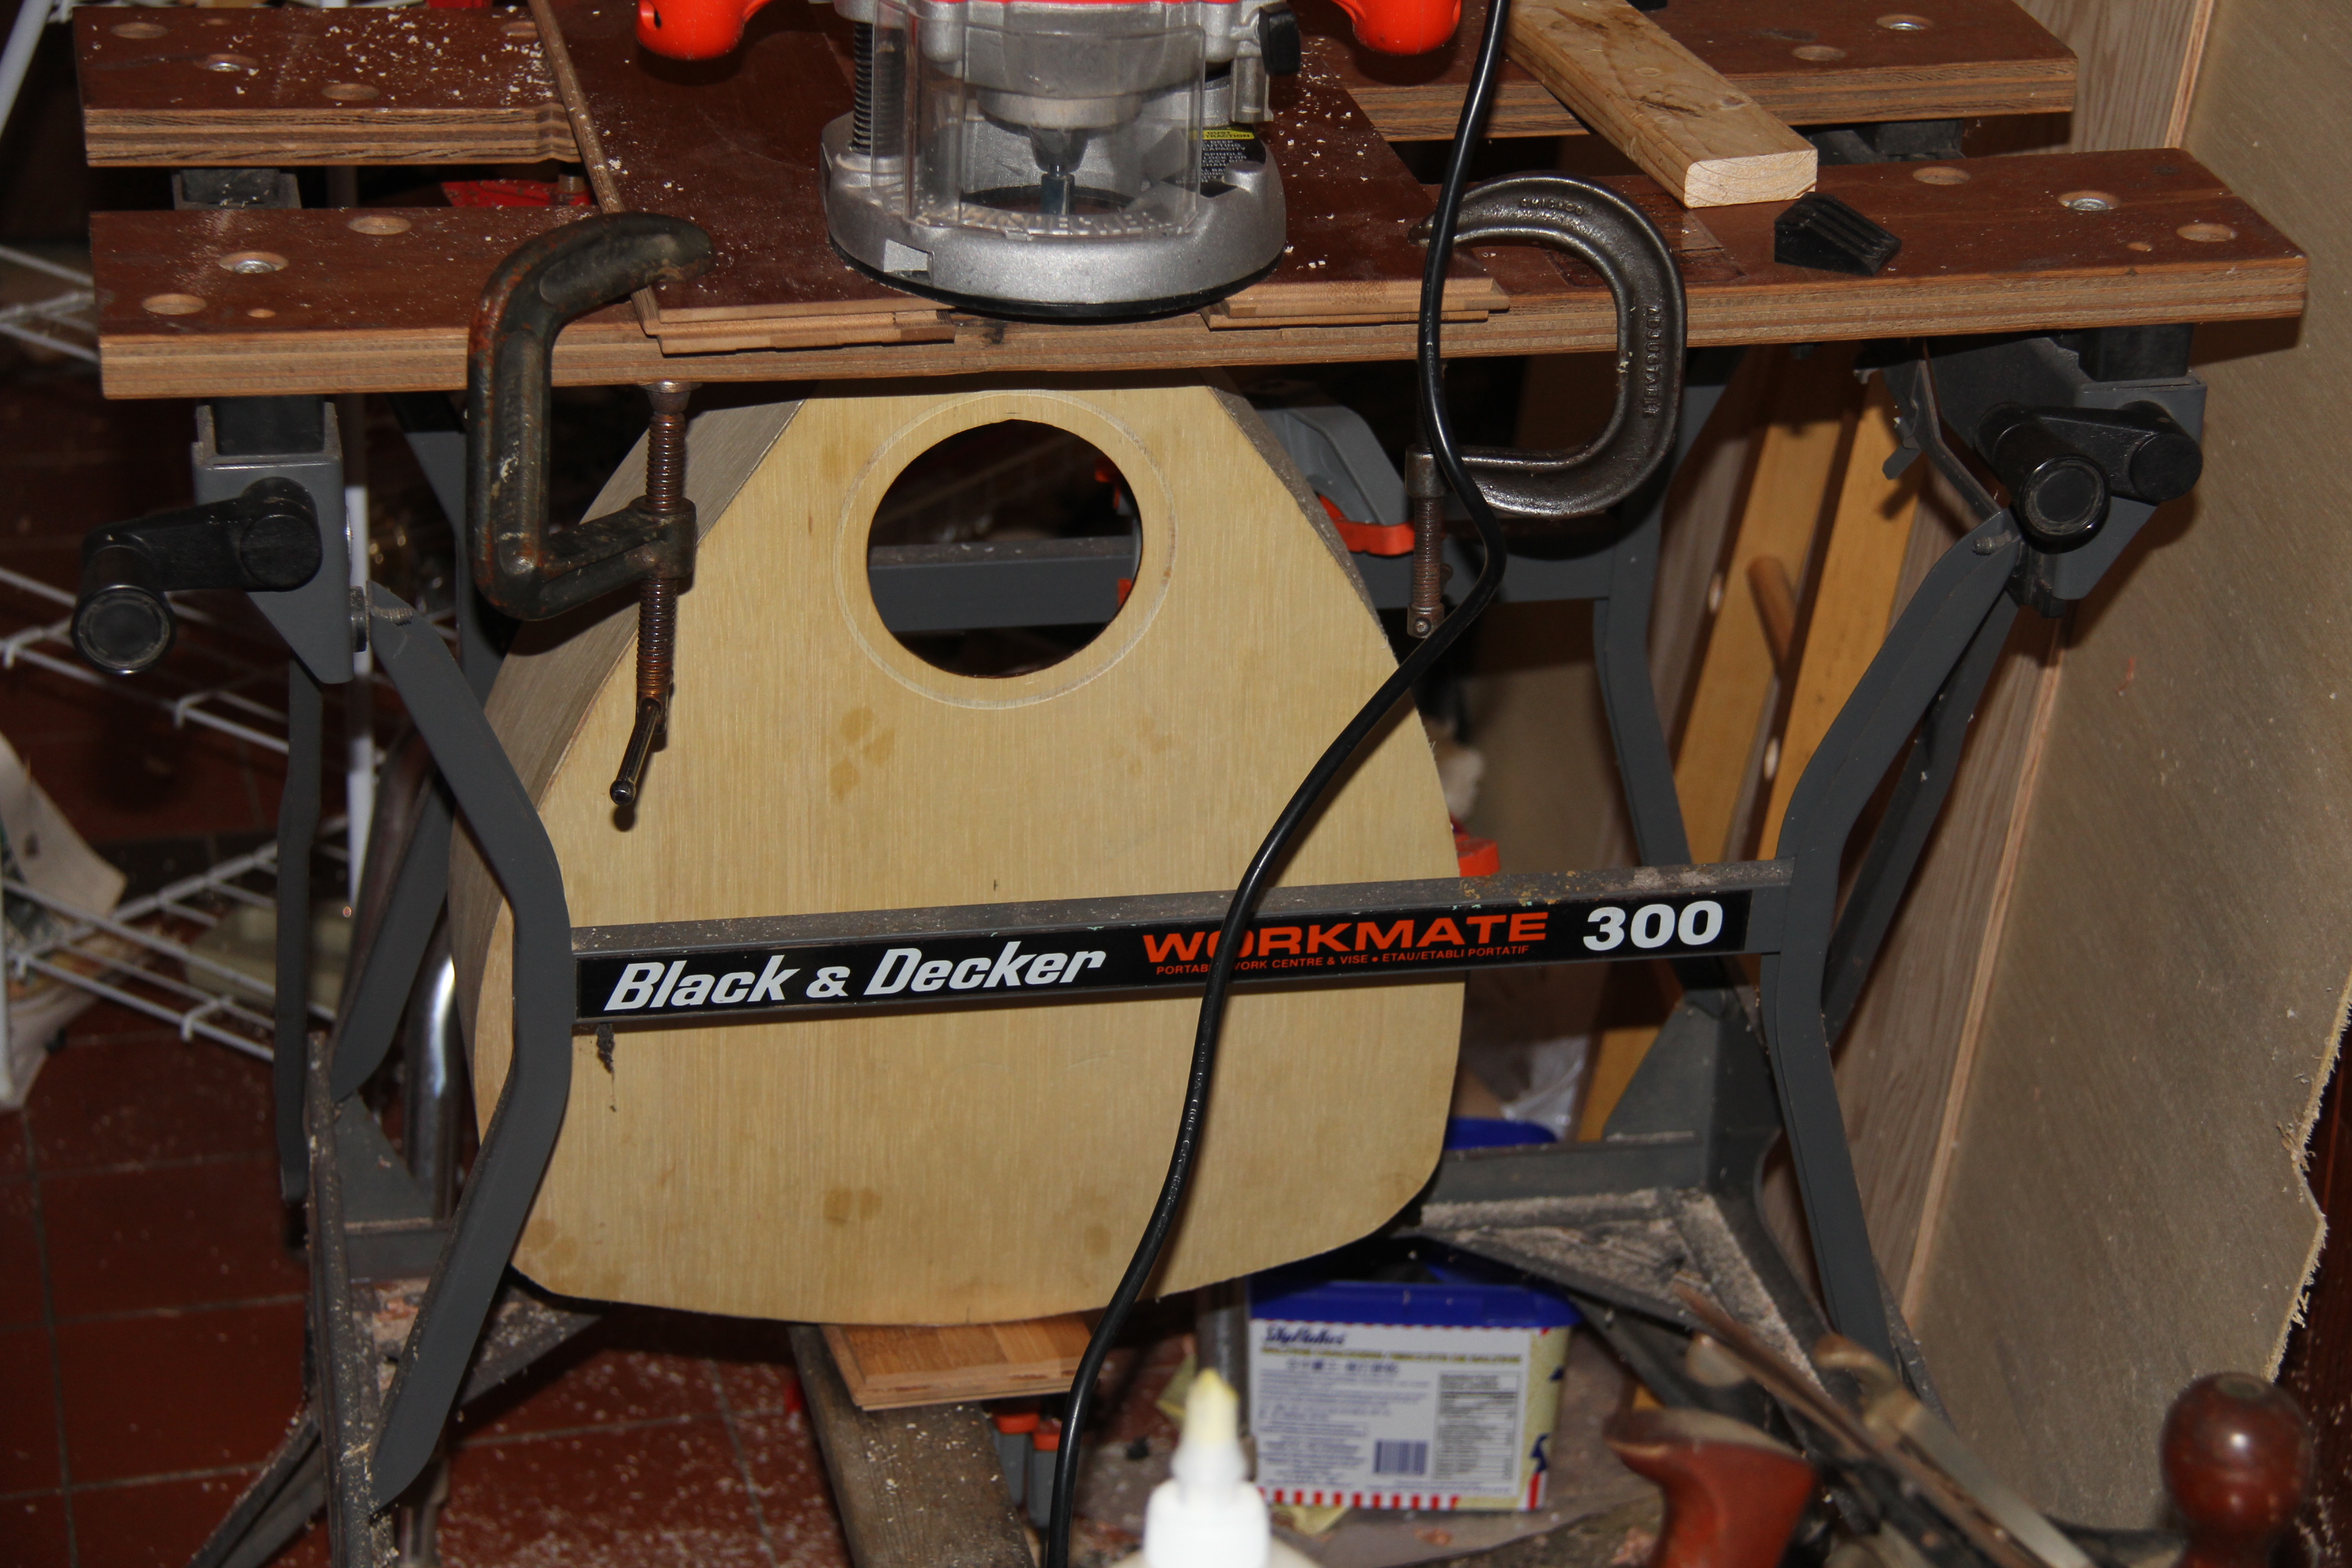
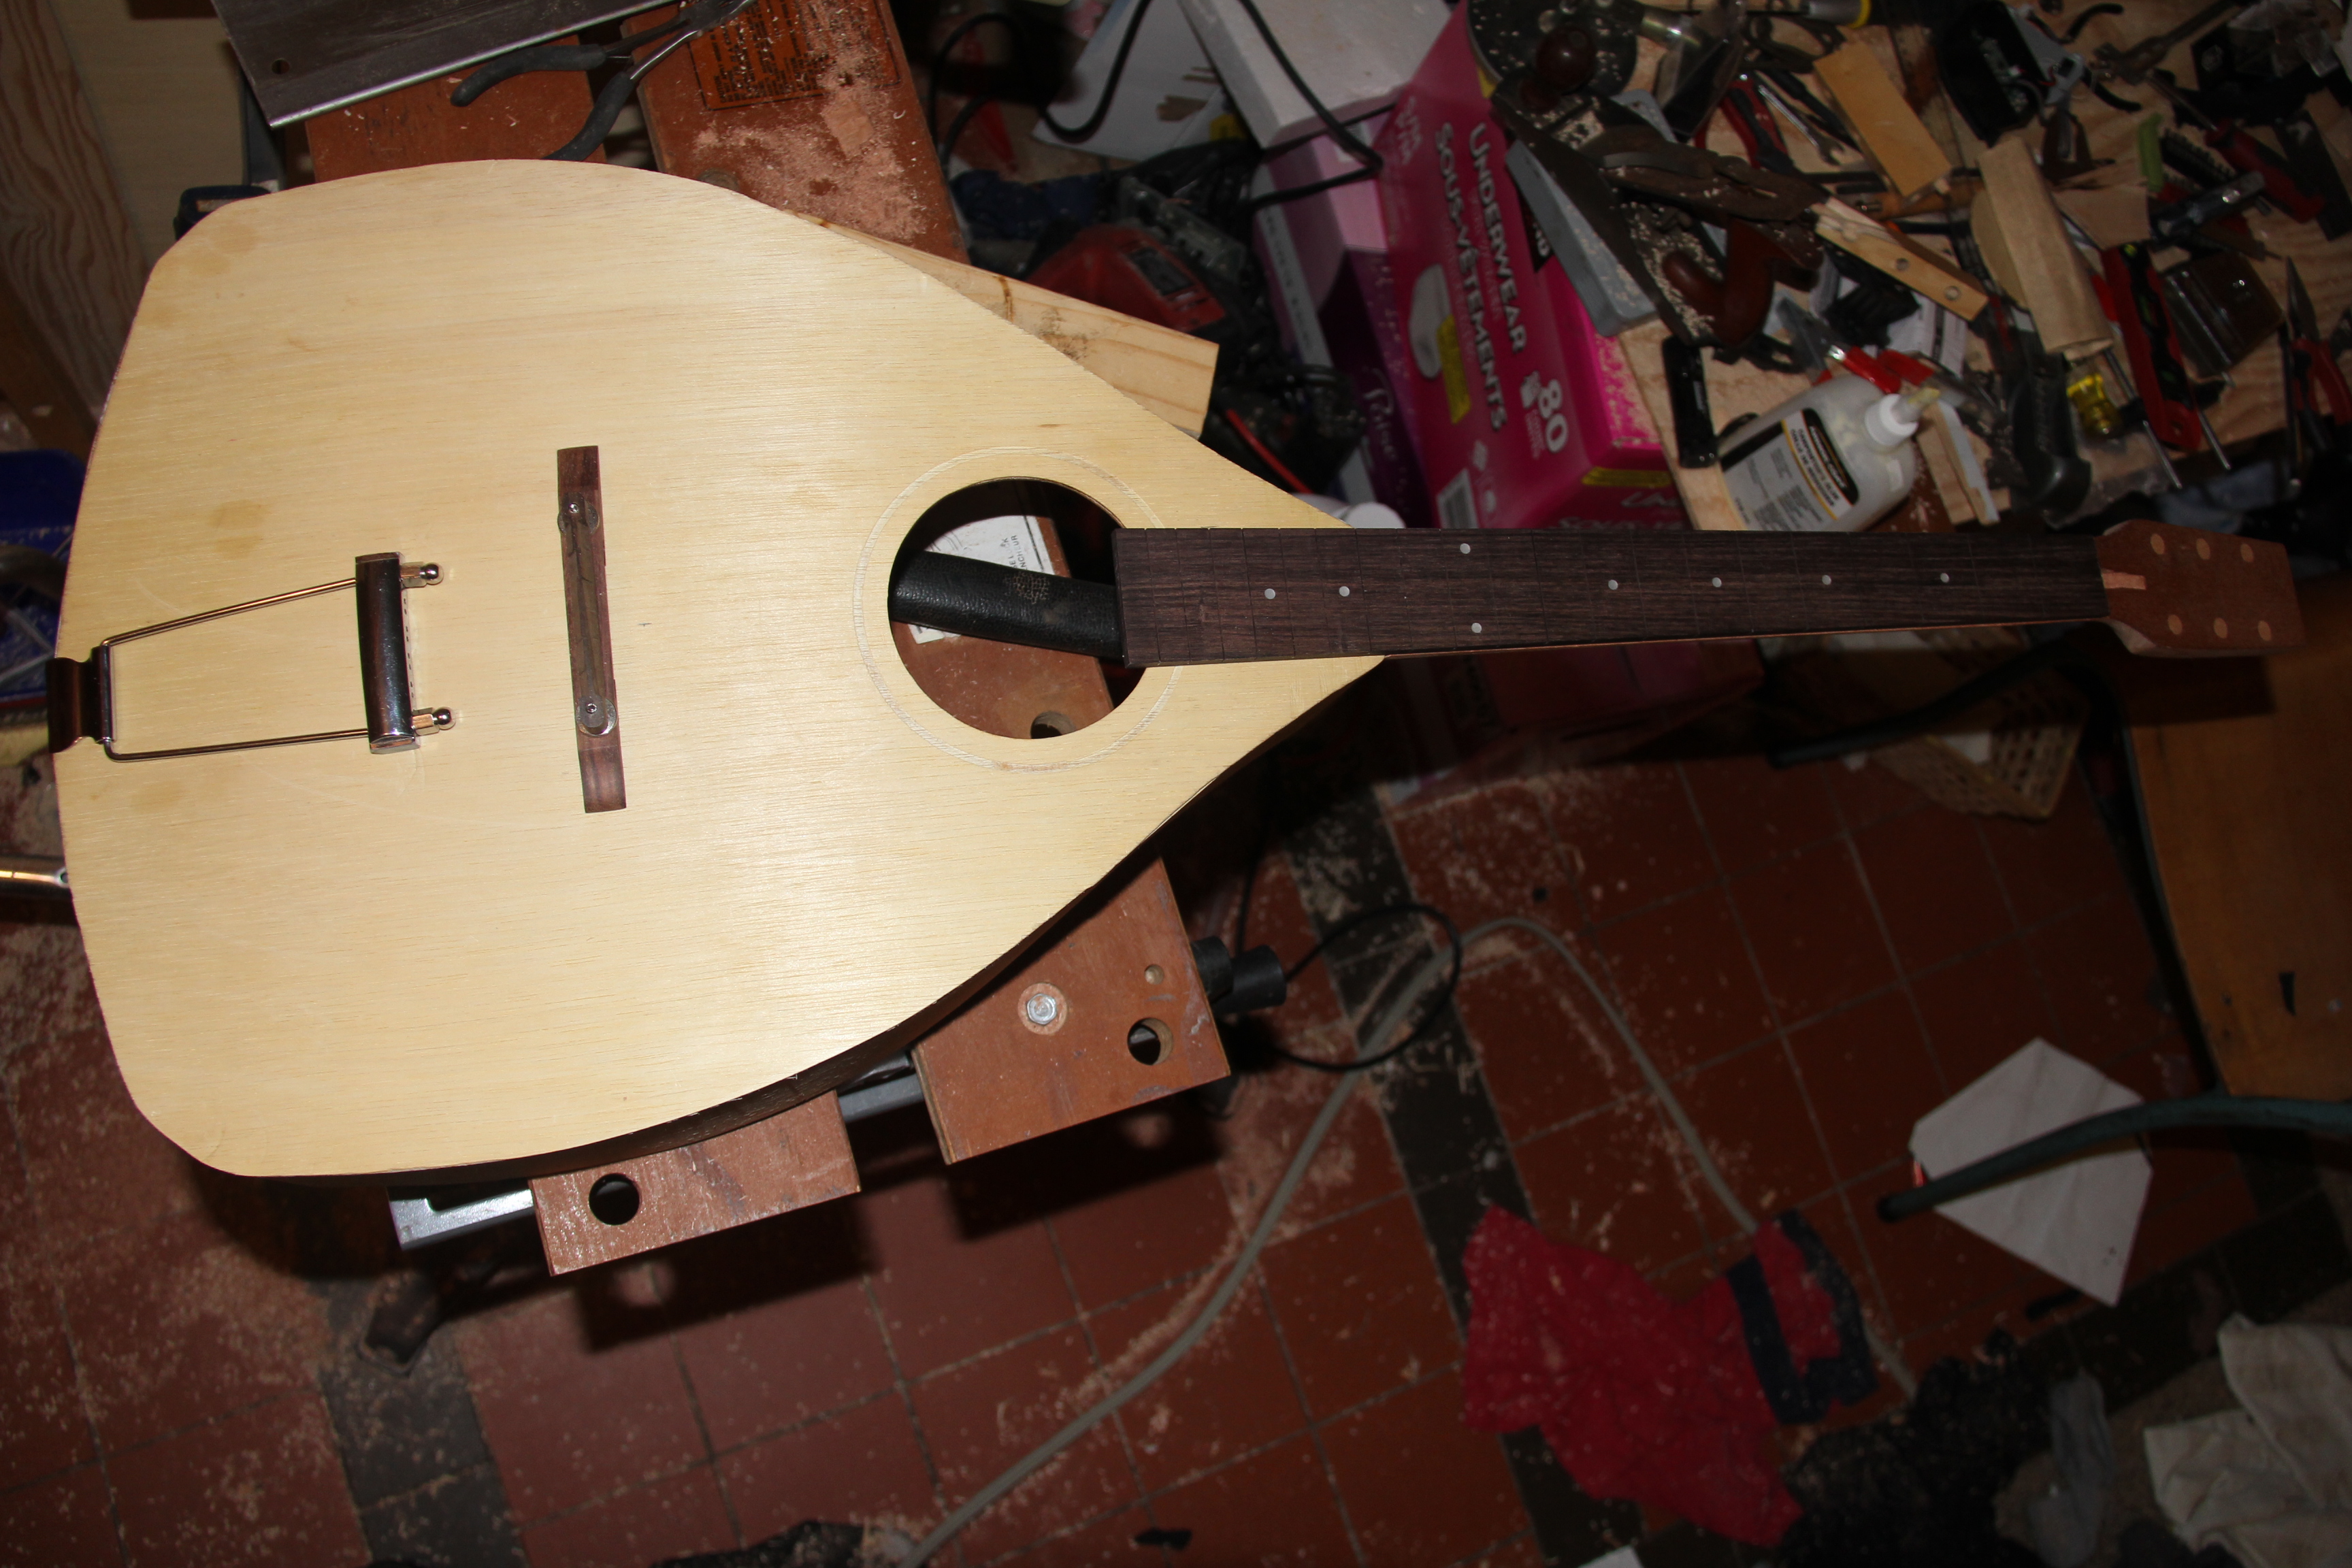
Wow, it almost looks like something. Try out with finger board, bridge and tail piece.
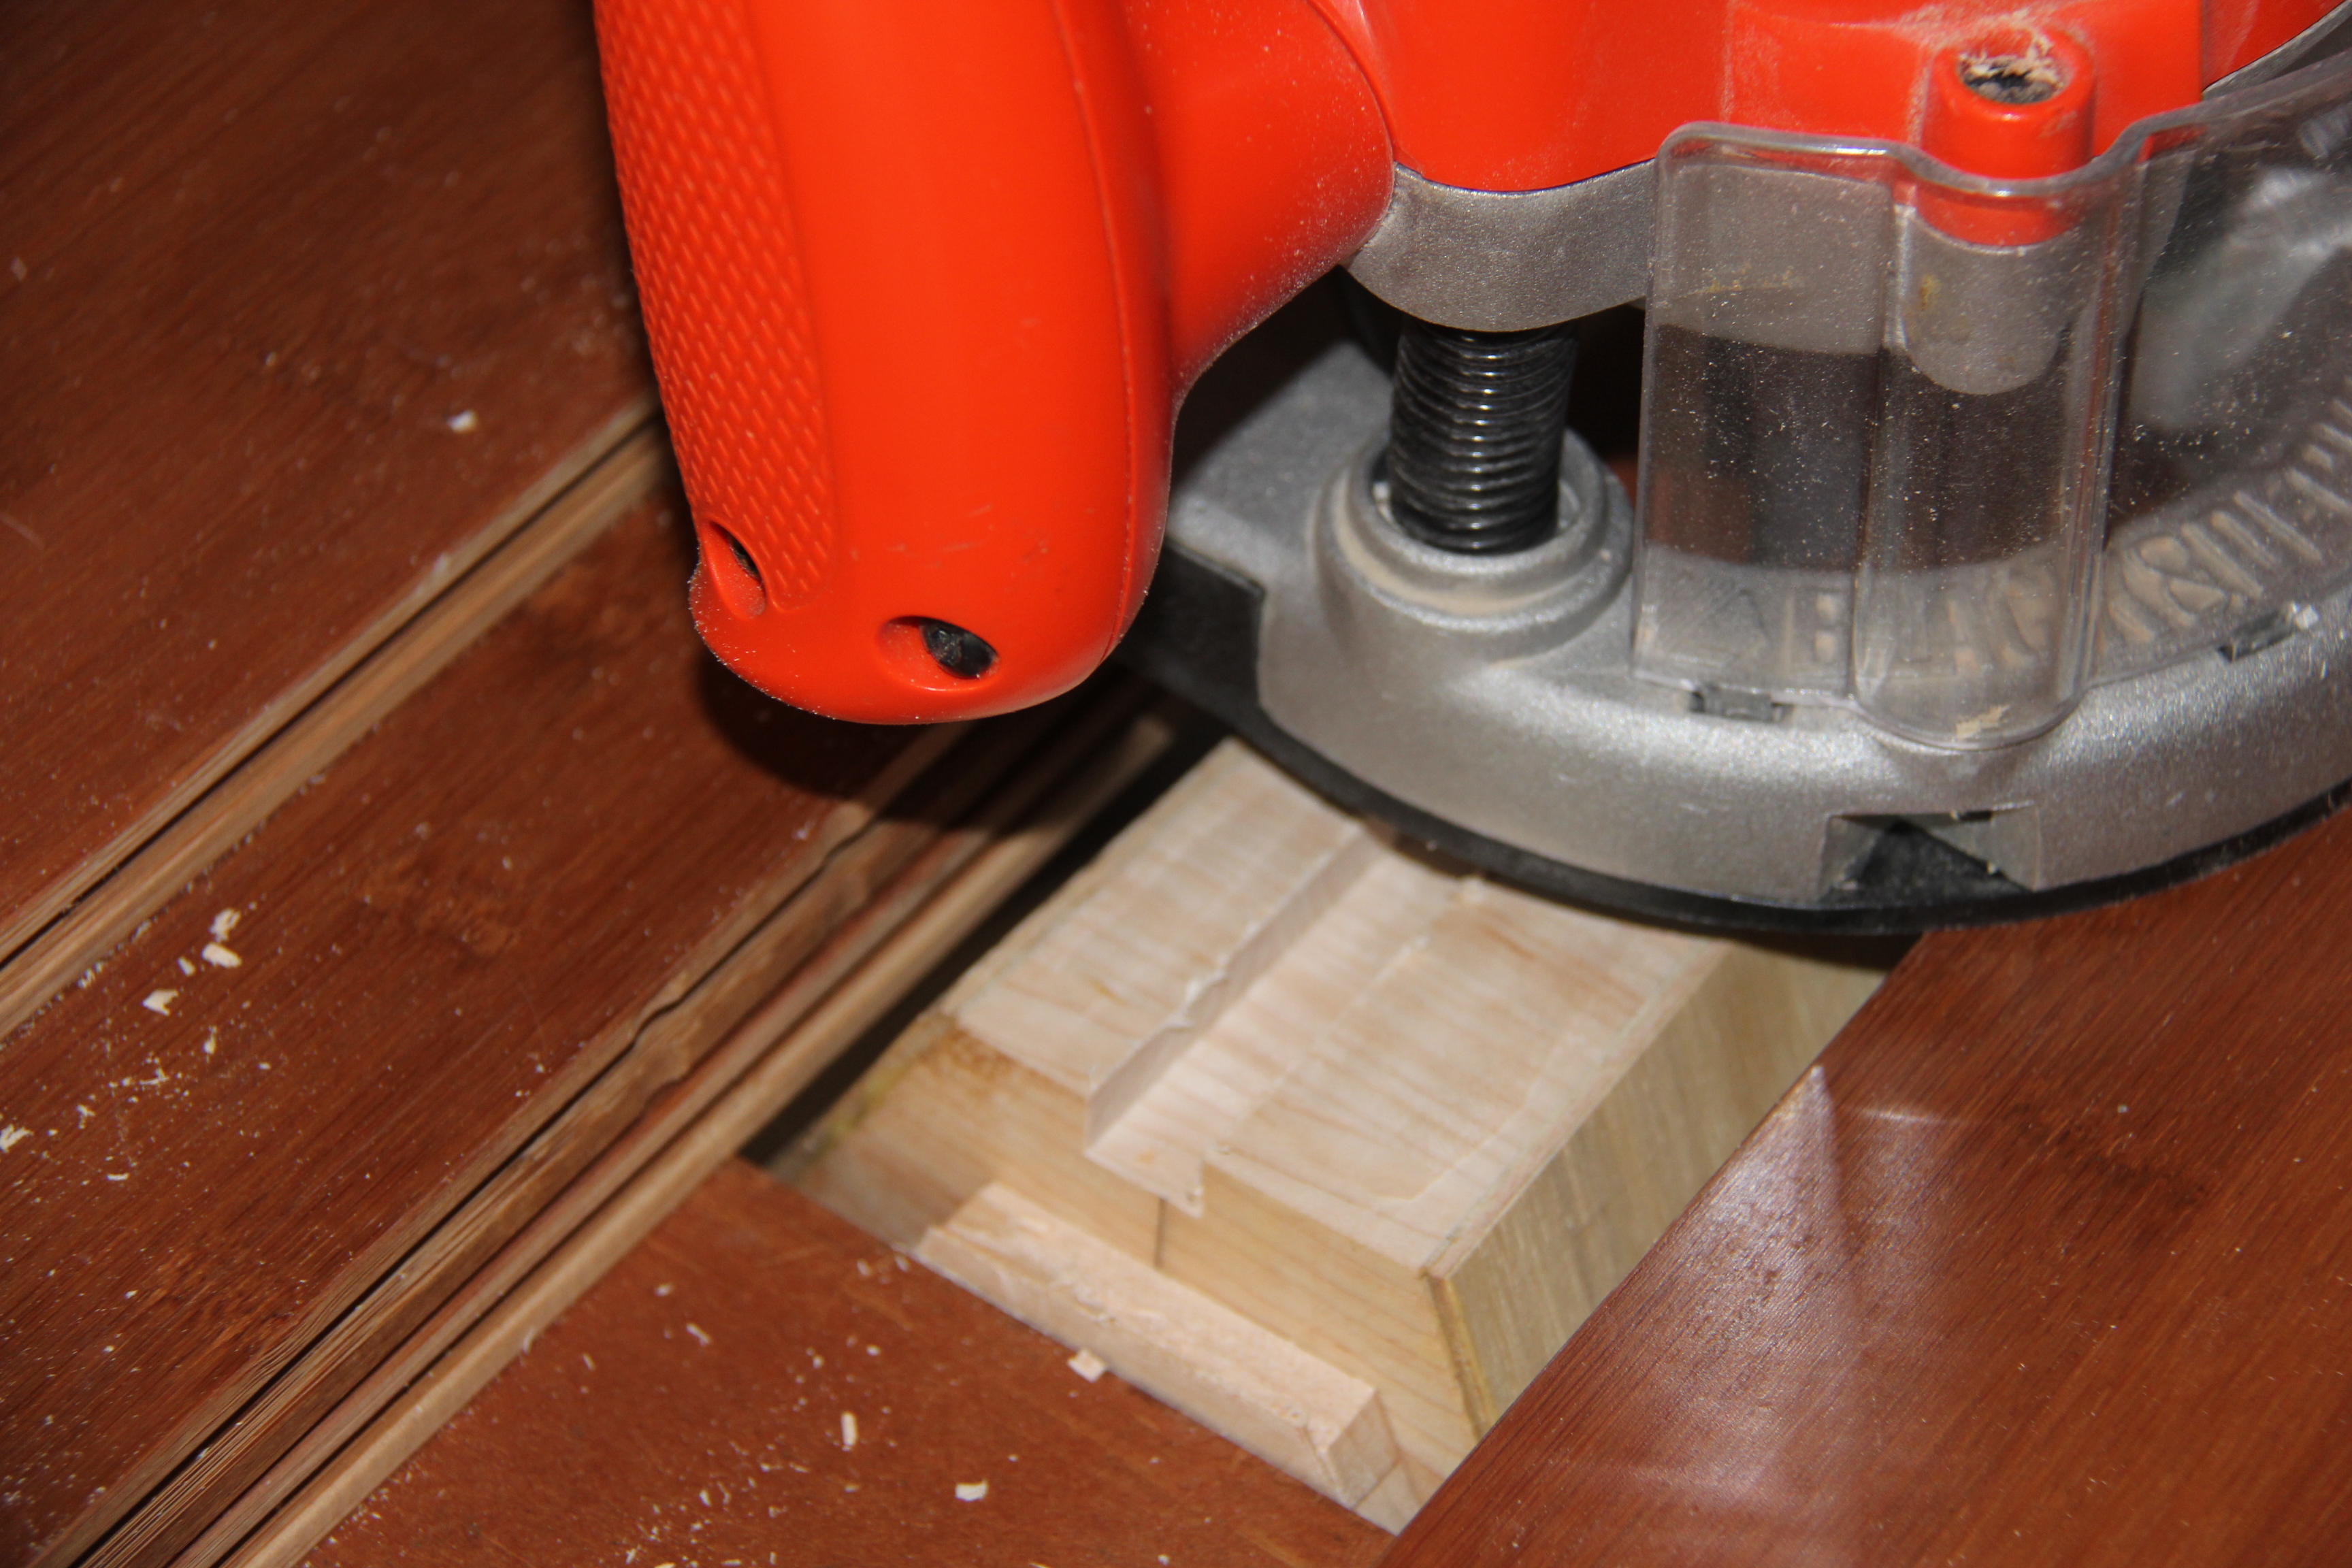
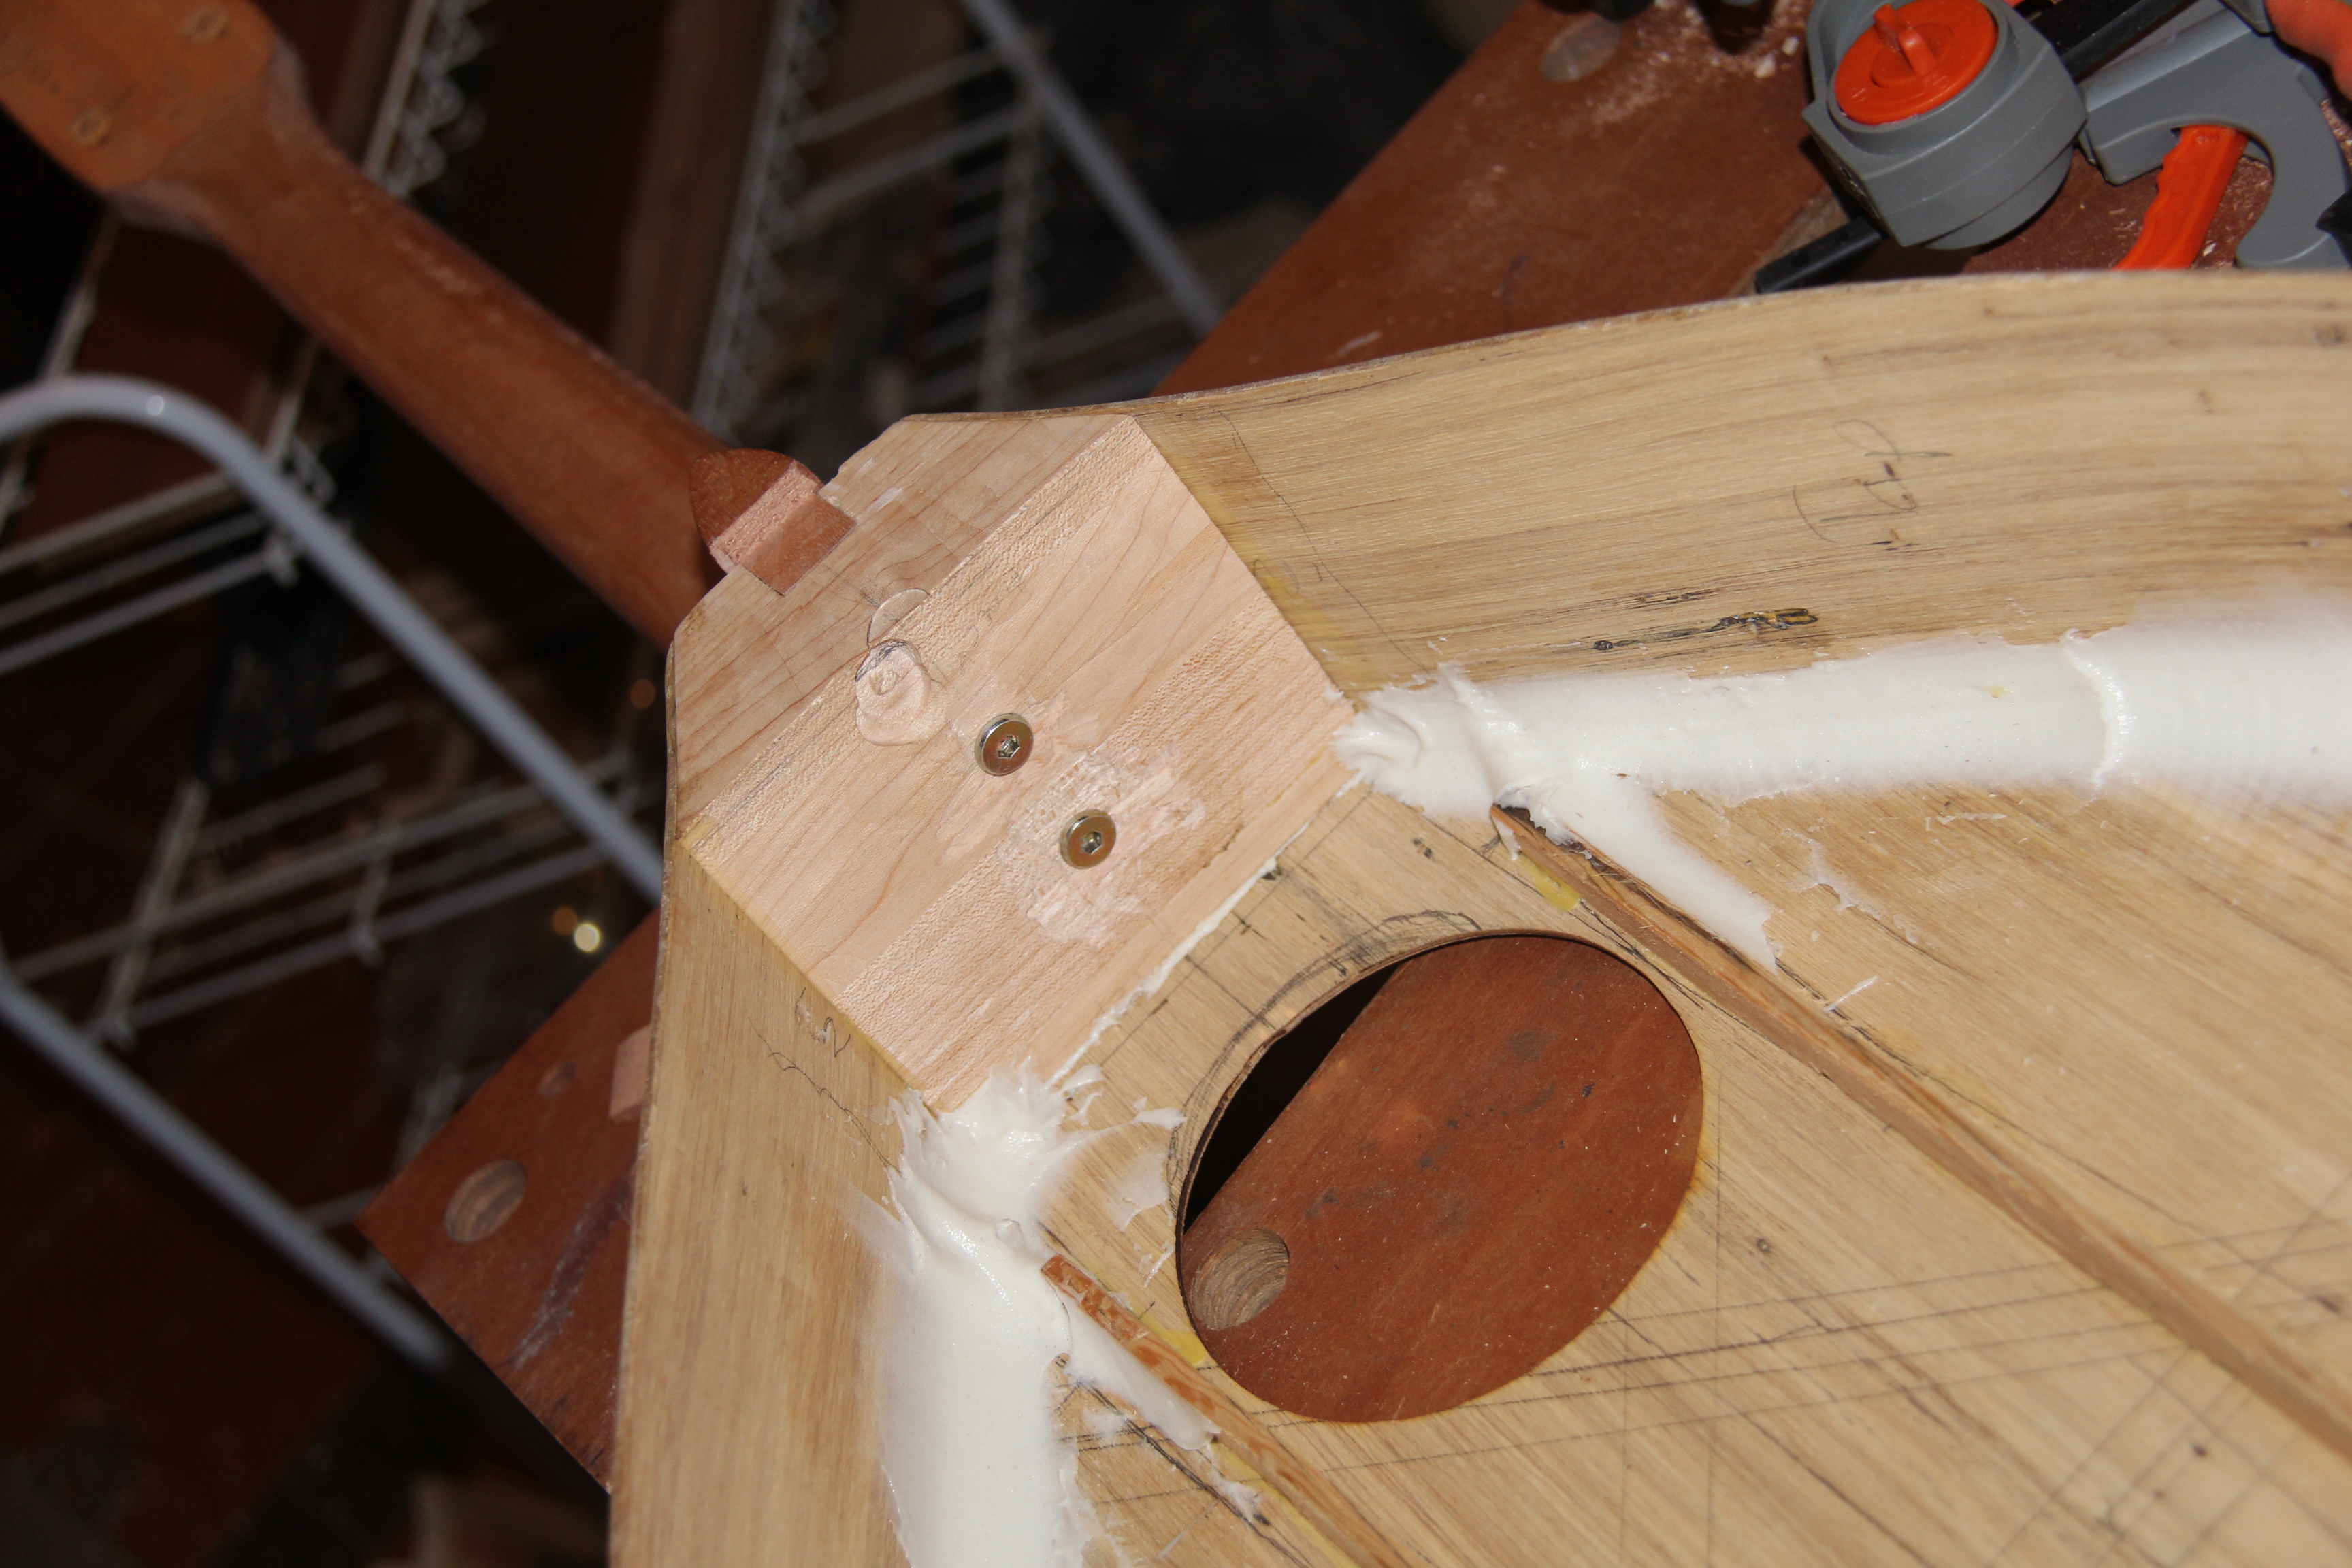
I found out I only need about 1.5 inches of tail block, this one is a bit much and I had to gouge it out a bit because my screws were too short. My new chisels are working great even though I have not yet sharpened them. It cut the heal (notch) very easy. The neck is fitted.
I have finally got some veneer. I had to buy 6 feet by 6 inches to get the 6 inch by 3 inch piece I really needed. Someone got me some more clamps for my birthday and so I was able to try them out gluing it on.
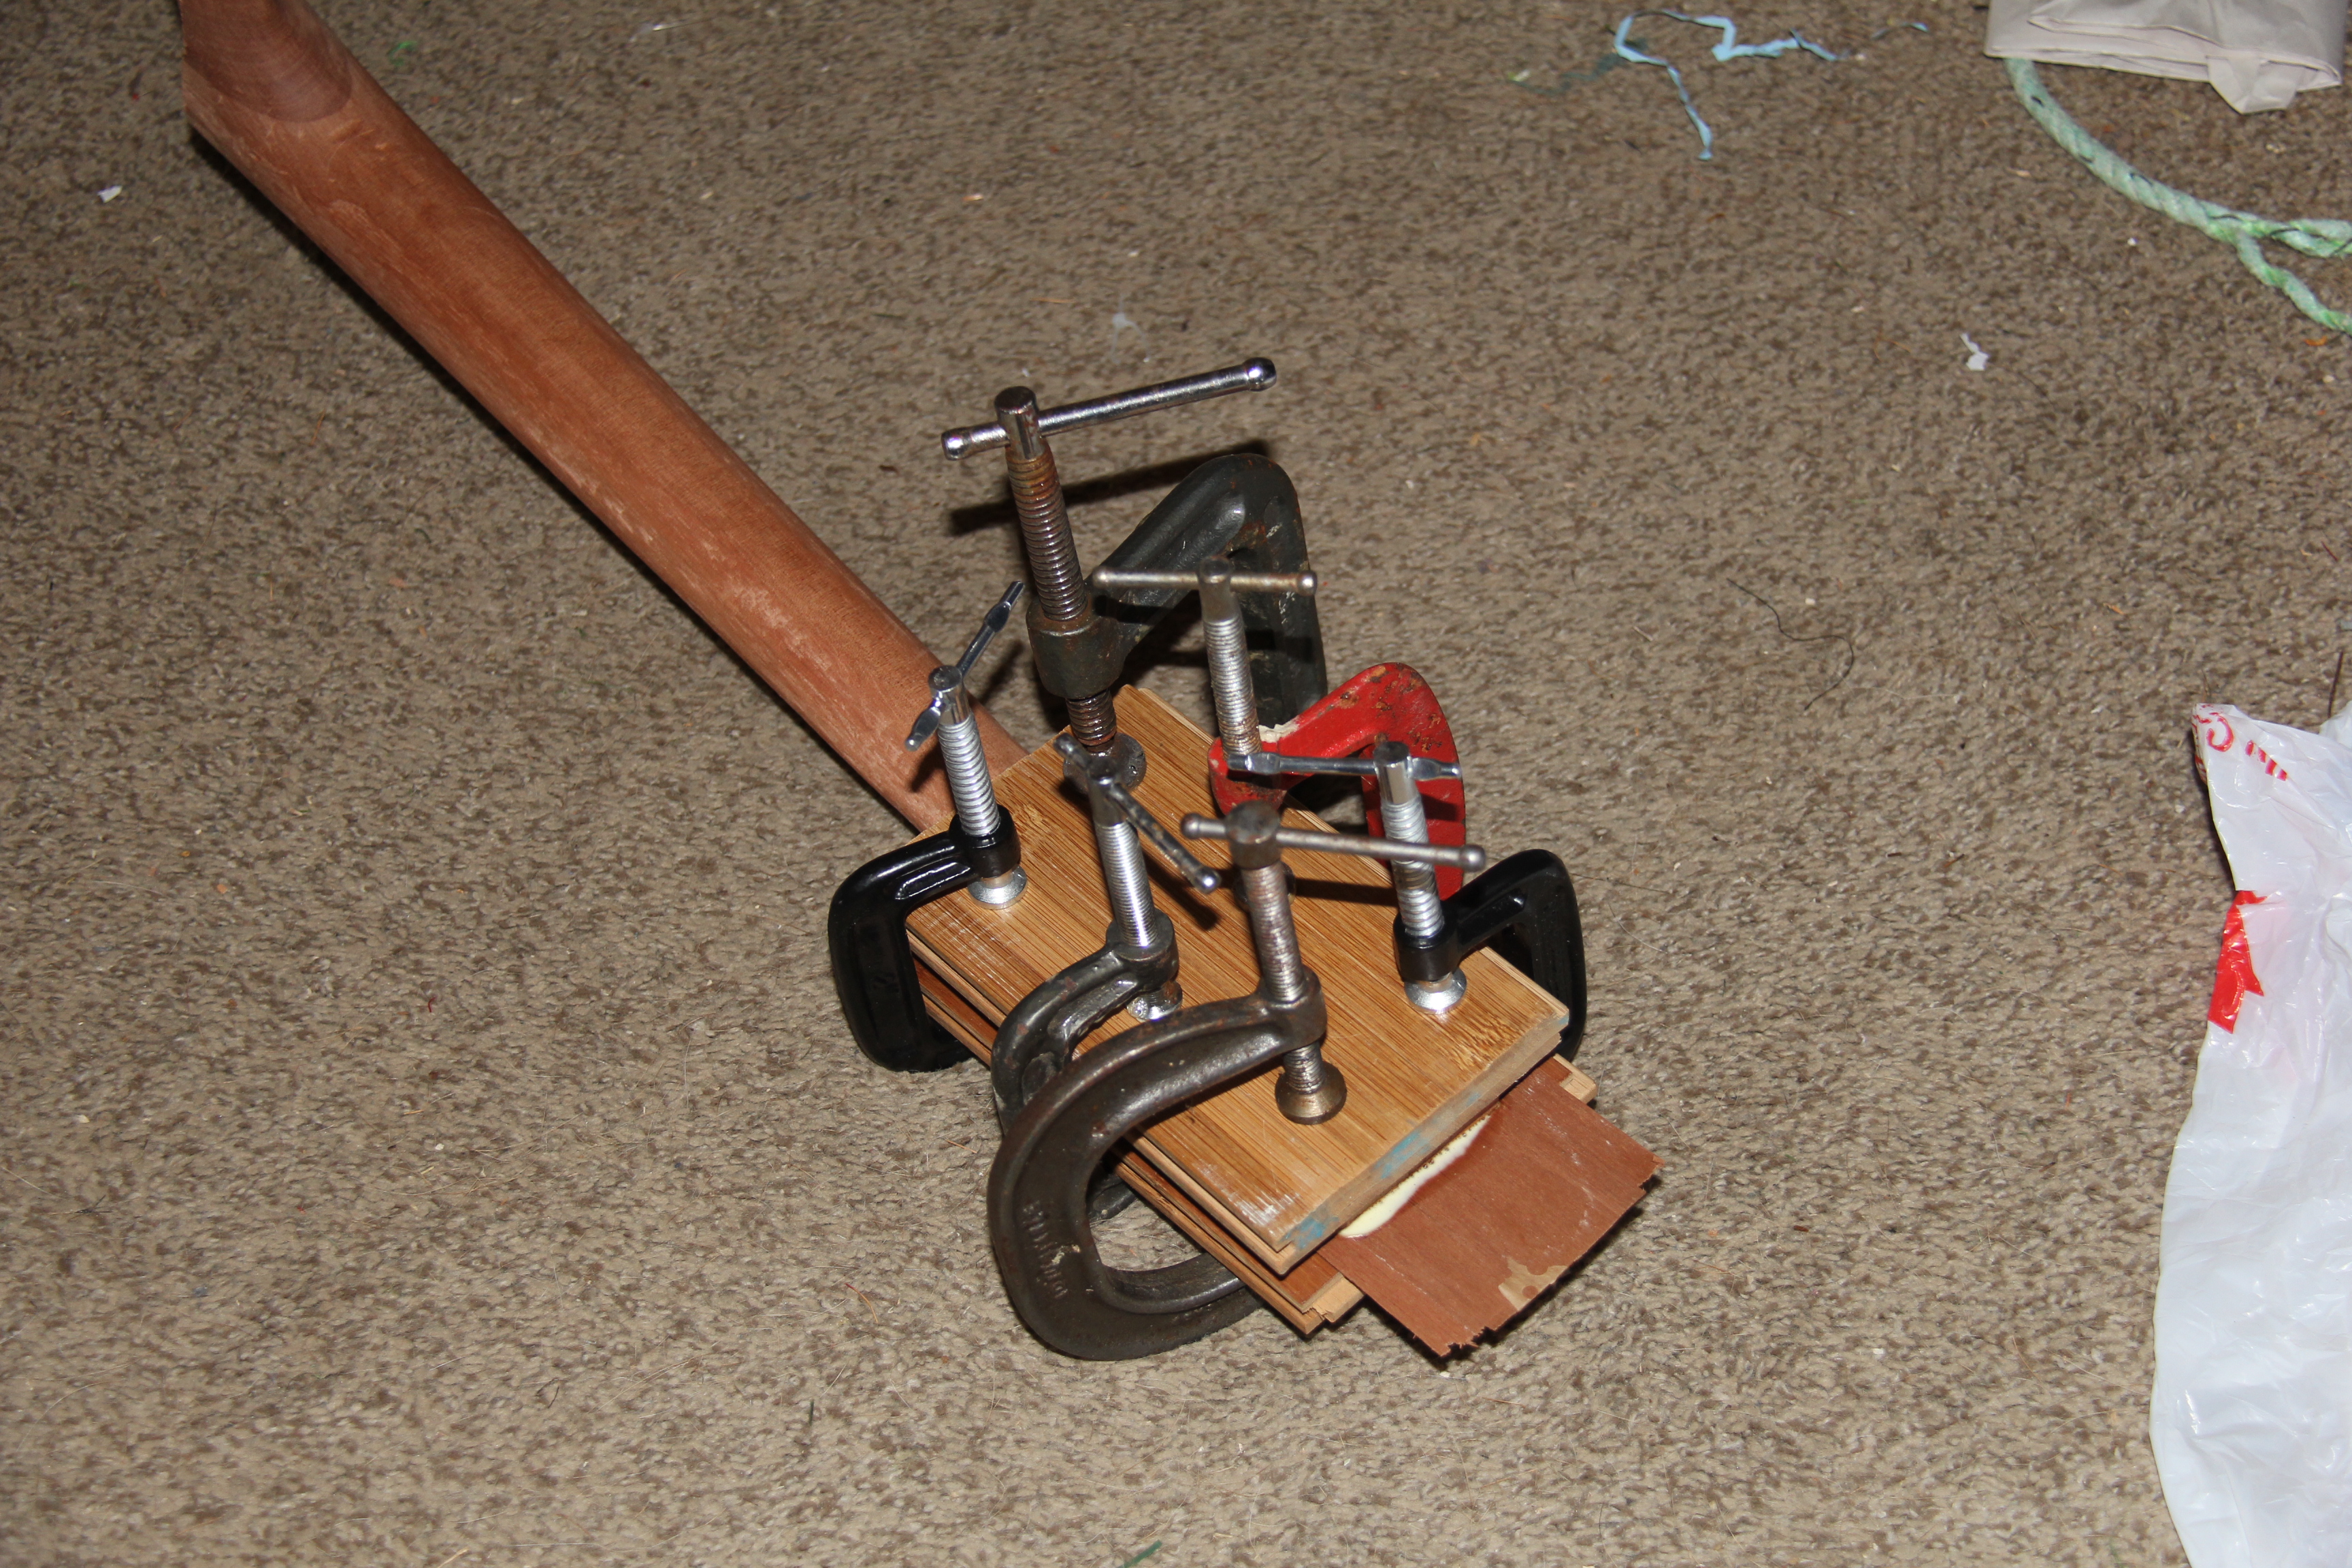
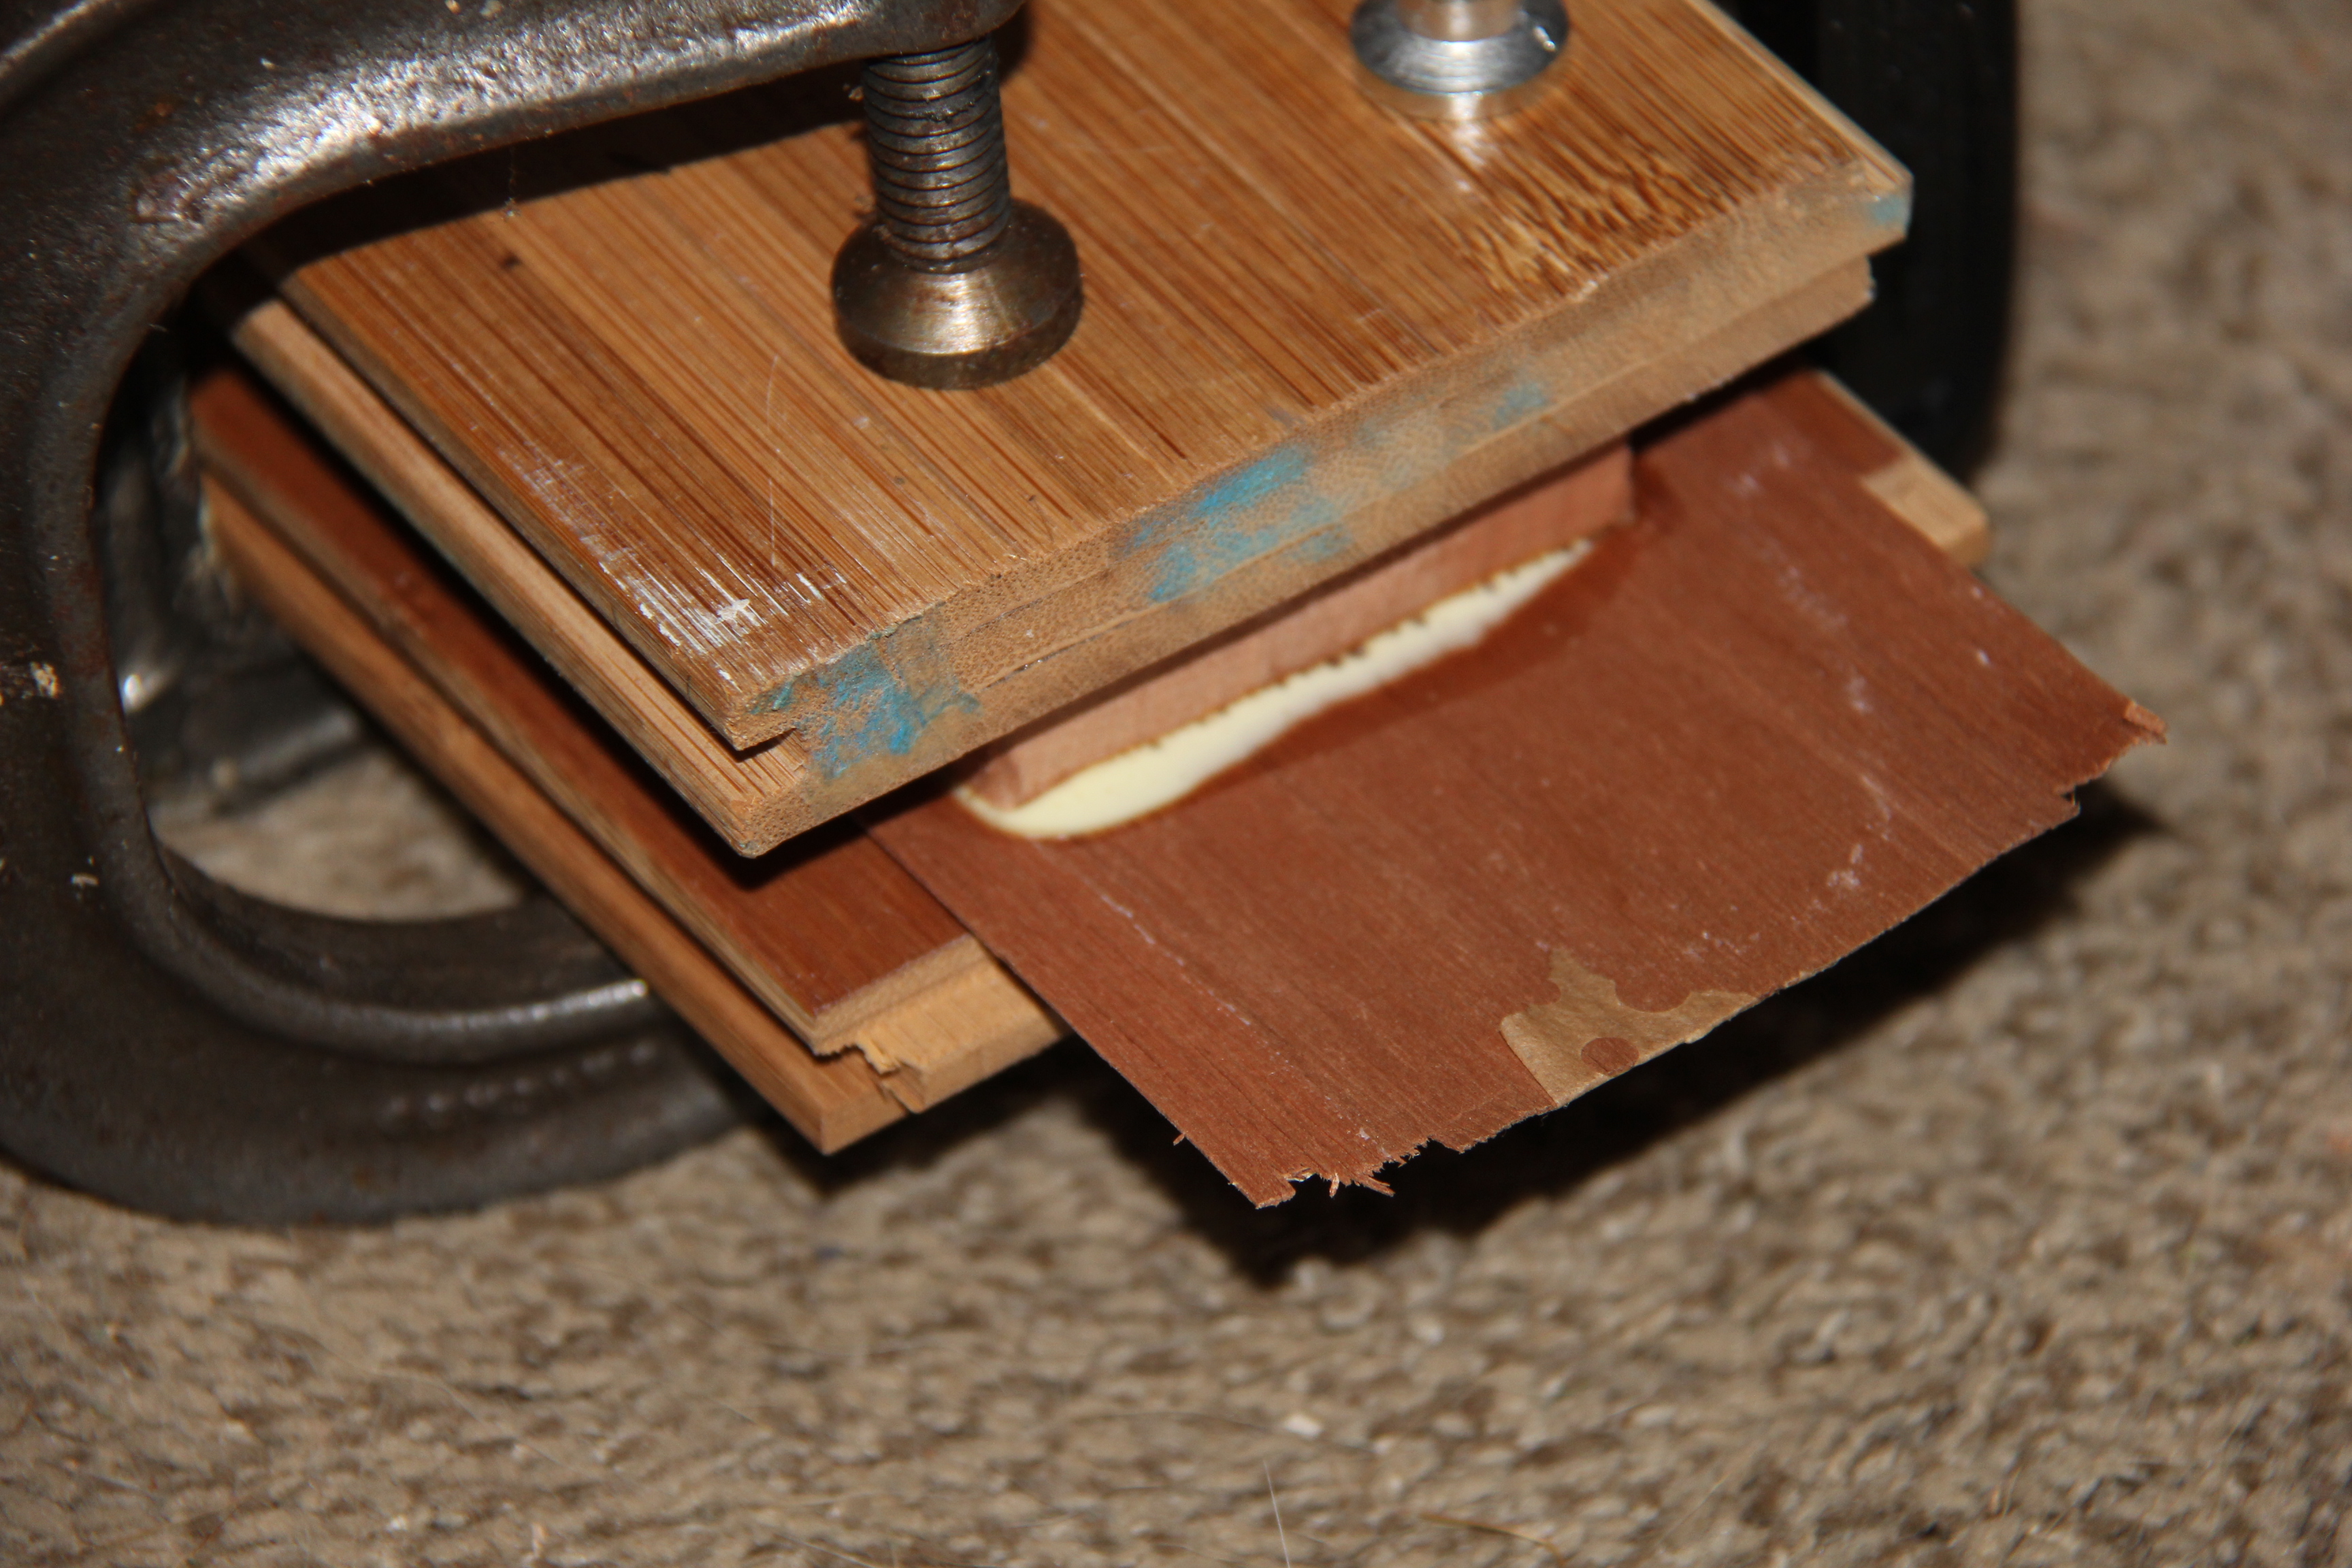
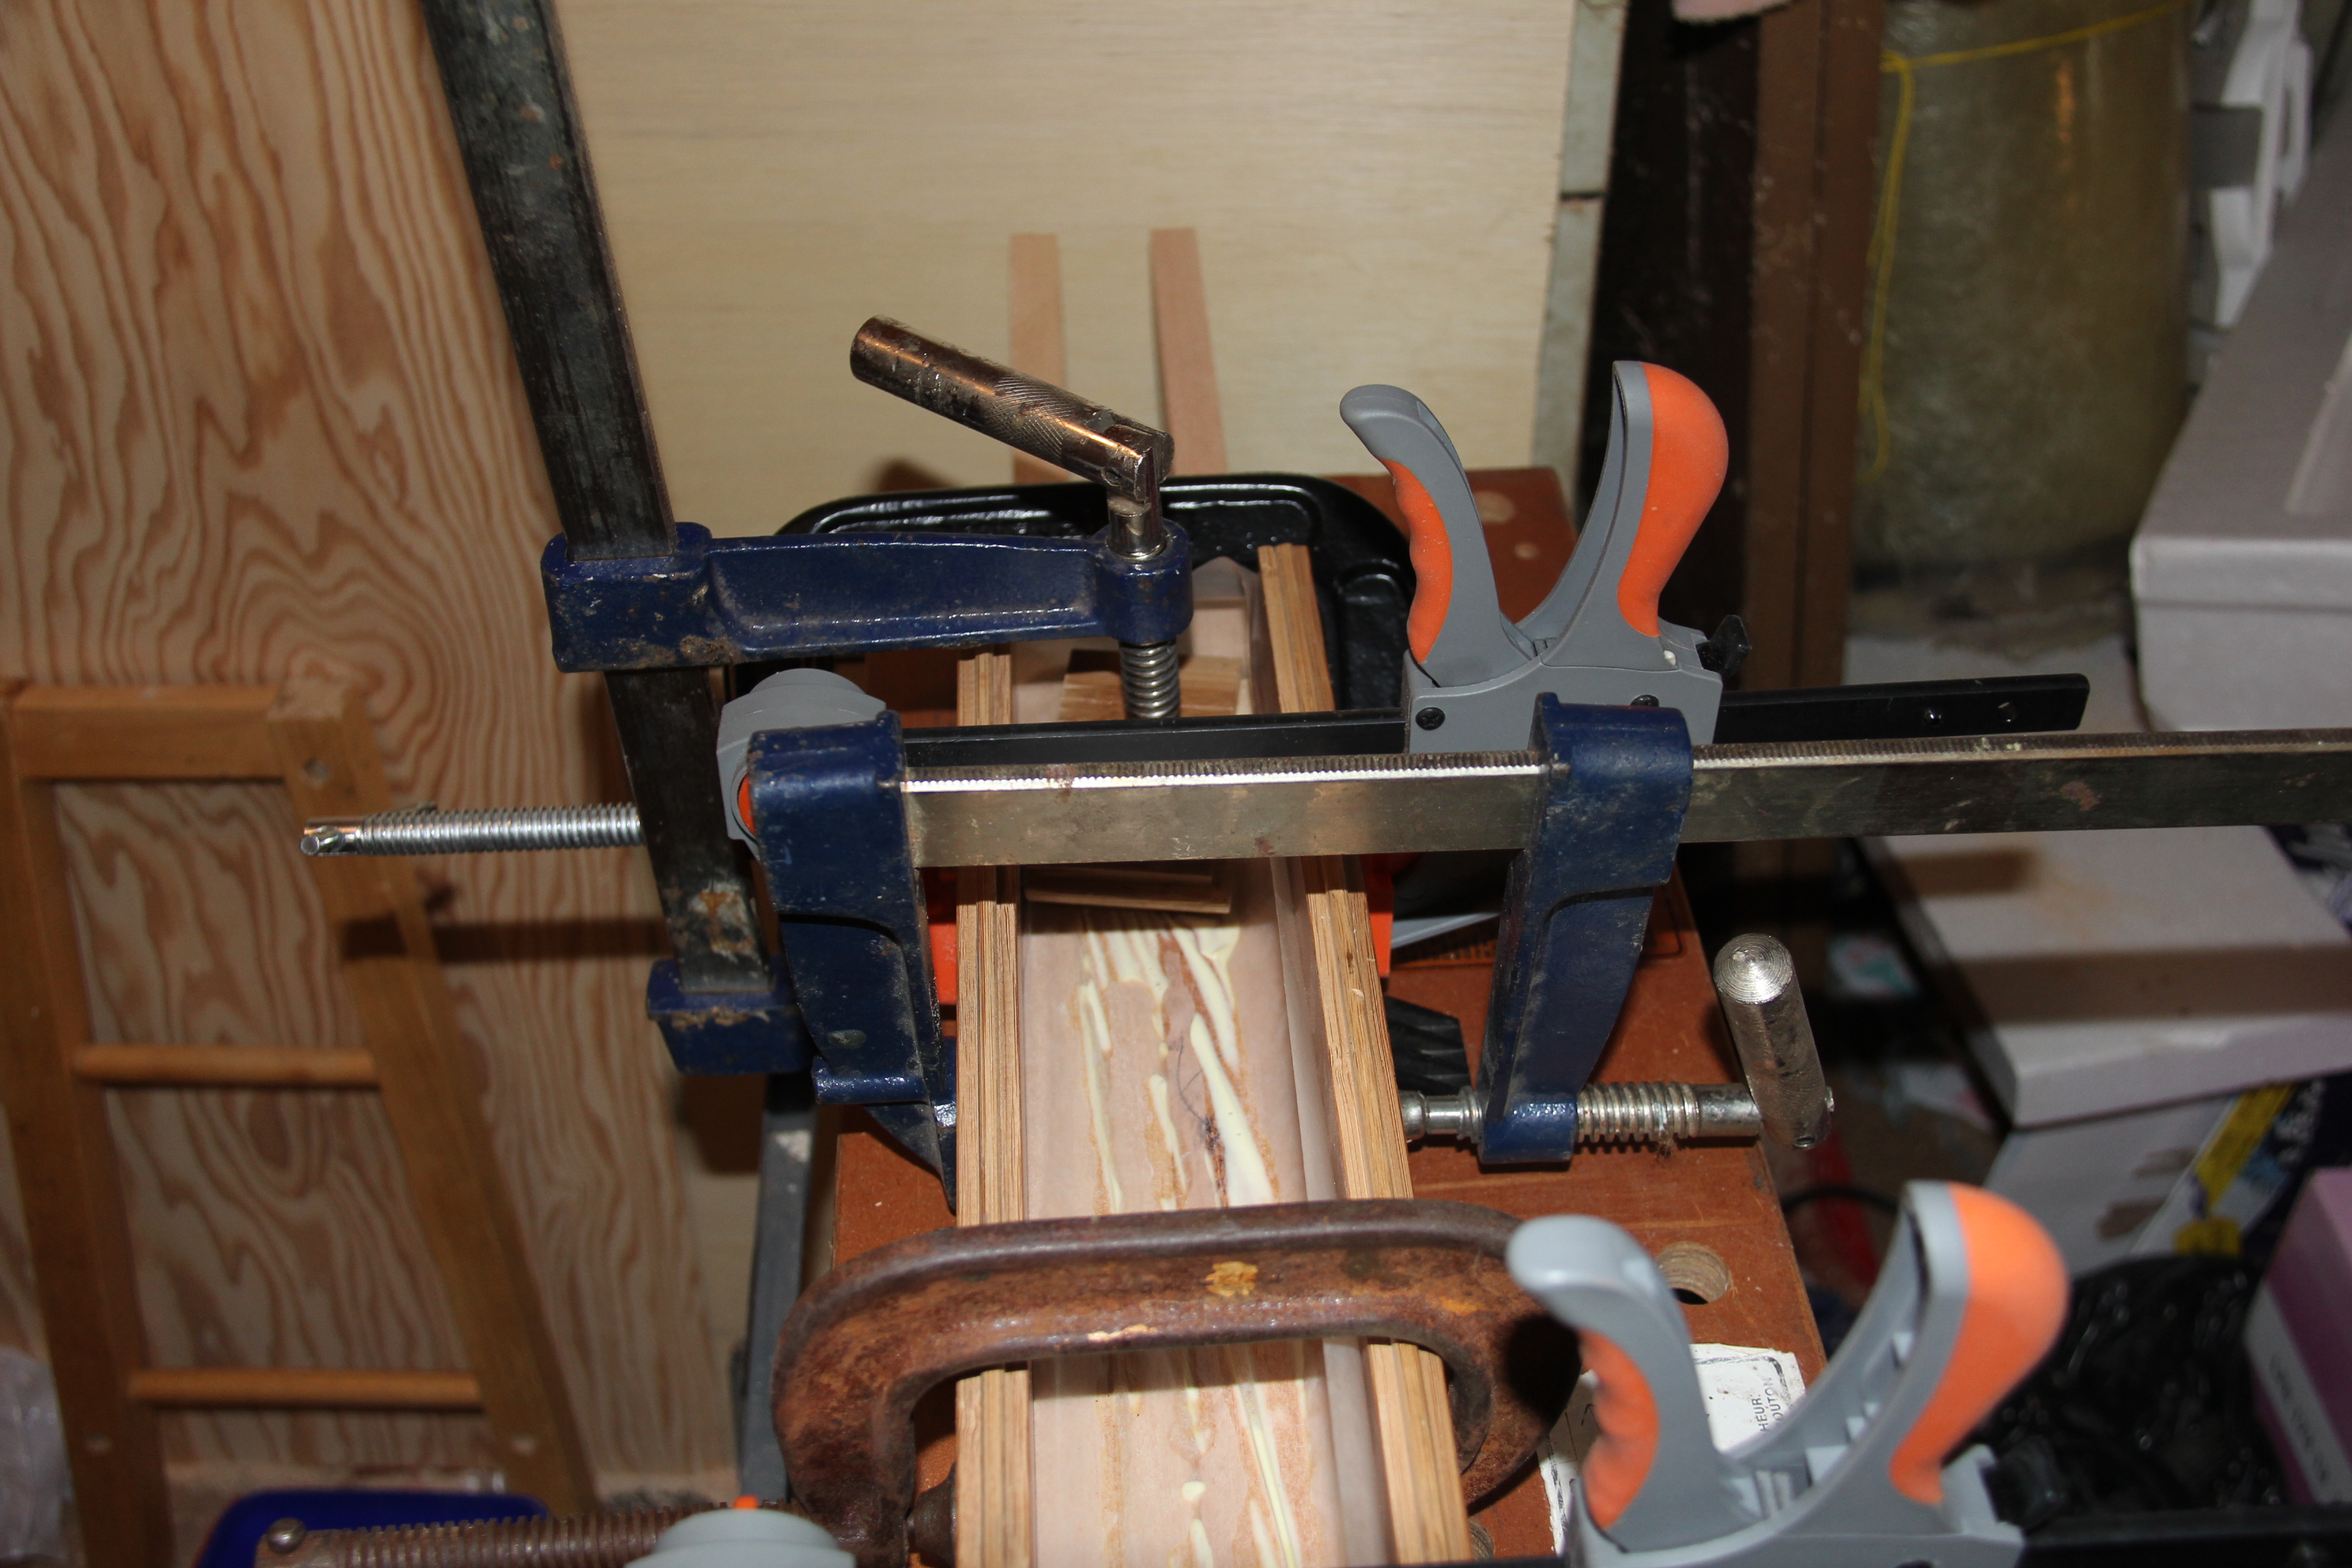
Some more clamping...
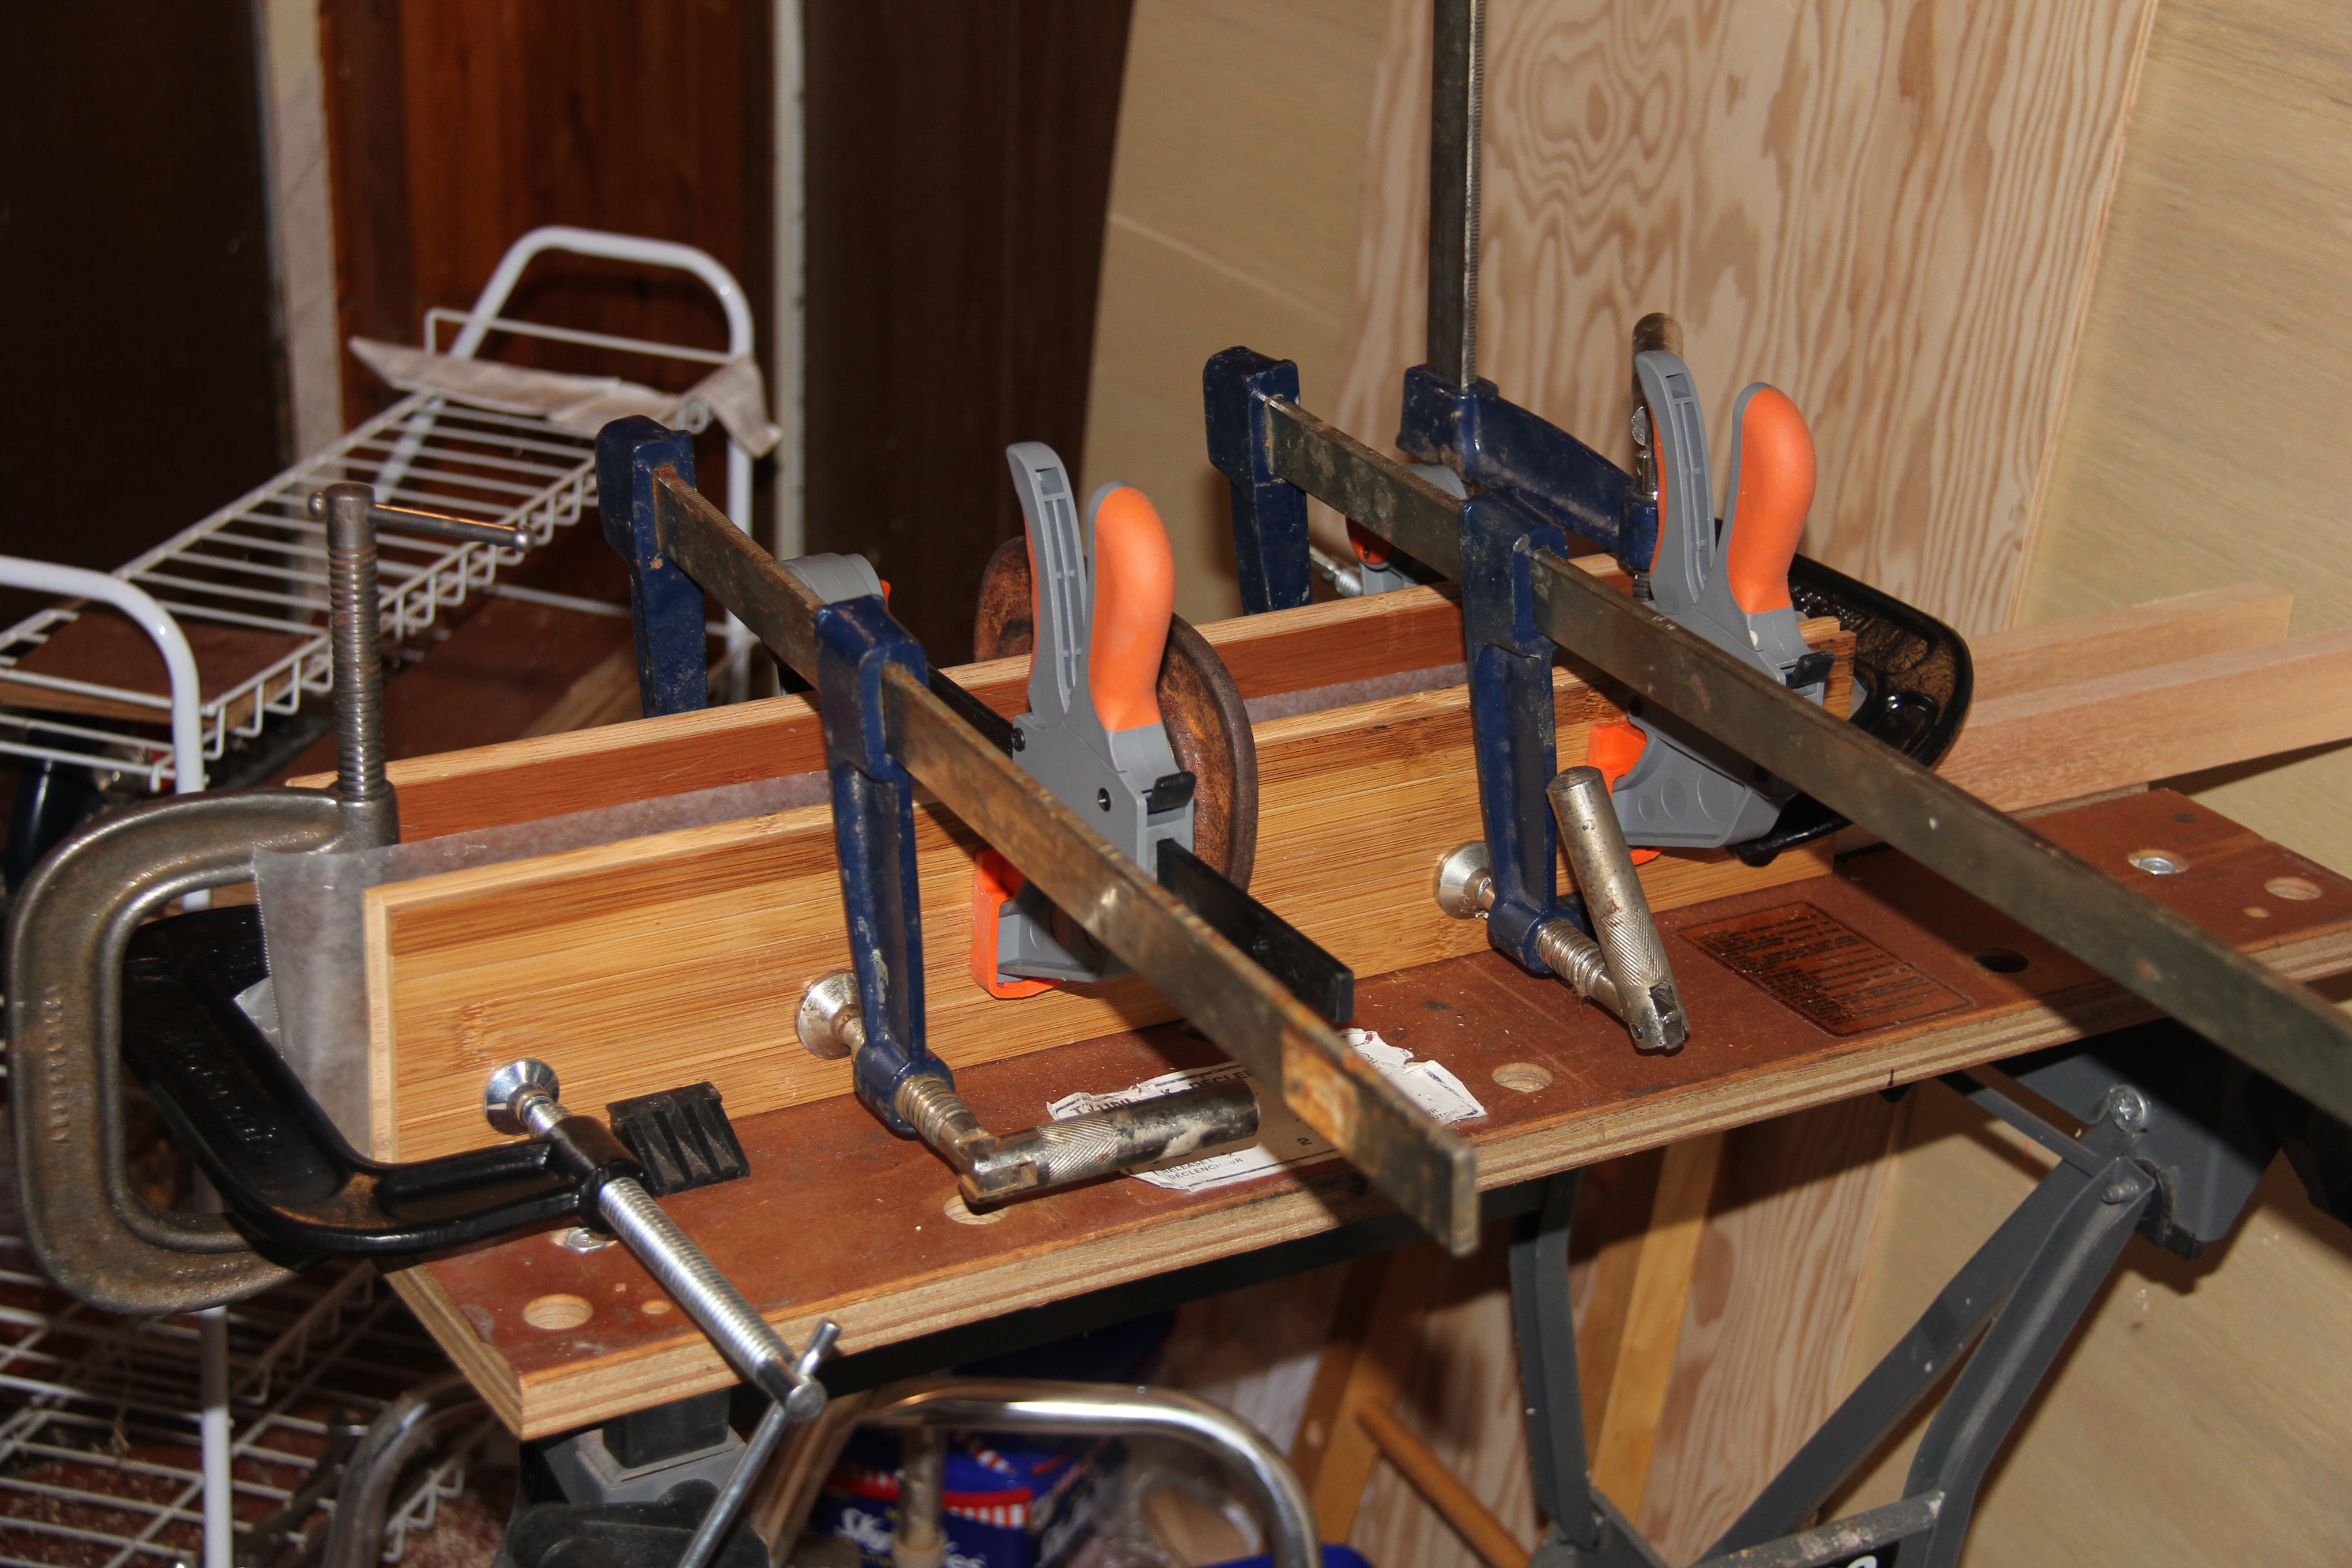
Hey, wait a minute. That doesn't look like it has anything to do with this project... True, take a look here to see what it is. I have found that often there are steps that take a while to dry and so this is for in between while waiting.
Previous page of the Mandocello build - Next page of the Mandocello build - Index of the Mandocello build