2017-04-22
Previous page of the Mandocello build - Next page of the Mandocello build - Index of the Mandocello buildMore assembly. The neck block is cut to final size, the two sides have their bend relaxed to fit the shape of the neck block...
I tested out my tuner/preamp to see how well it worked... before making holes in the instrument to mount it :) I wired in the pickup I am using on the mandolin I play now. It certainly sounds better than plugging the mandolin directly into my mixer and seems similar to the sound of our fishman amplifier.
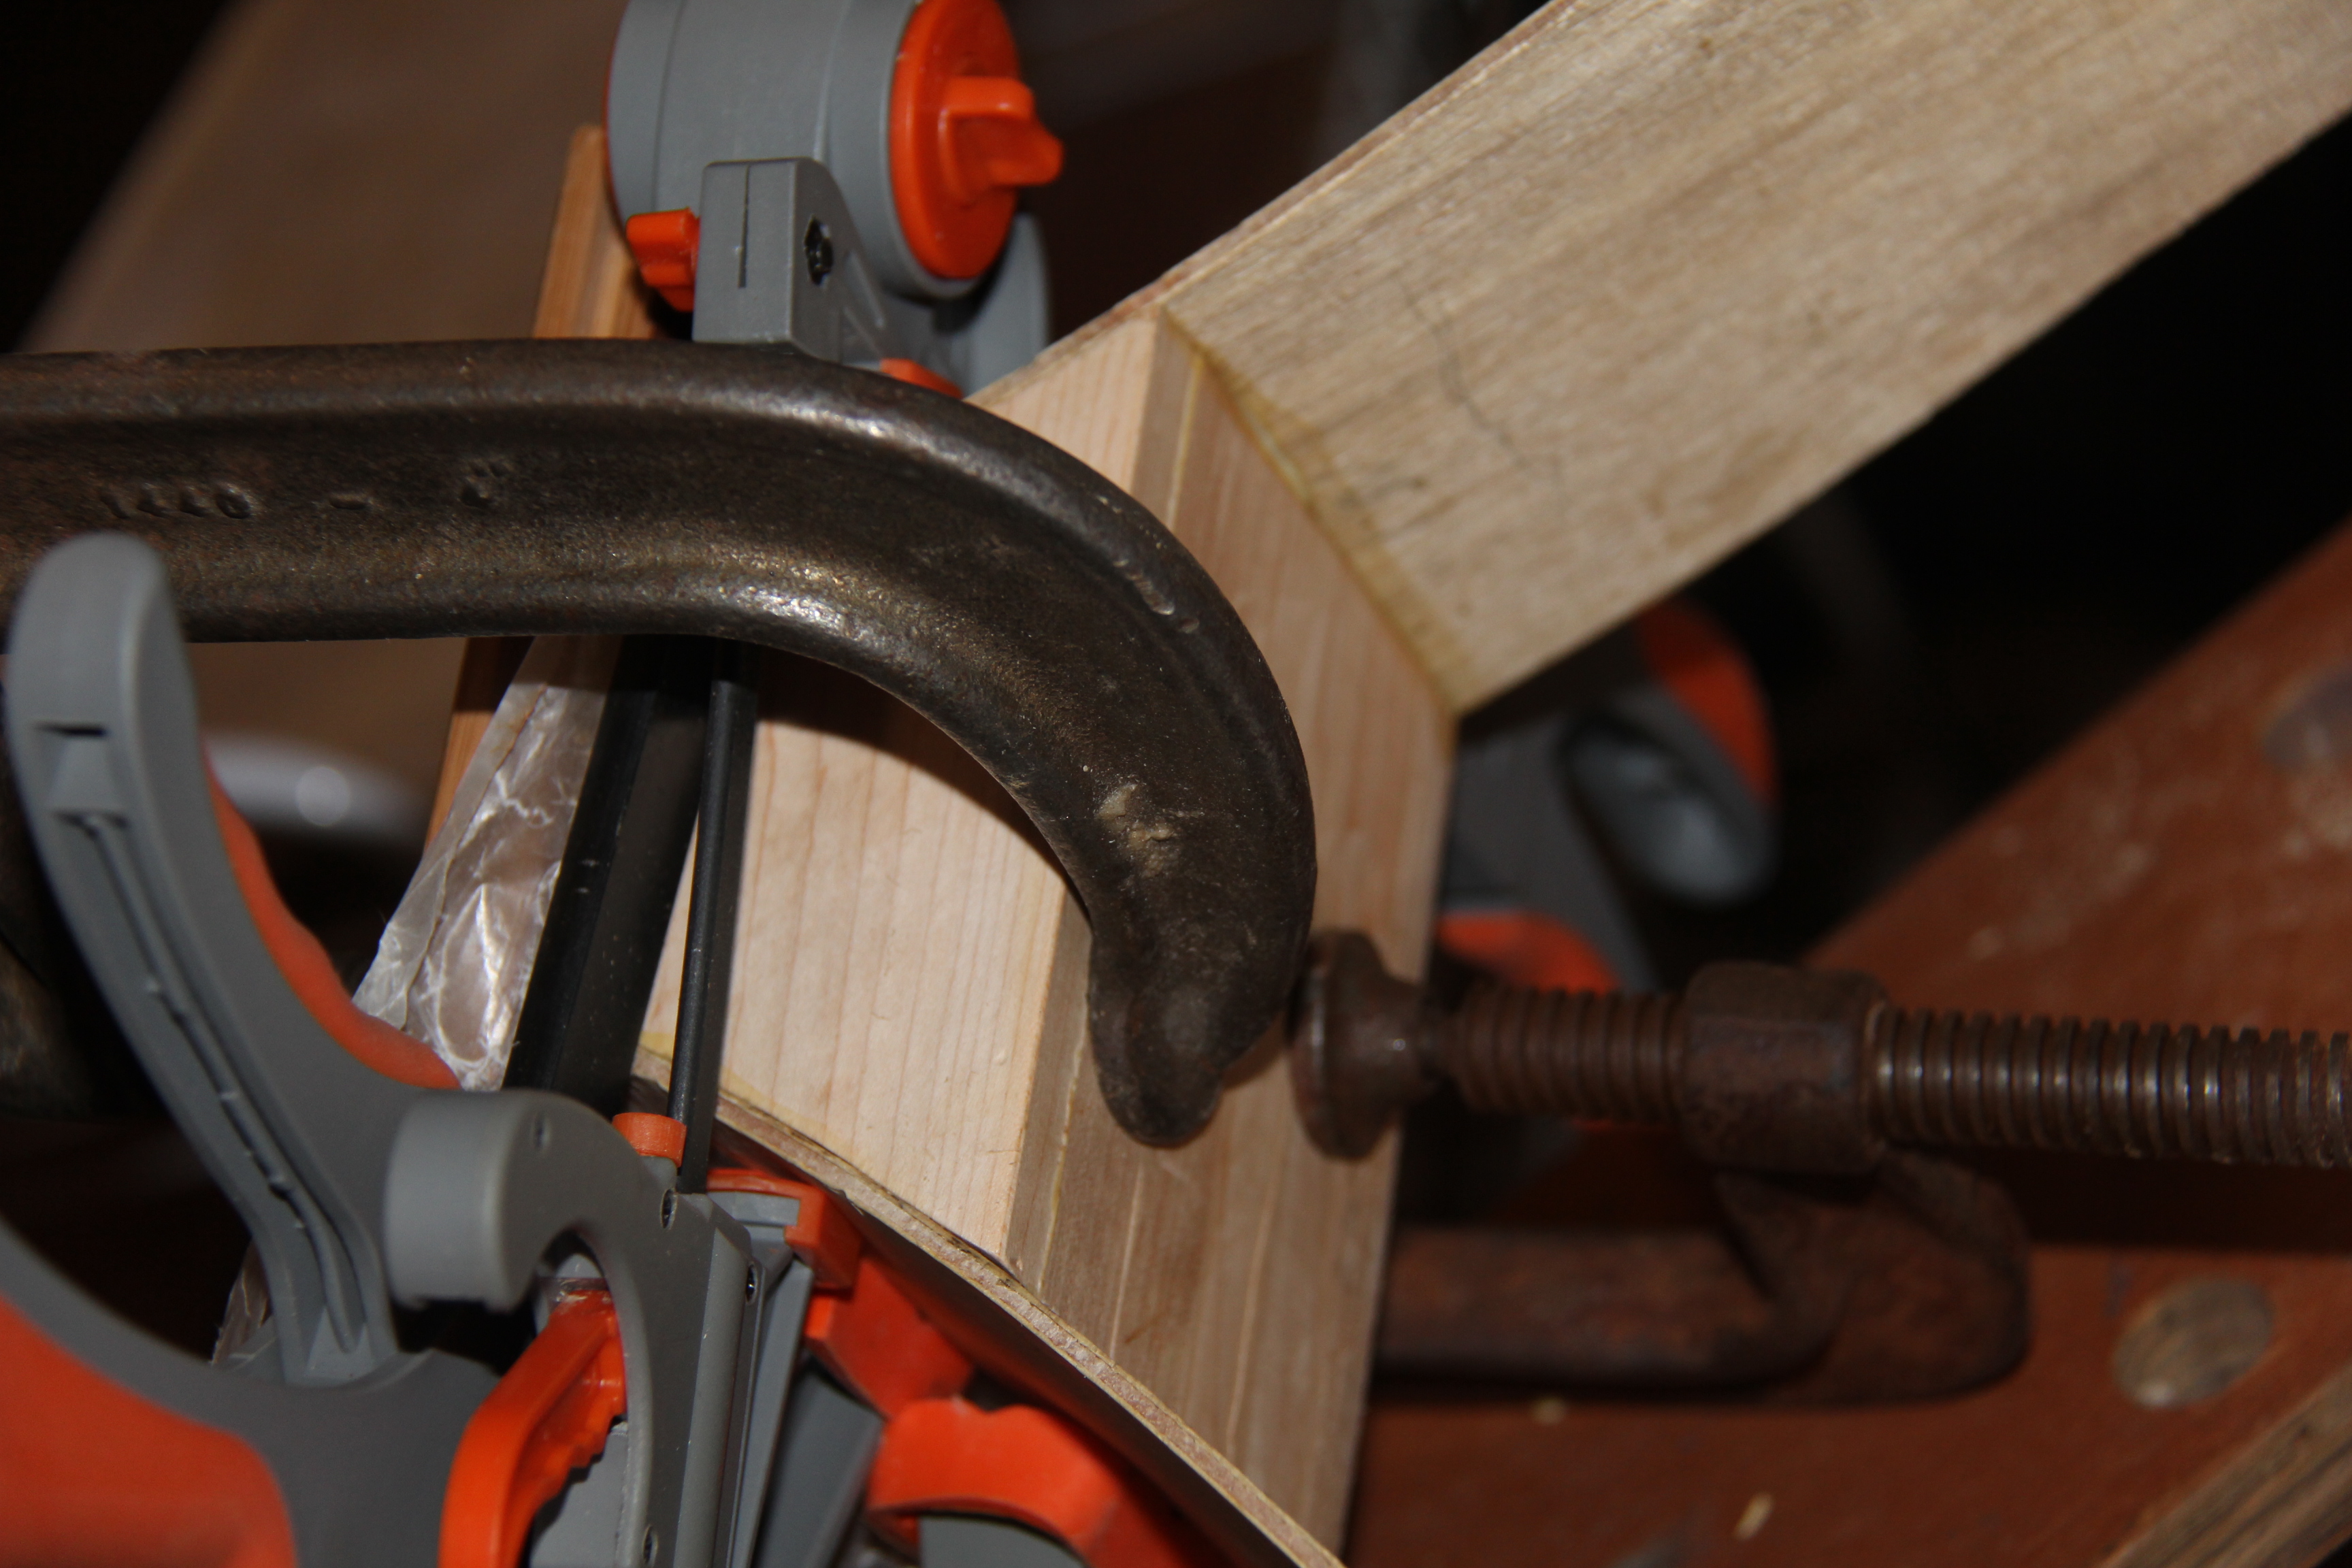
I am posting this a bit early because I am excited about the point I have got to and my future direction. So first I have glued in the neck block.
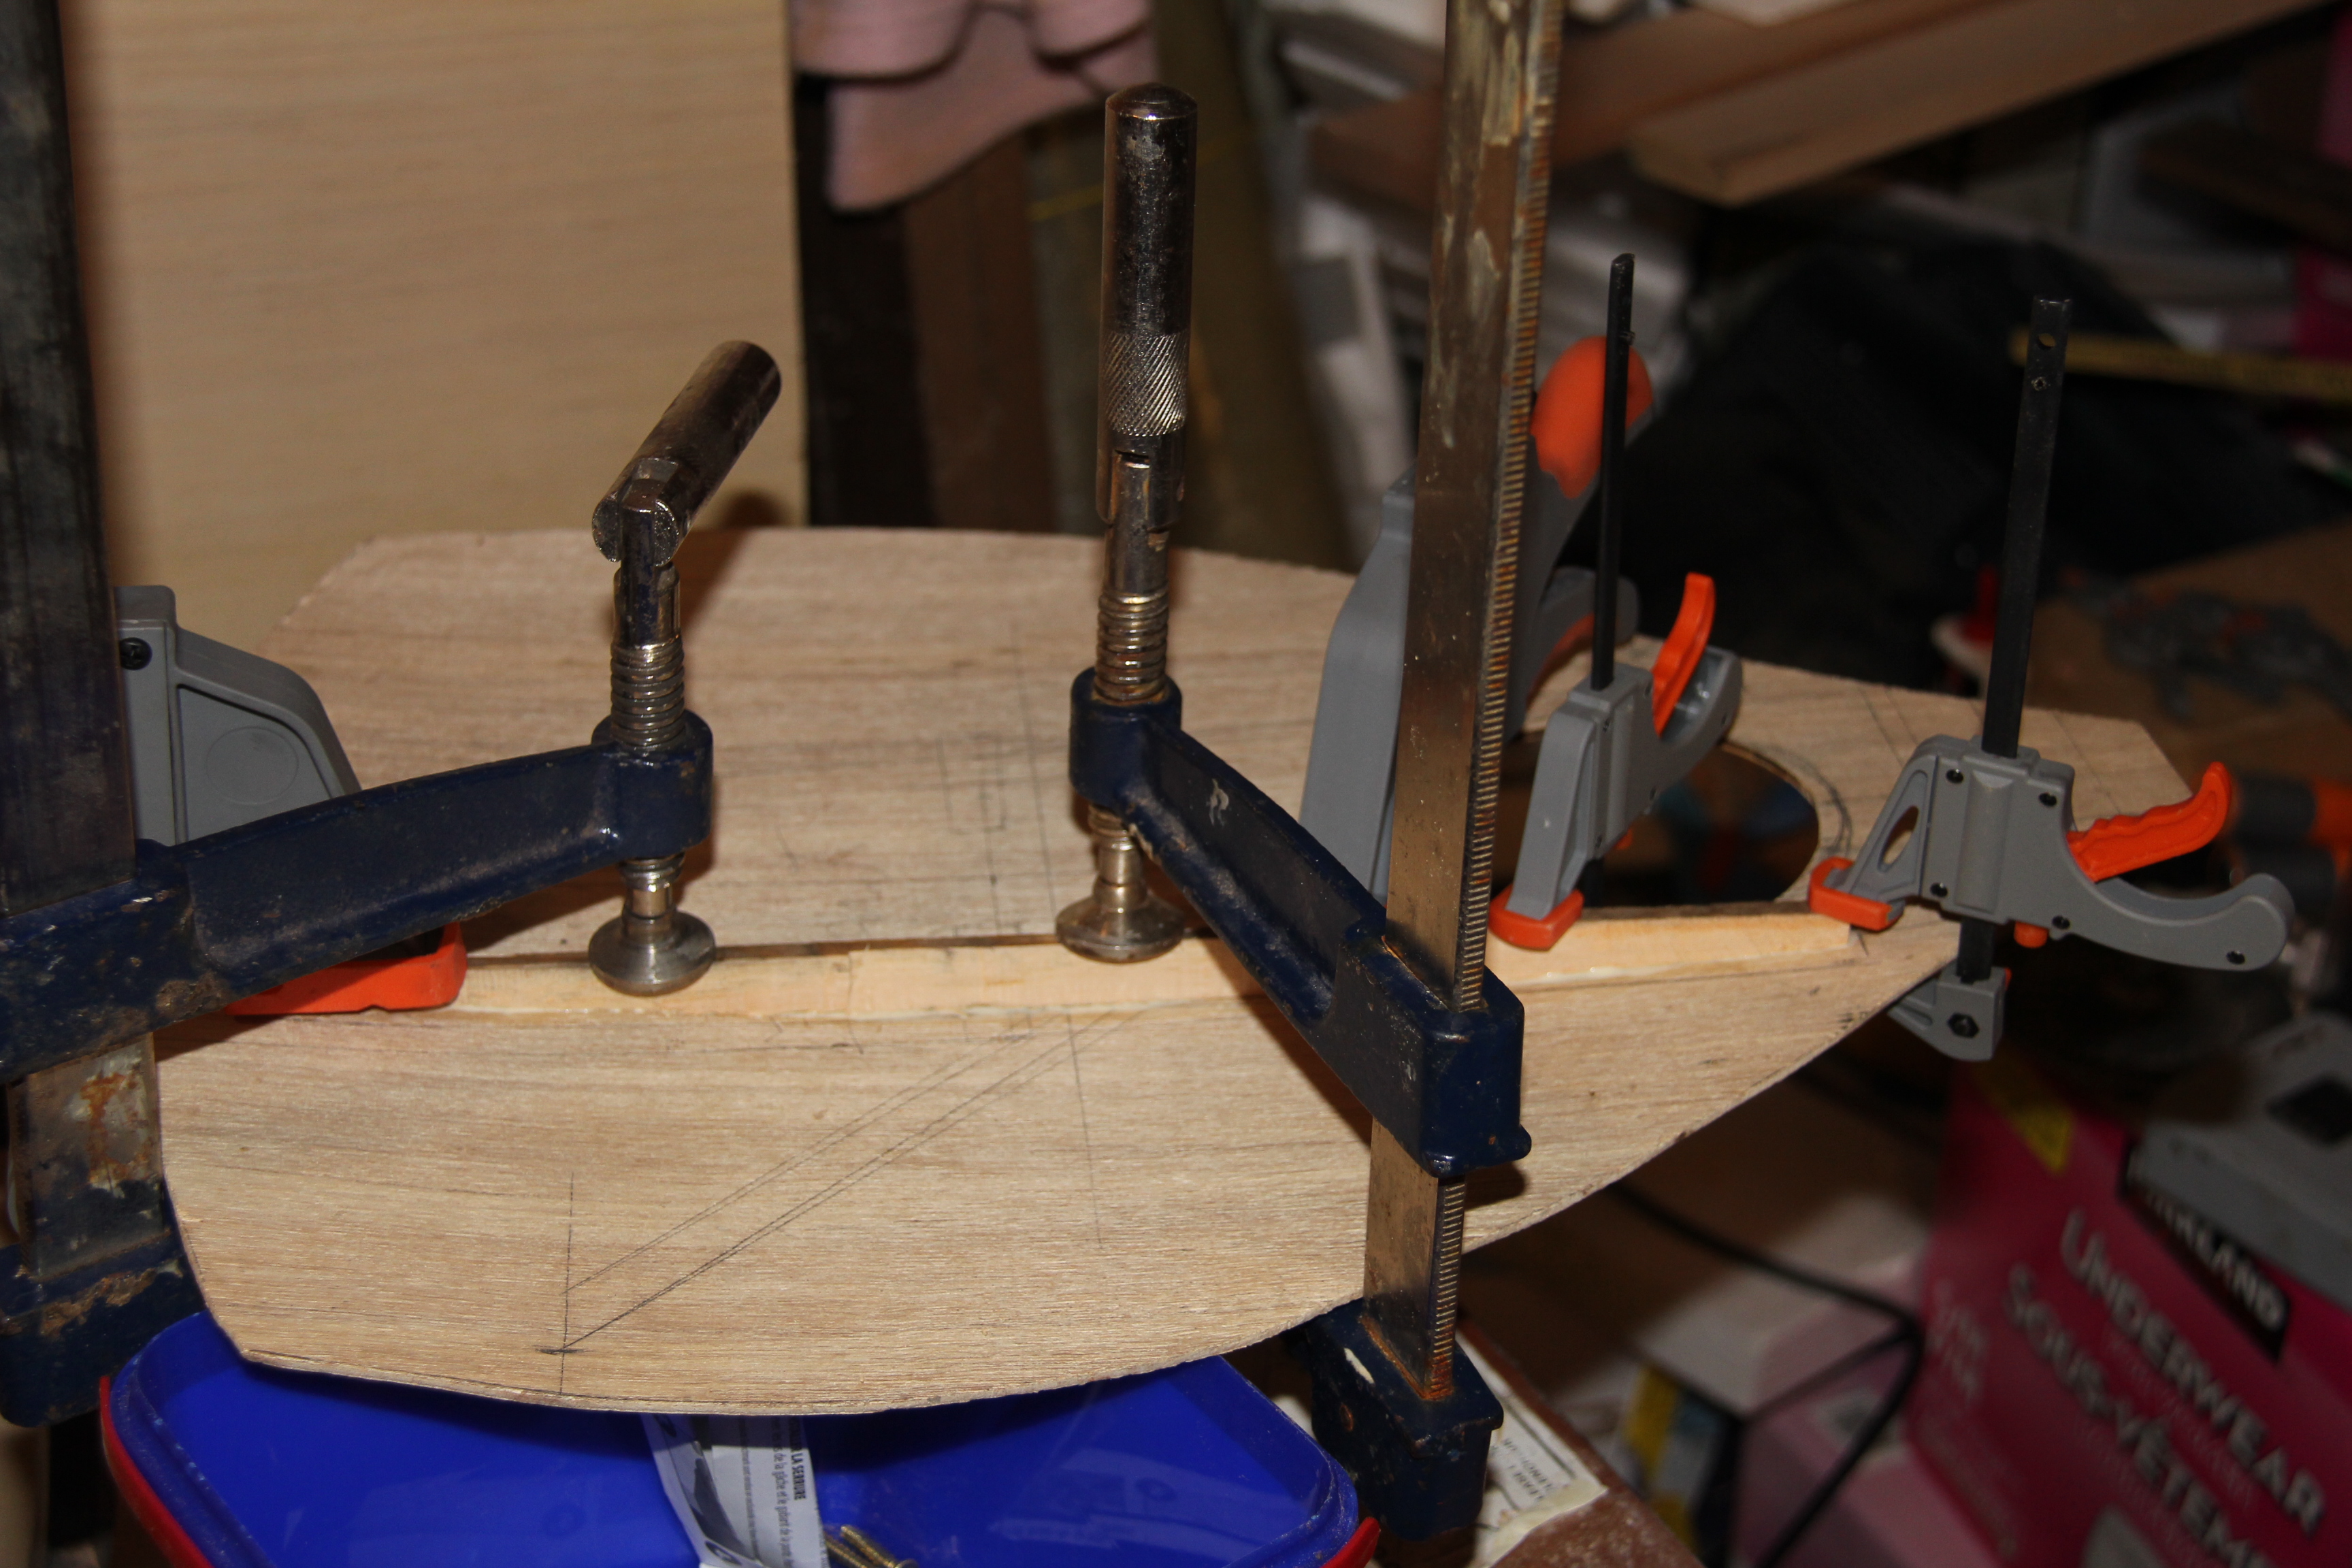
Then I glued in the front braces. I will be attaching the front first, as seems traditional... but not much else is traditional :)
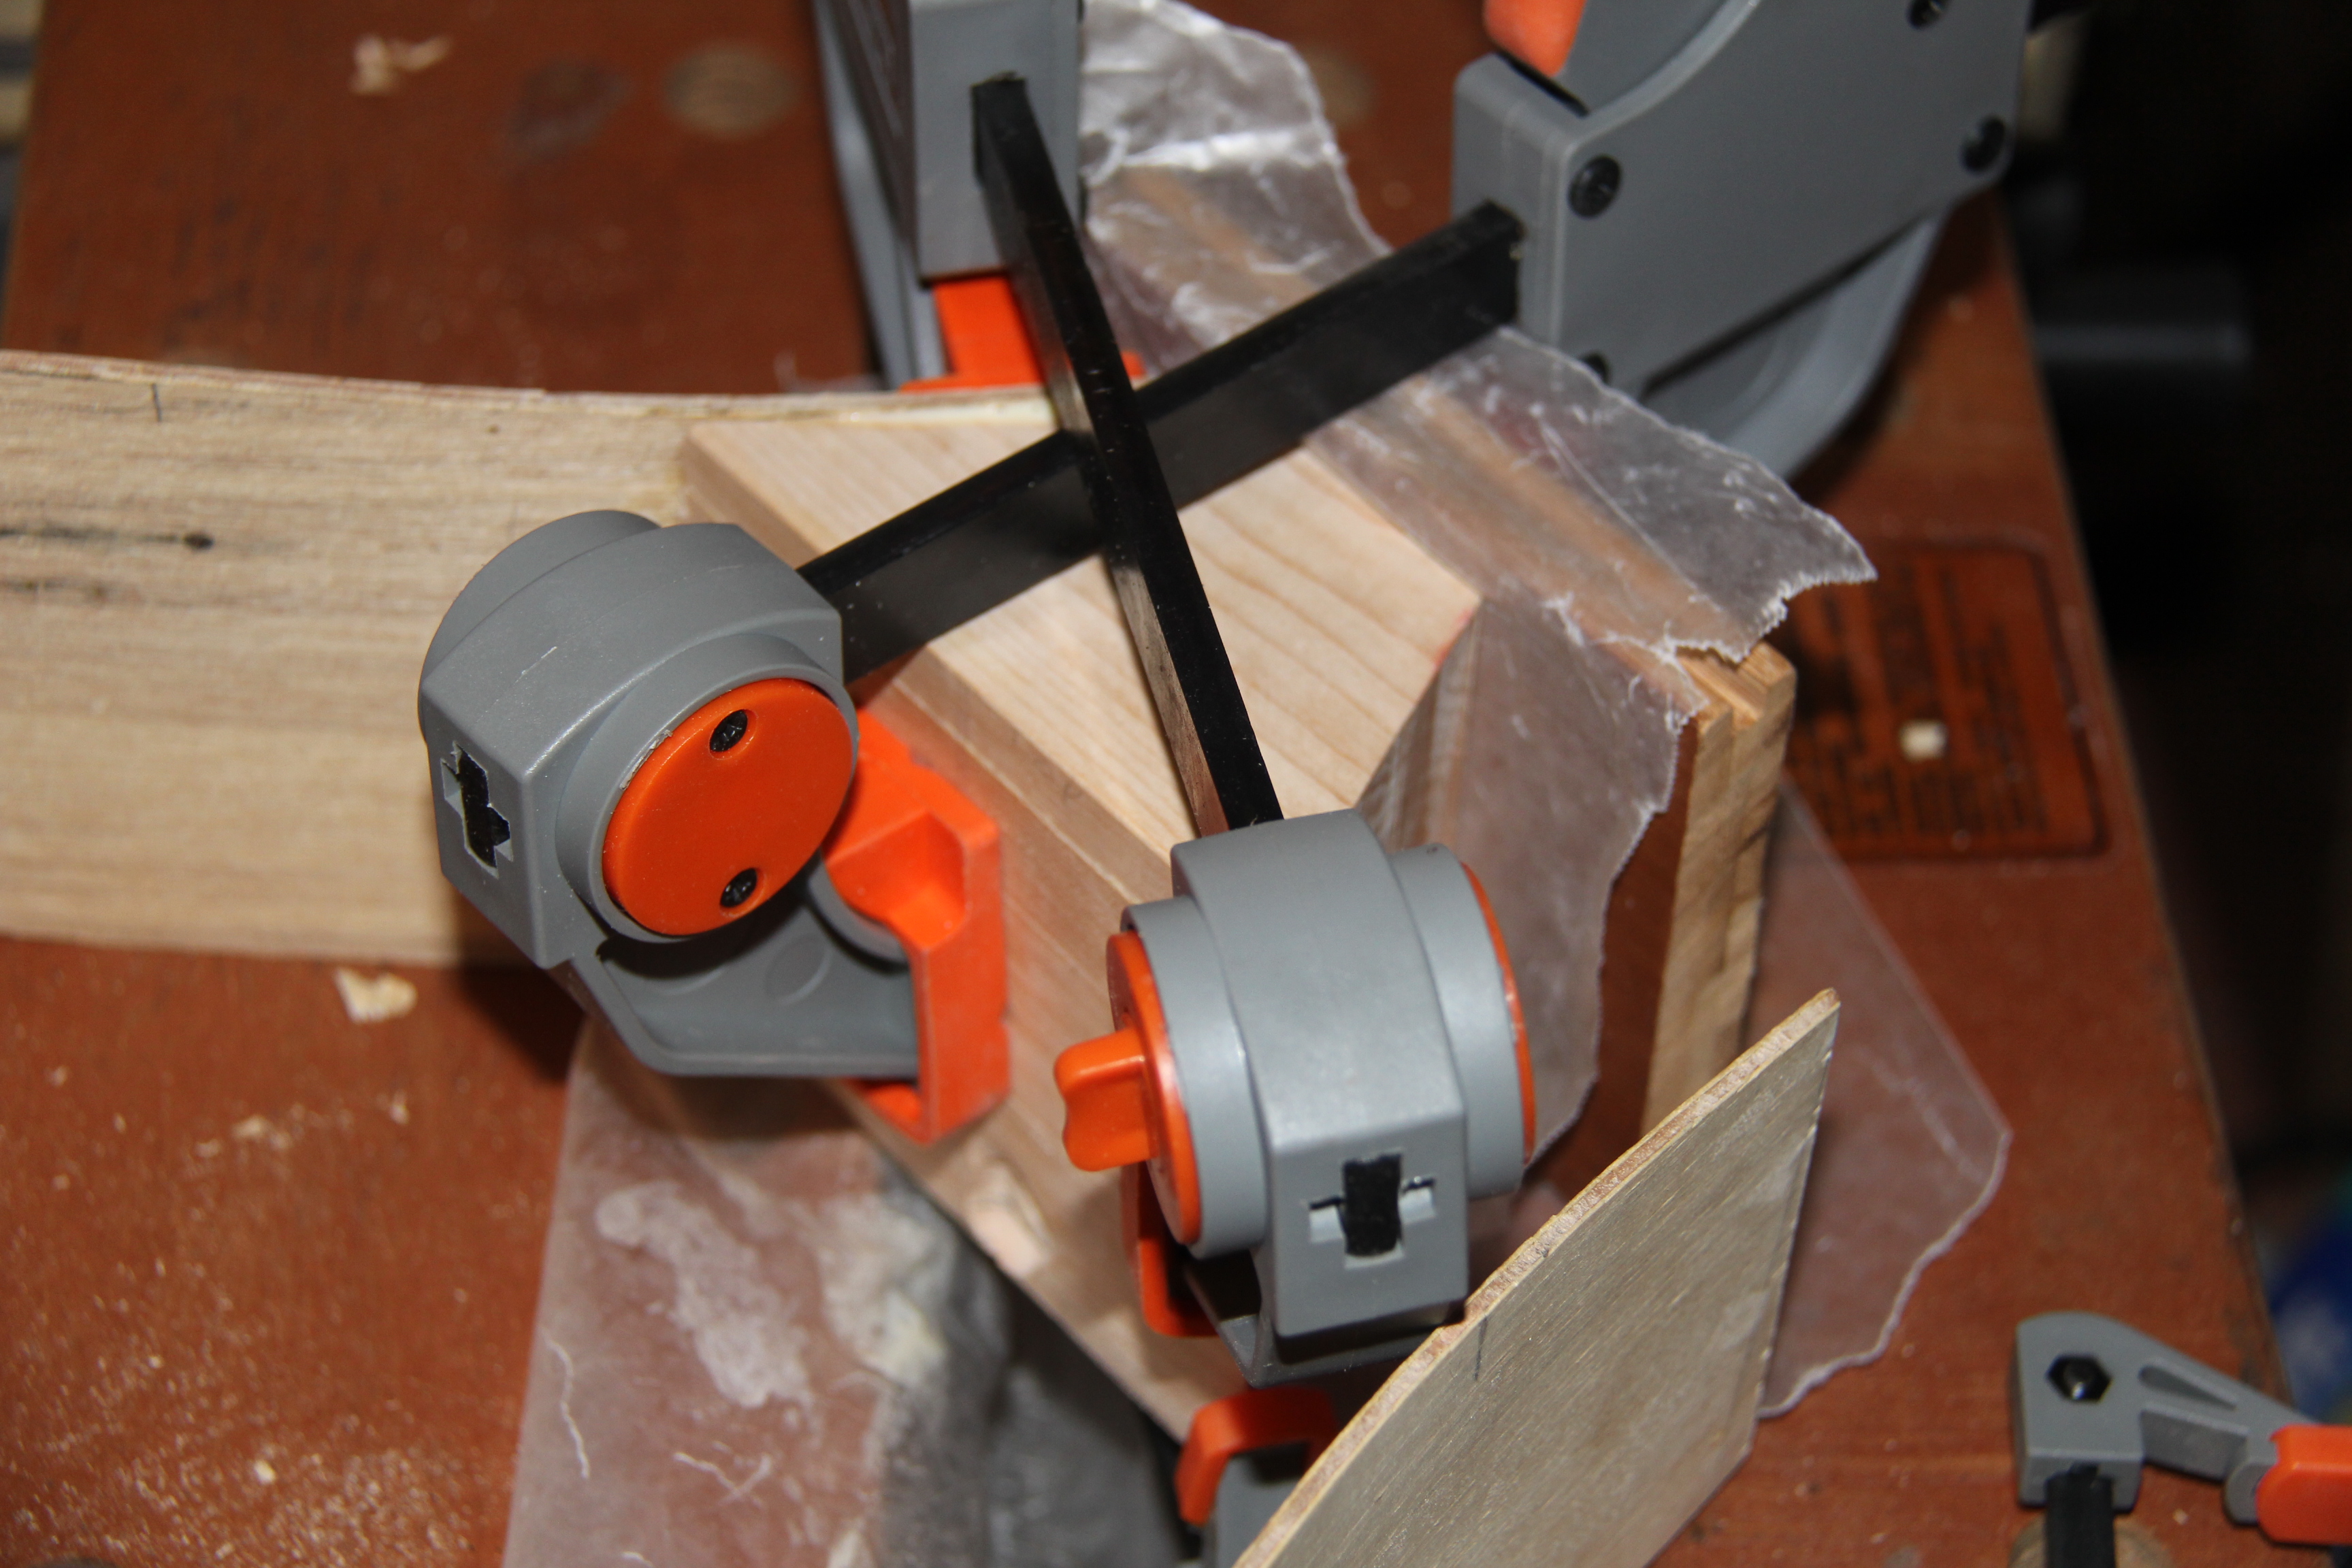
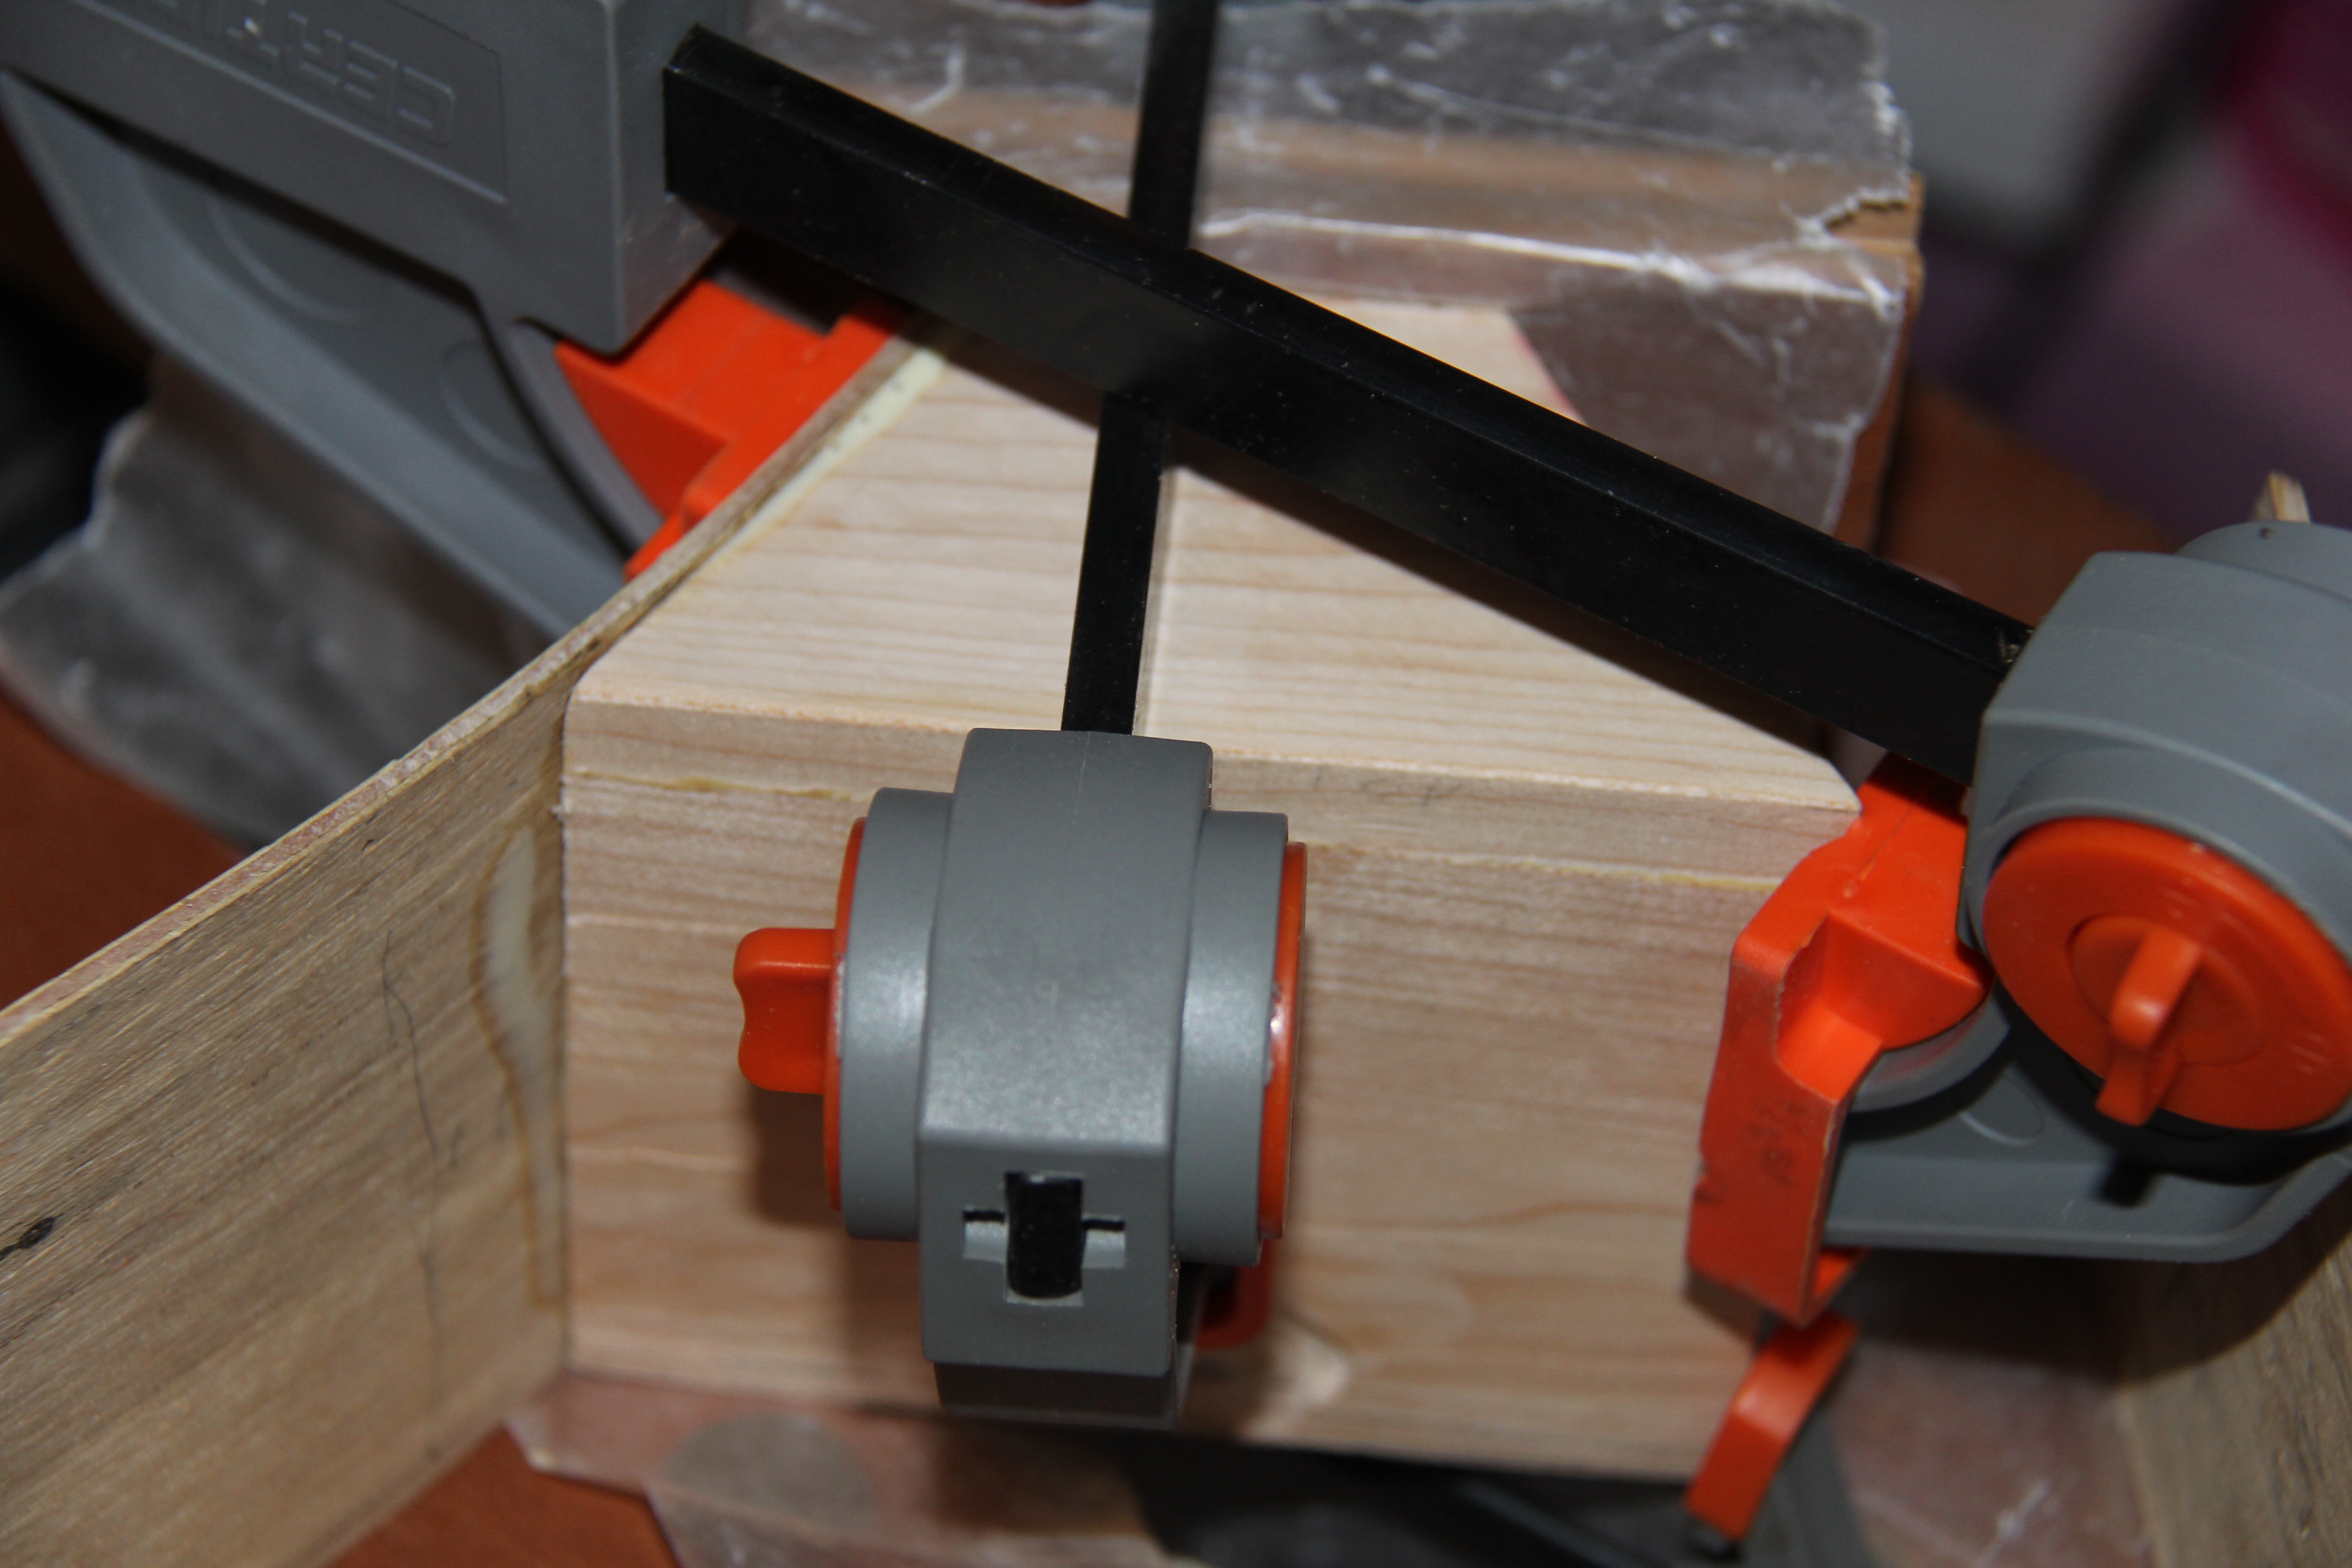
Once my braces were dry things got very untraditional. I have taken the option that most closely matches my original vision for this instrument. I had envisioned doing this whole thing in stitch and glue style but in the end could not bring myself to poke holes in it for the stitches. I then started going more traditional. However, as I laid out the top and sides I realized that making the traditional "lining" besides being a lot of work would be hard to get to work on this innovative shape. I also remembered that the innovation of shape was a result of having worked in other materials. So I mixed a pot of epoxy and added some microspheres and as much anti-sag as I could get to mix in. Anti-sag is basically chopped fiber (like fiberglass) and would add strength. Then put some in the joints between the blocks and the top and a cove where top meats side. Instant lining!
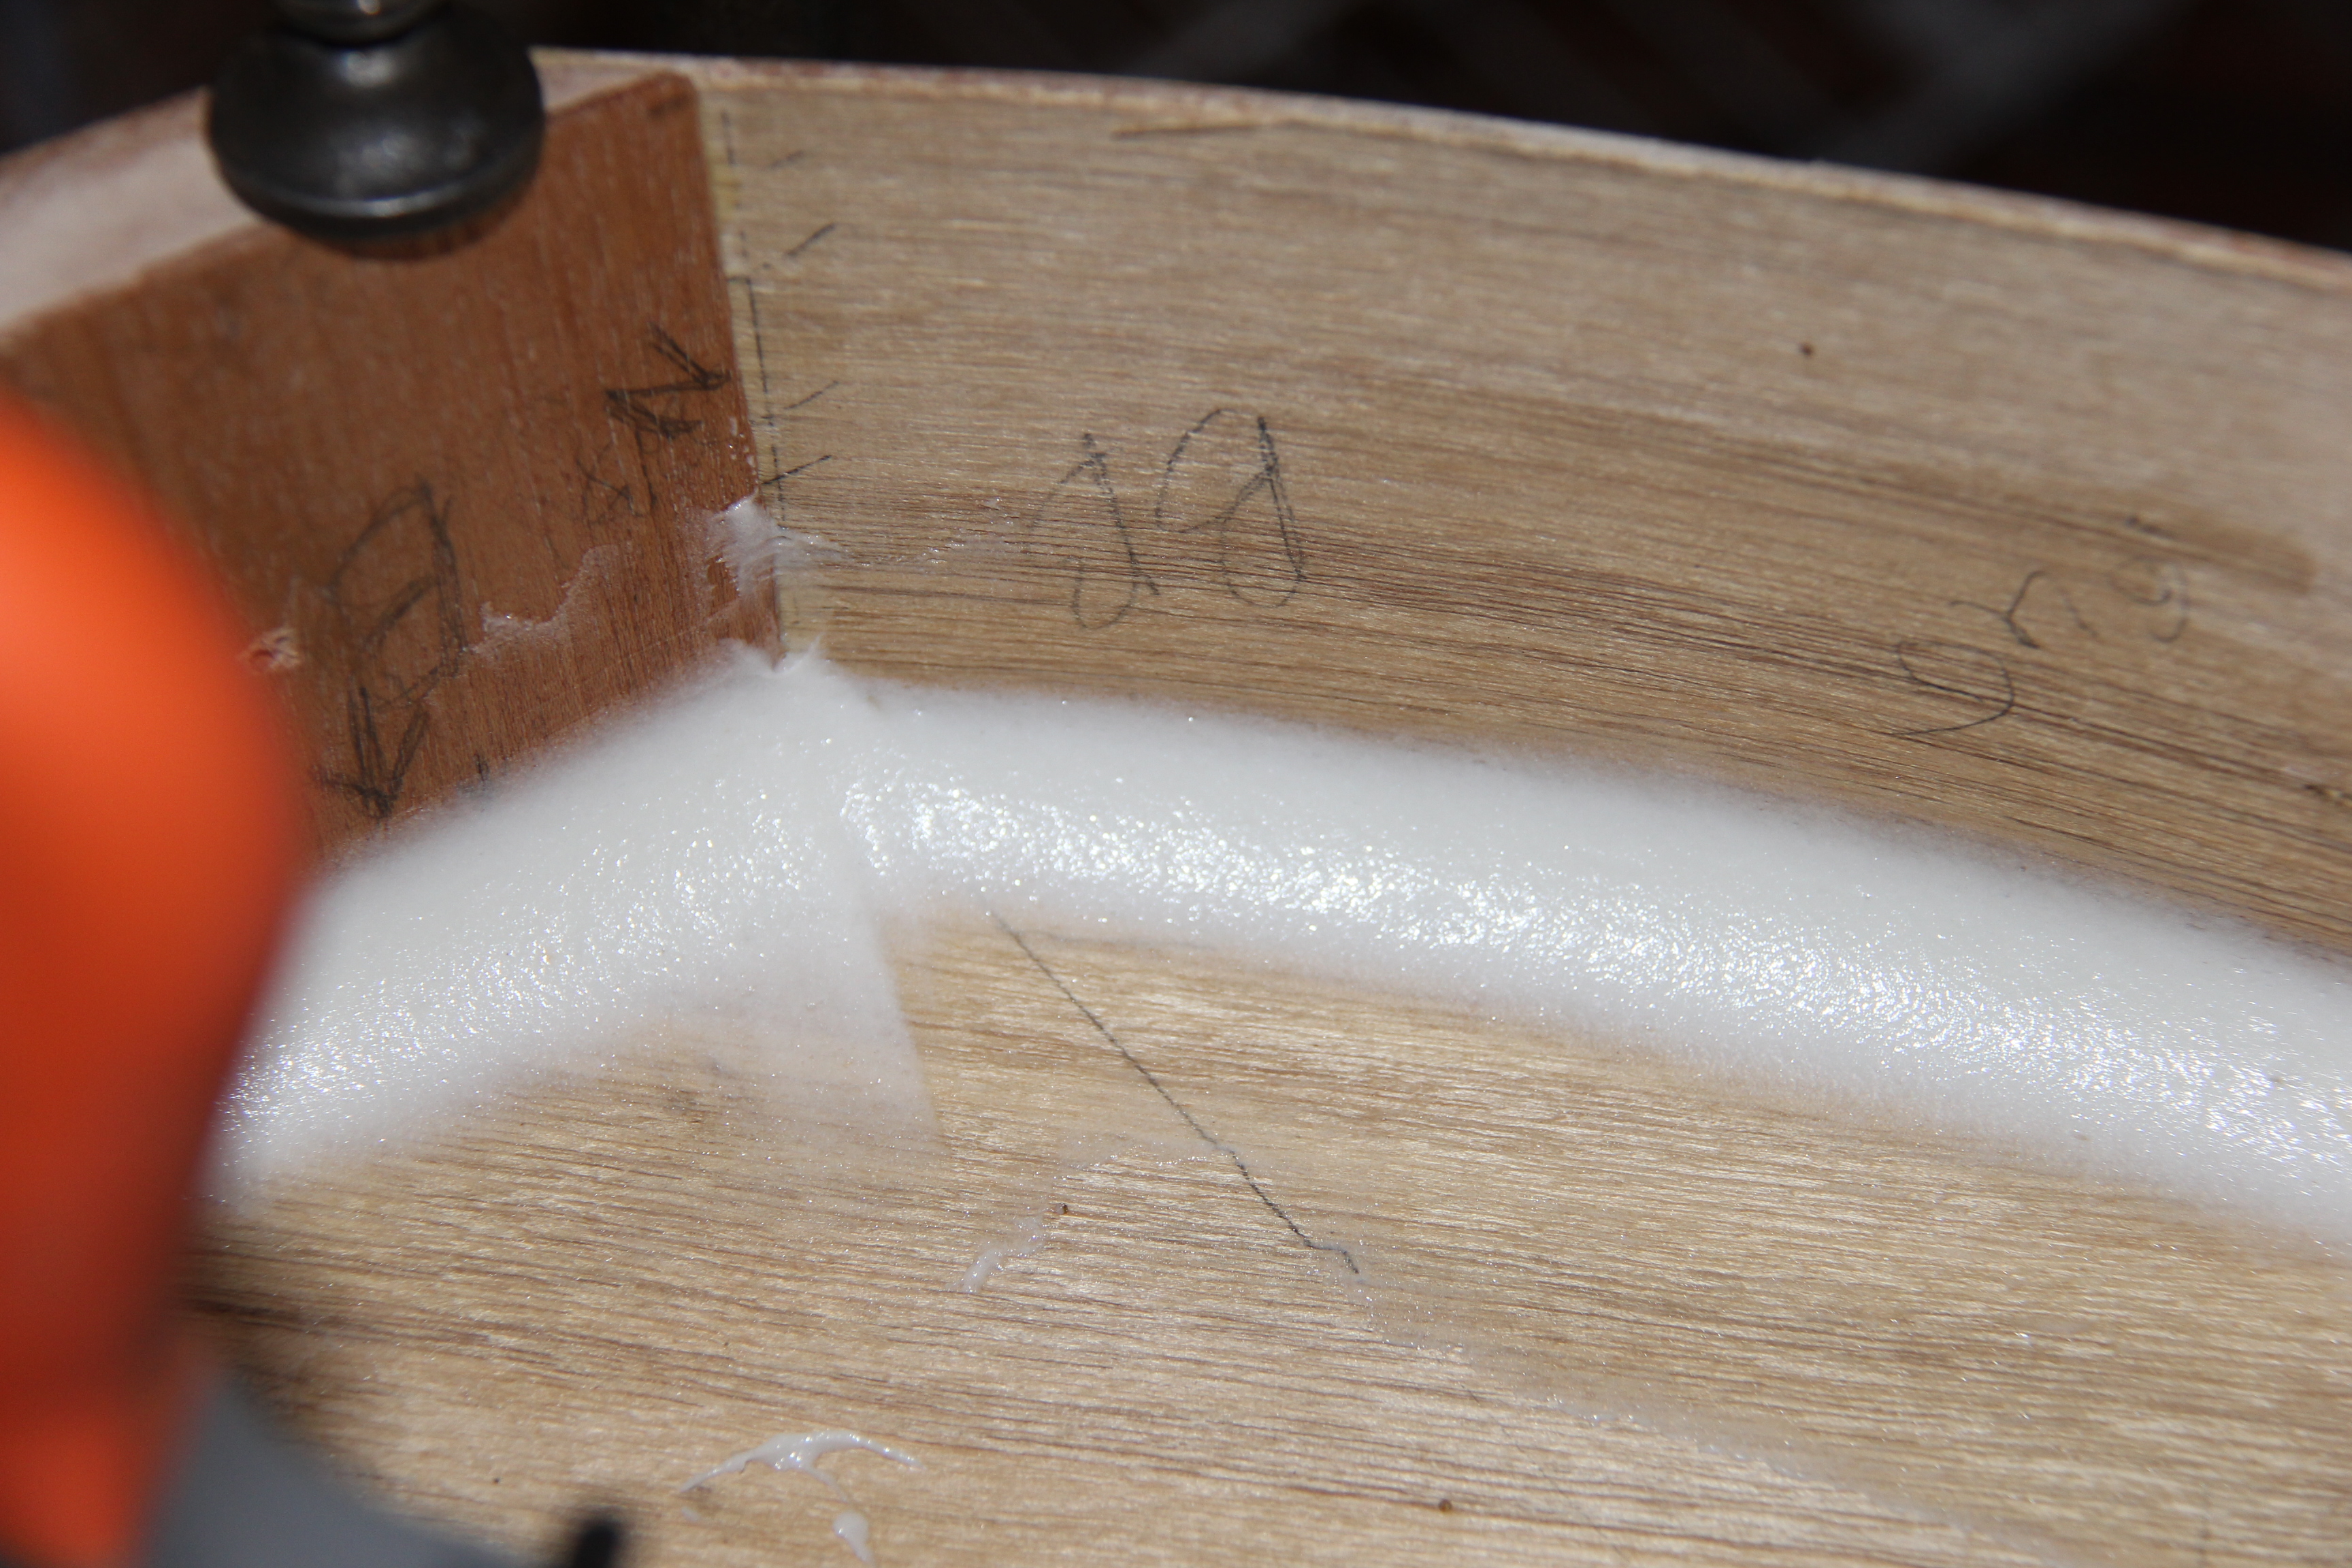
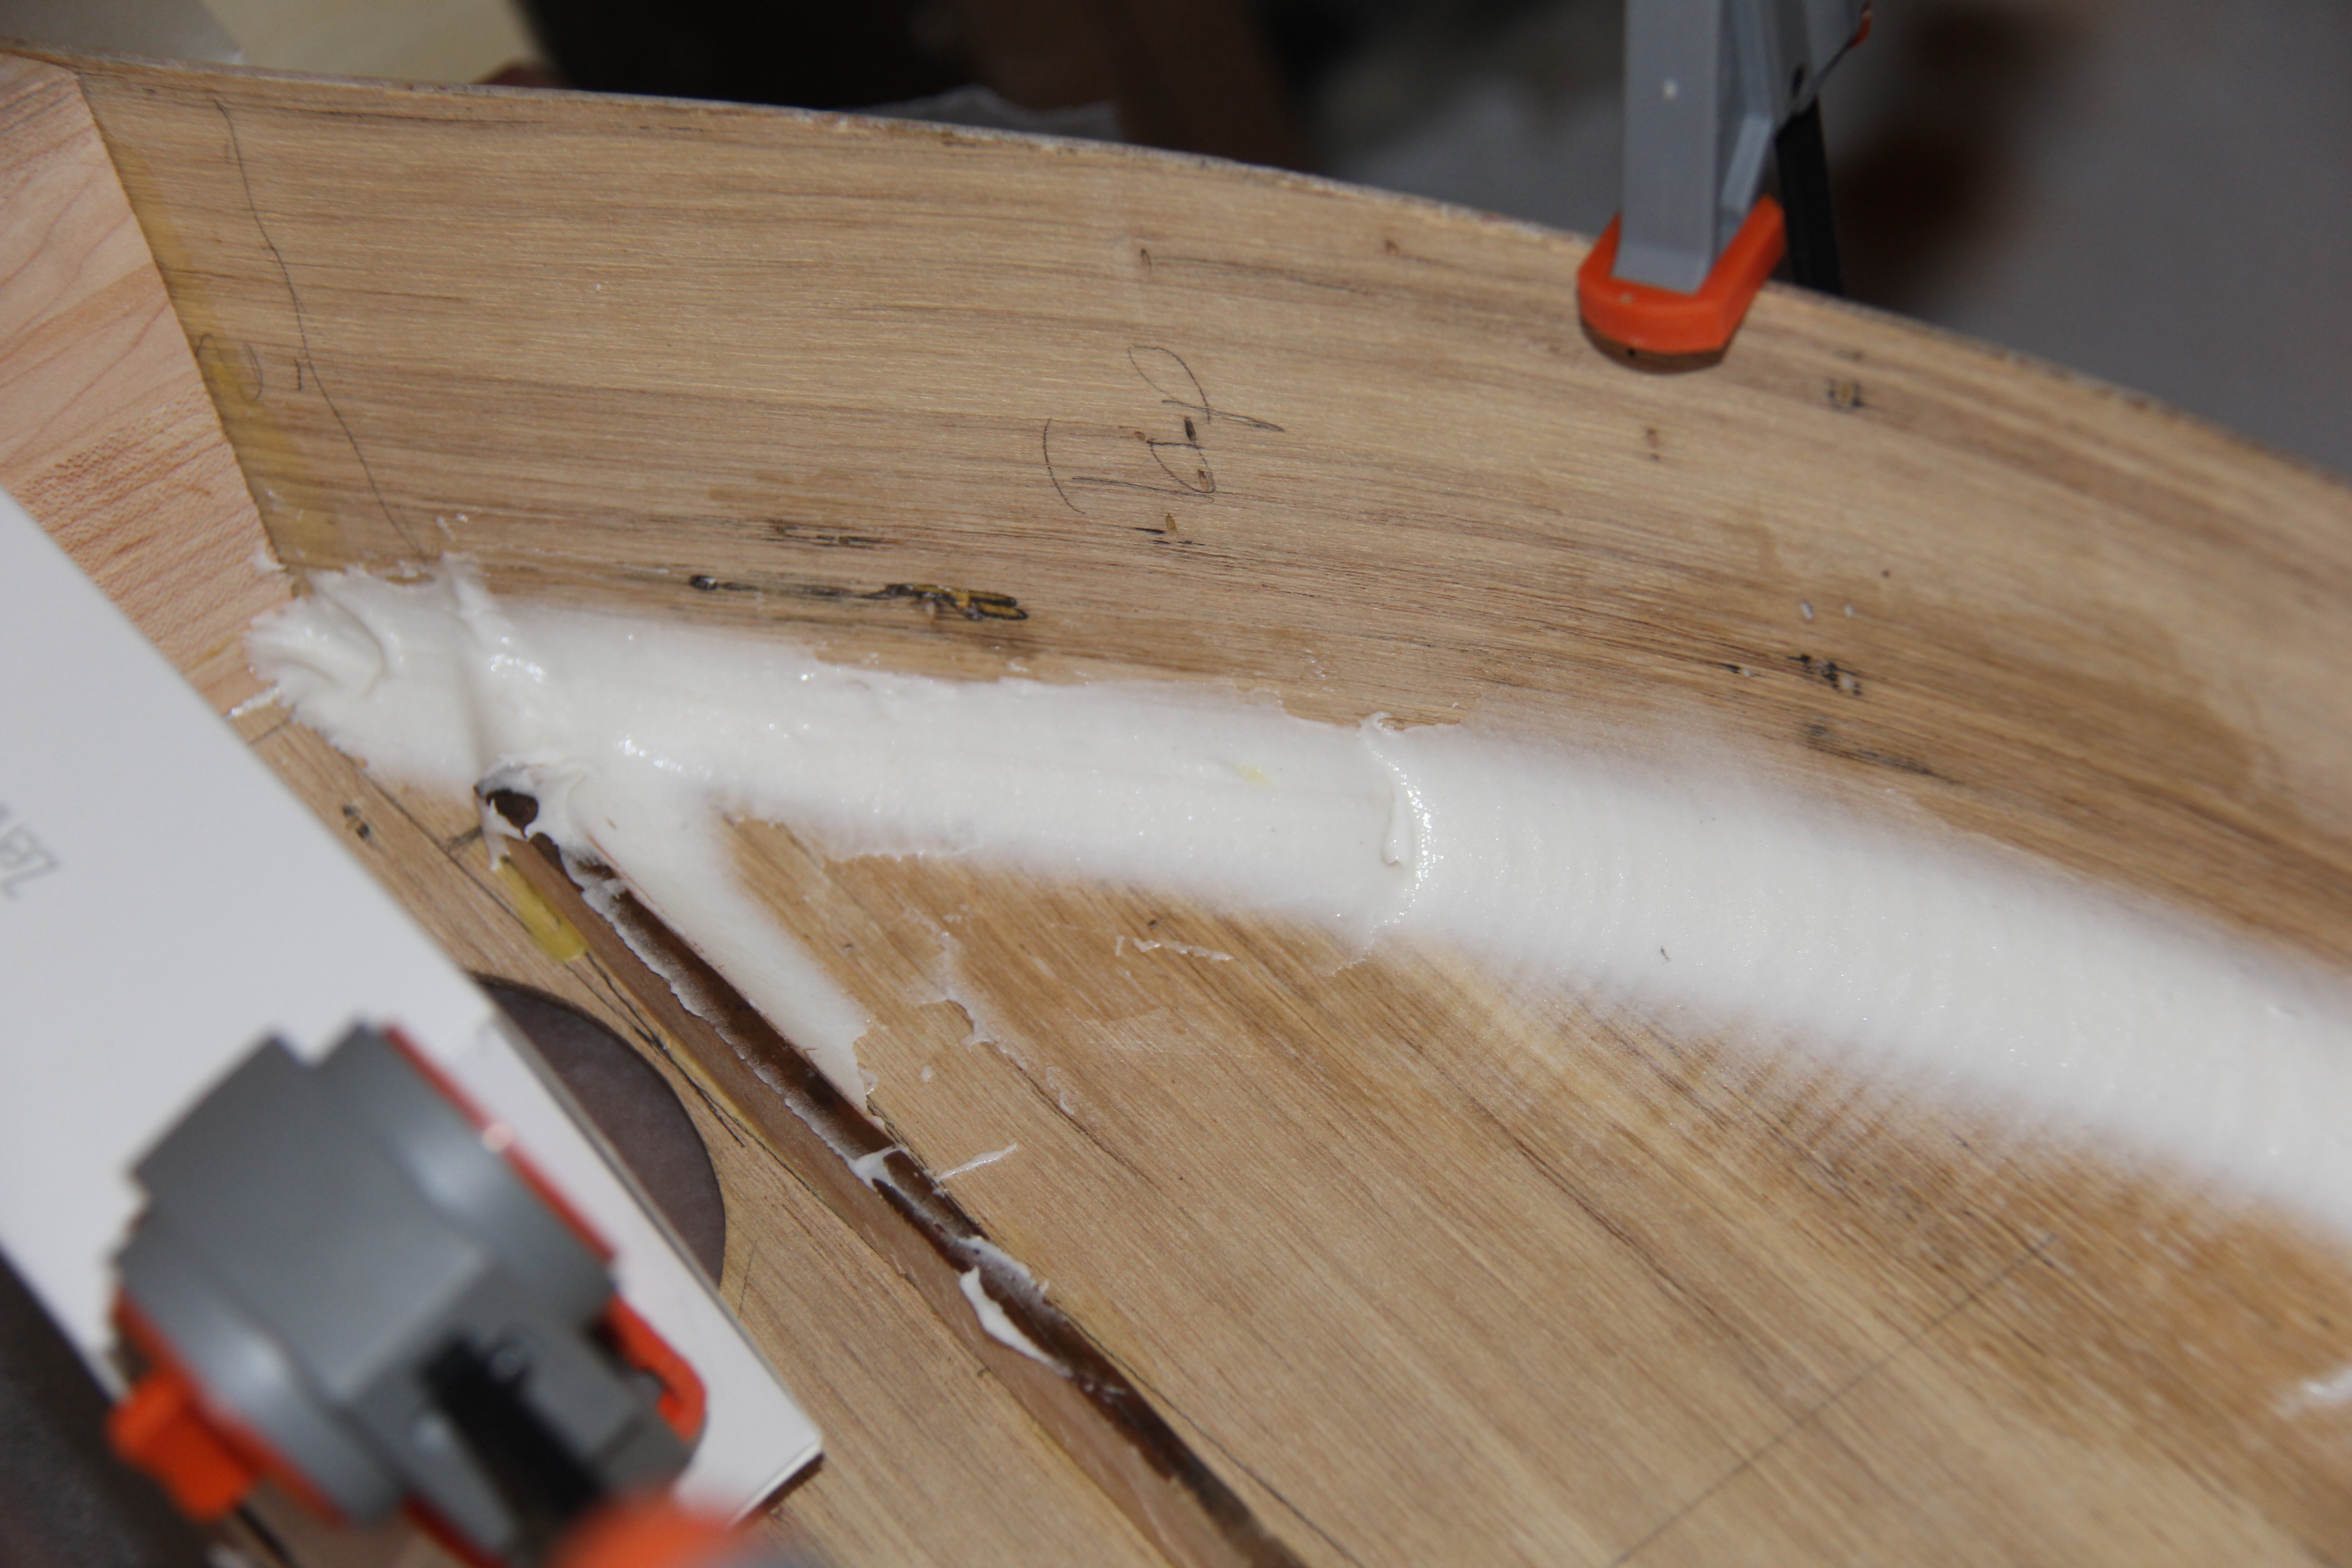
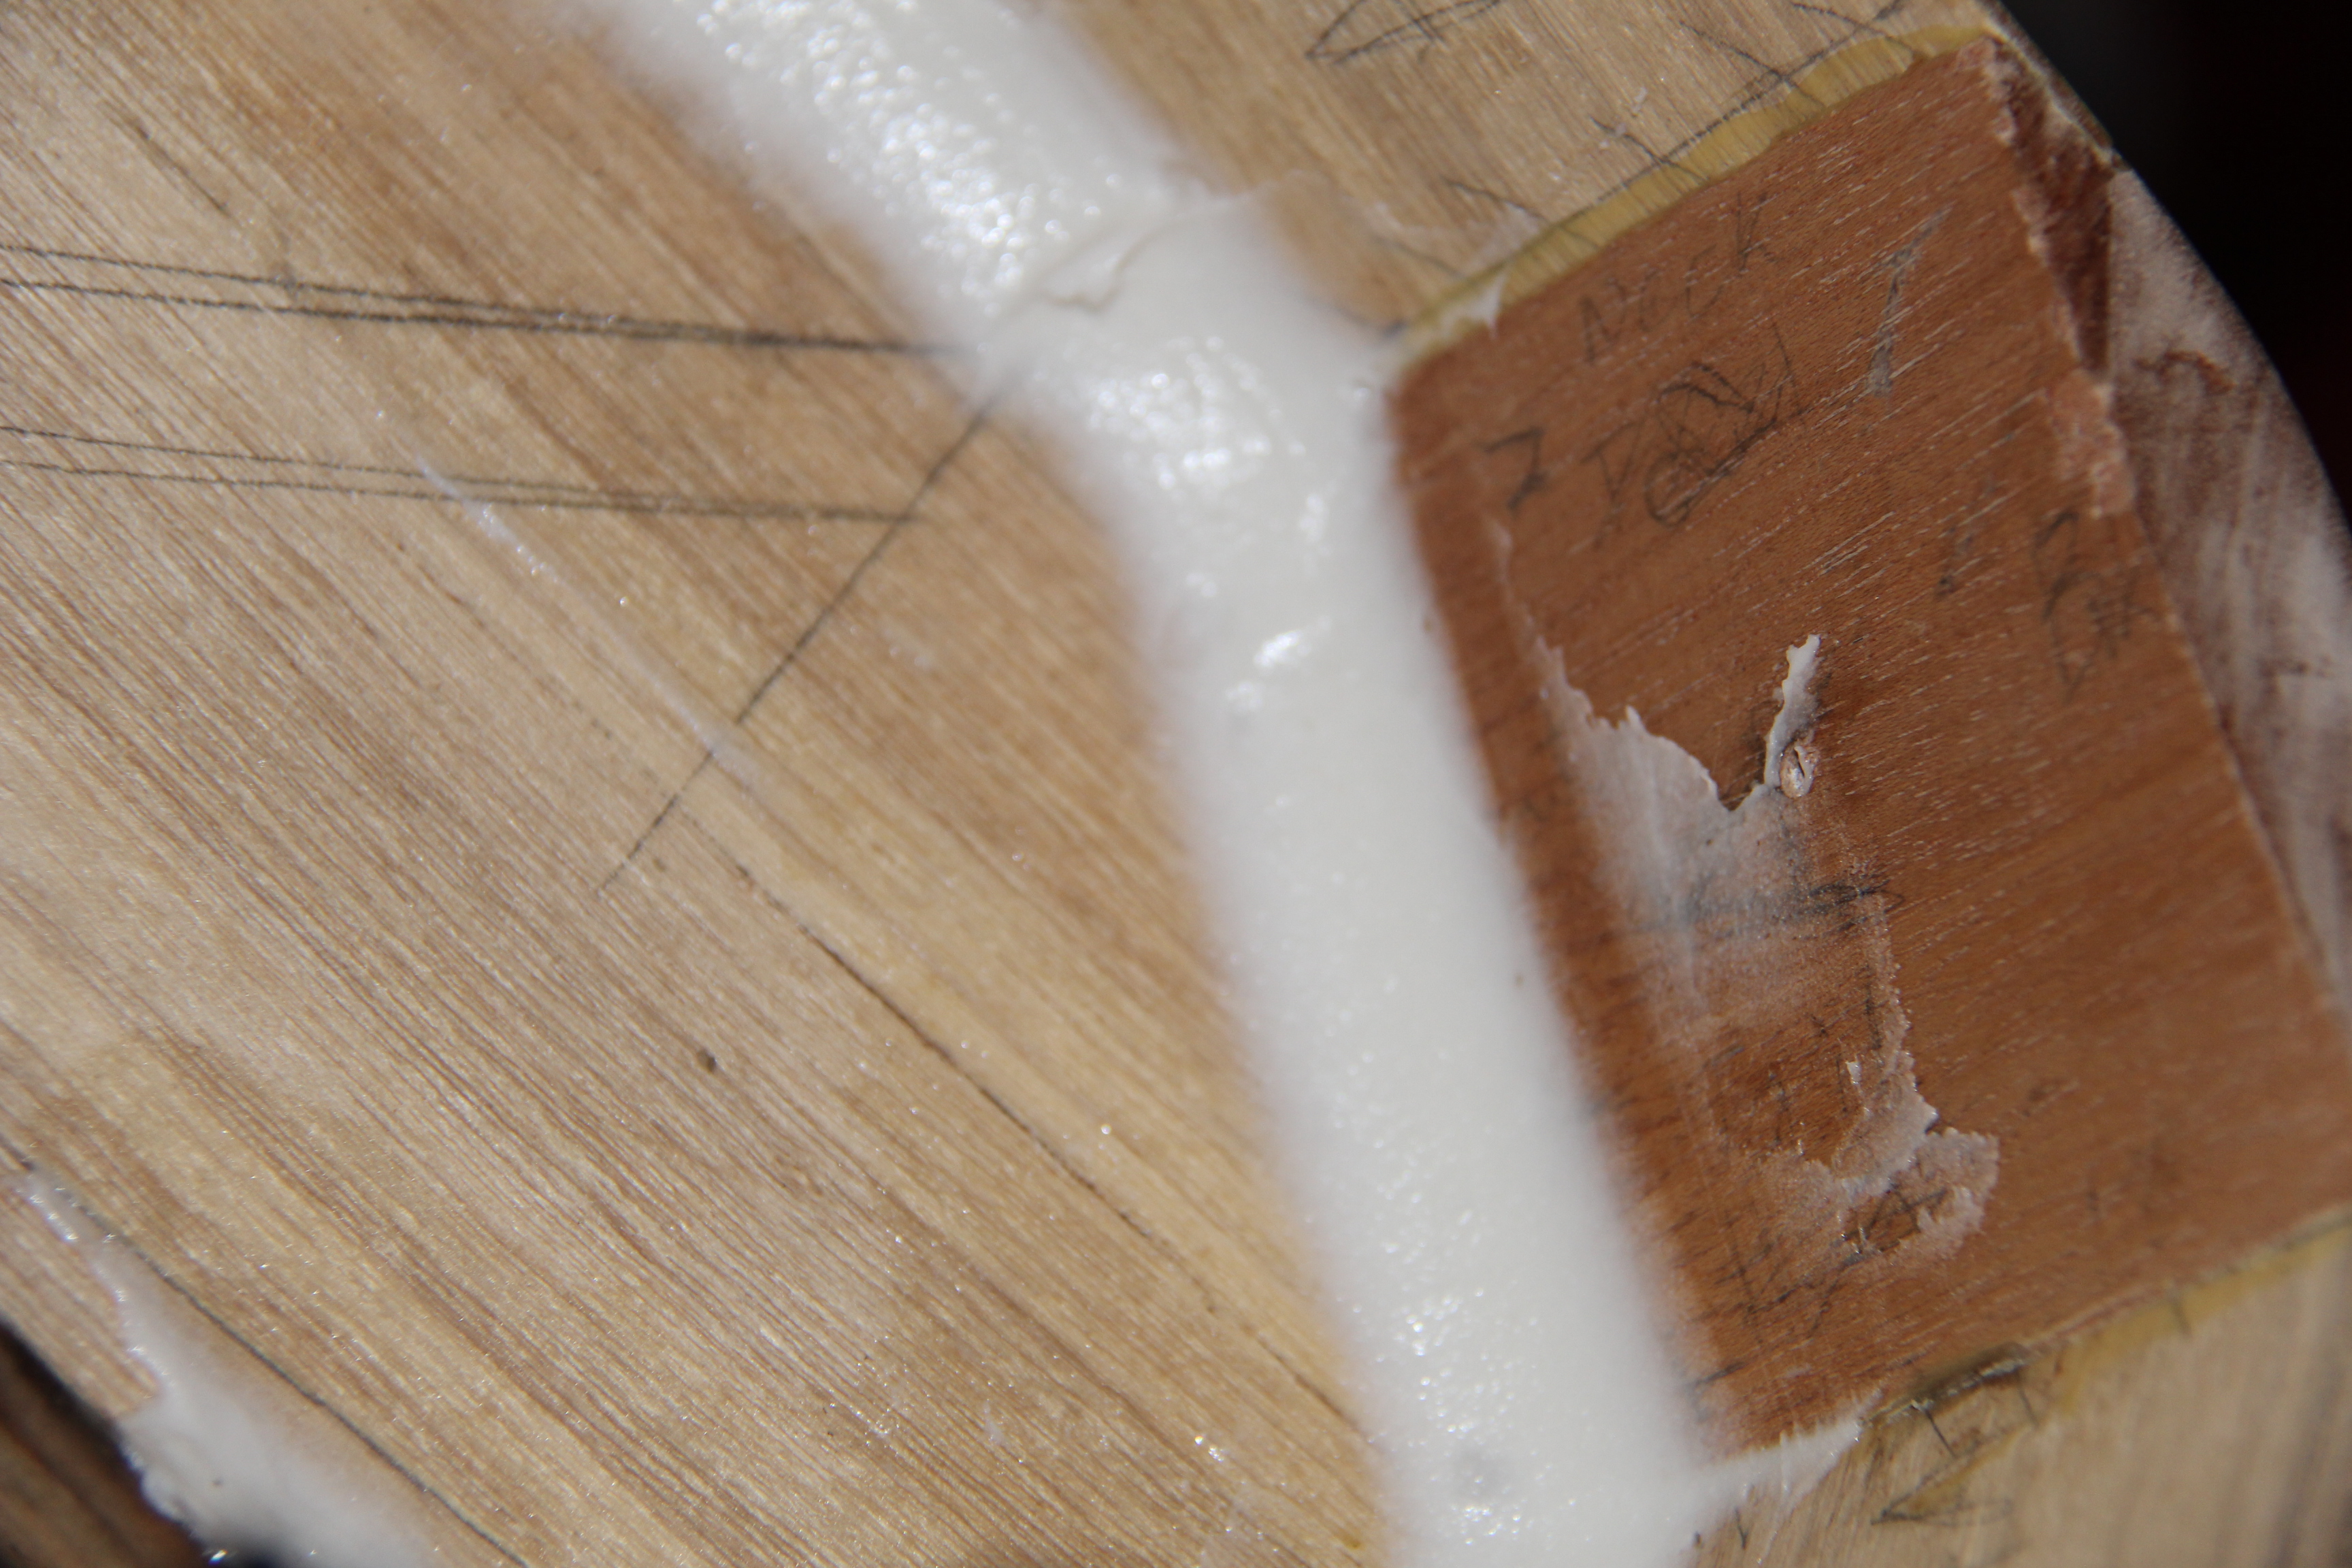
Well I don't know about instant, the working time on the epoxy is an hour at least. And now many hours later, the epoxy is still soft. It seems to me we found that 24 hours was hardened but that a full set is a much as 7 days. So it may be a bit longer before I have more pictures to share.
As I finish this page and add the links to the last page... I realized the last page said I would be showing the cutting of the sound hole. I did cut the sound hole which may be noticeable in some of these pictures, but I did not take pictures of me doing so or the result. The hole turned out fine, it is round and I have a slot for a "rosette" too. The tool I was using, a Dremmel knock off by Craftsman, broke part way through. The circle was all the way around but there was a small arc not all the way through. So I was able to cut the rest with a scroll saw and file and sand it to shape. The sound hole had to be done before the front was glued on.
I have realized that I am spending too much time on things for the value of the materials I am using... true I am learning at the same time, but I do need to get moving if for no other reason than I need to make the mistakes to learn from. I do need to make another instrument to put what I have learned to good use. I was thinking of an octave mandolin to use the fret board that was broken in shipment, but am thinking that a Baritone Ukulele may be better and also uses a 19-20 inch scale. Tim has been playing some guitar in school and the baritone uke would use the same chords, just two fewer strings. We shall see.
Well thats it for this time... tune in next time when we... Hope fully see what things look like with the front on (the epoxy is finally starting to harden).
Previous page of the Mandocello build - Next page of the Mandocello build - Index of the Mandocello build