2017-04-15
Previous page of the Mandocello build - Next page of the Mandocello build - Index of the Mandocello buildSanding and gluing this time. The end block is fully sanded and we glue it and the corner blocks in place.
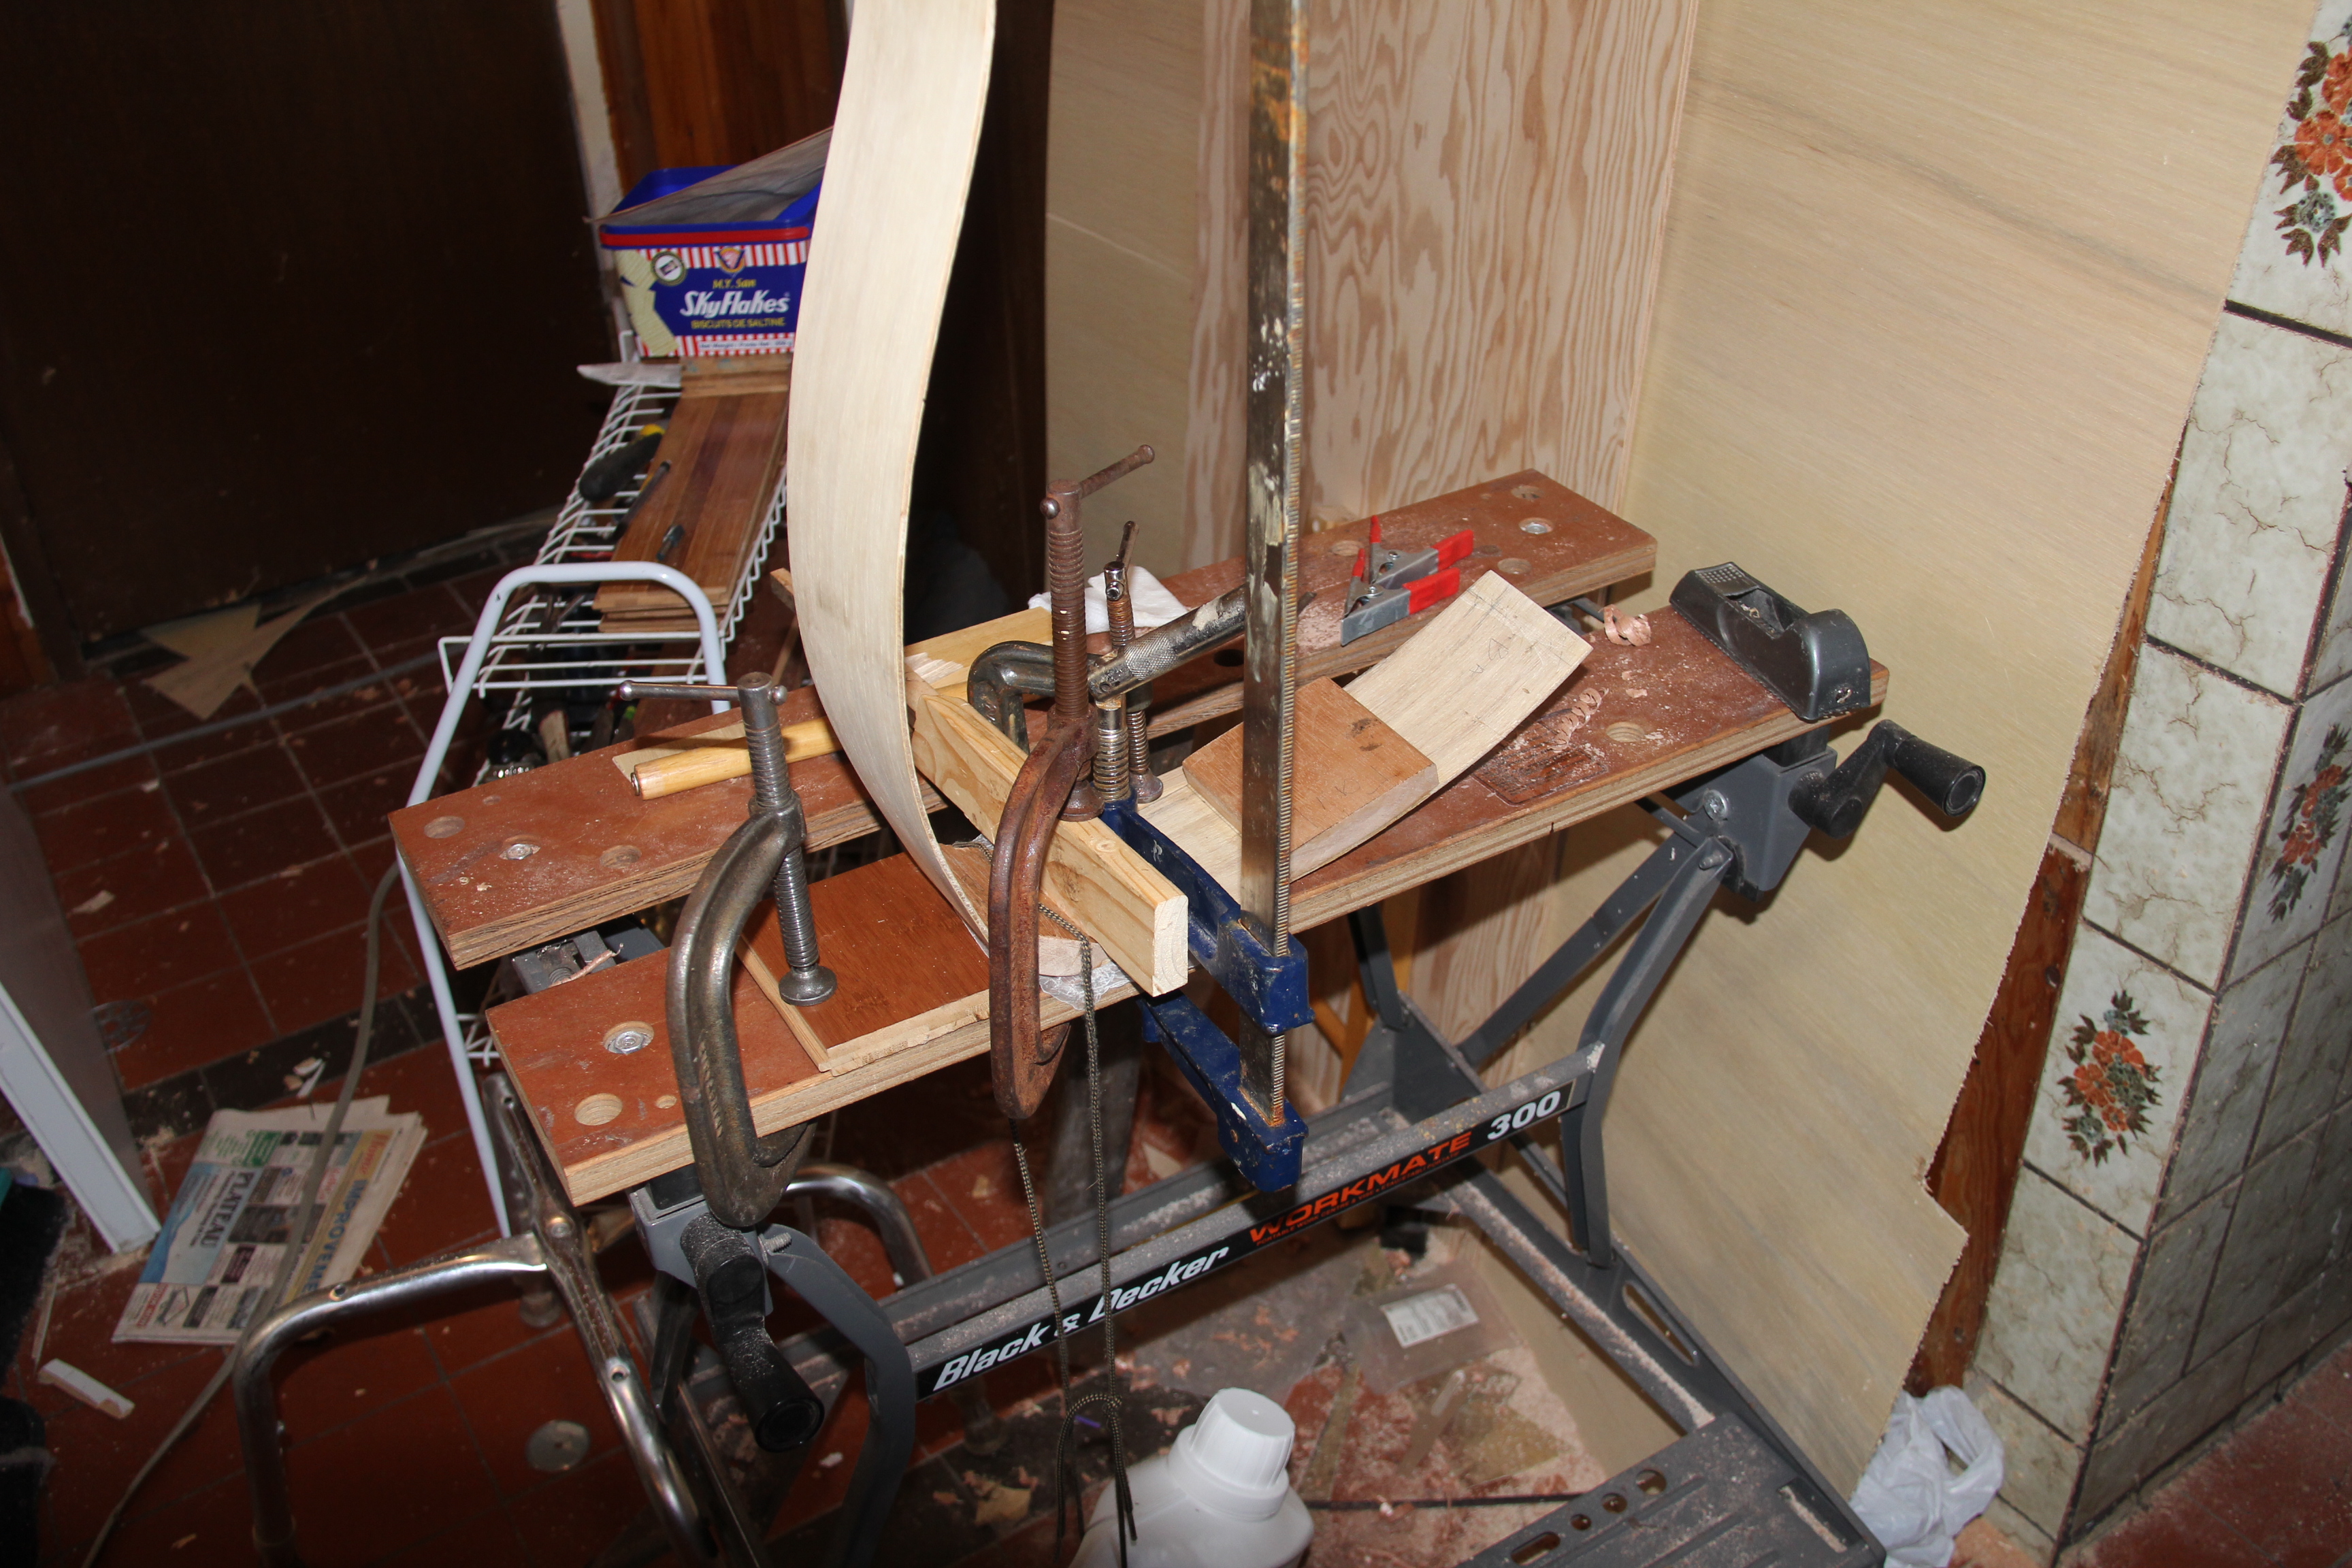
First I glued the tail block on. Pretty easy stuff.
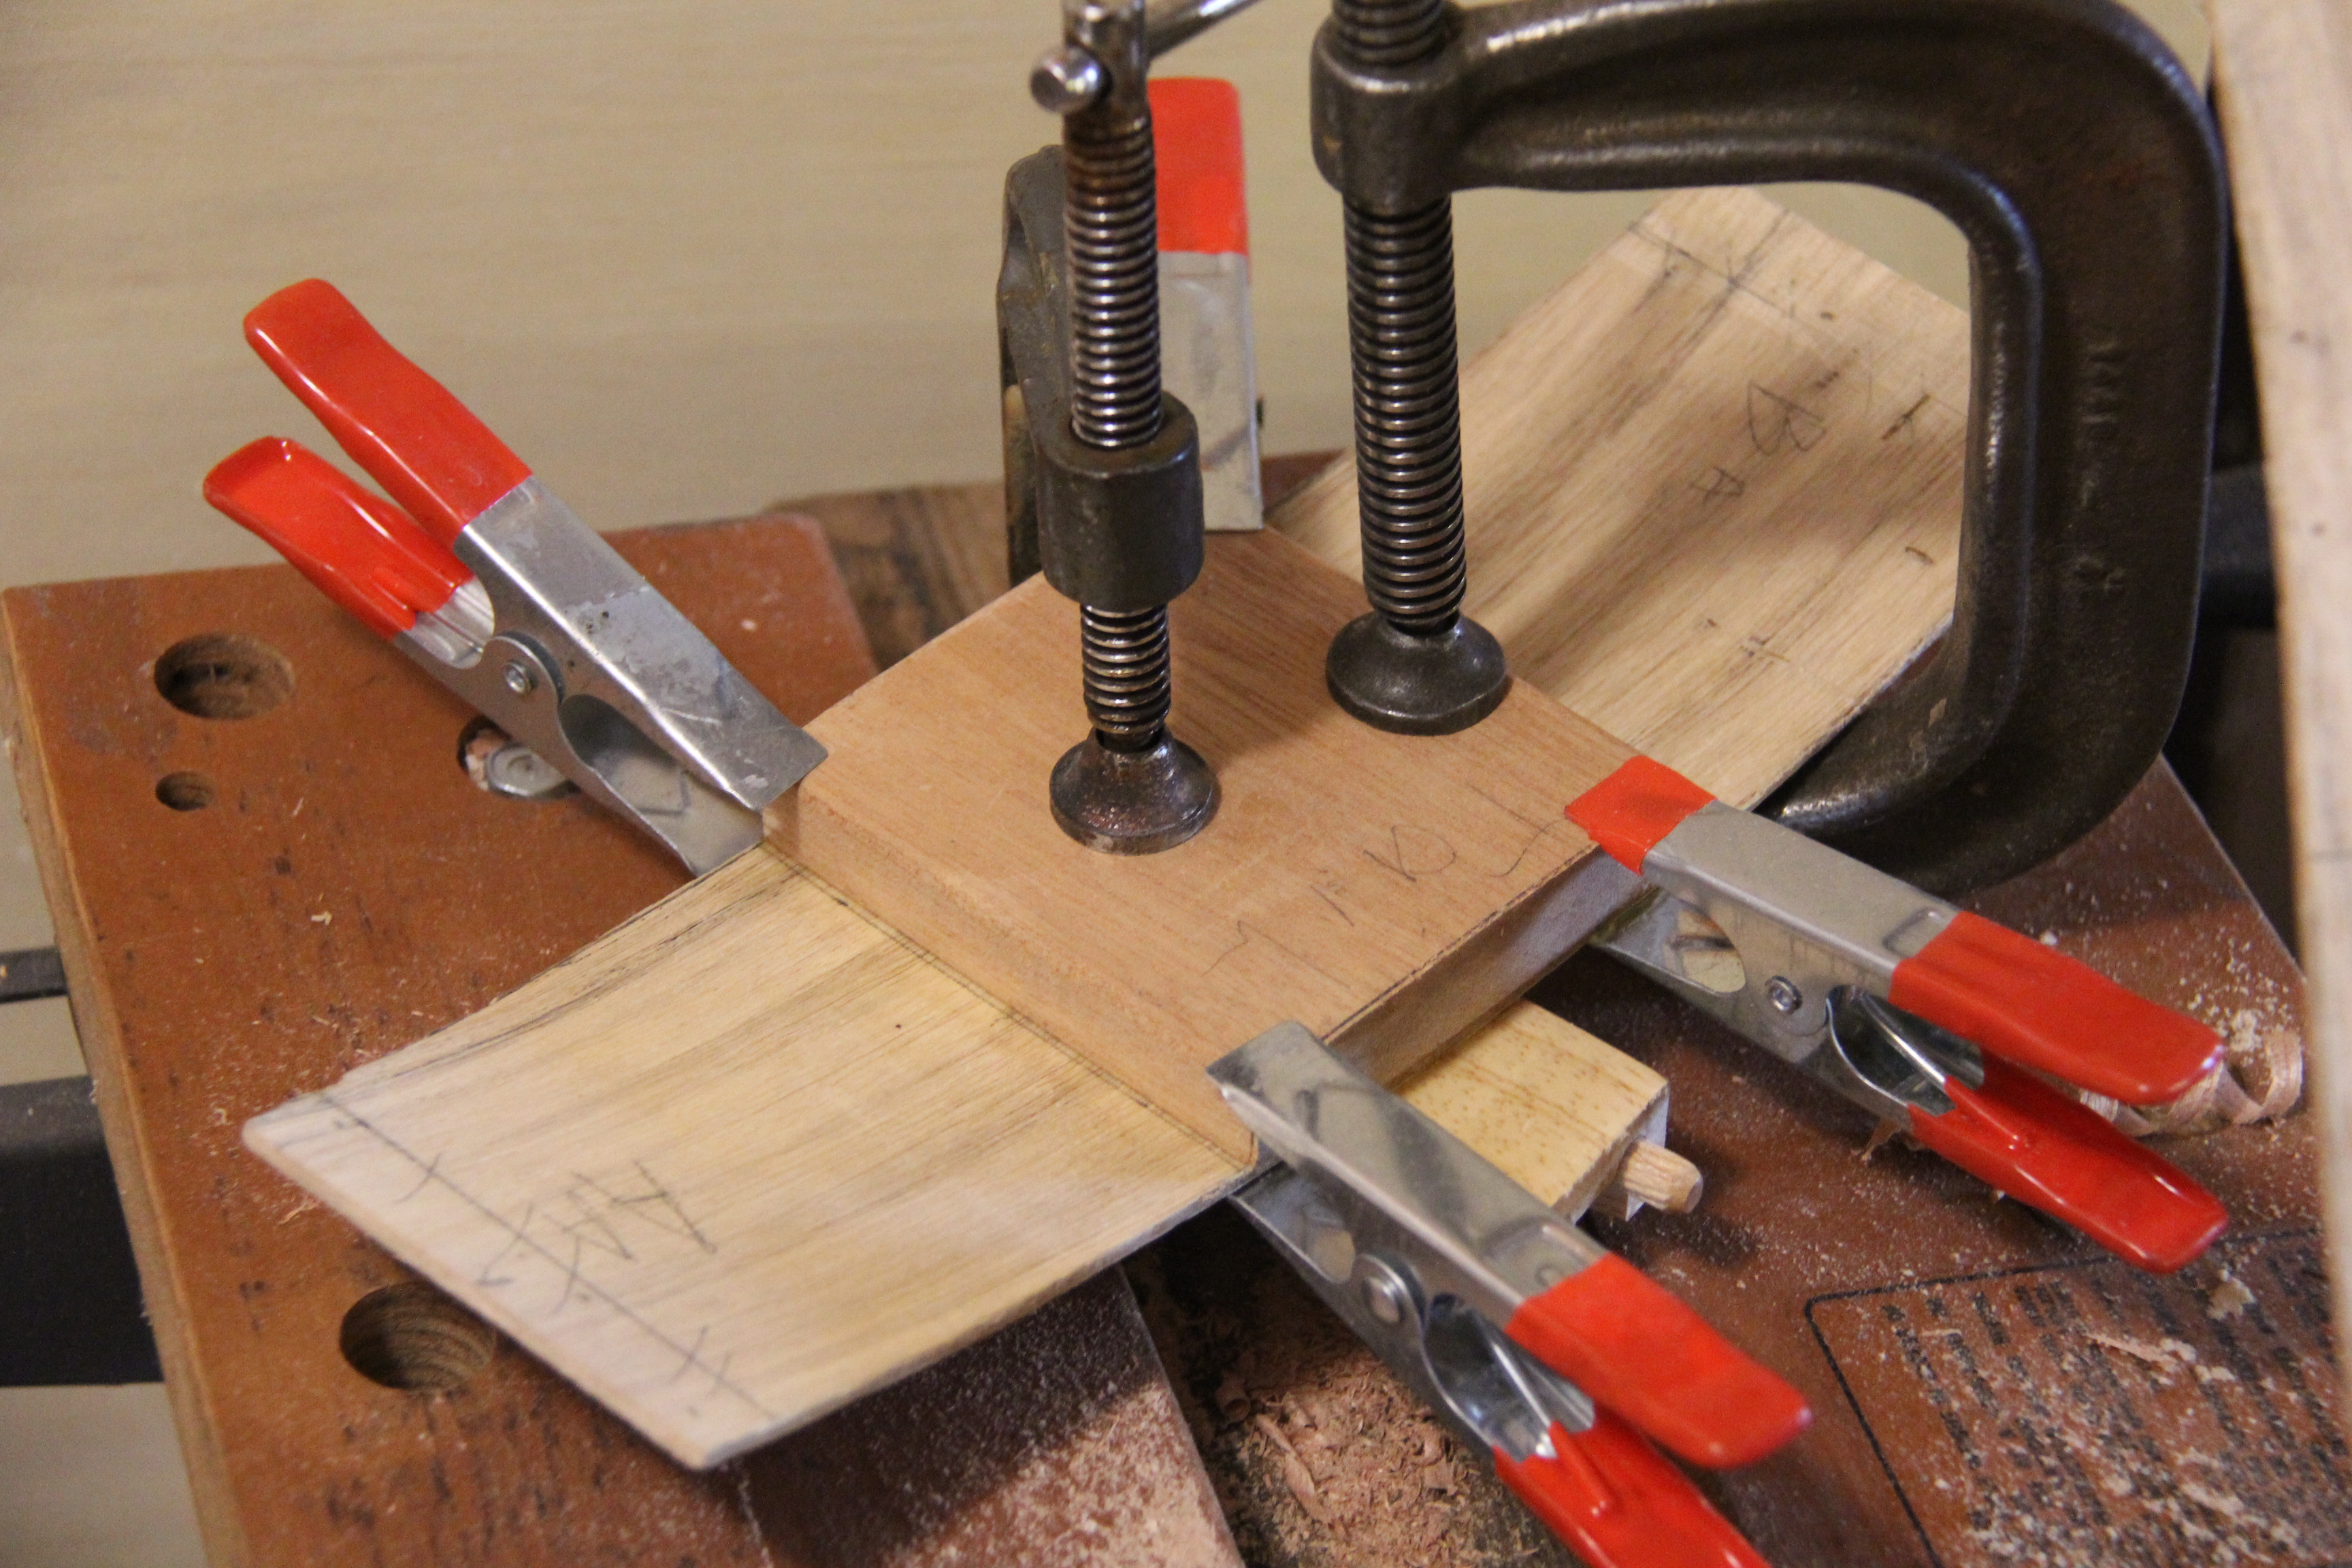
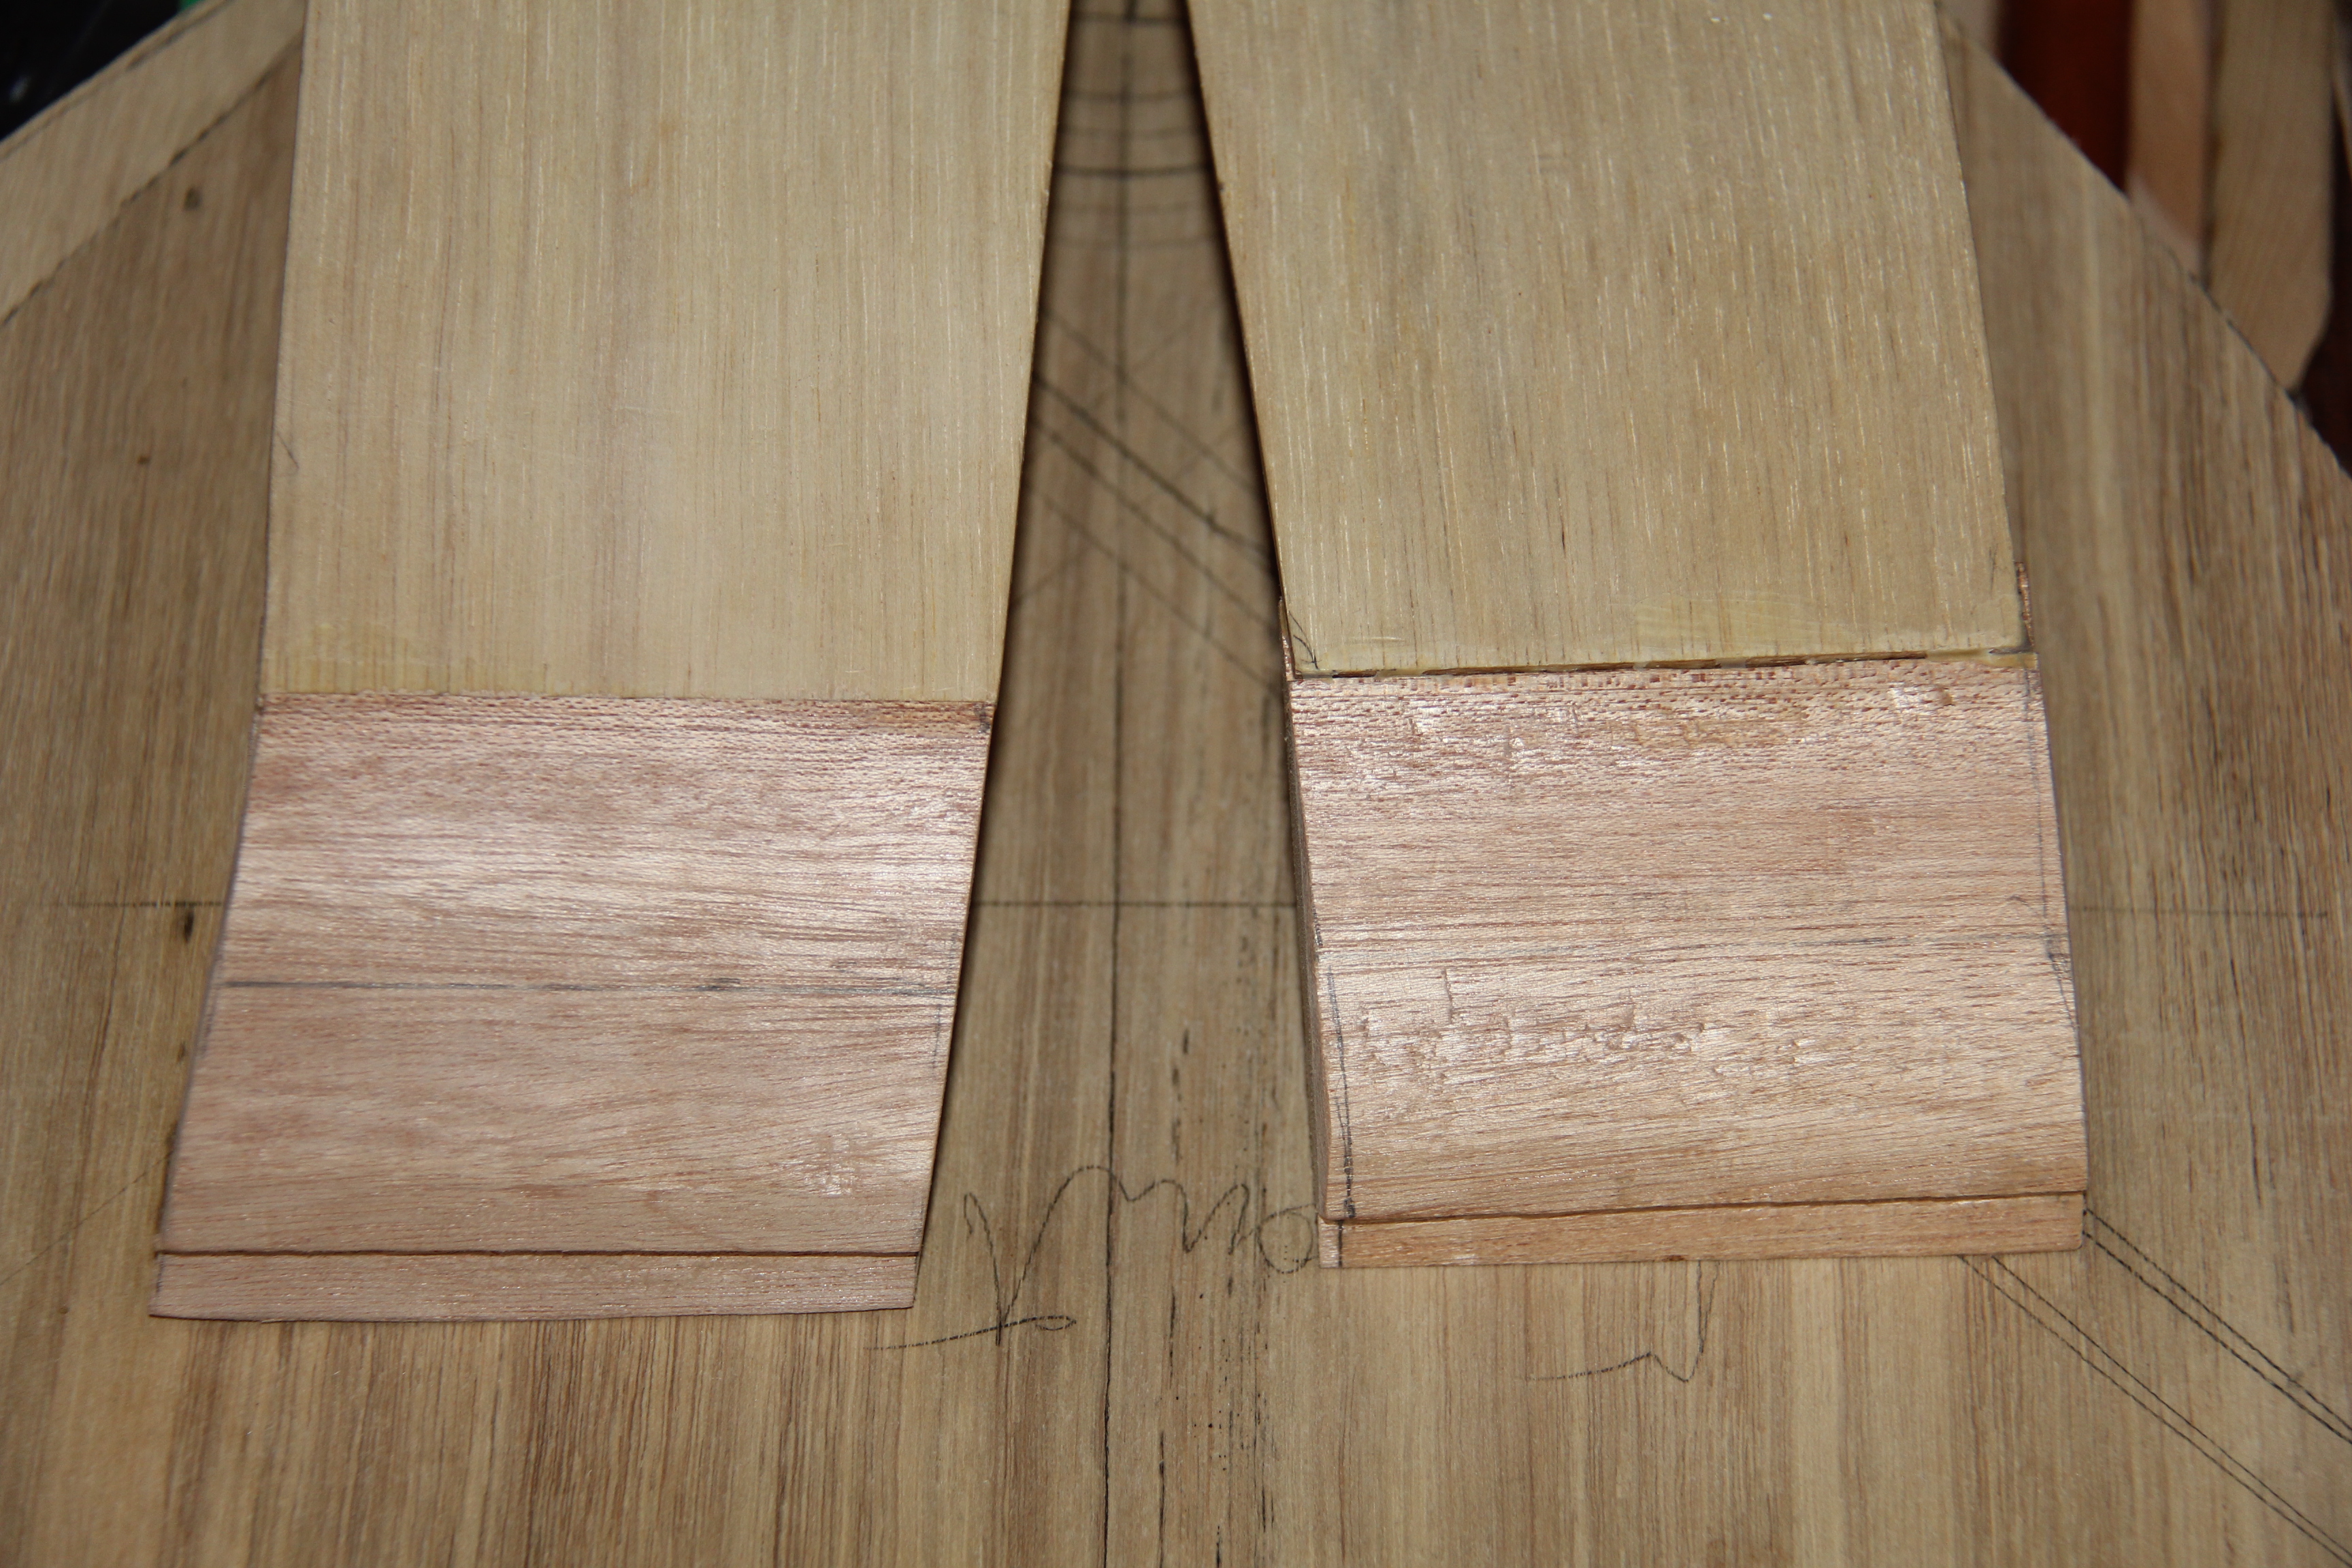
Then the first corner block. This went well too. Notice that the block here is not yet rounded.
Heres how they will fit together... and another corner block added...
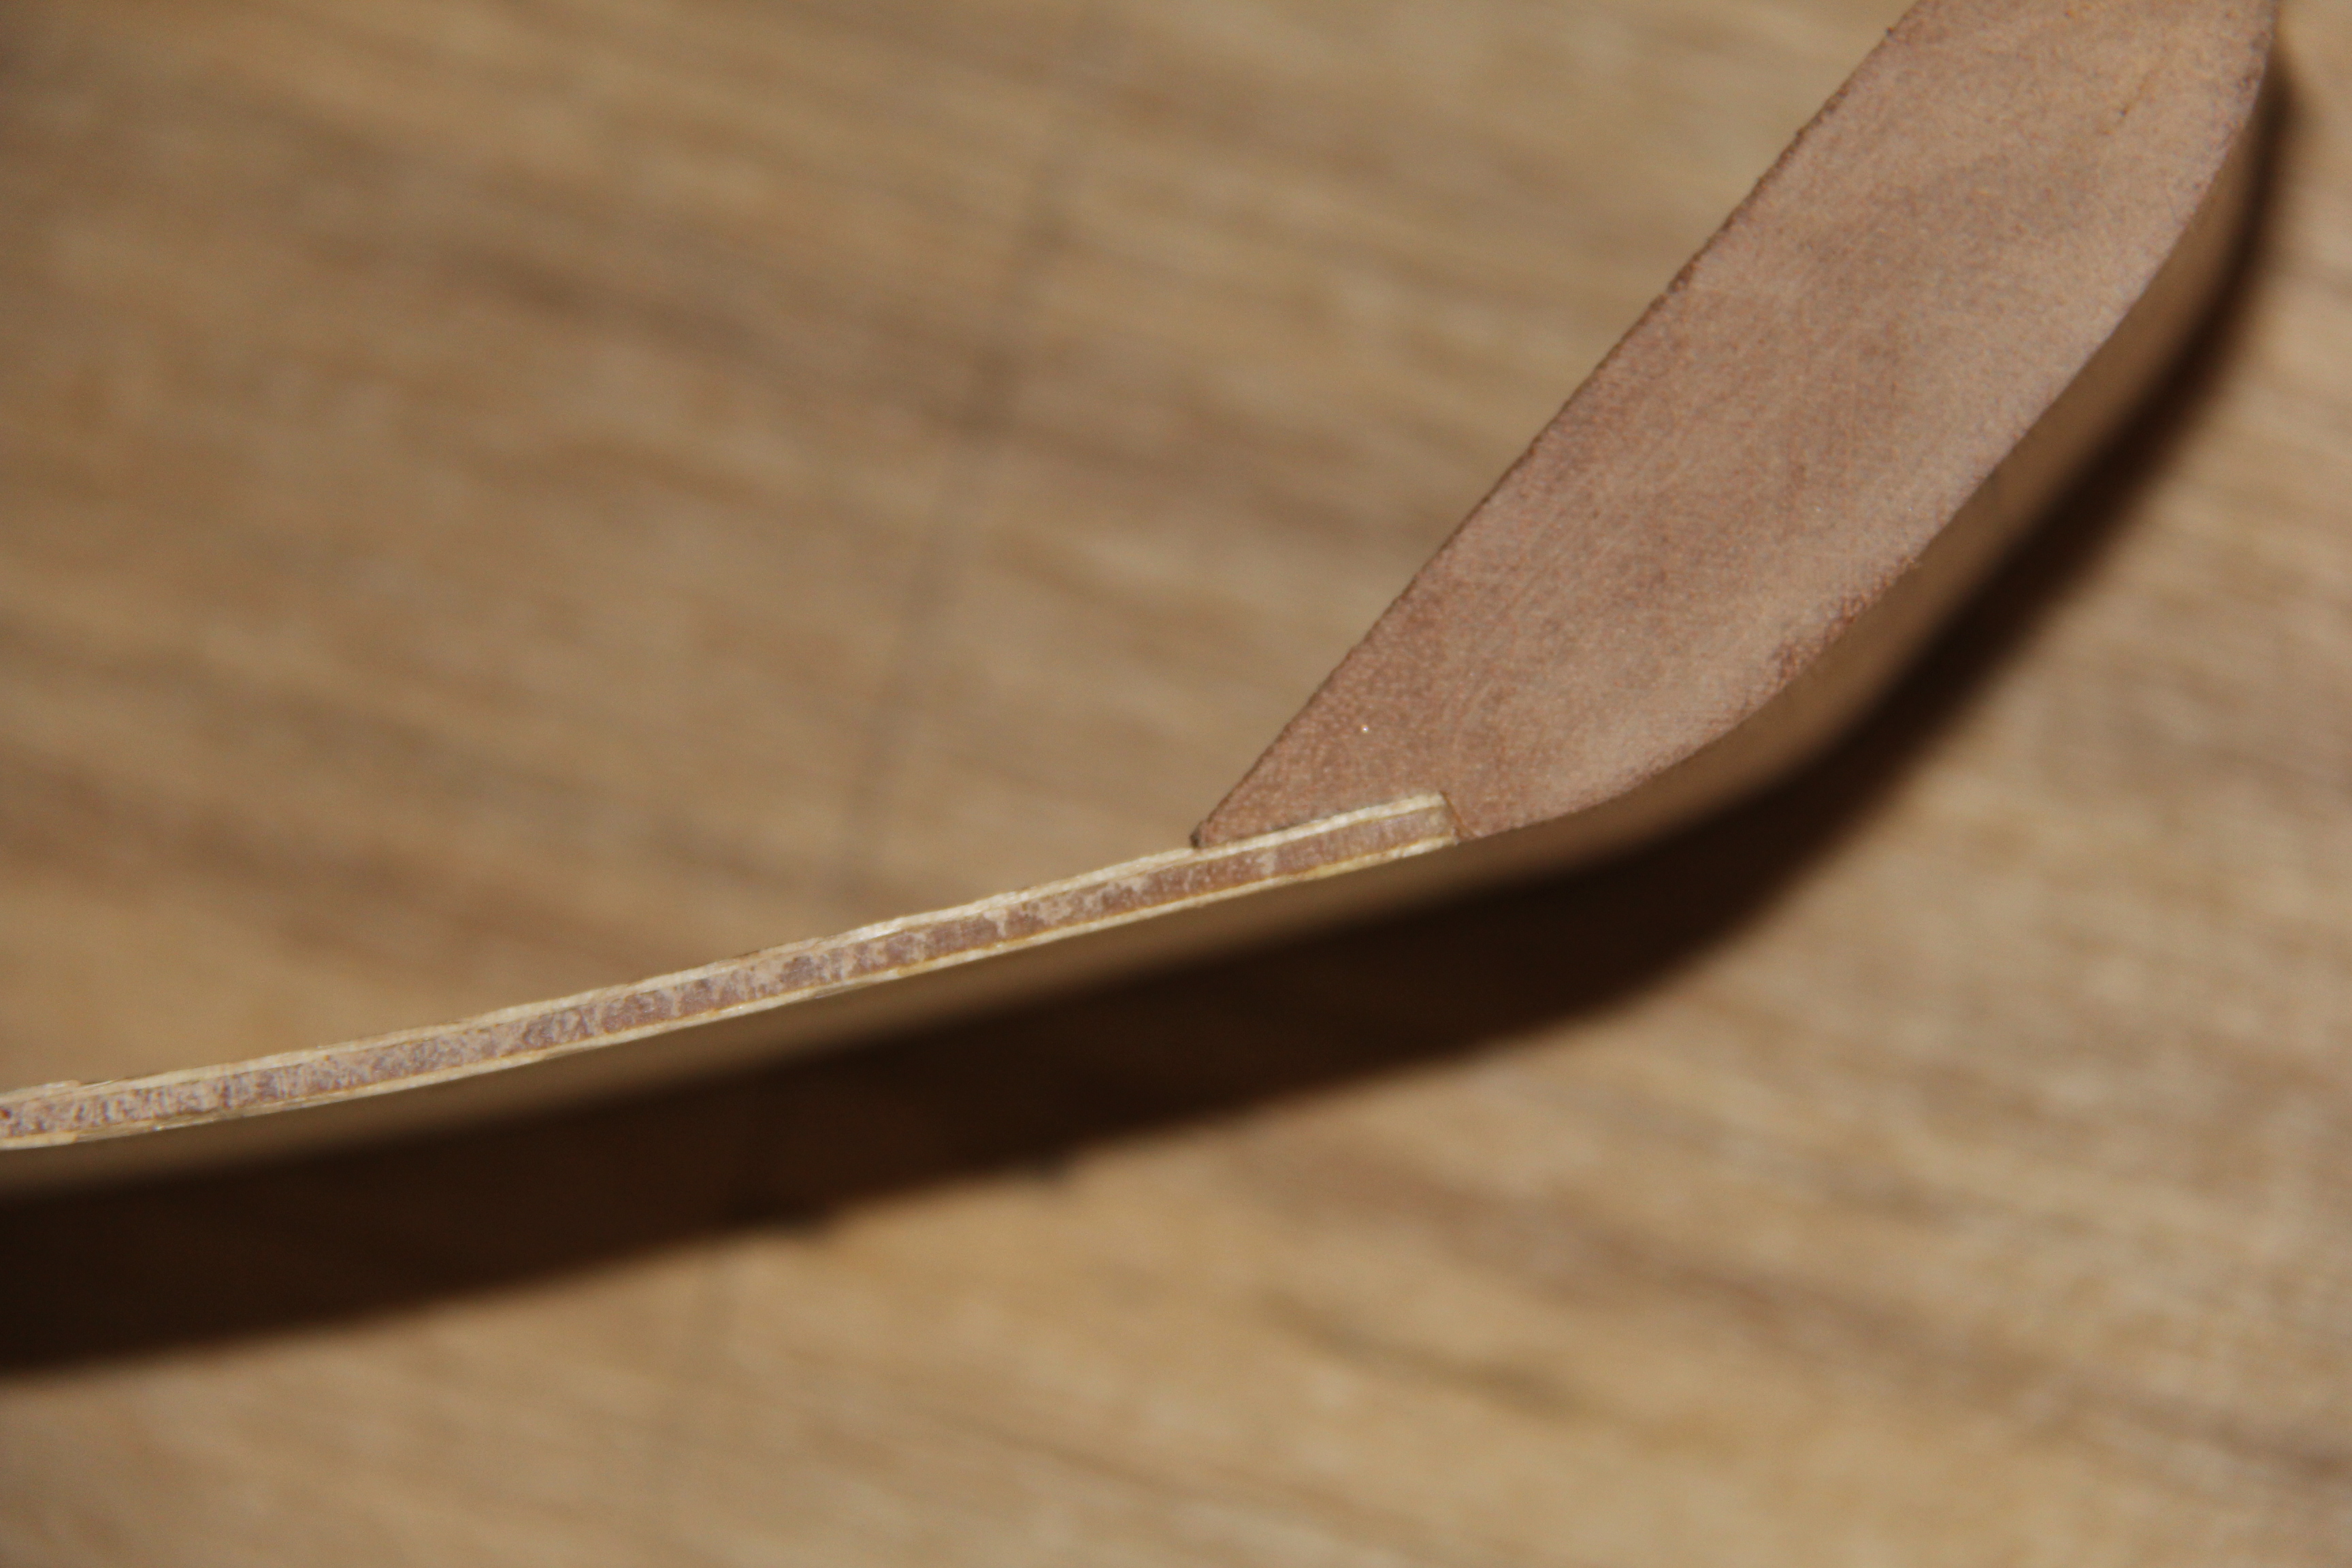
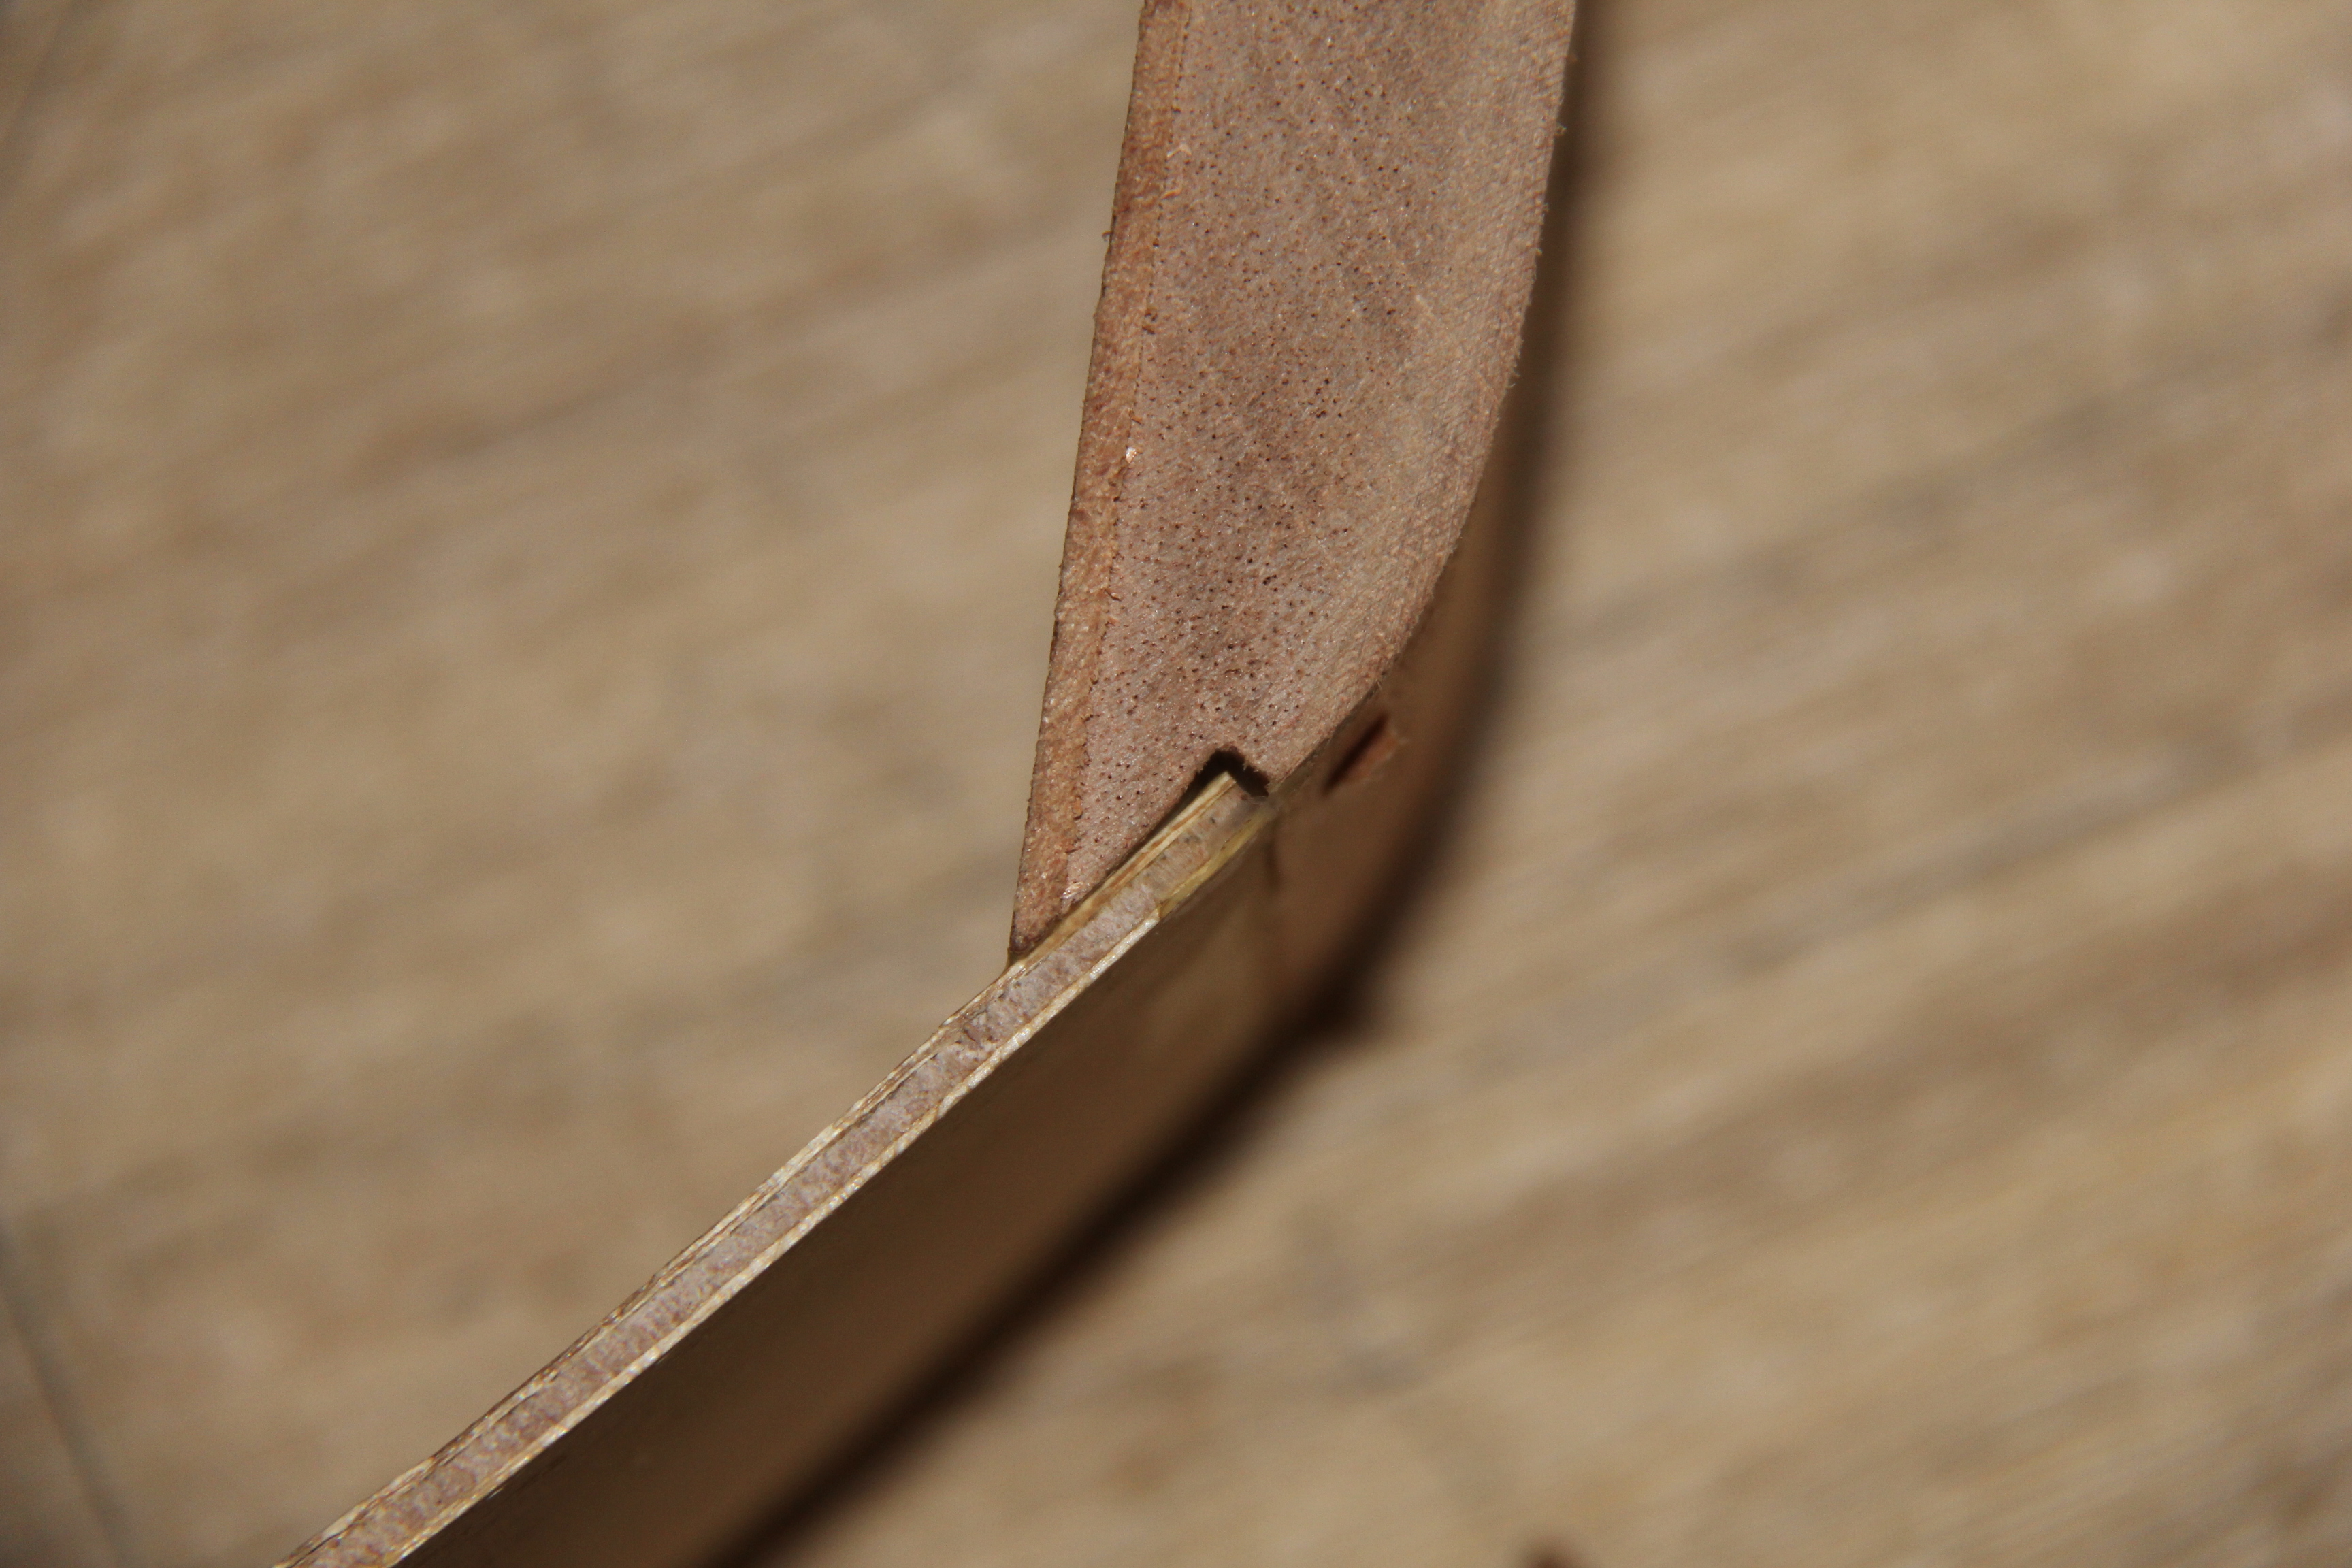
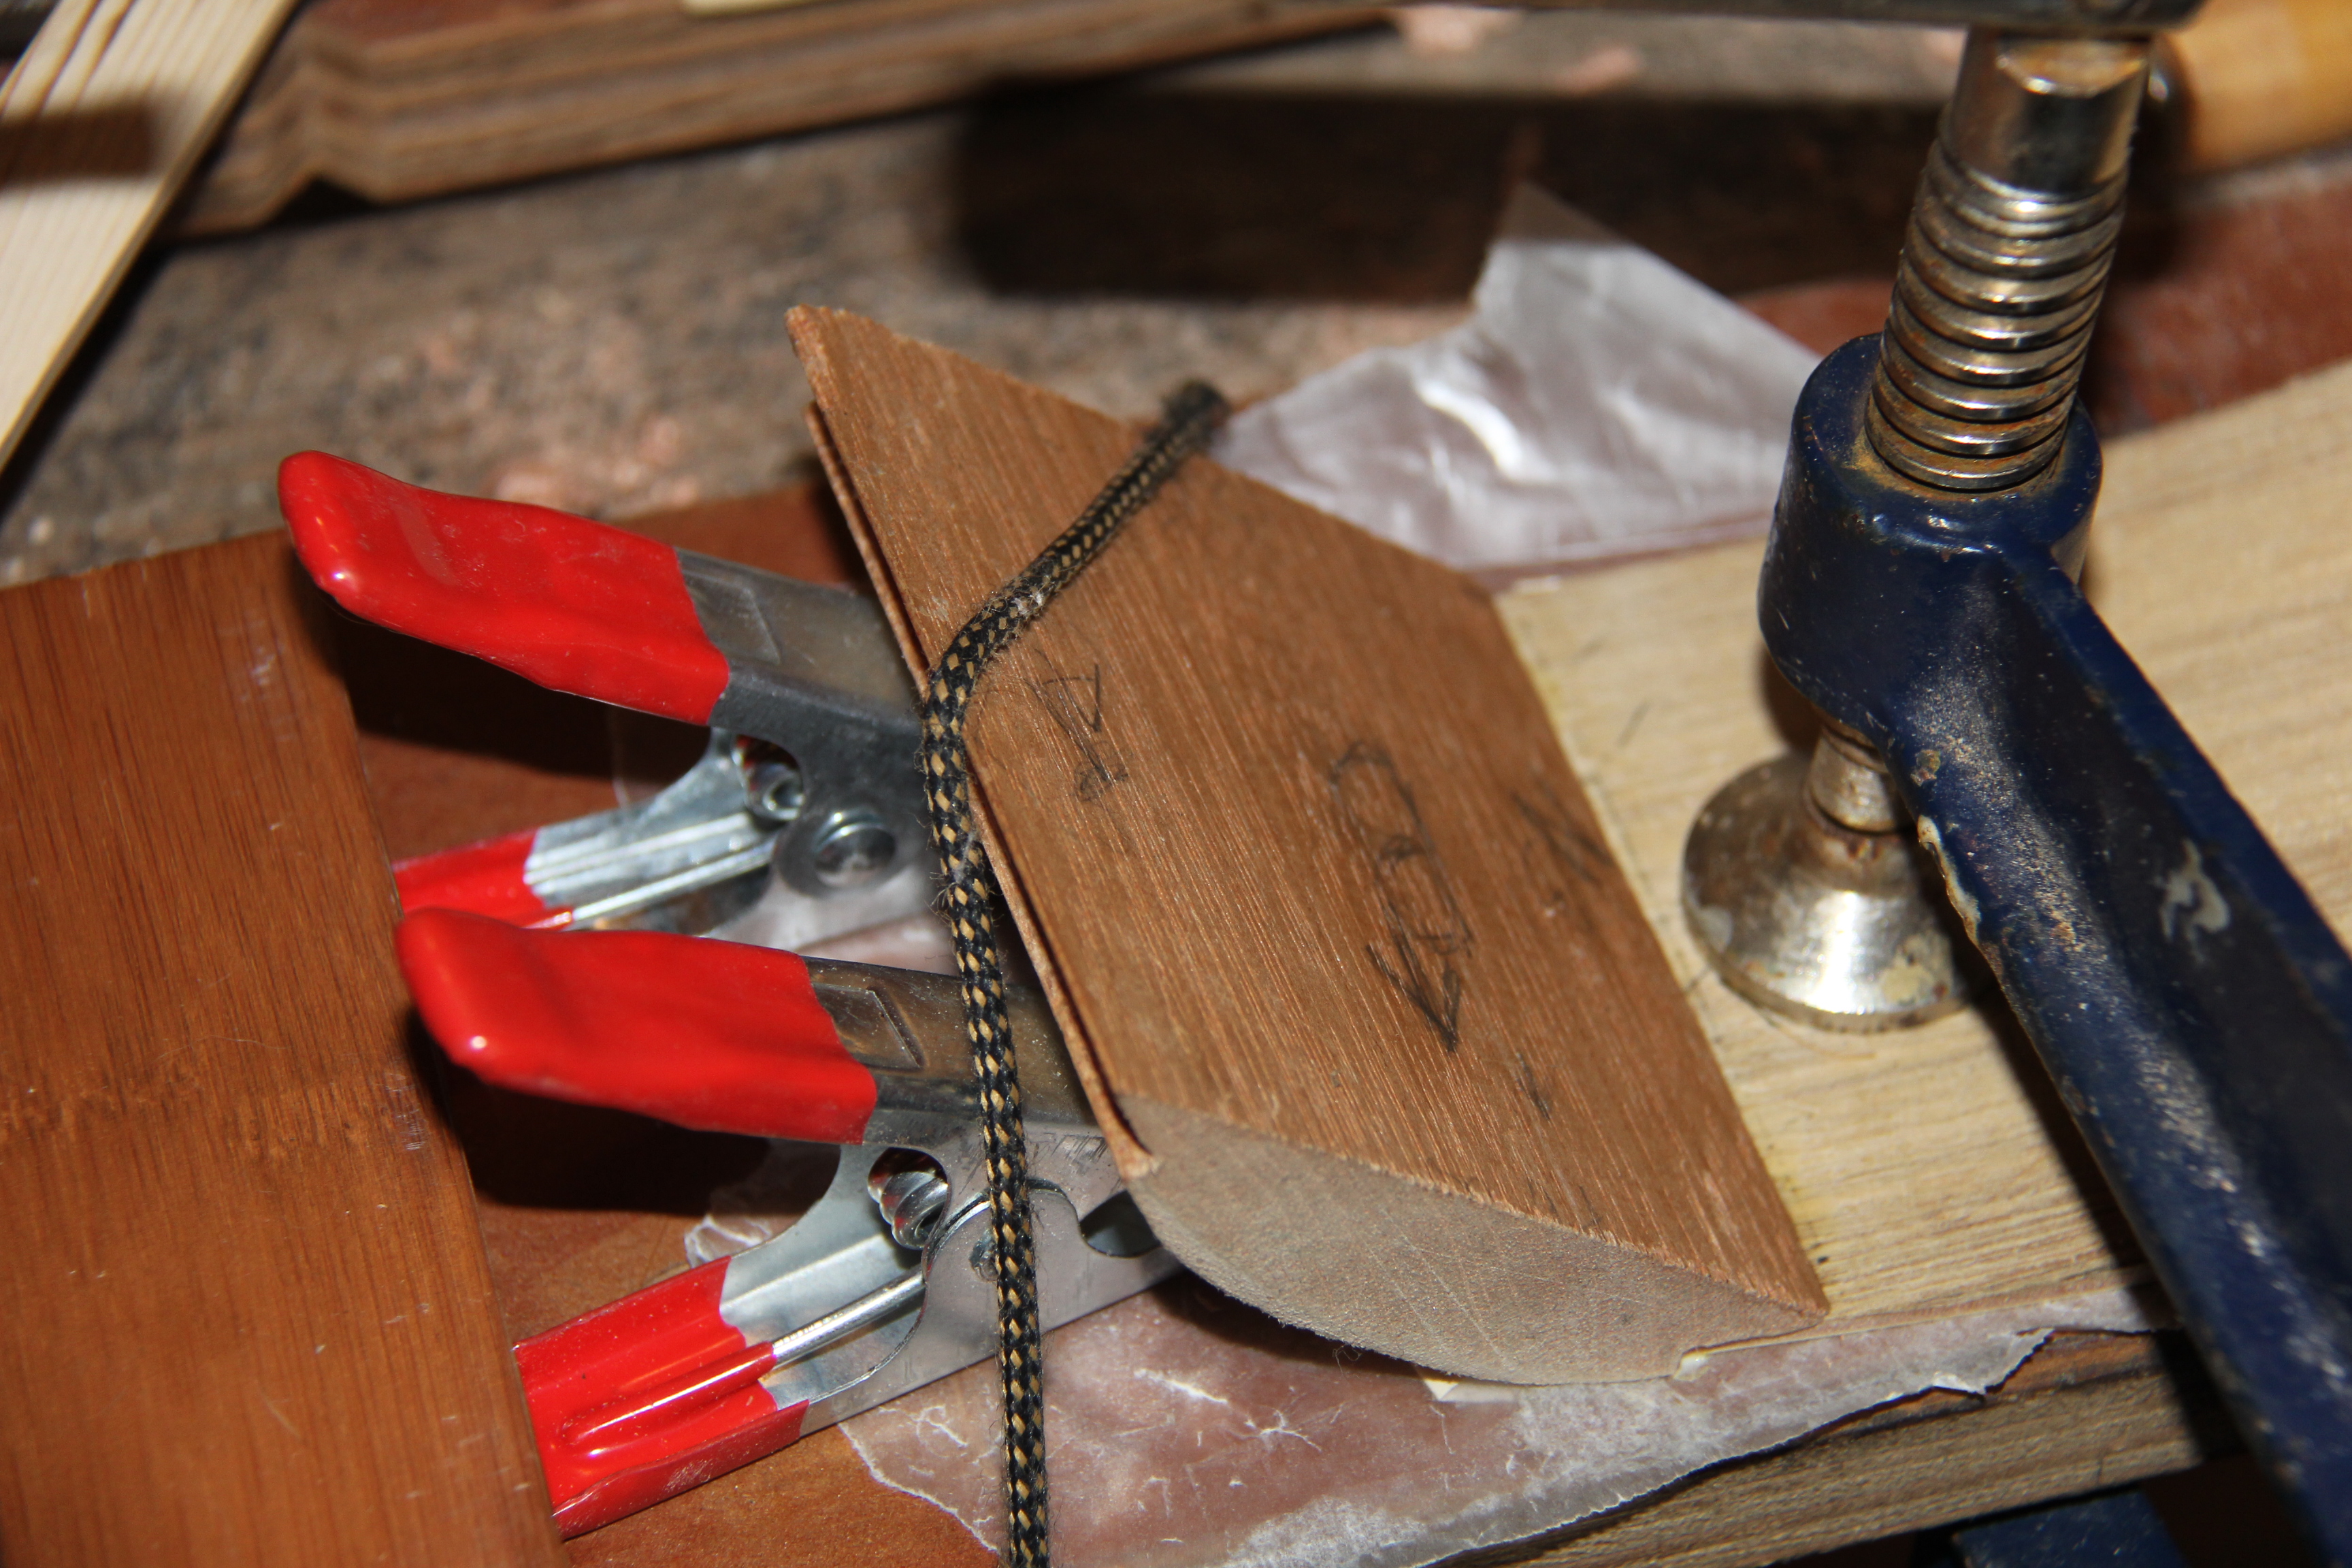
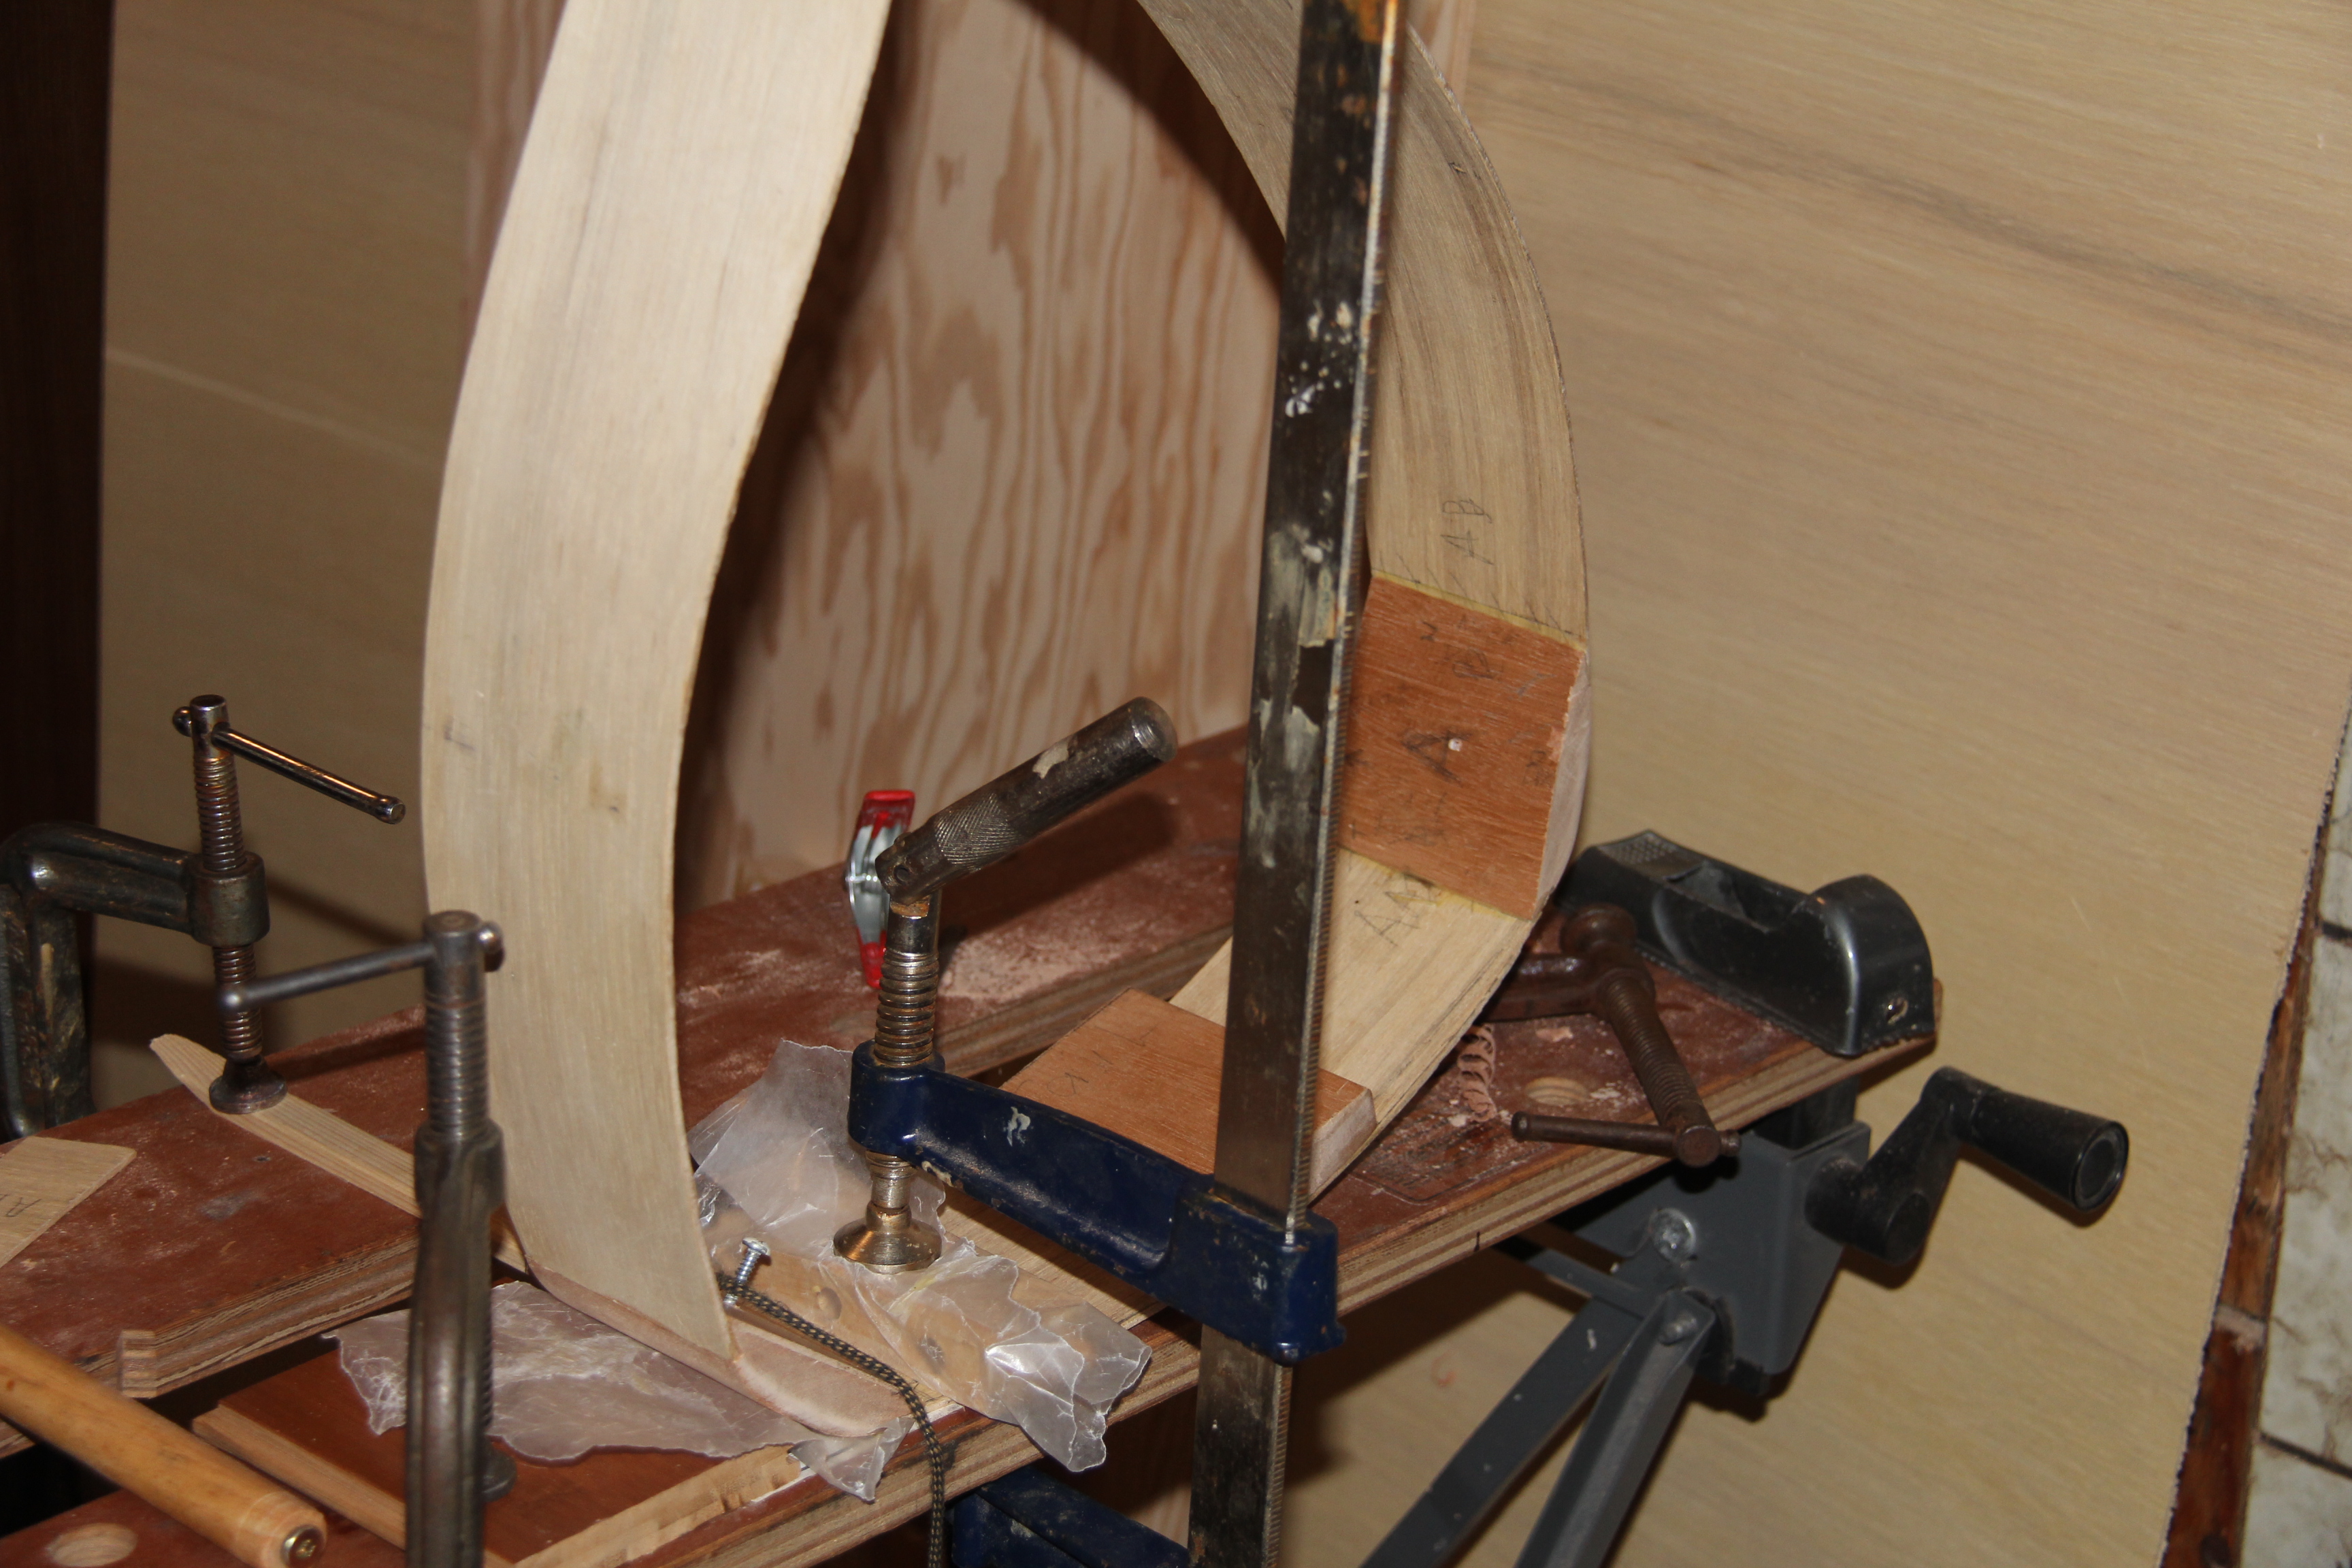
However, the second joint (on the right) is not near as tight. I figured out this is because I had pre-rounded the block :( Next time I will not do that but notice I have already rounded the first block too now. So I will have to figure out a way around things.
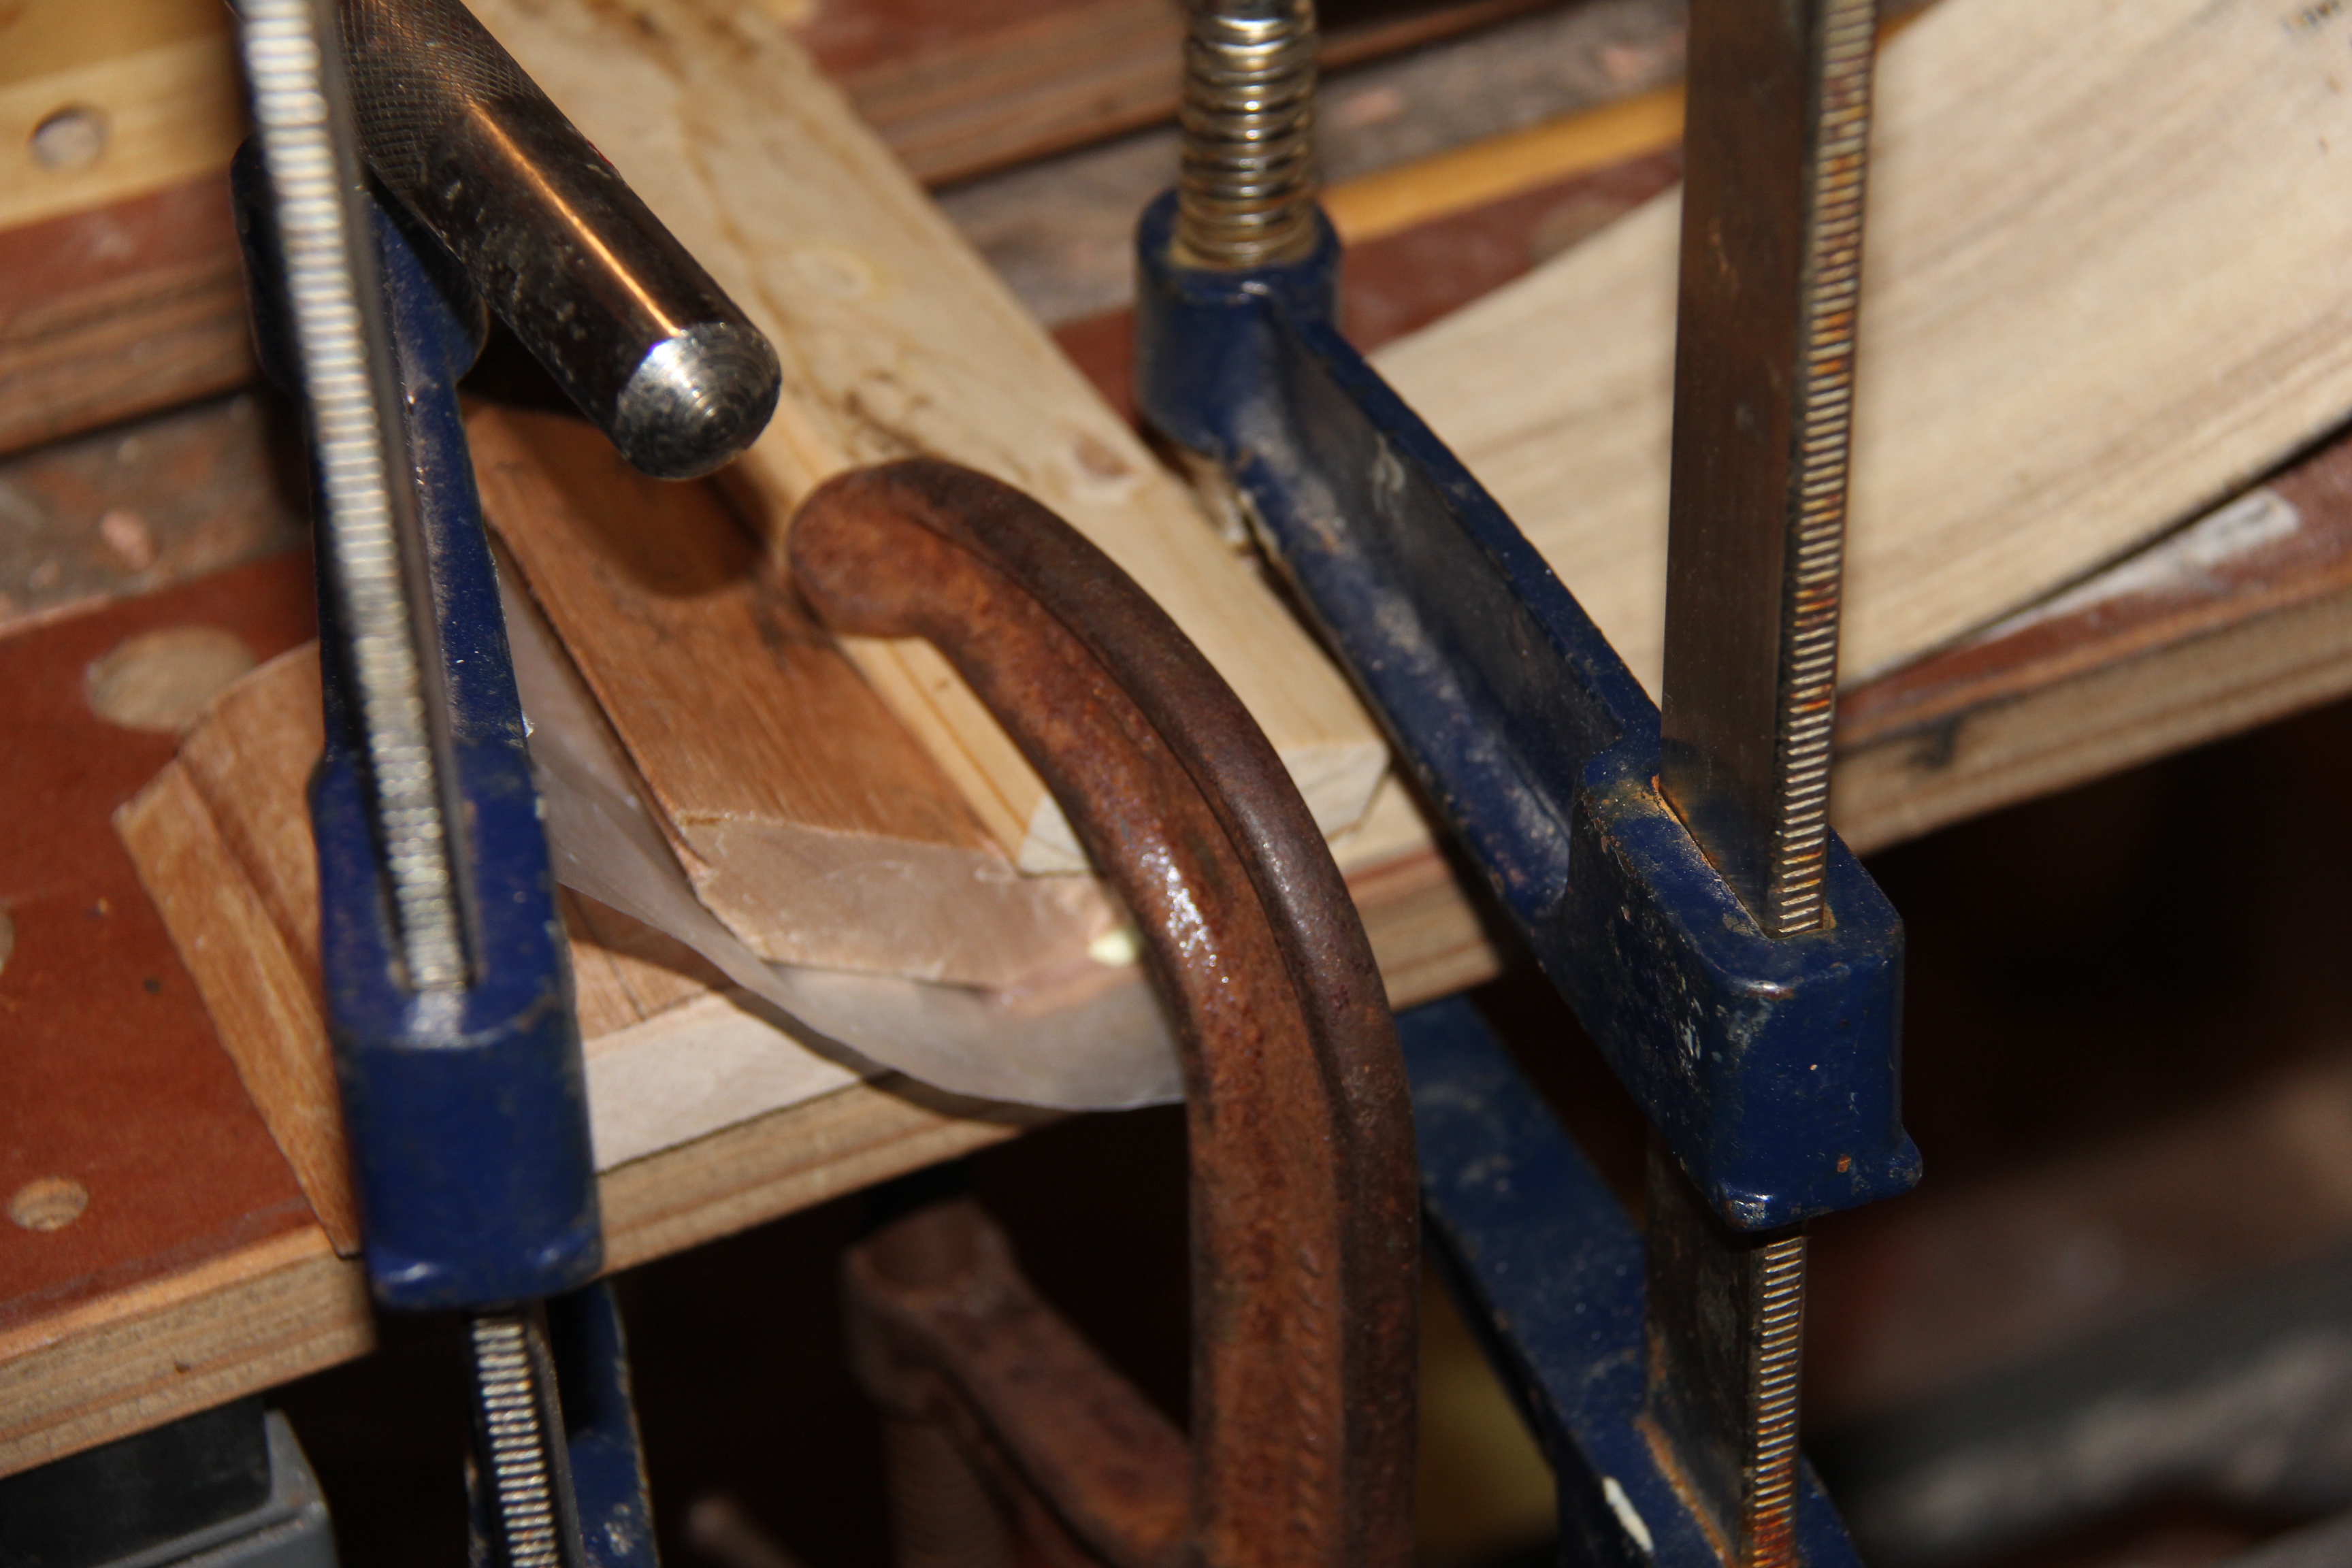
Only one thing for it....
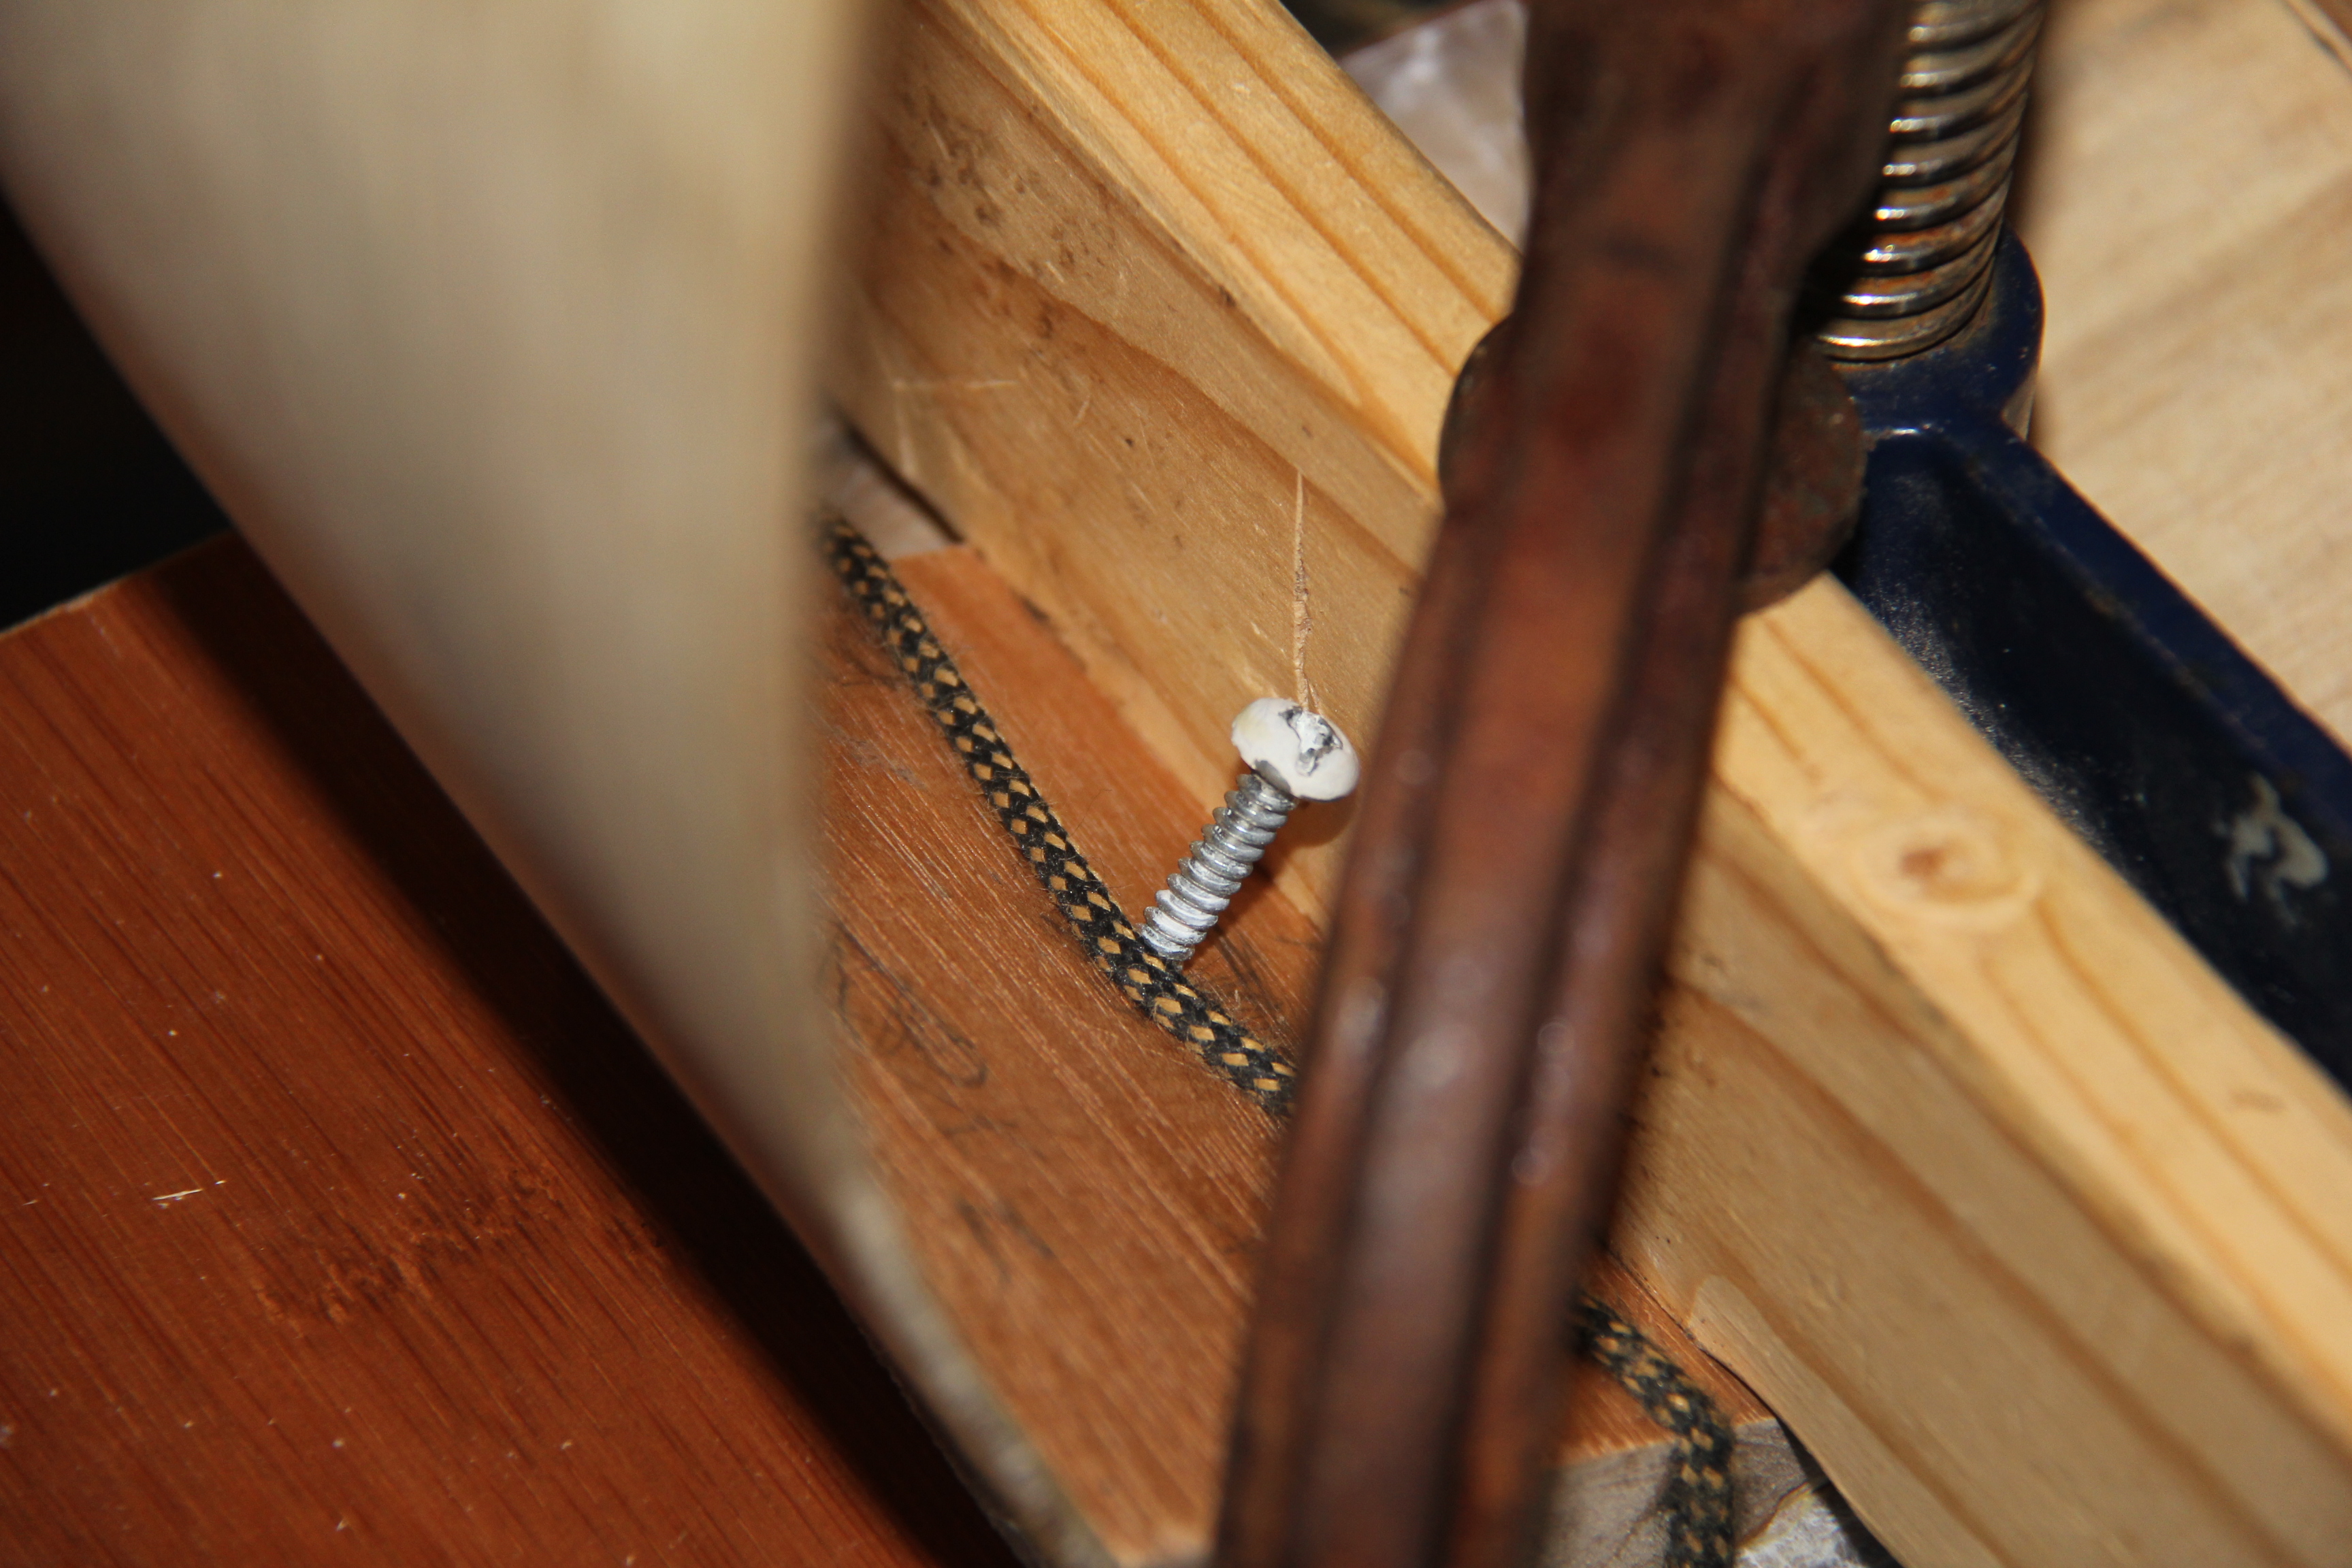
Yup, break it apart and start over. (steam helps to loosen the glue... so not "break" exactly) Anyway, new way of clamping using a string with a weight.
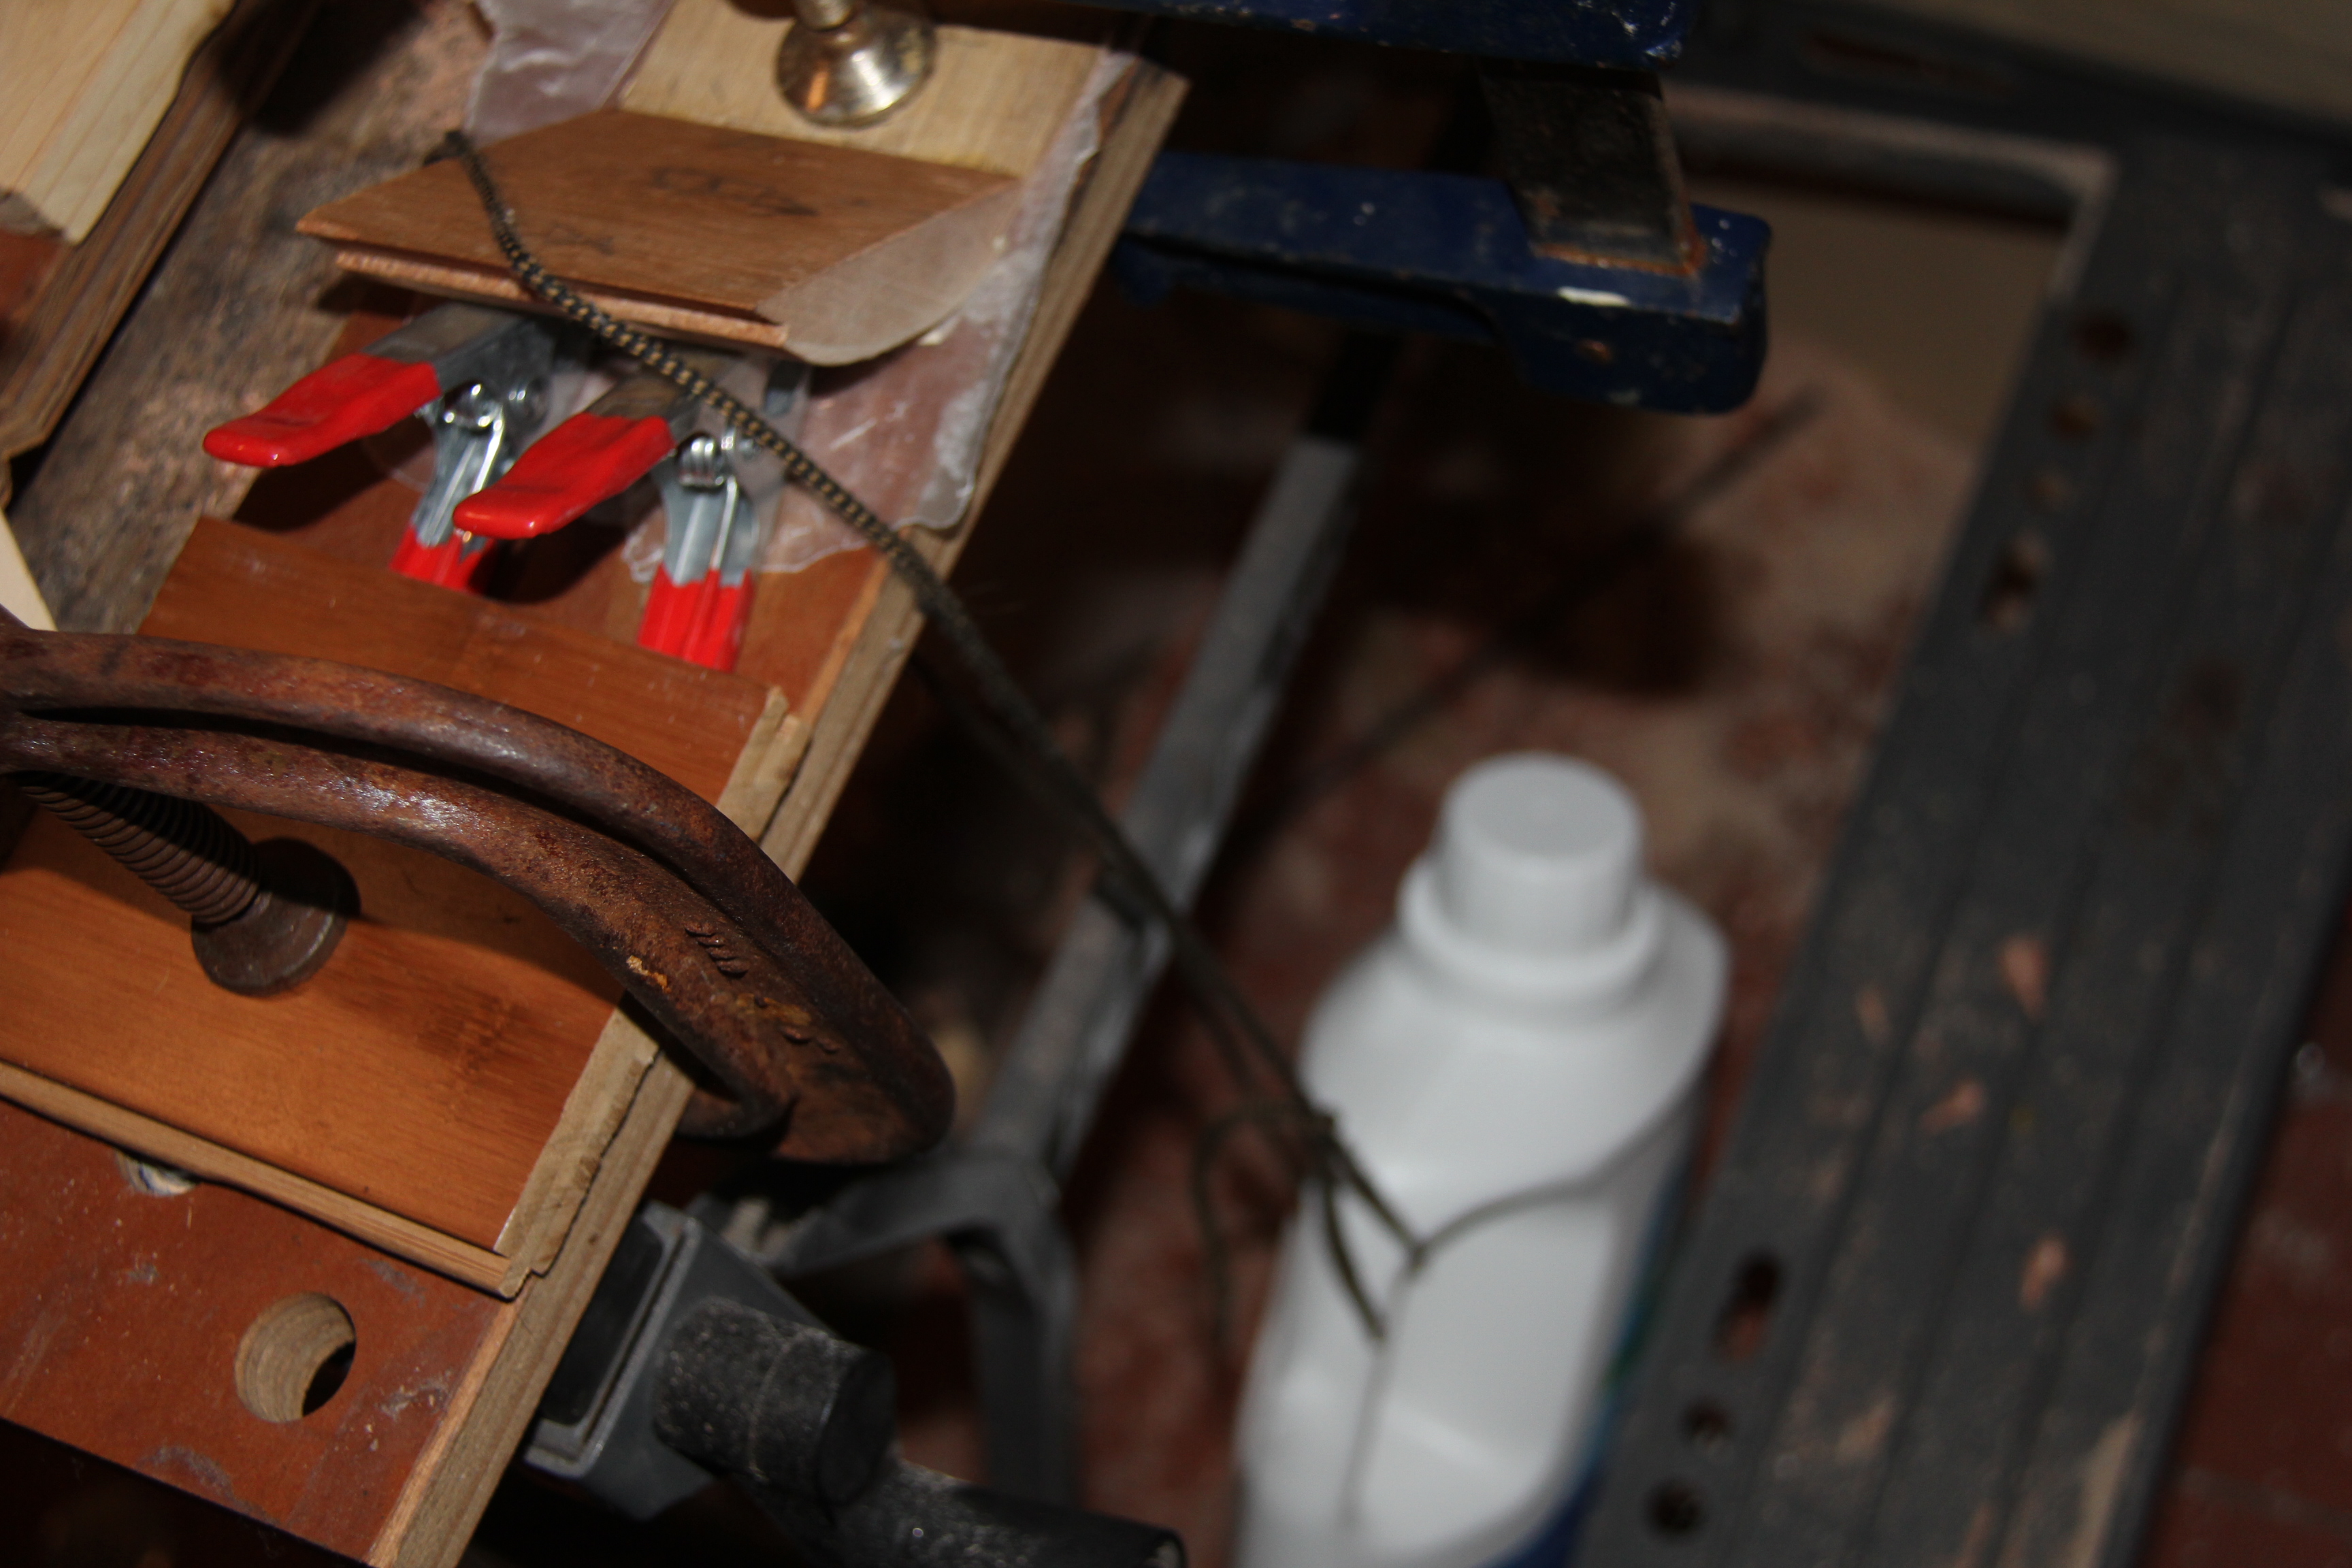
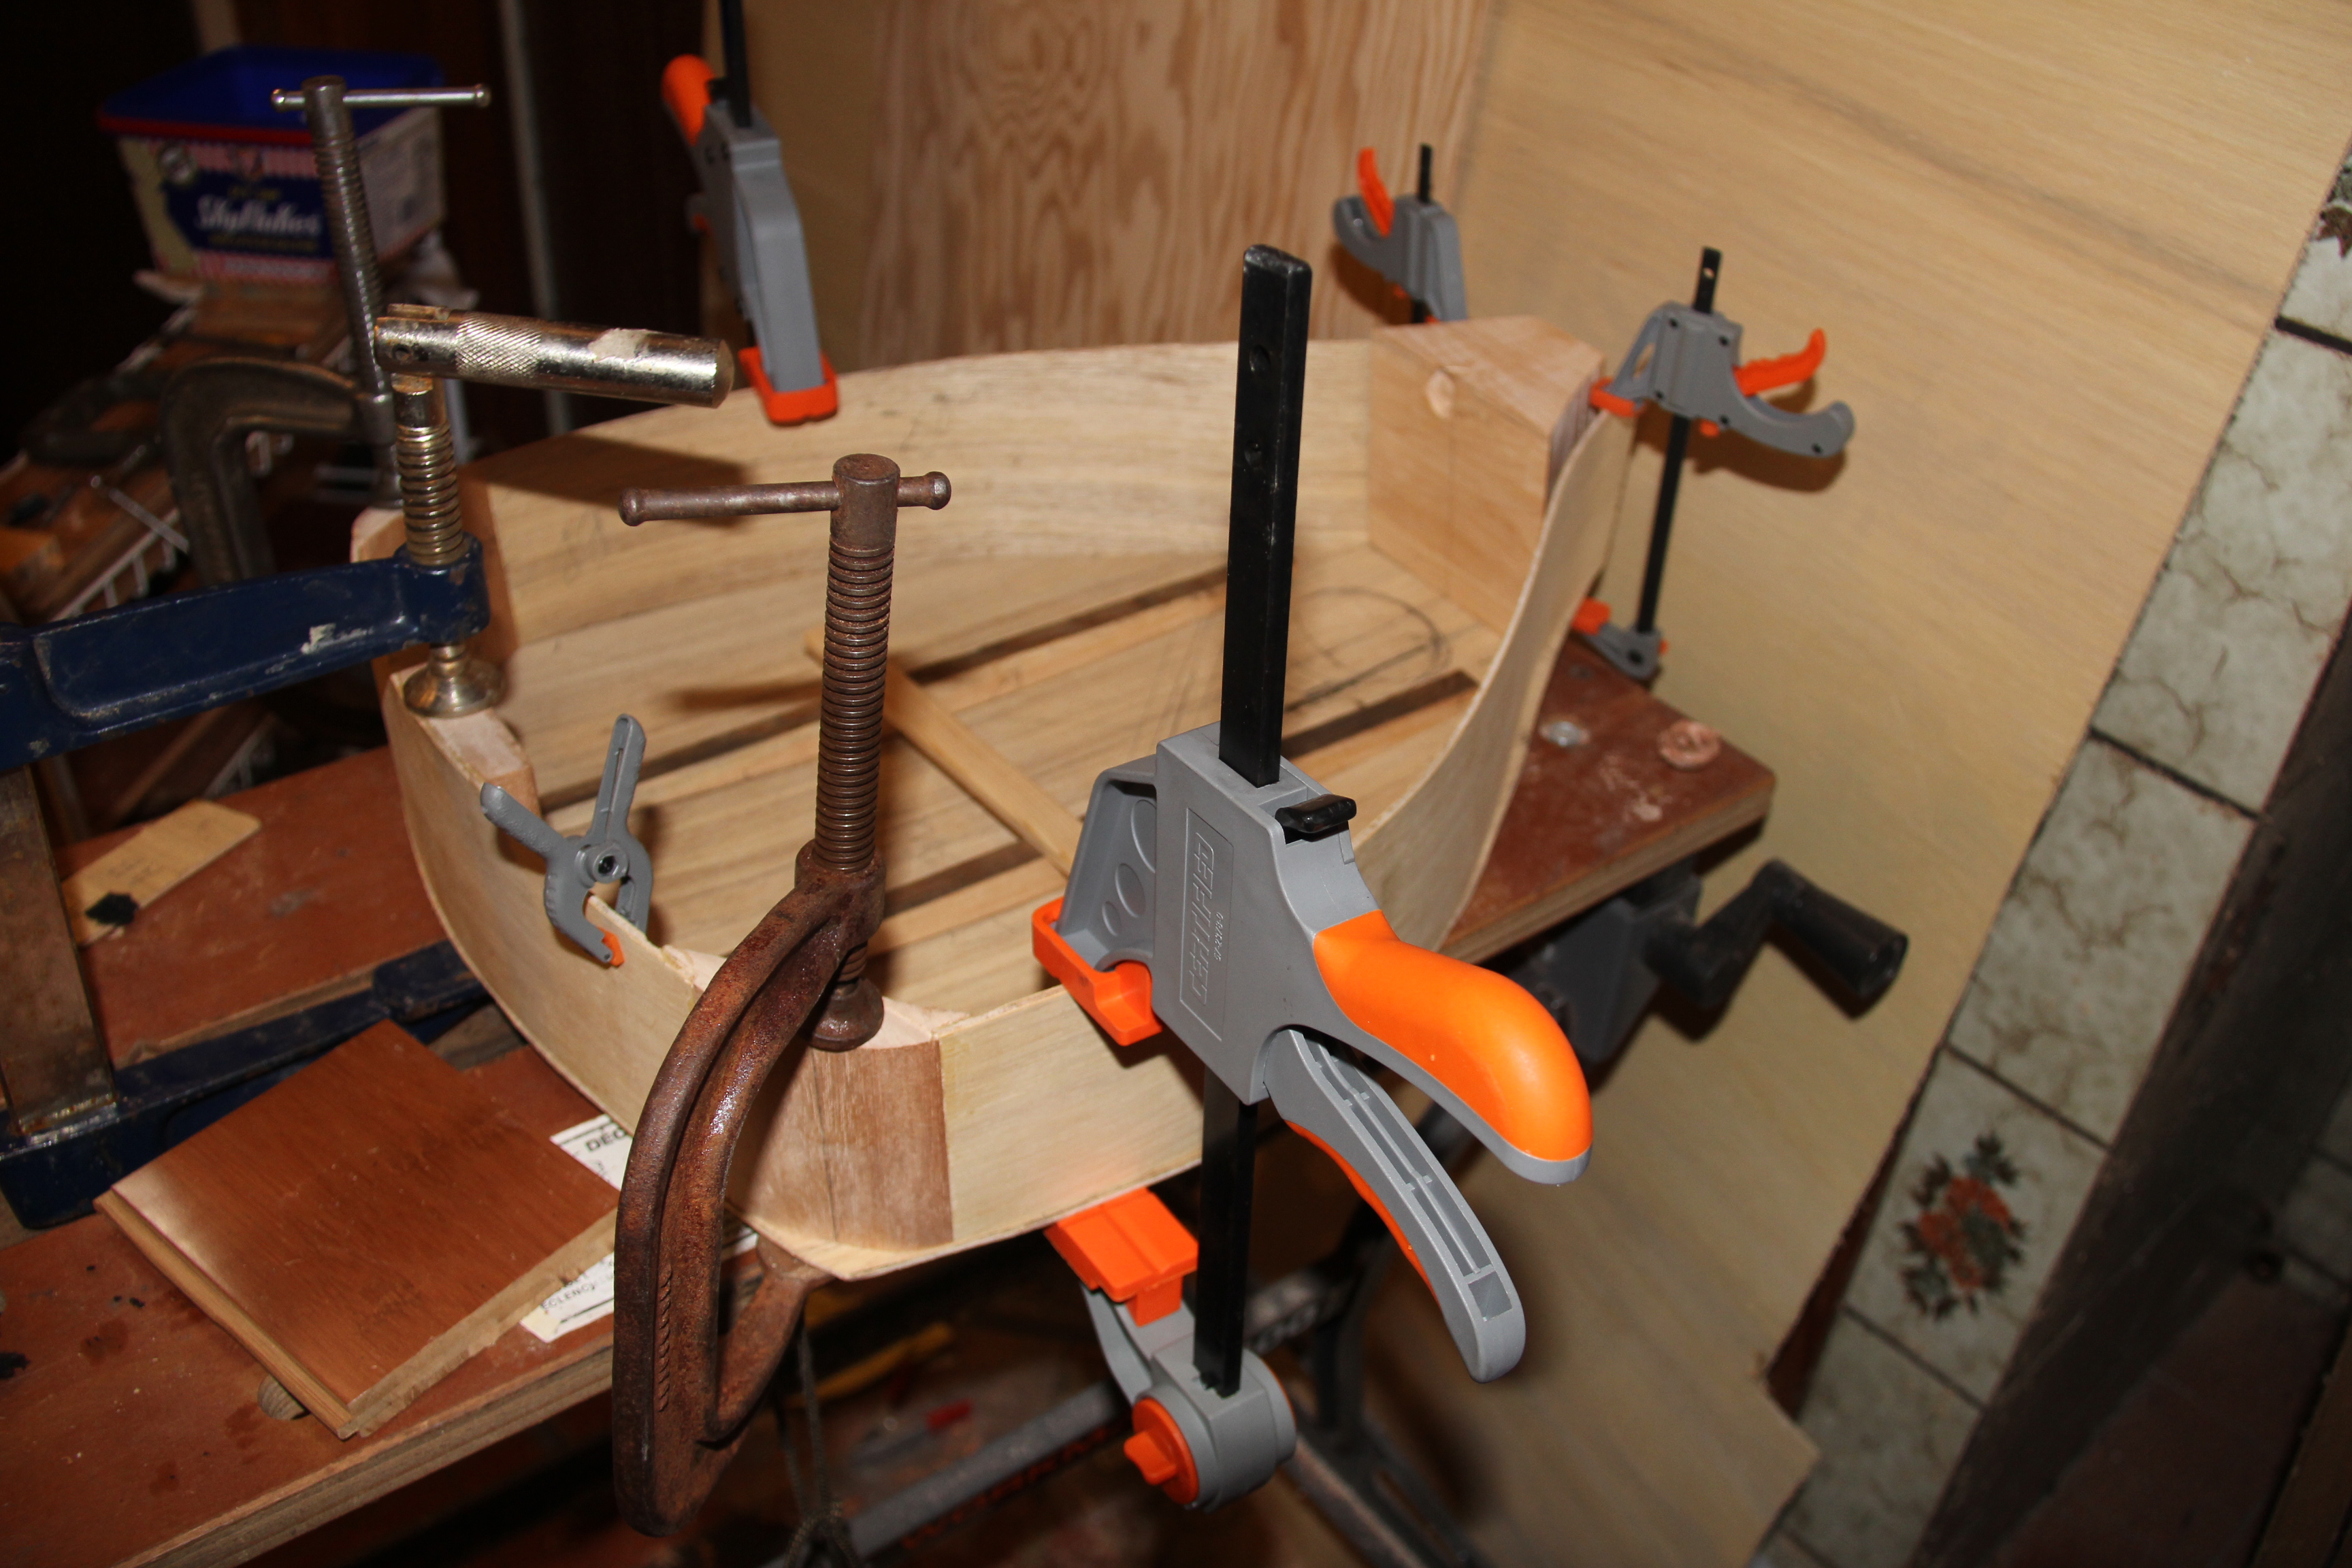
With Mello supervising... and some more creative clamping solutions:
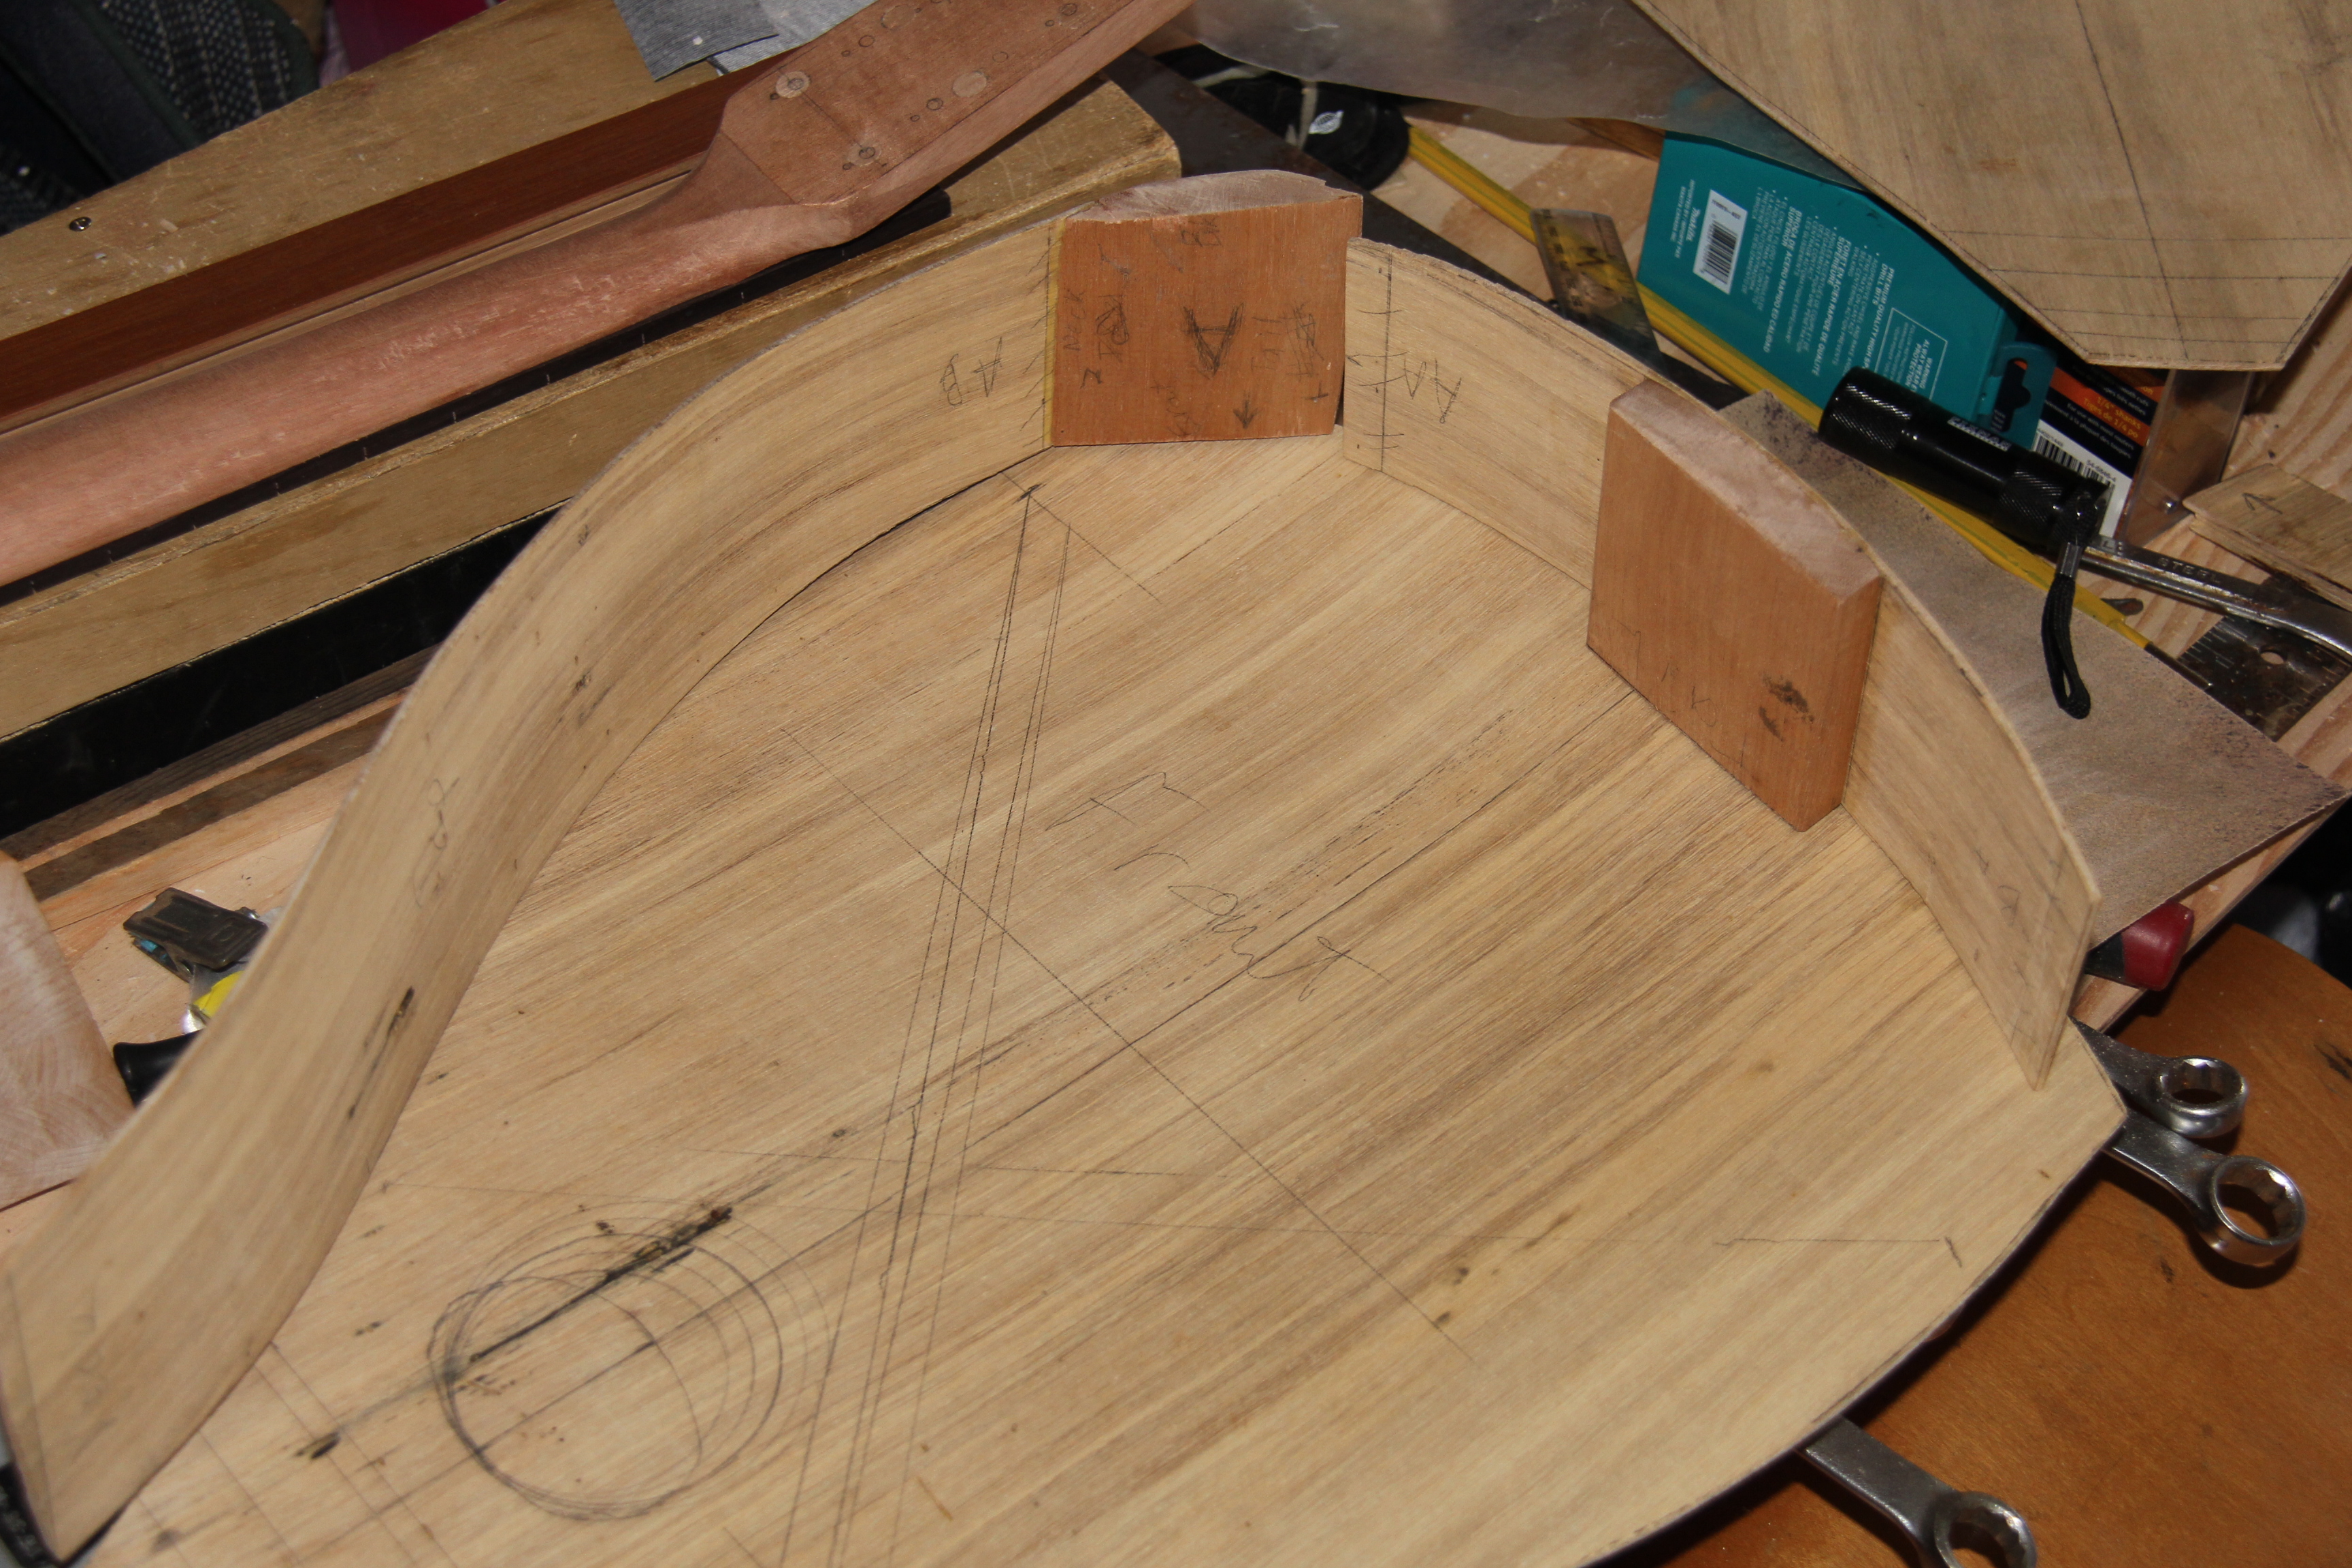
I have the ribs put together. It fits the top really well, just small enough to allow a bit of trimming. By clamping in position I can see that the shape (arch) of the top is more what I was looking for too. You can see where the braces will go too.
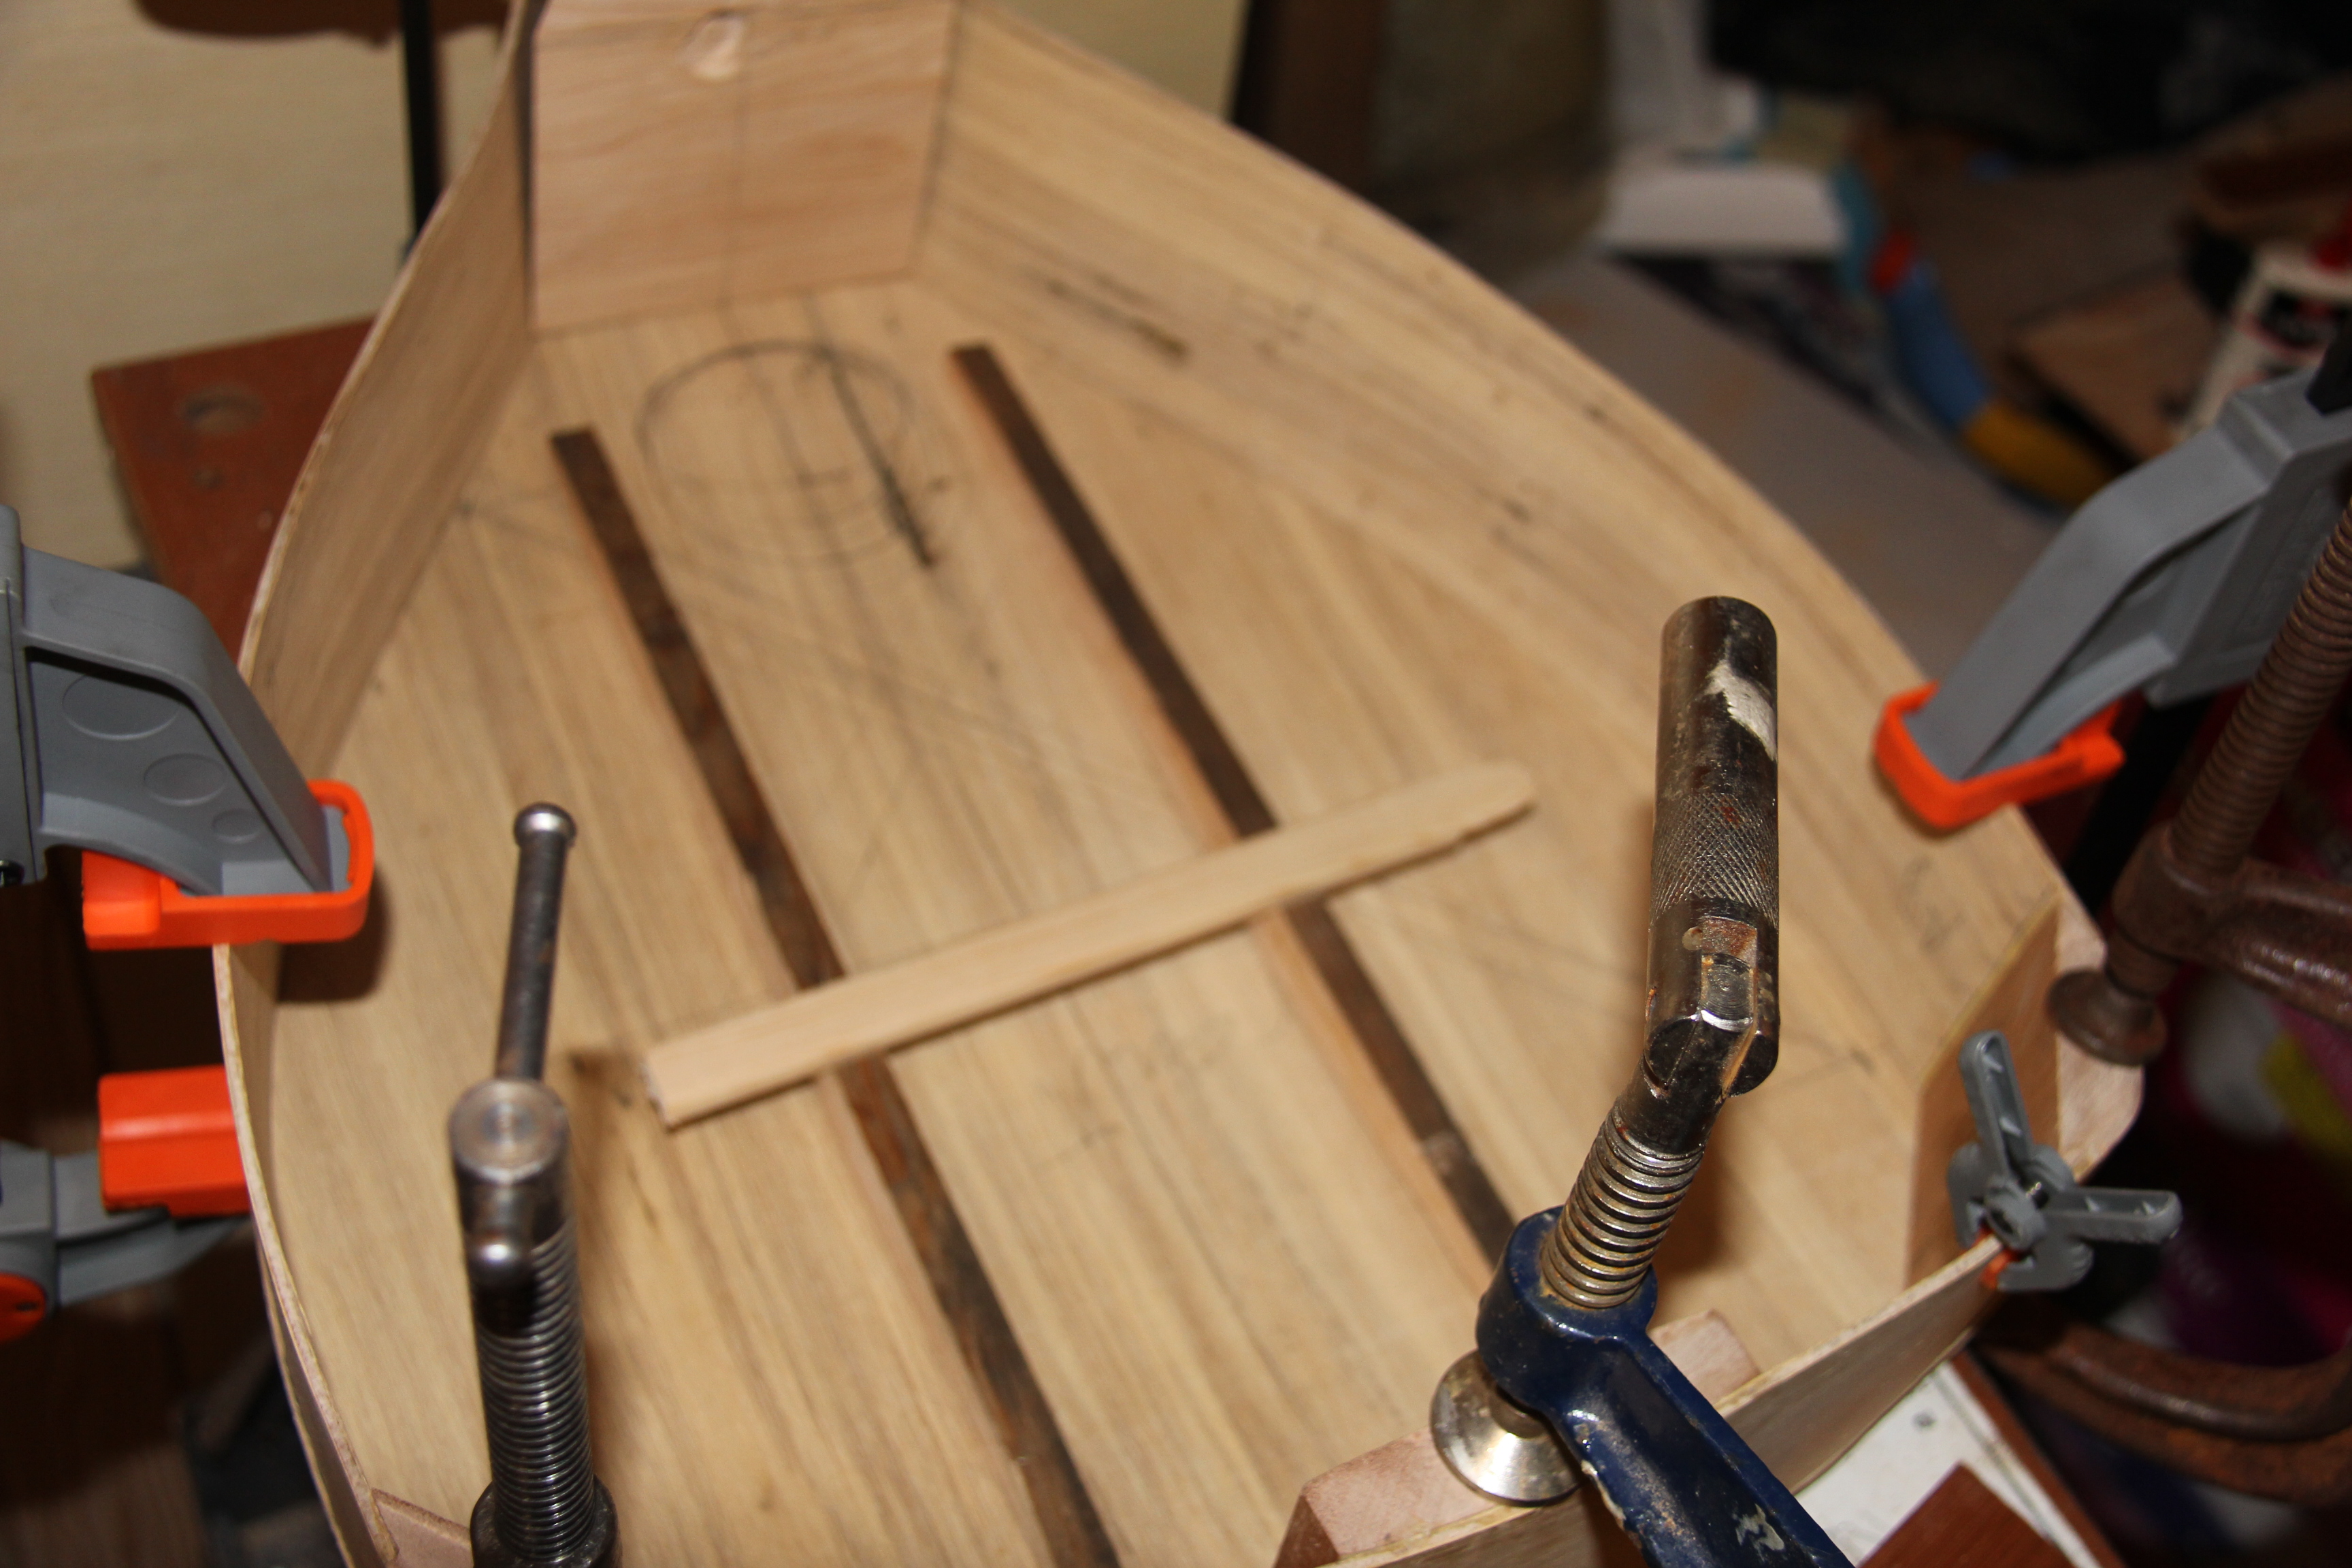
Before I can actually glue things, I have to finish the top a bit more.
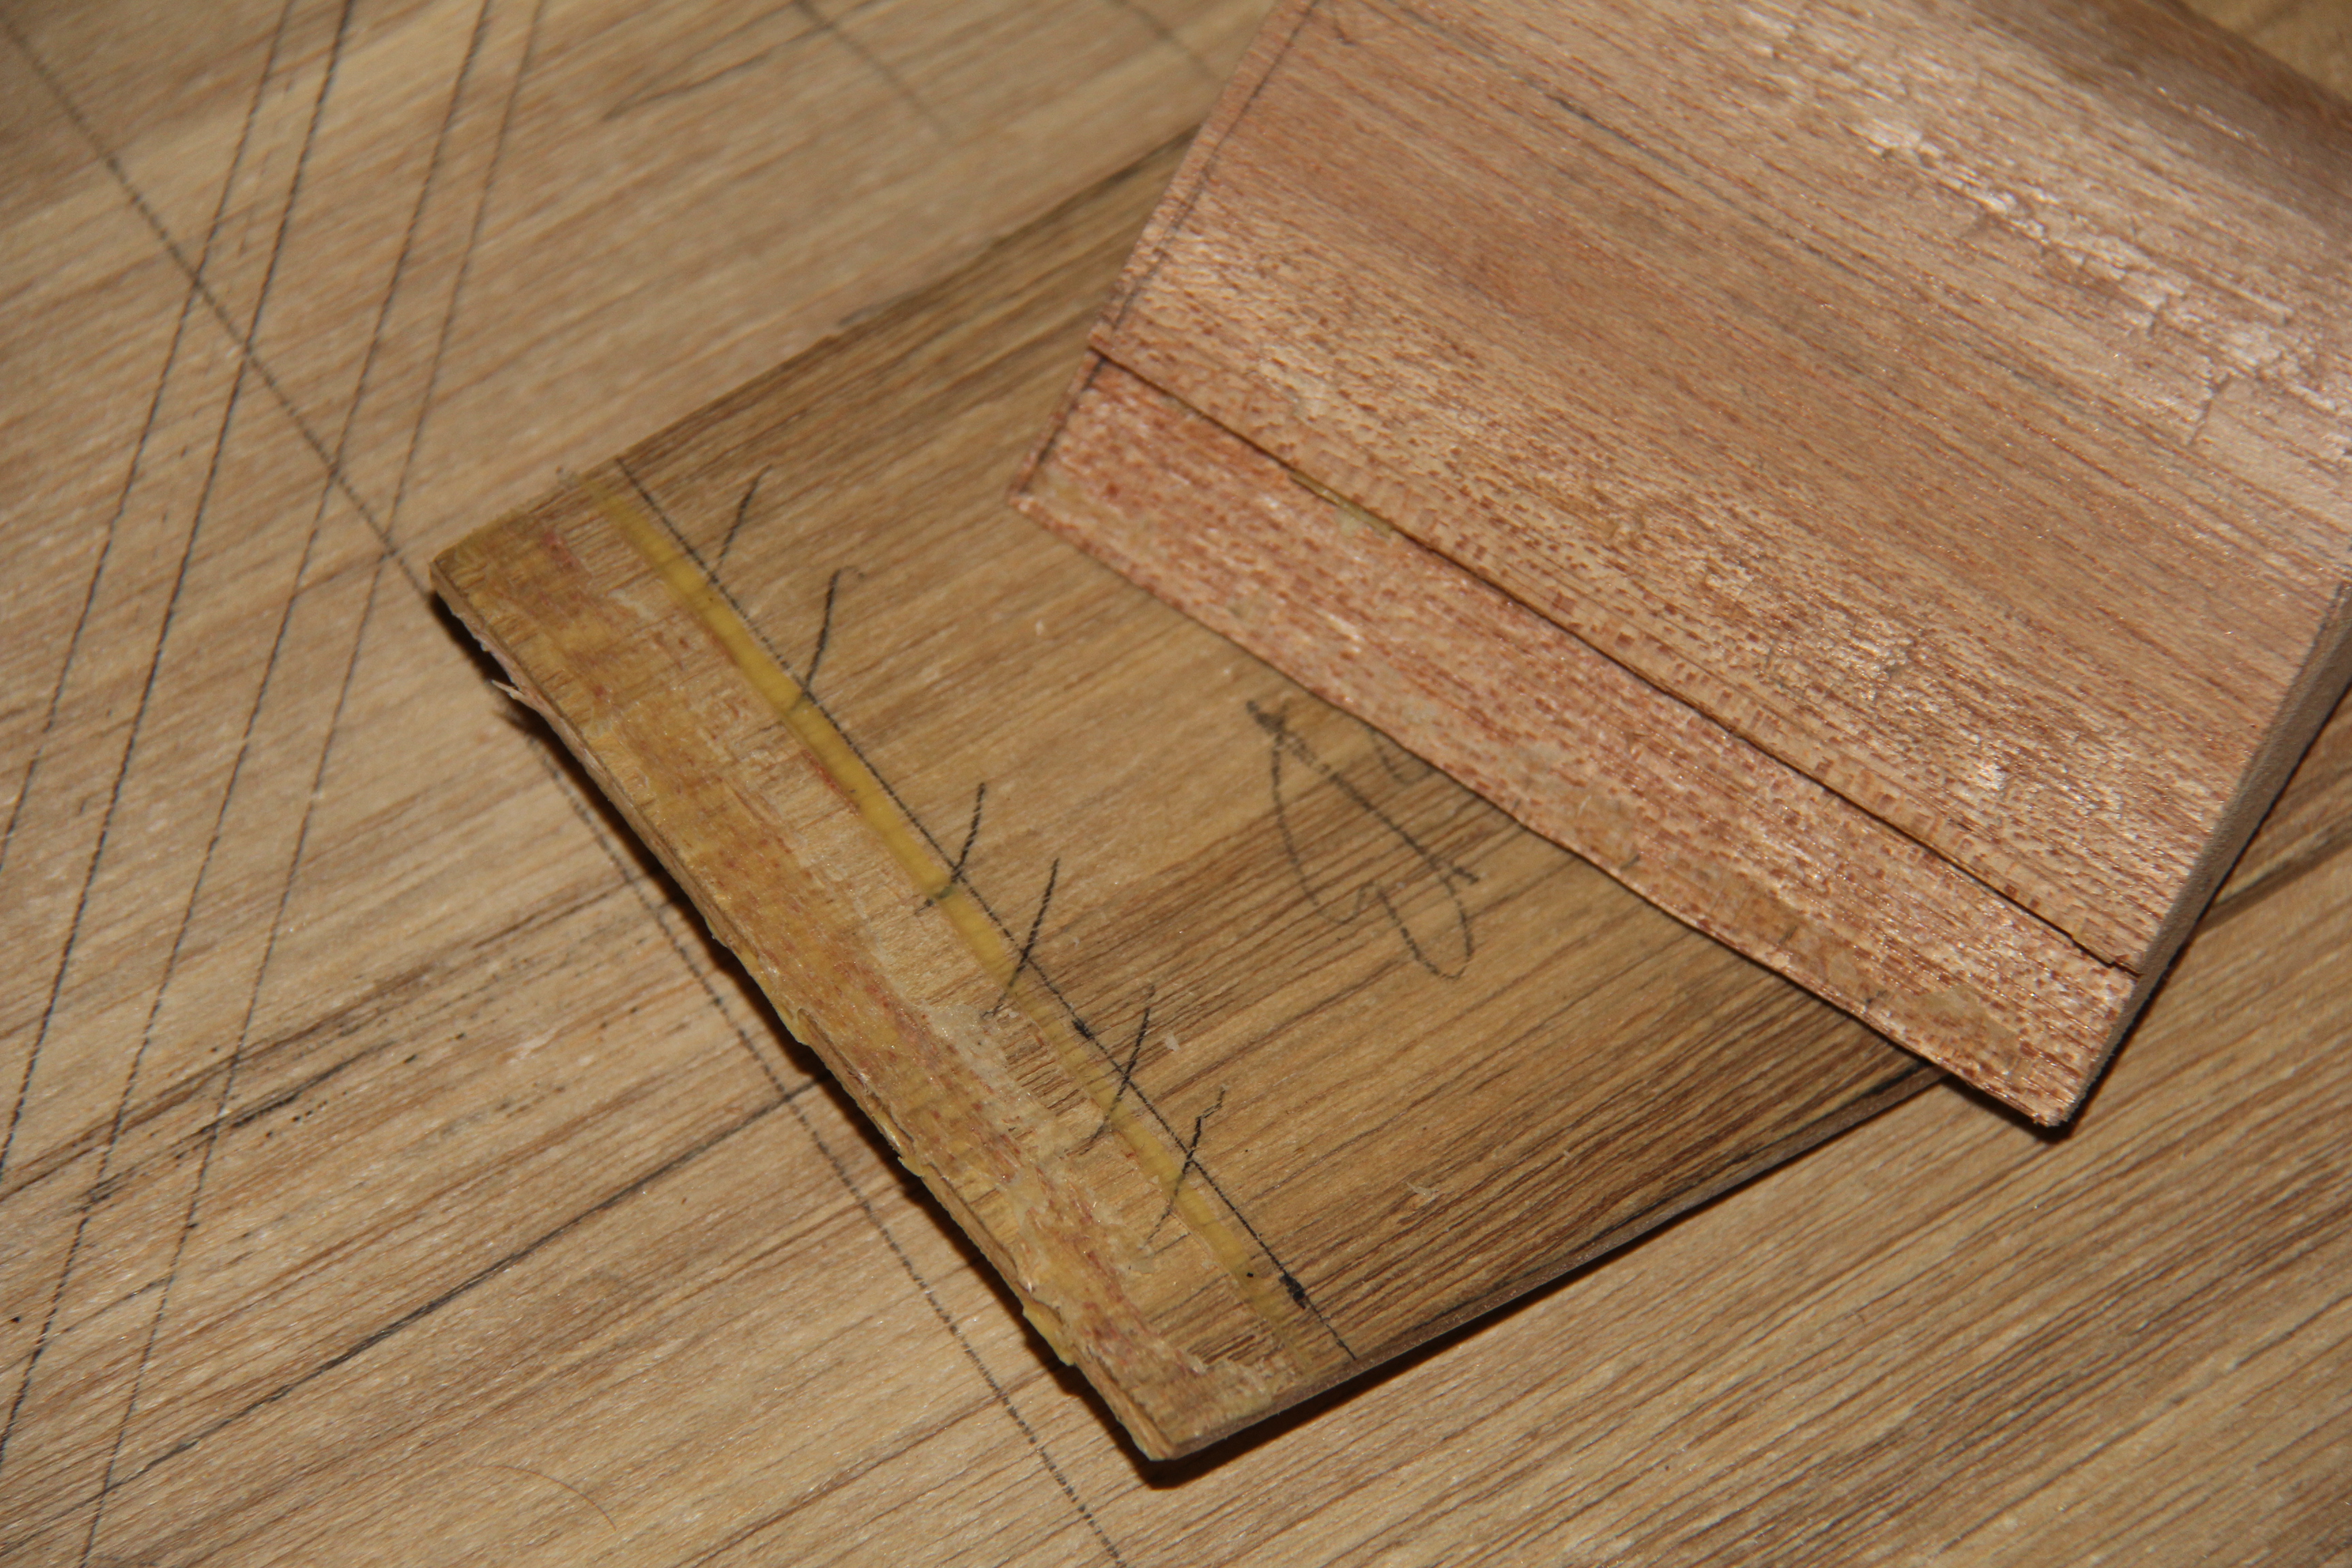
I learned a few things about gluing while doing this. First, Blocks are best left with flat edges not pre-rounded. Second, using a big flat block under the clamp gives flusher joints. From before I had also learned to shape any two pieces that are supposed to be the same shape together before bending them. I am sure my next instrument will be better. (I am not sure if it will be a mandola or octave mandolin - depends what my fretboard bit works best with)
Well thats it for this time... tune in next time when we... cut the sound hole.
Previous page of the Mandocello build - Next page of the Mandocello build - Index of the Mandocello build