2017-03-30
Previous page of the Mandocello build - Next page of the Mandocello build - Index of the Mandocello buildI seem to have done a little work. Neck and whenever I pass by a little sanding to shape blocks.
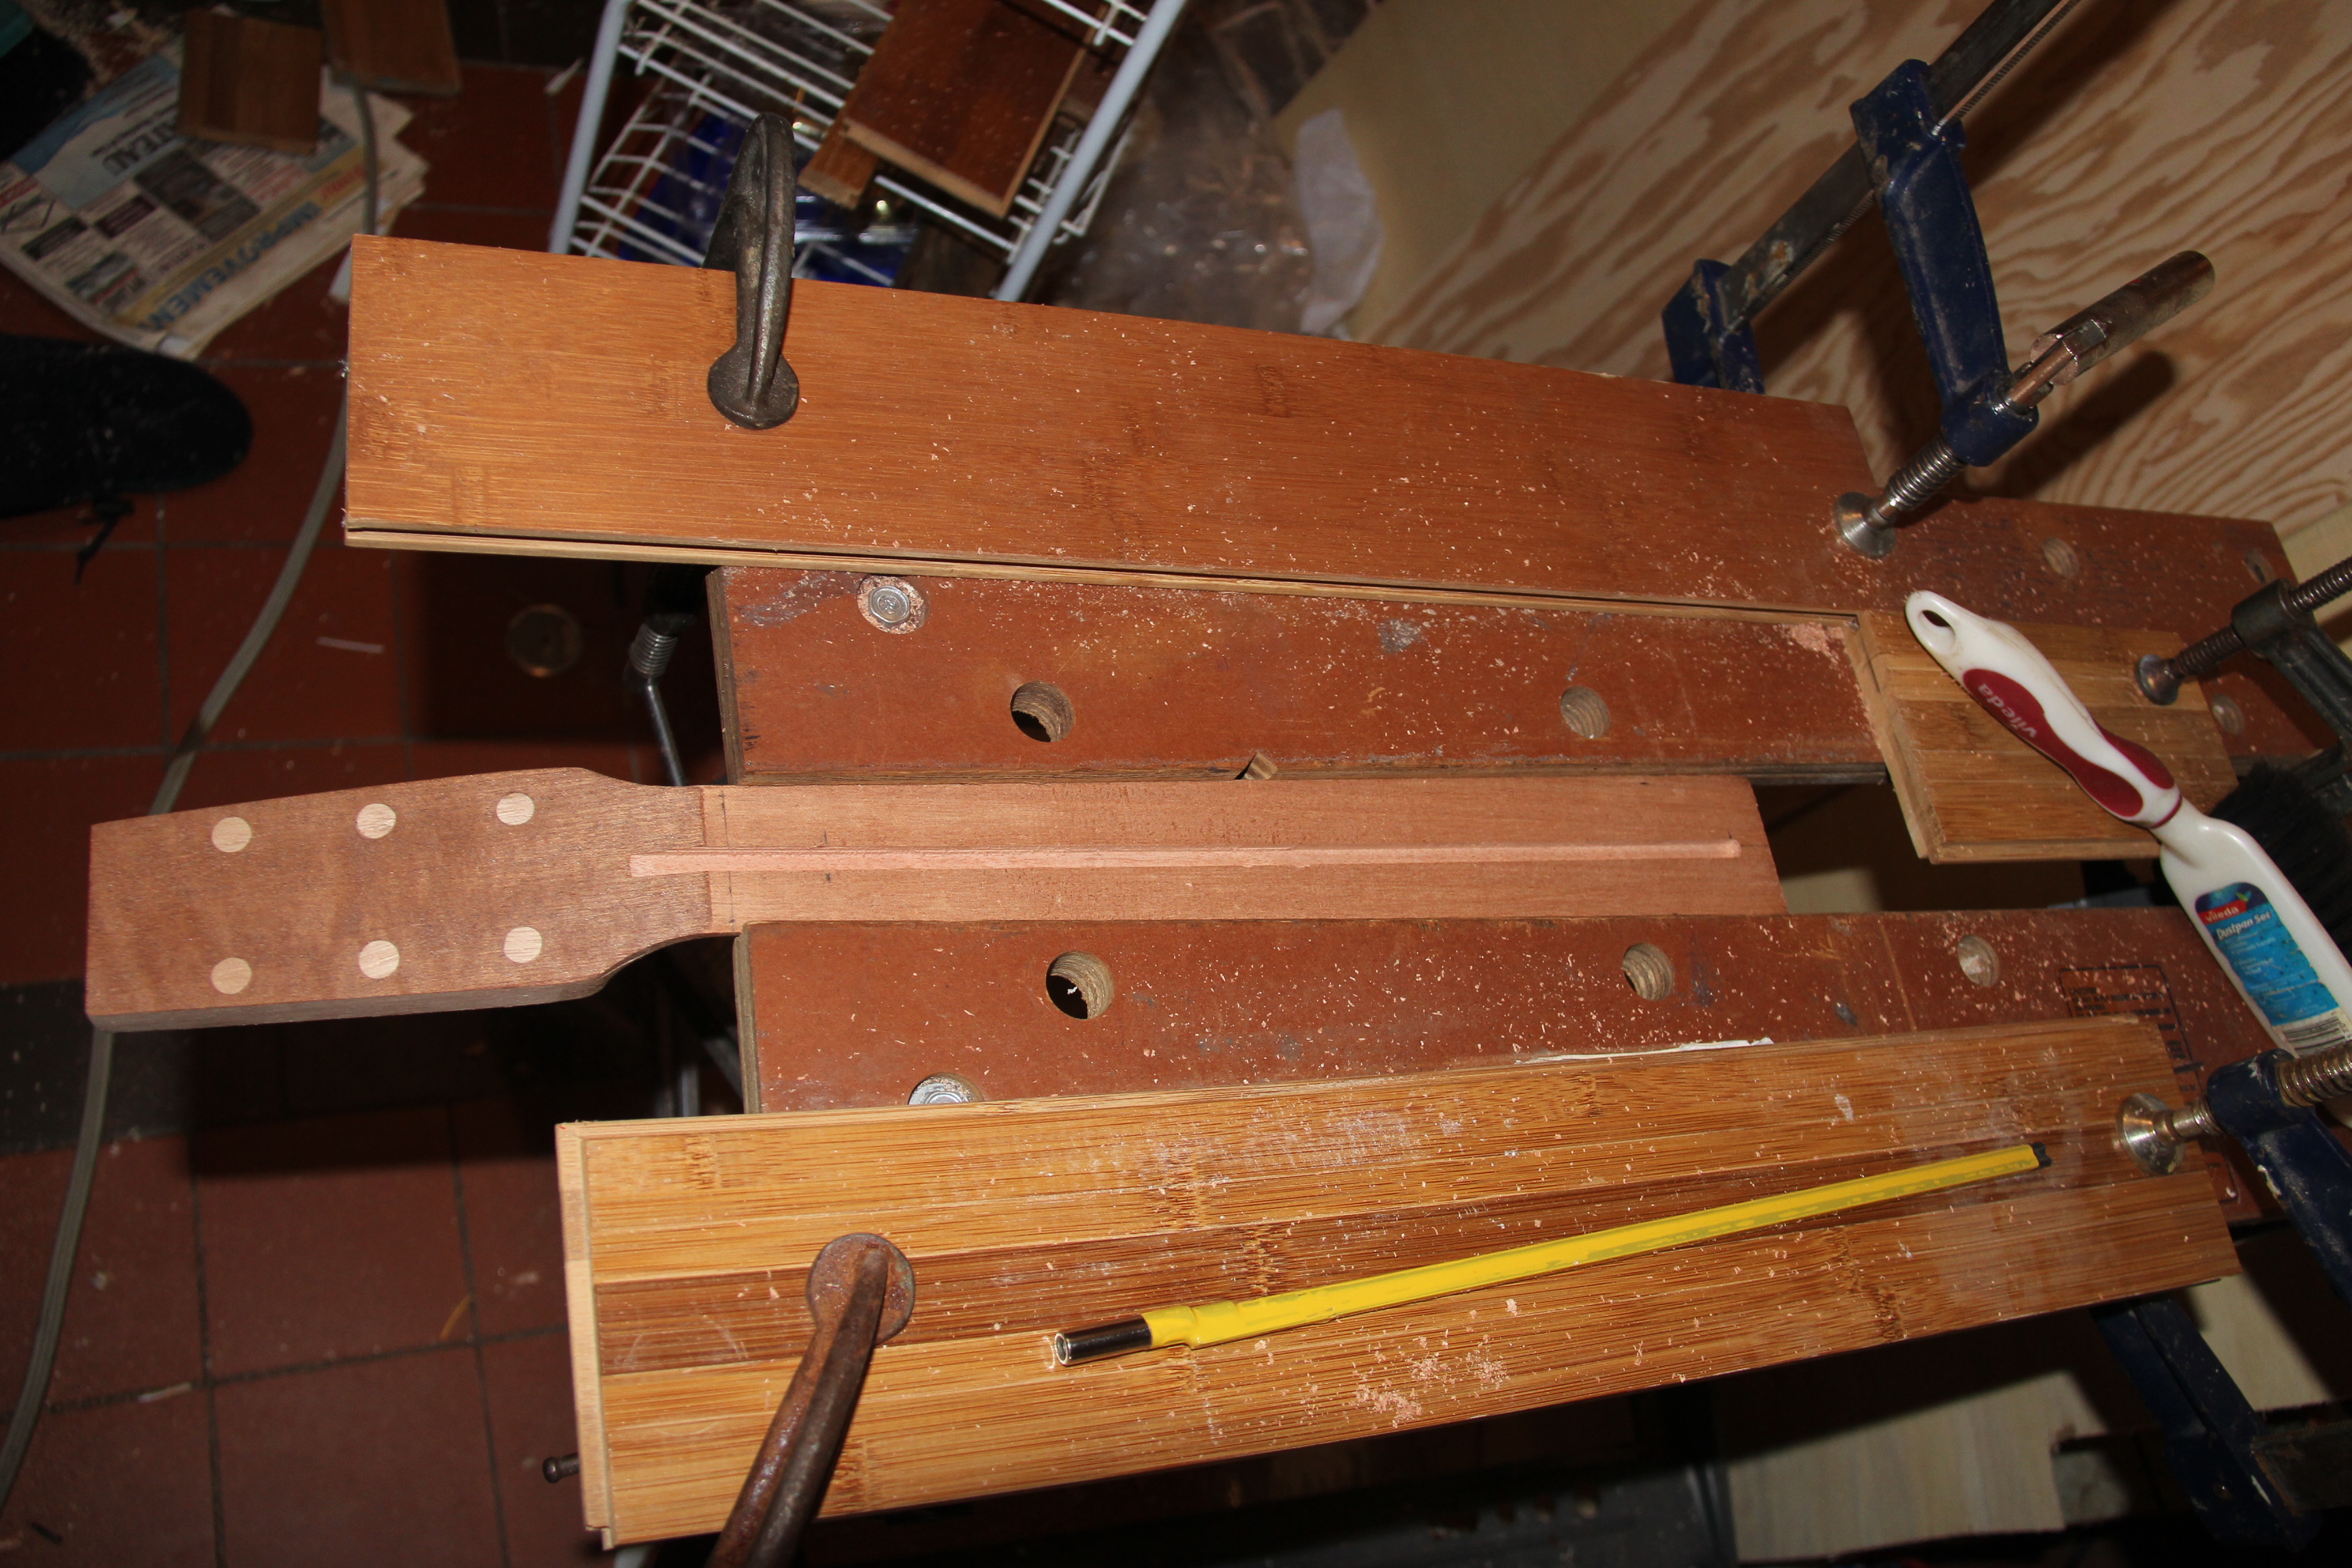
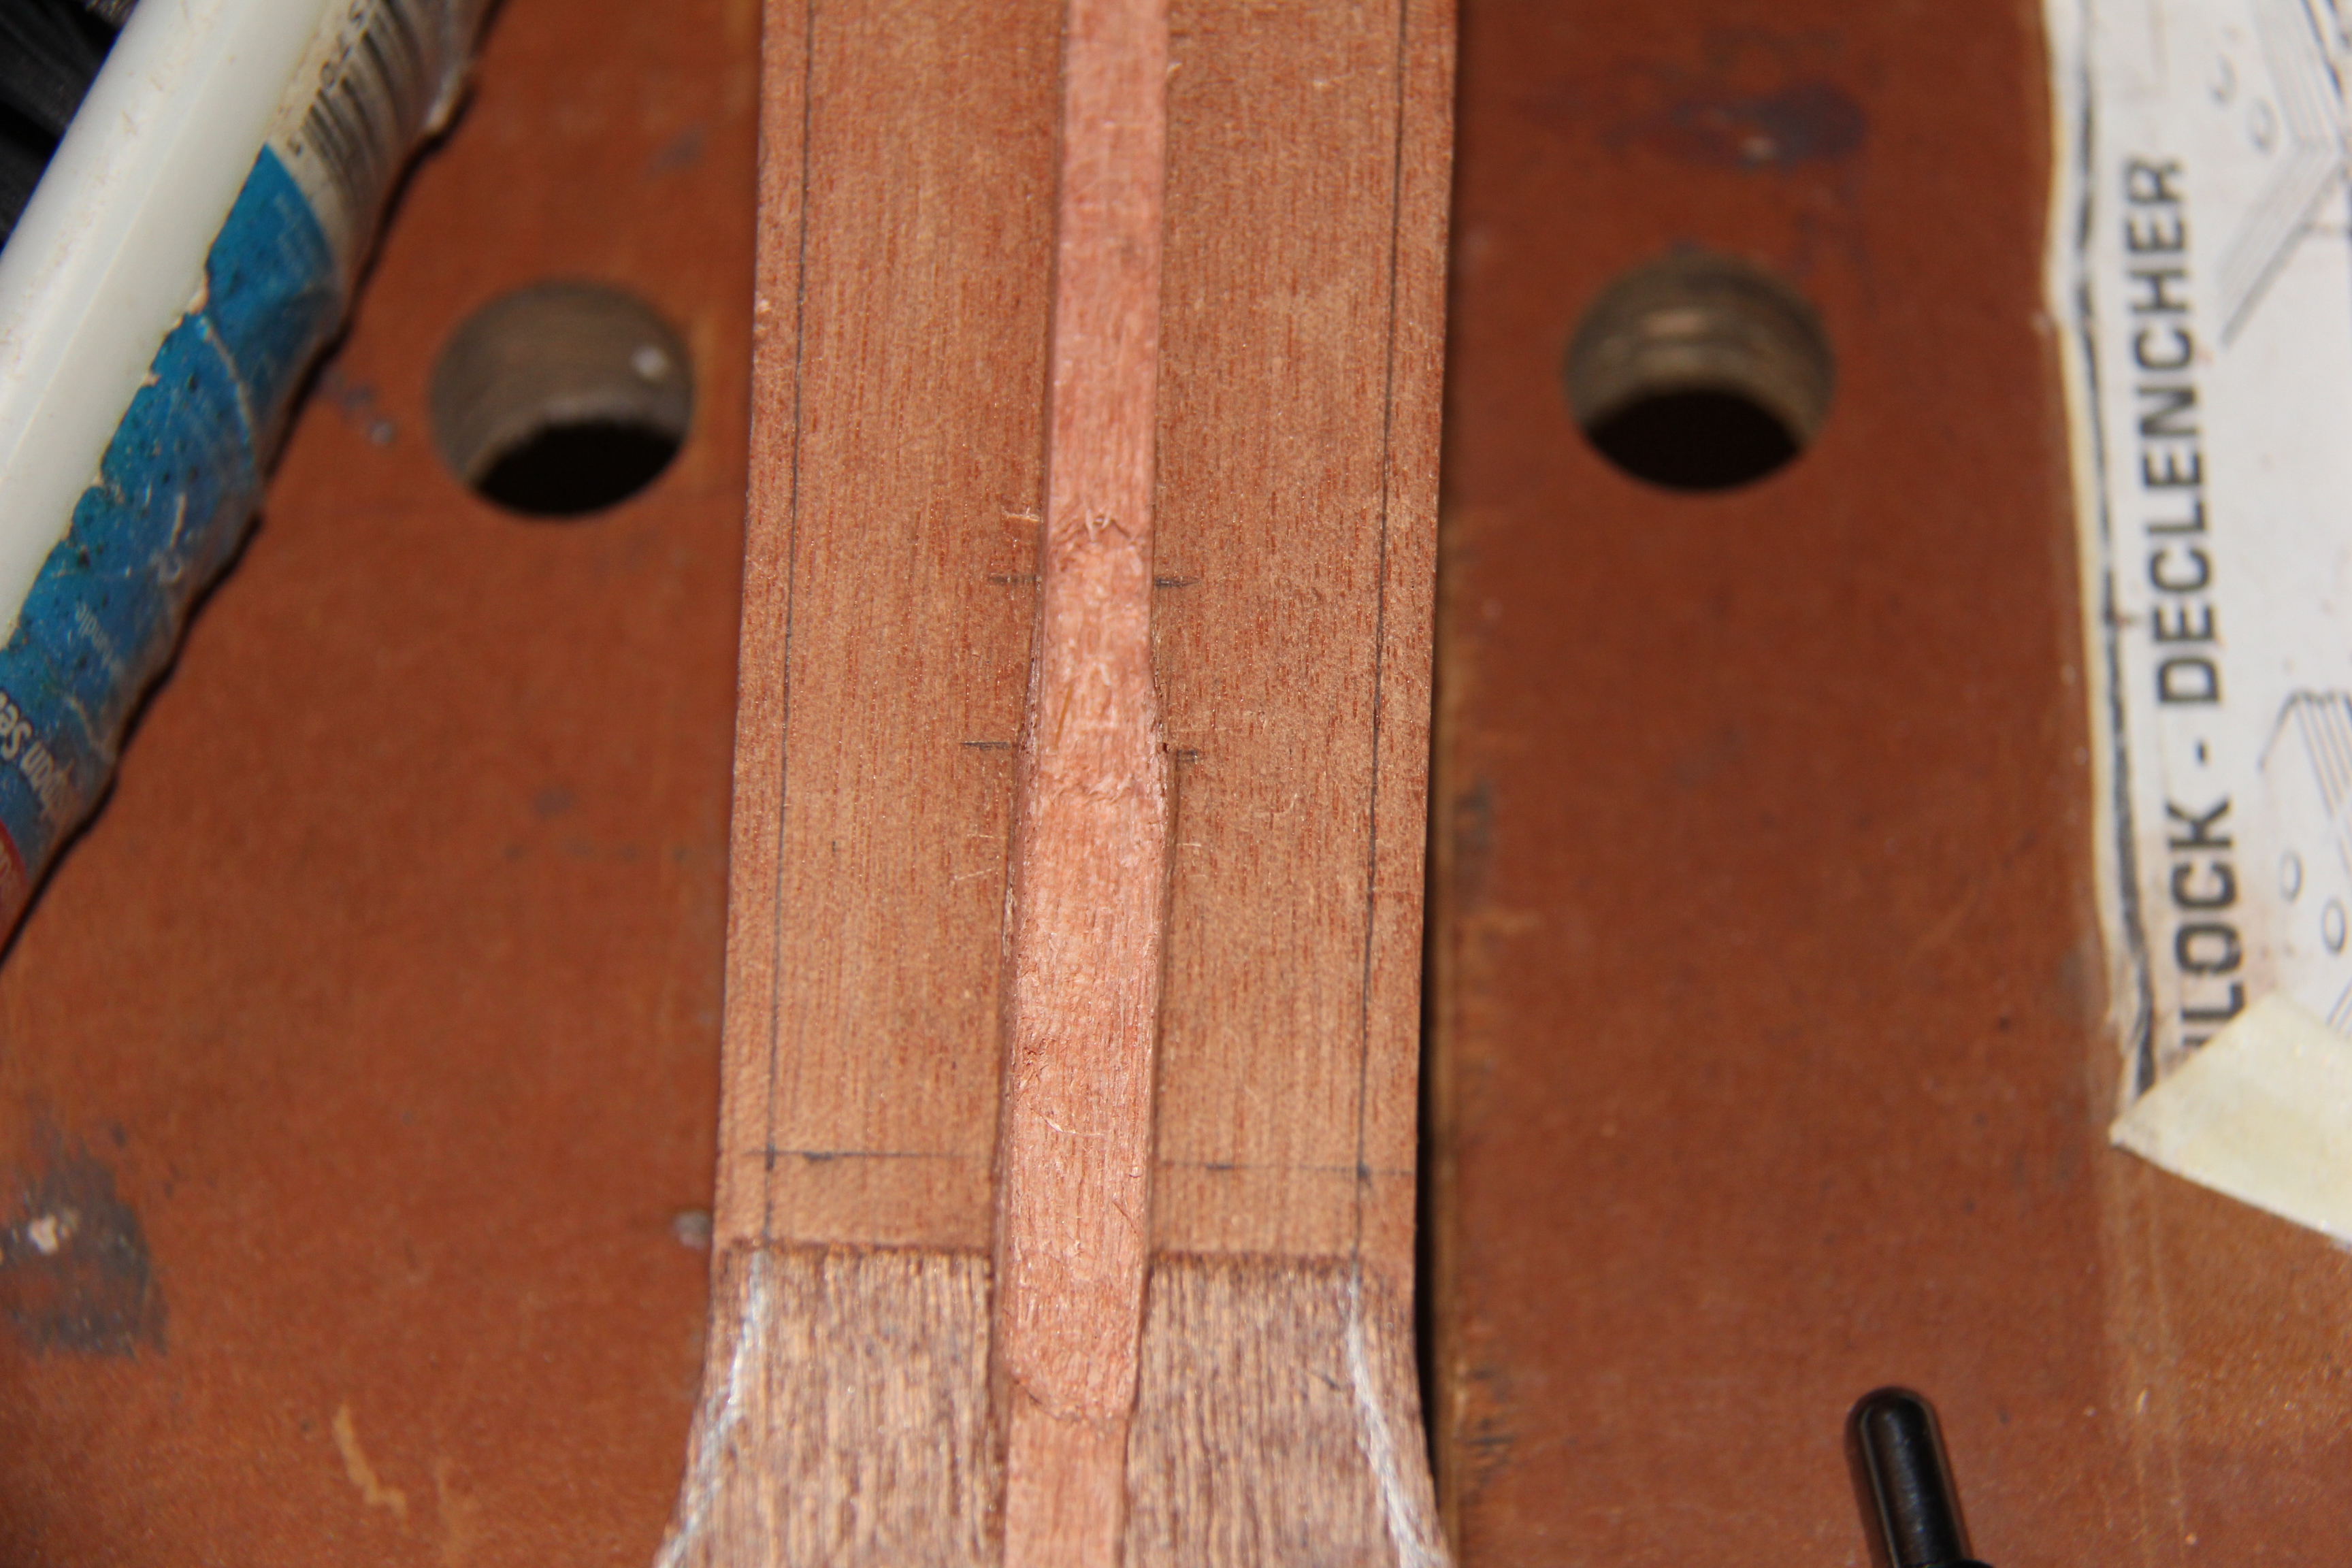
Not the whole thing for sure... First I have to put a slot in the neck to accept the neck adjustment (truss) rod.
This setup seemed to work just fine.
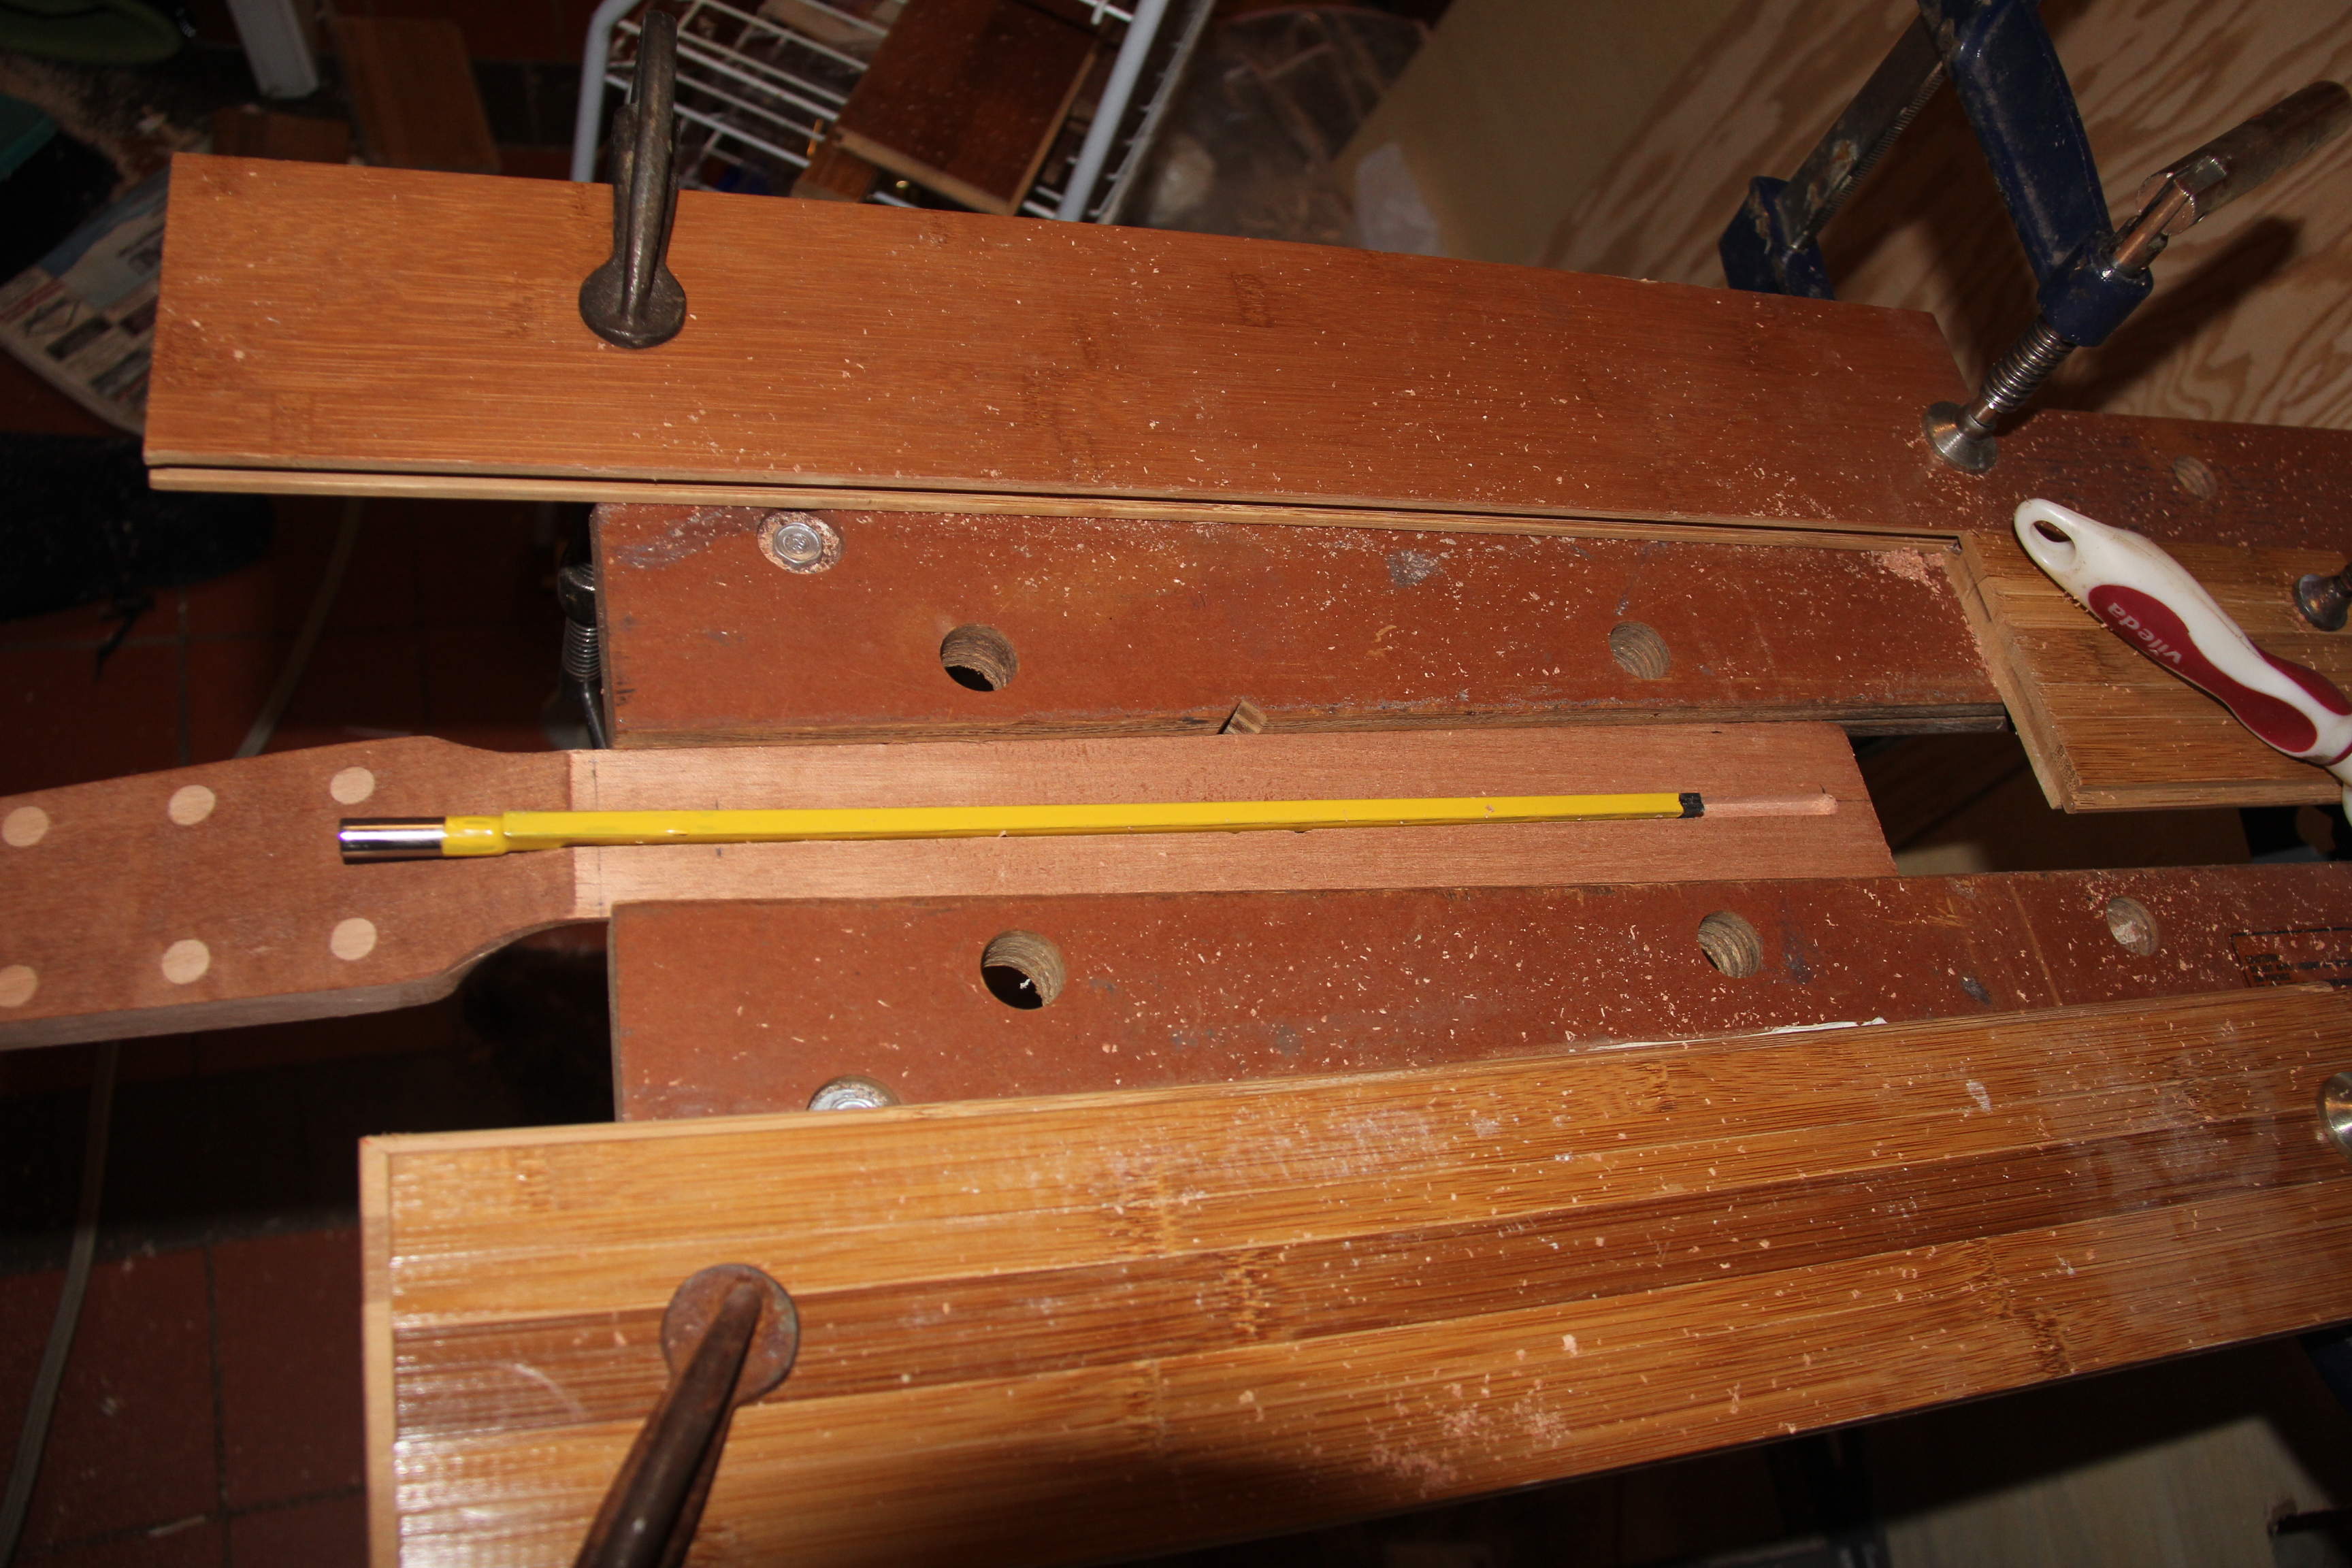
Not deep enough yet. It can be seen that the adjustment end is a bit bigger too.
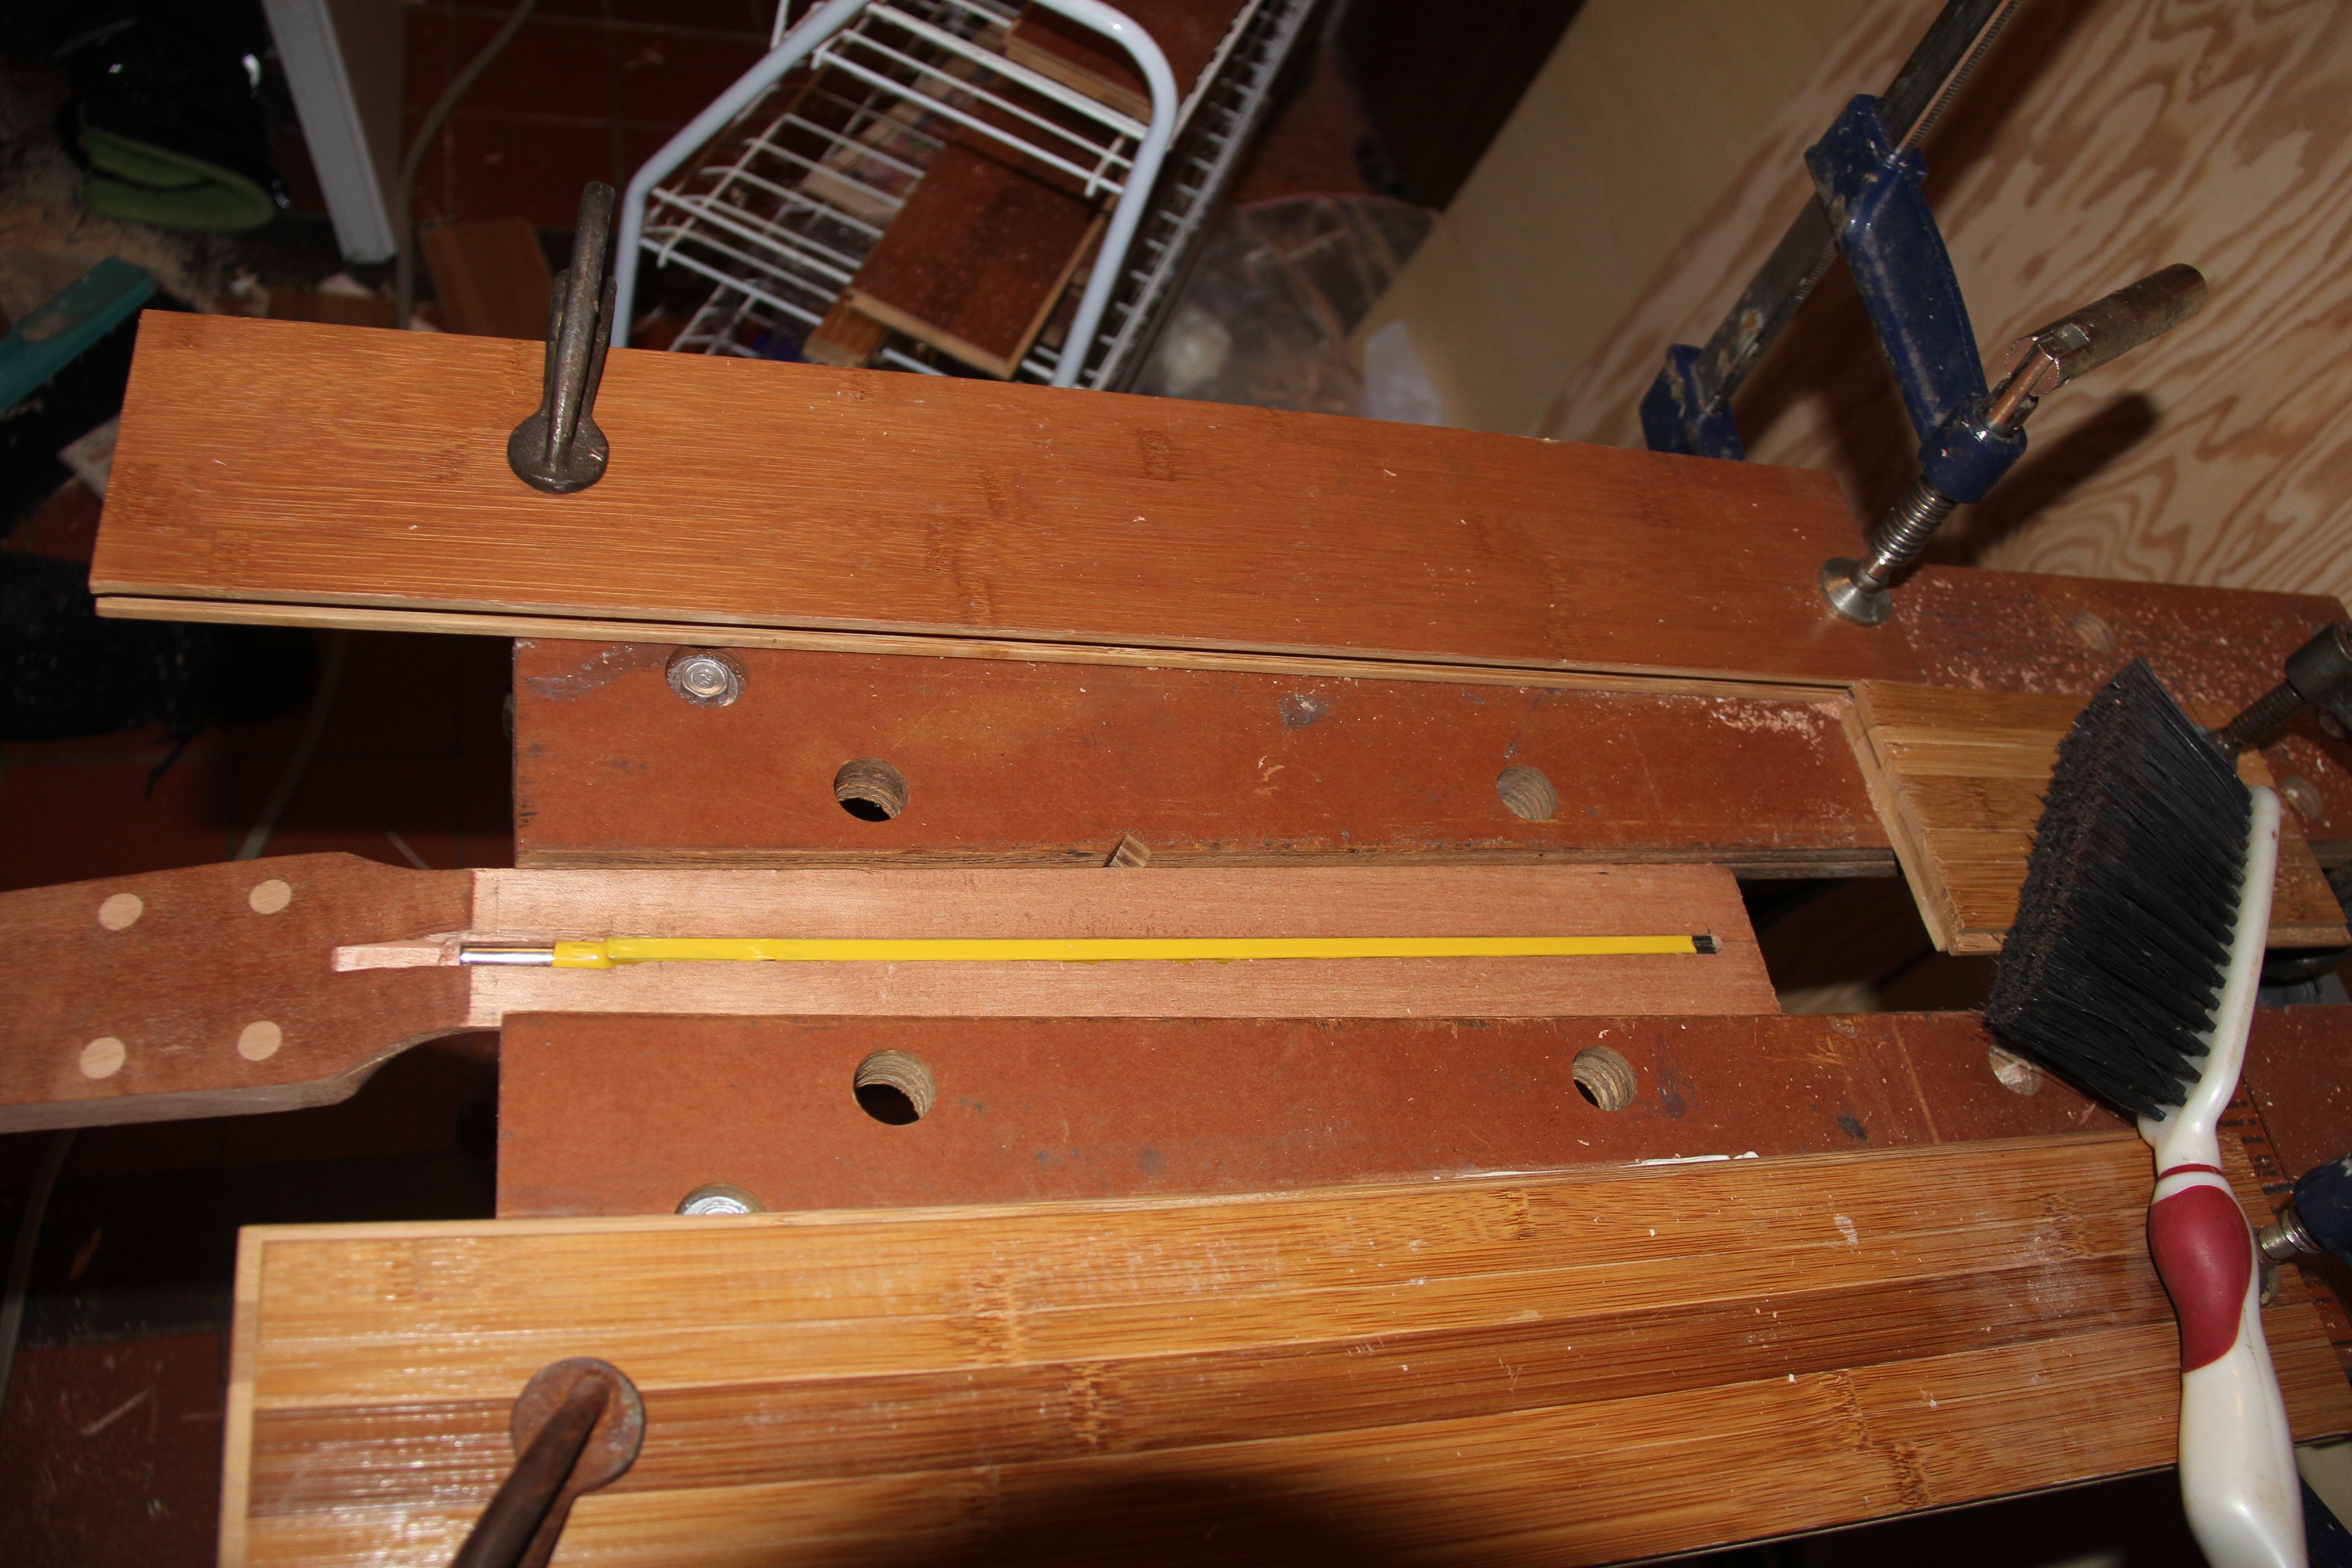
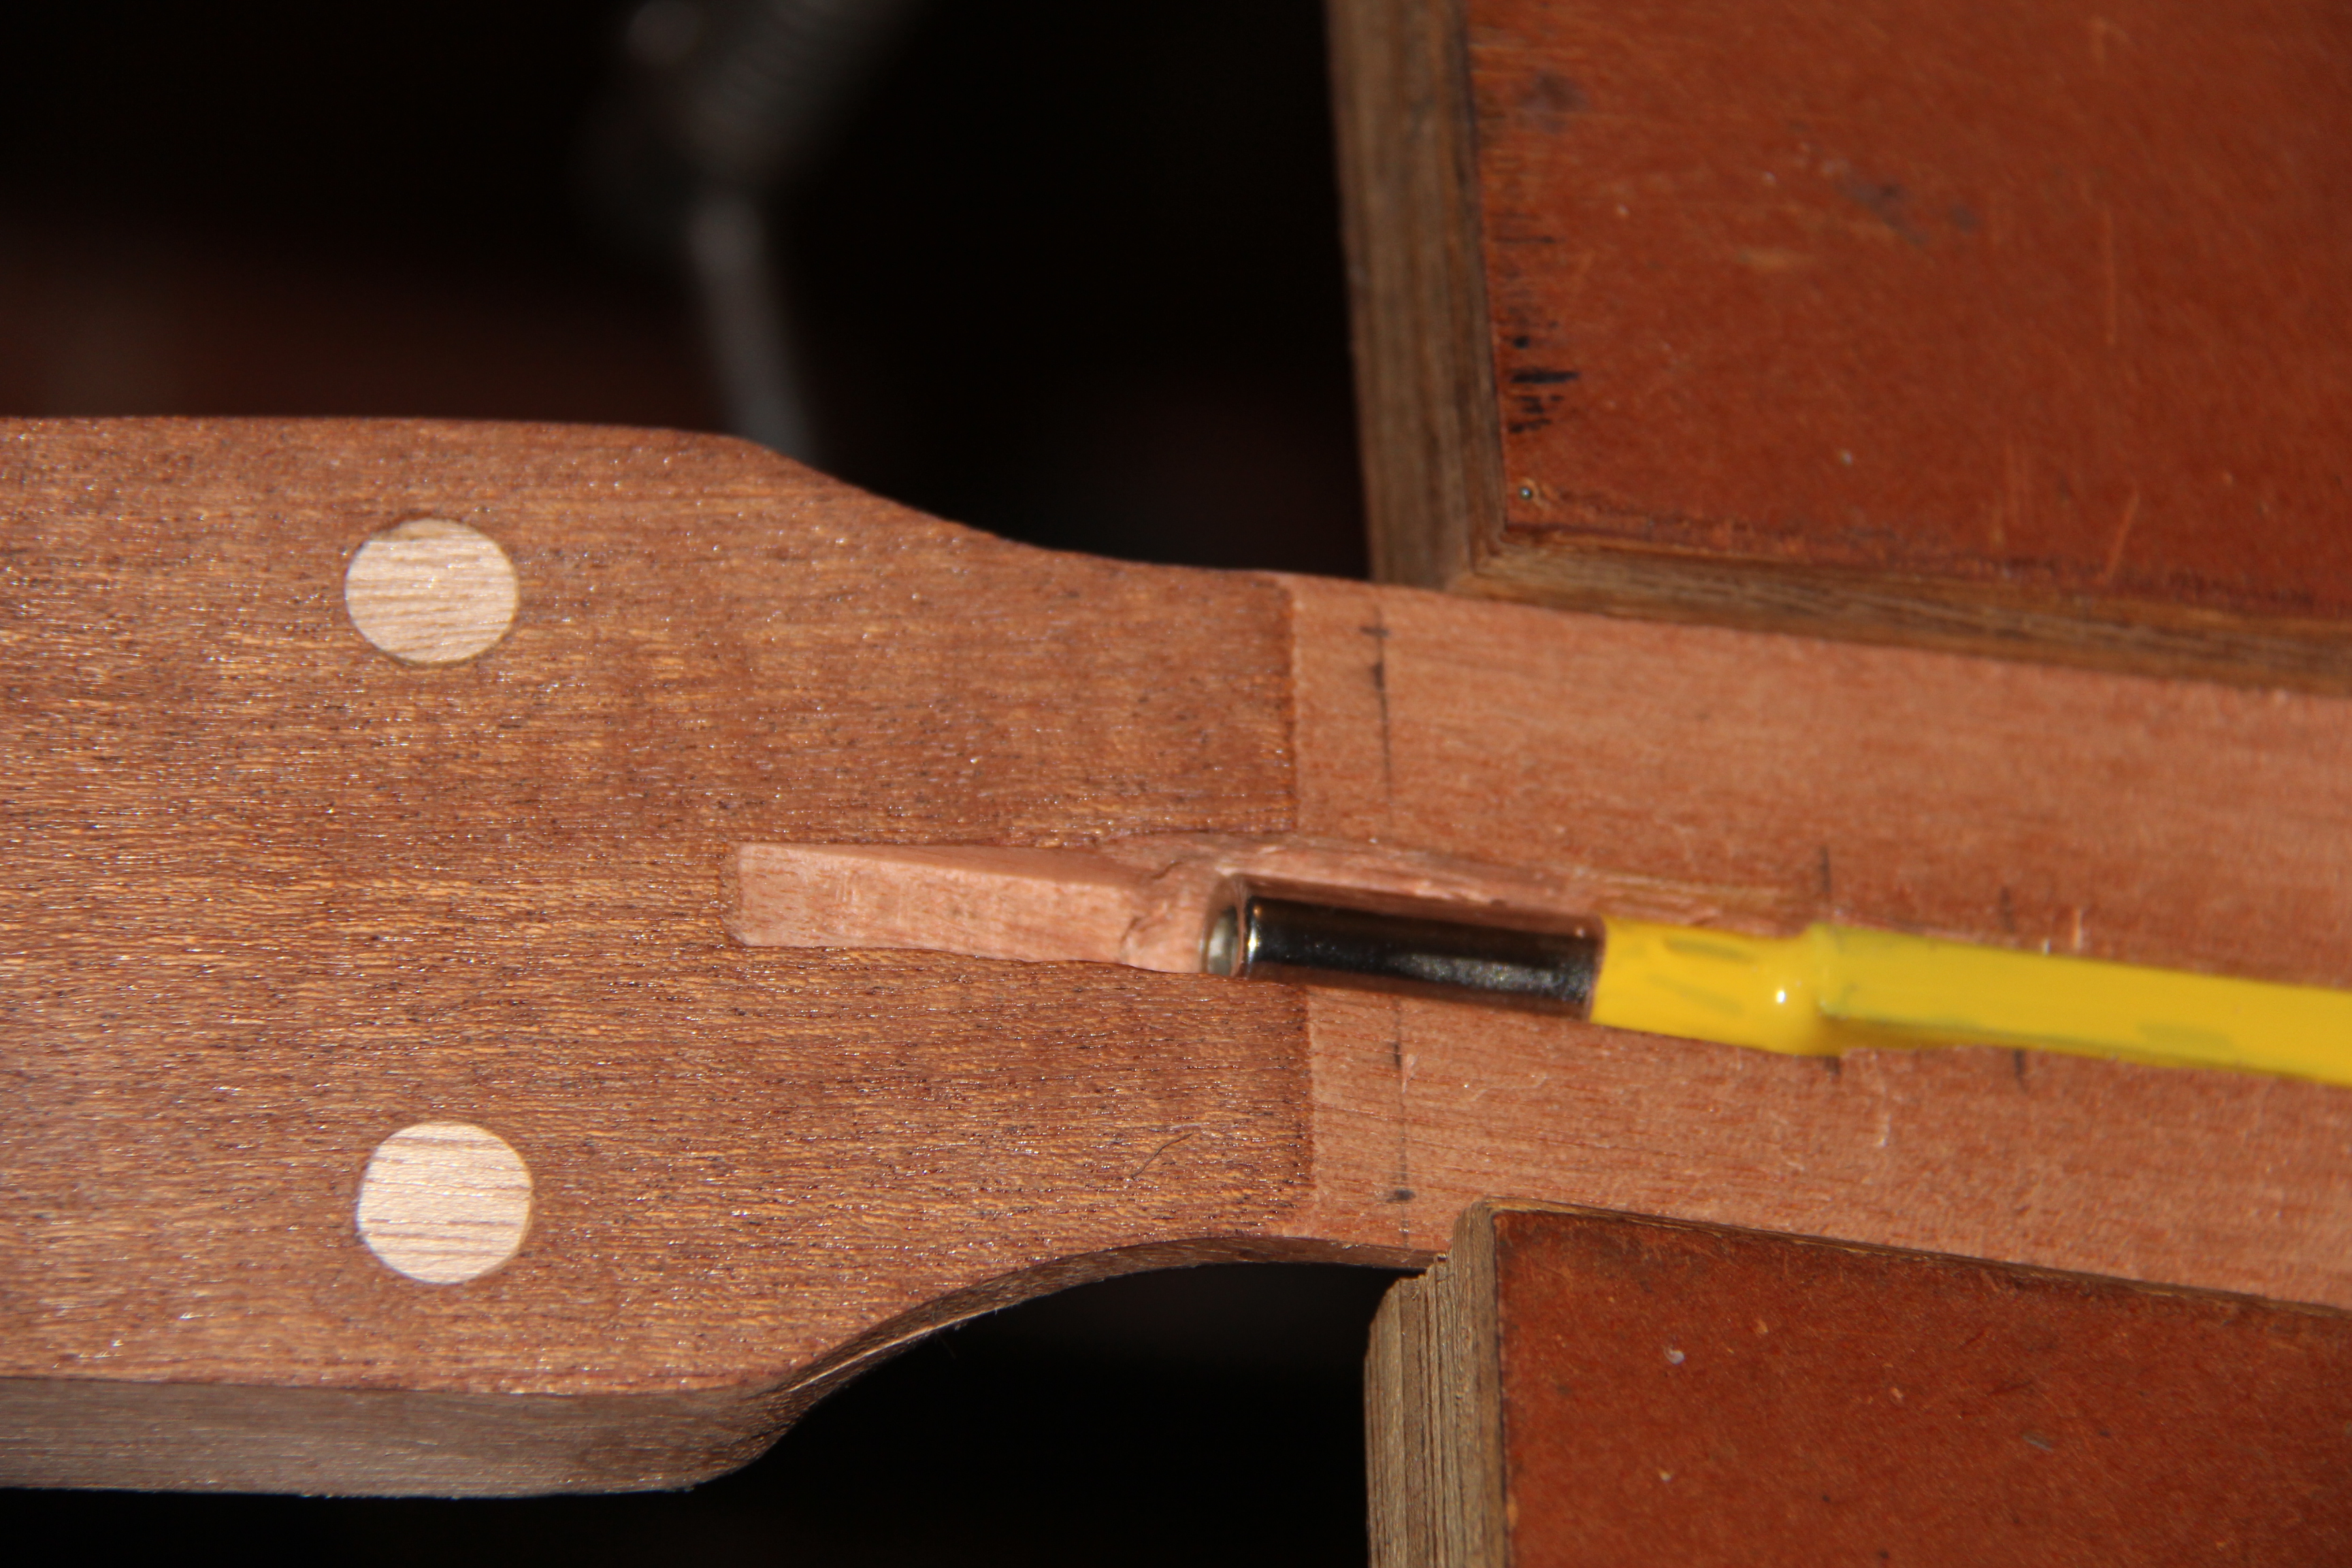
Thats better... closer in:
Next look at the fret board.
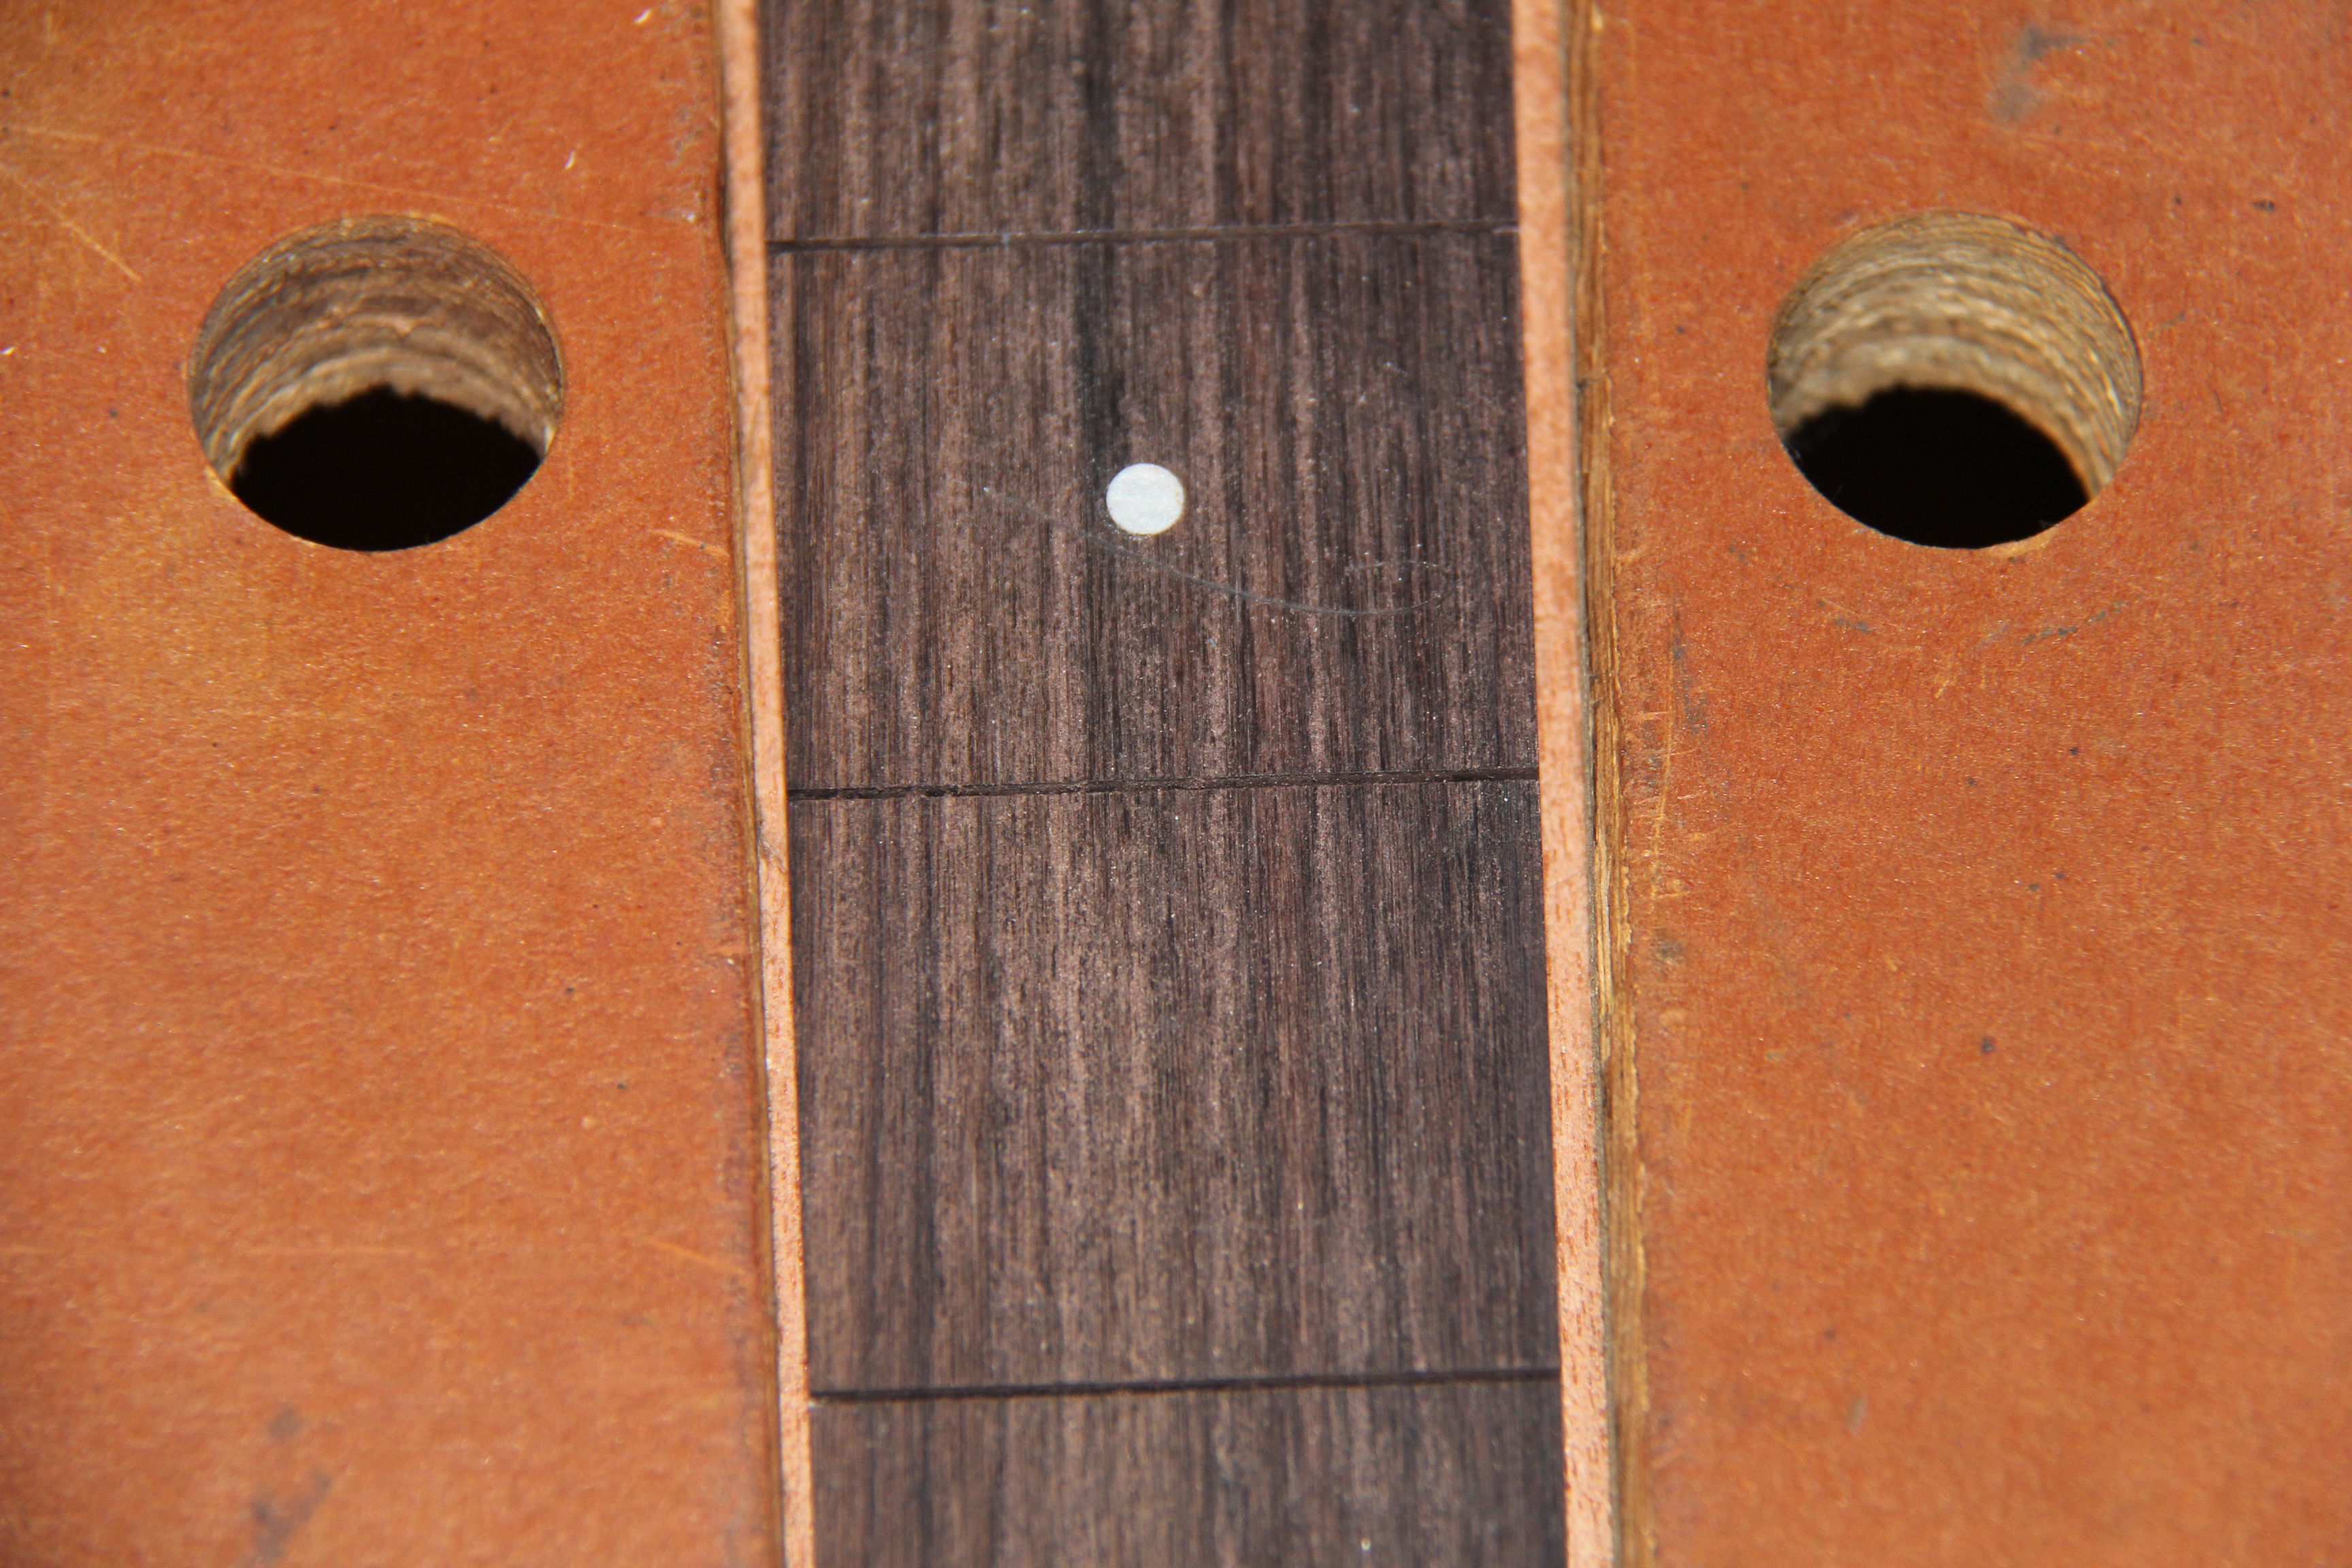
The neck is a lot wider being made for 6 courses instead of 4.

The nut will have to be cut and shaped too.
The neck is marked for trimming.
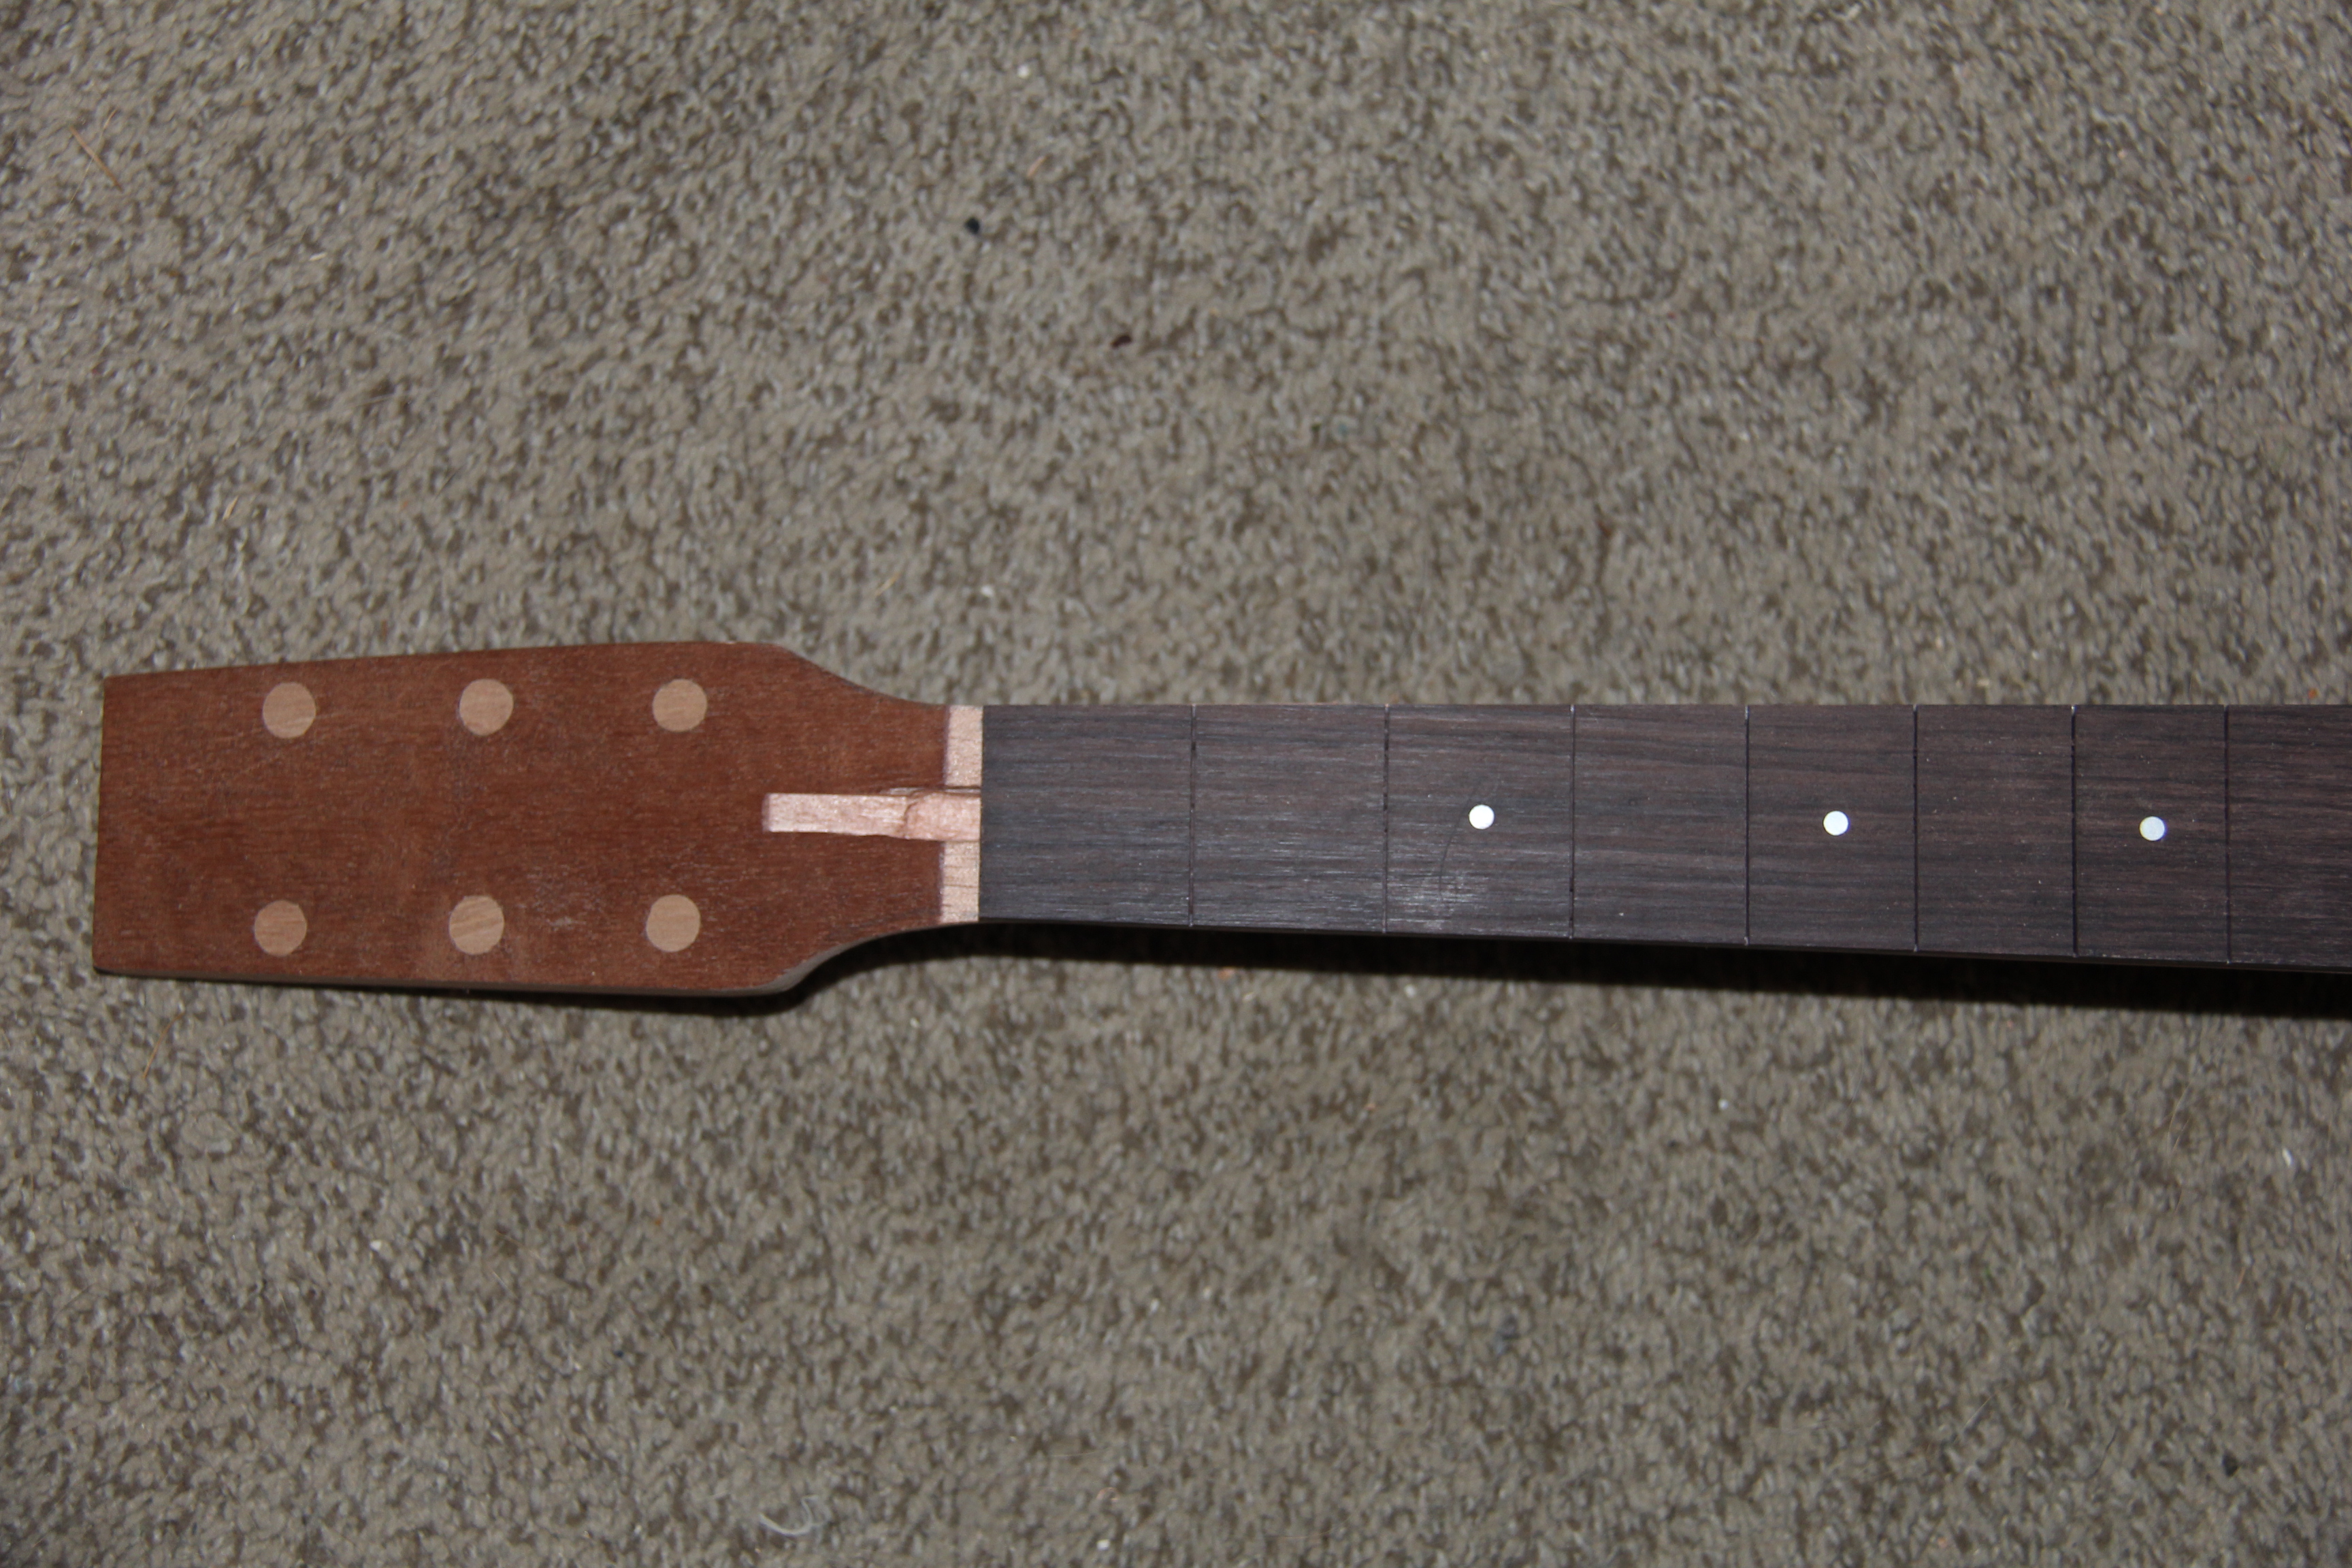
And now trimmed.
Sanding, sanding, sanding... there is going to be a lot :)
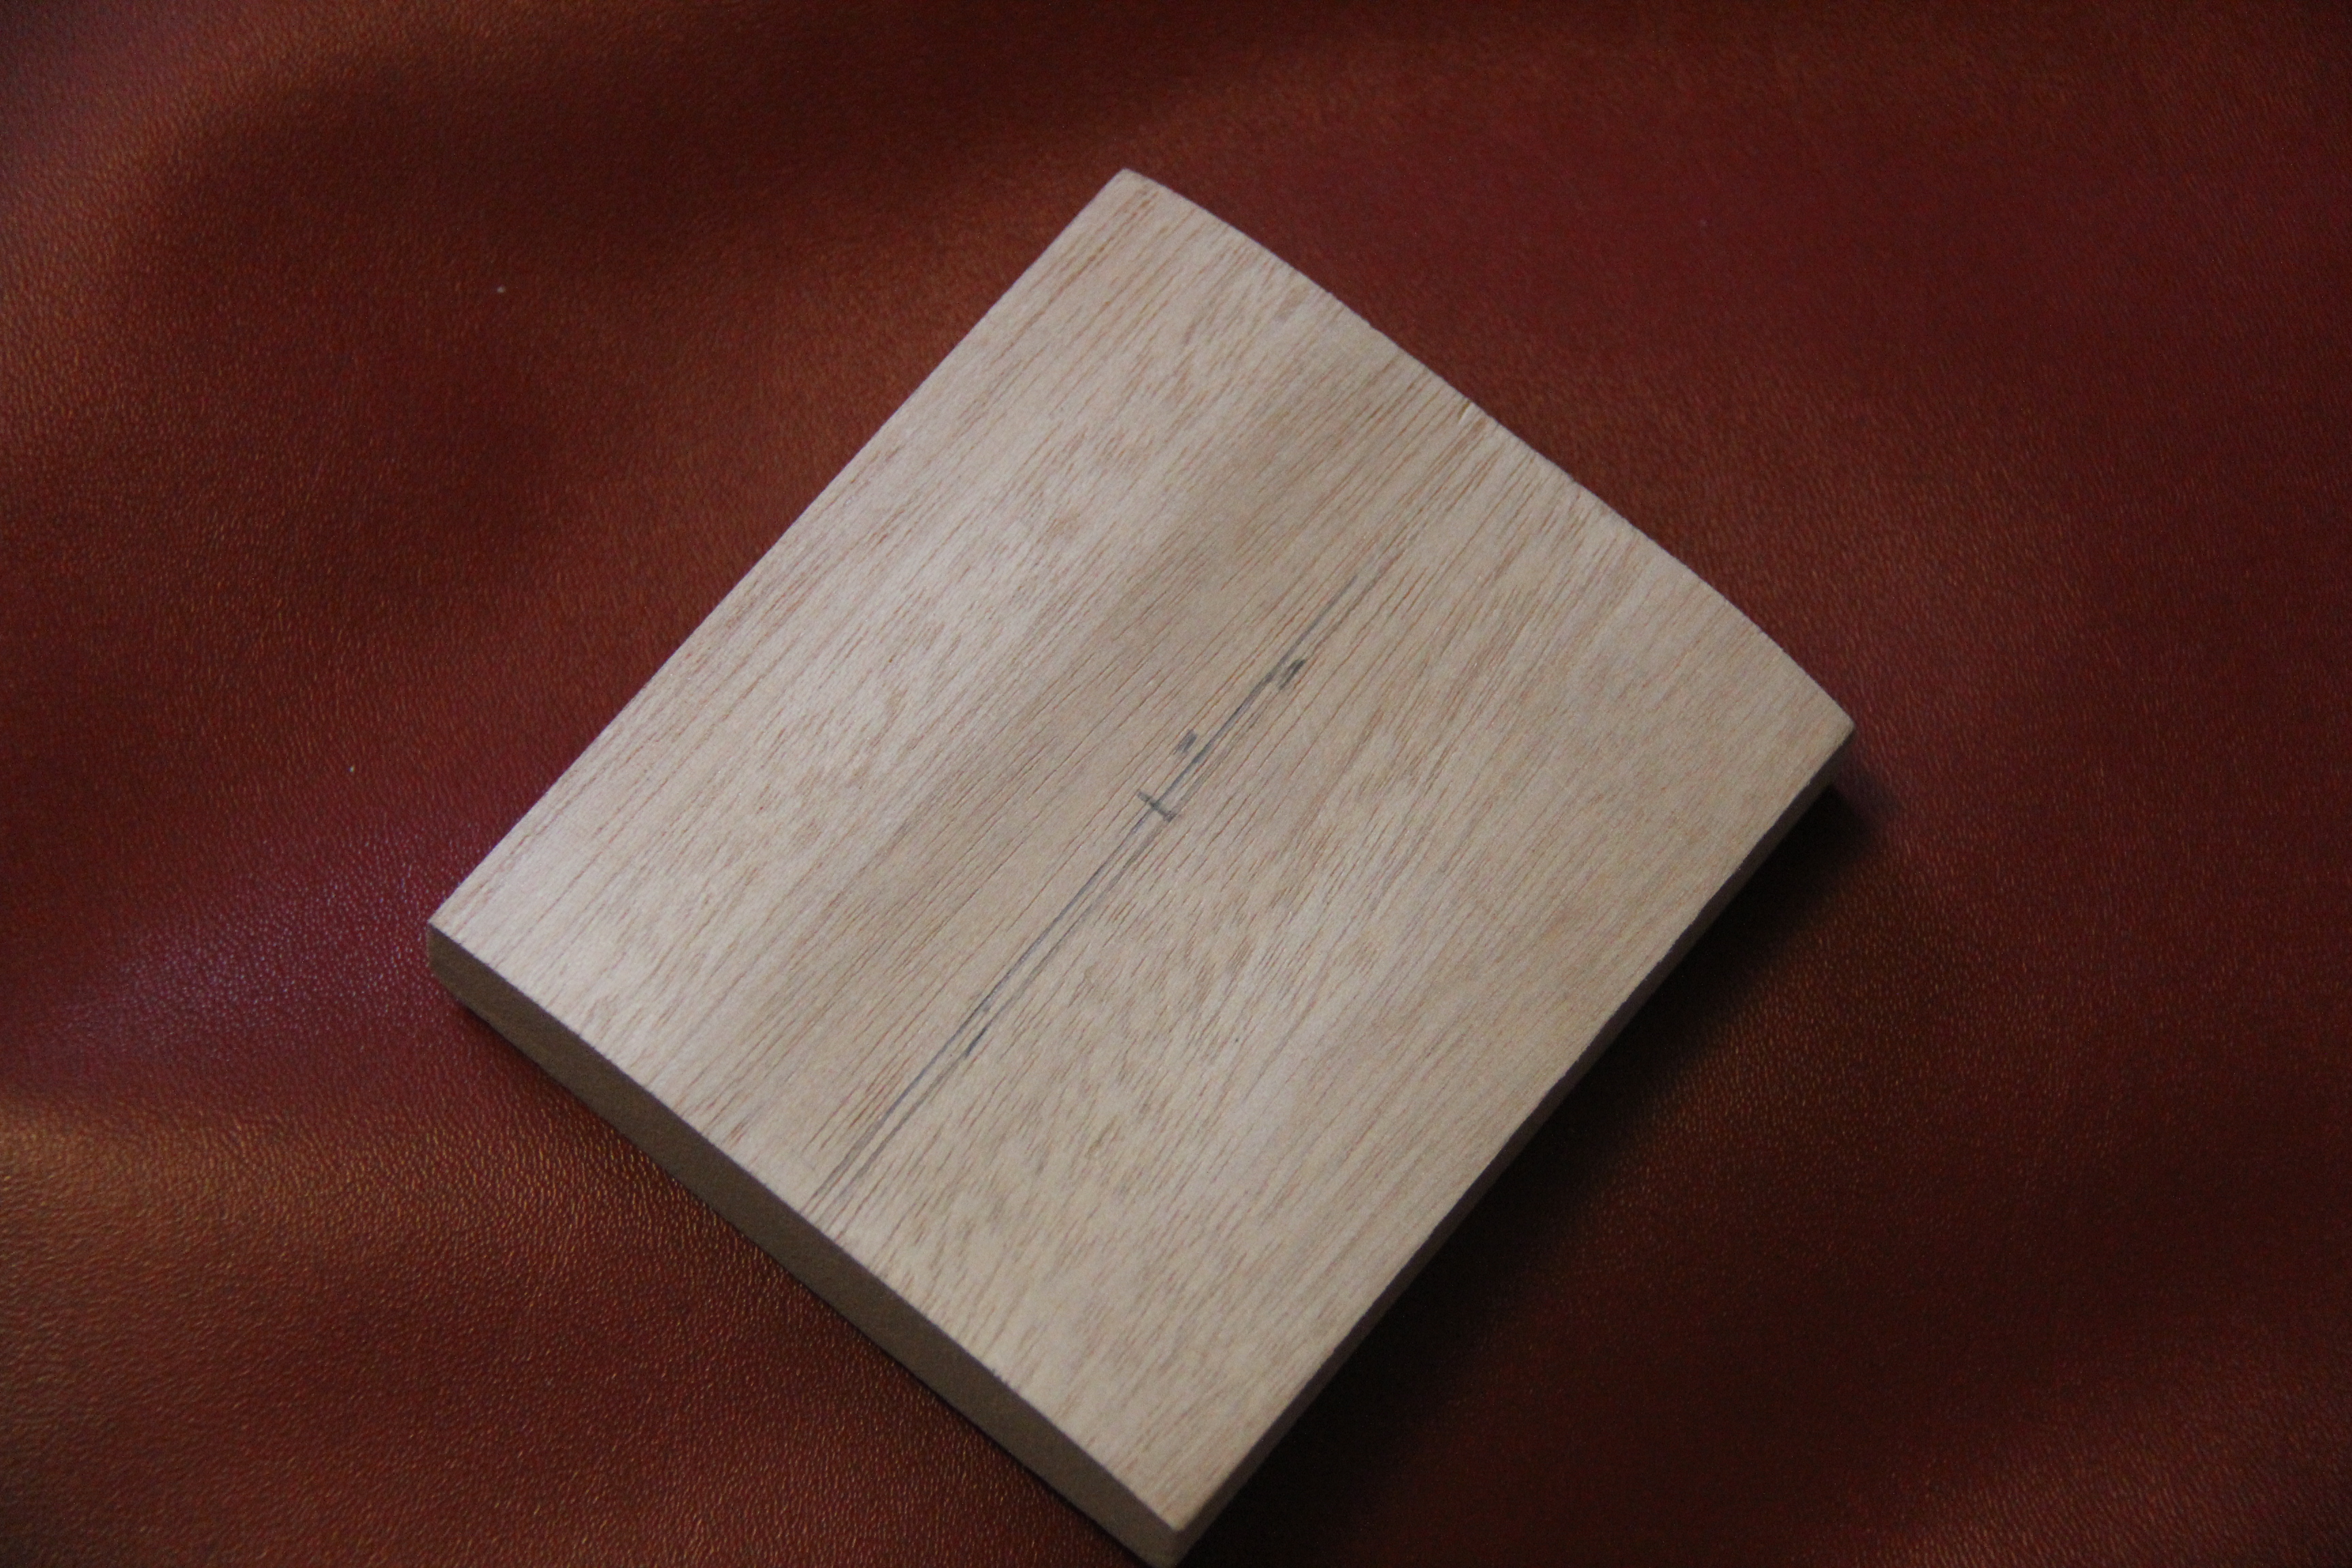
This is the tail block. I have been using the preformed tail piece as a sanding block. As you can see the outer edges are sanded but the centre is still flat. When I am done the line down the centre will just disappear.
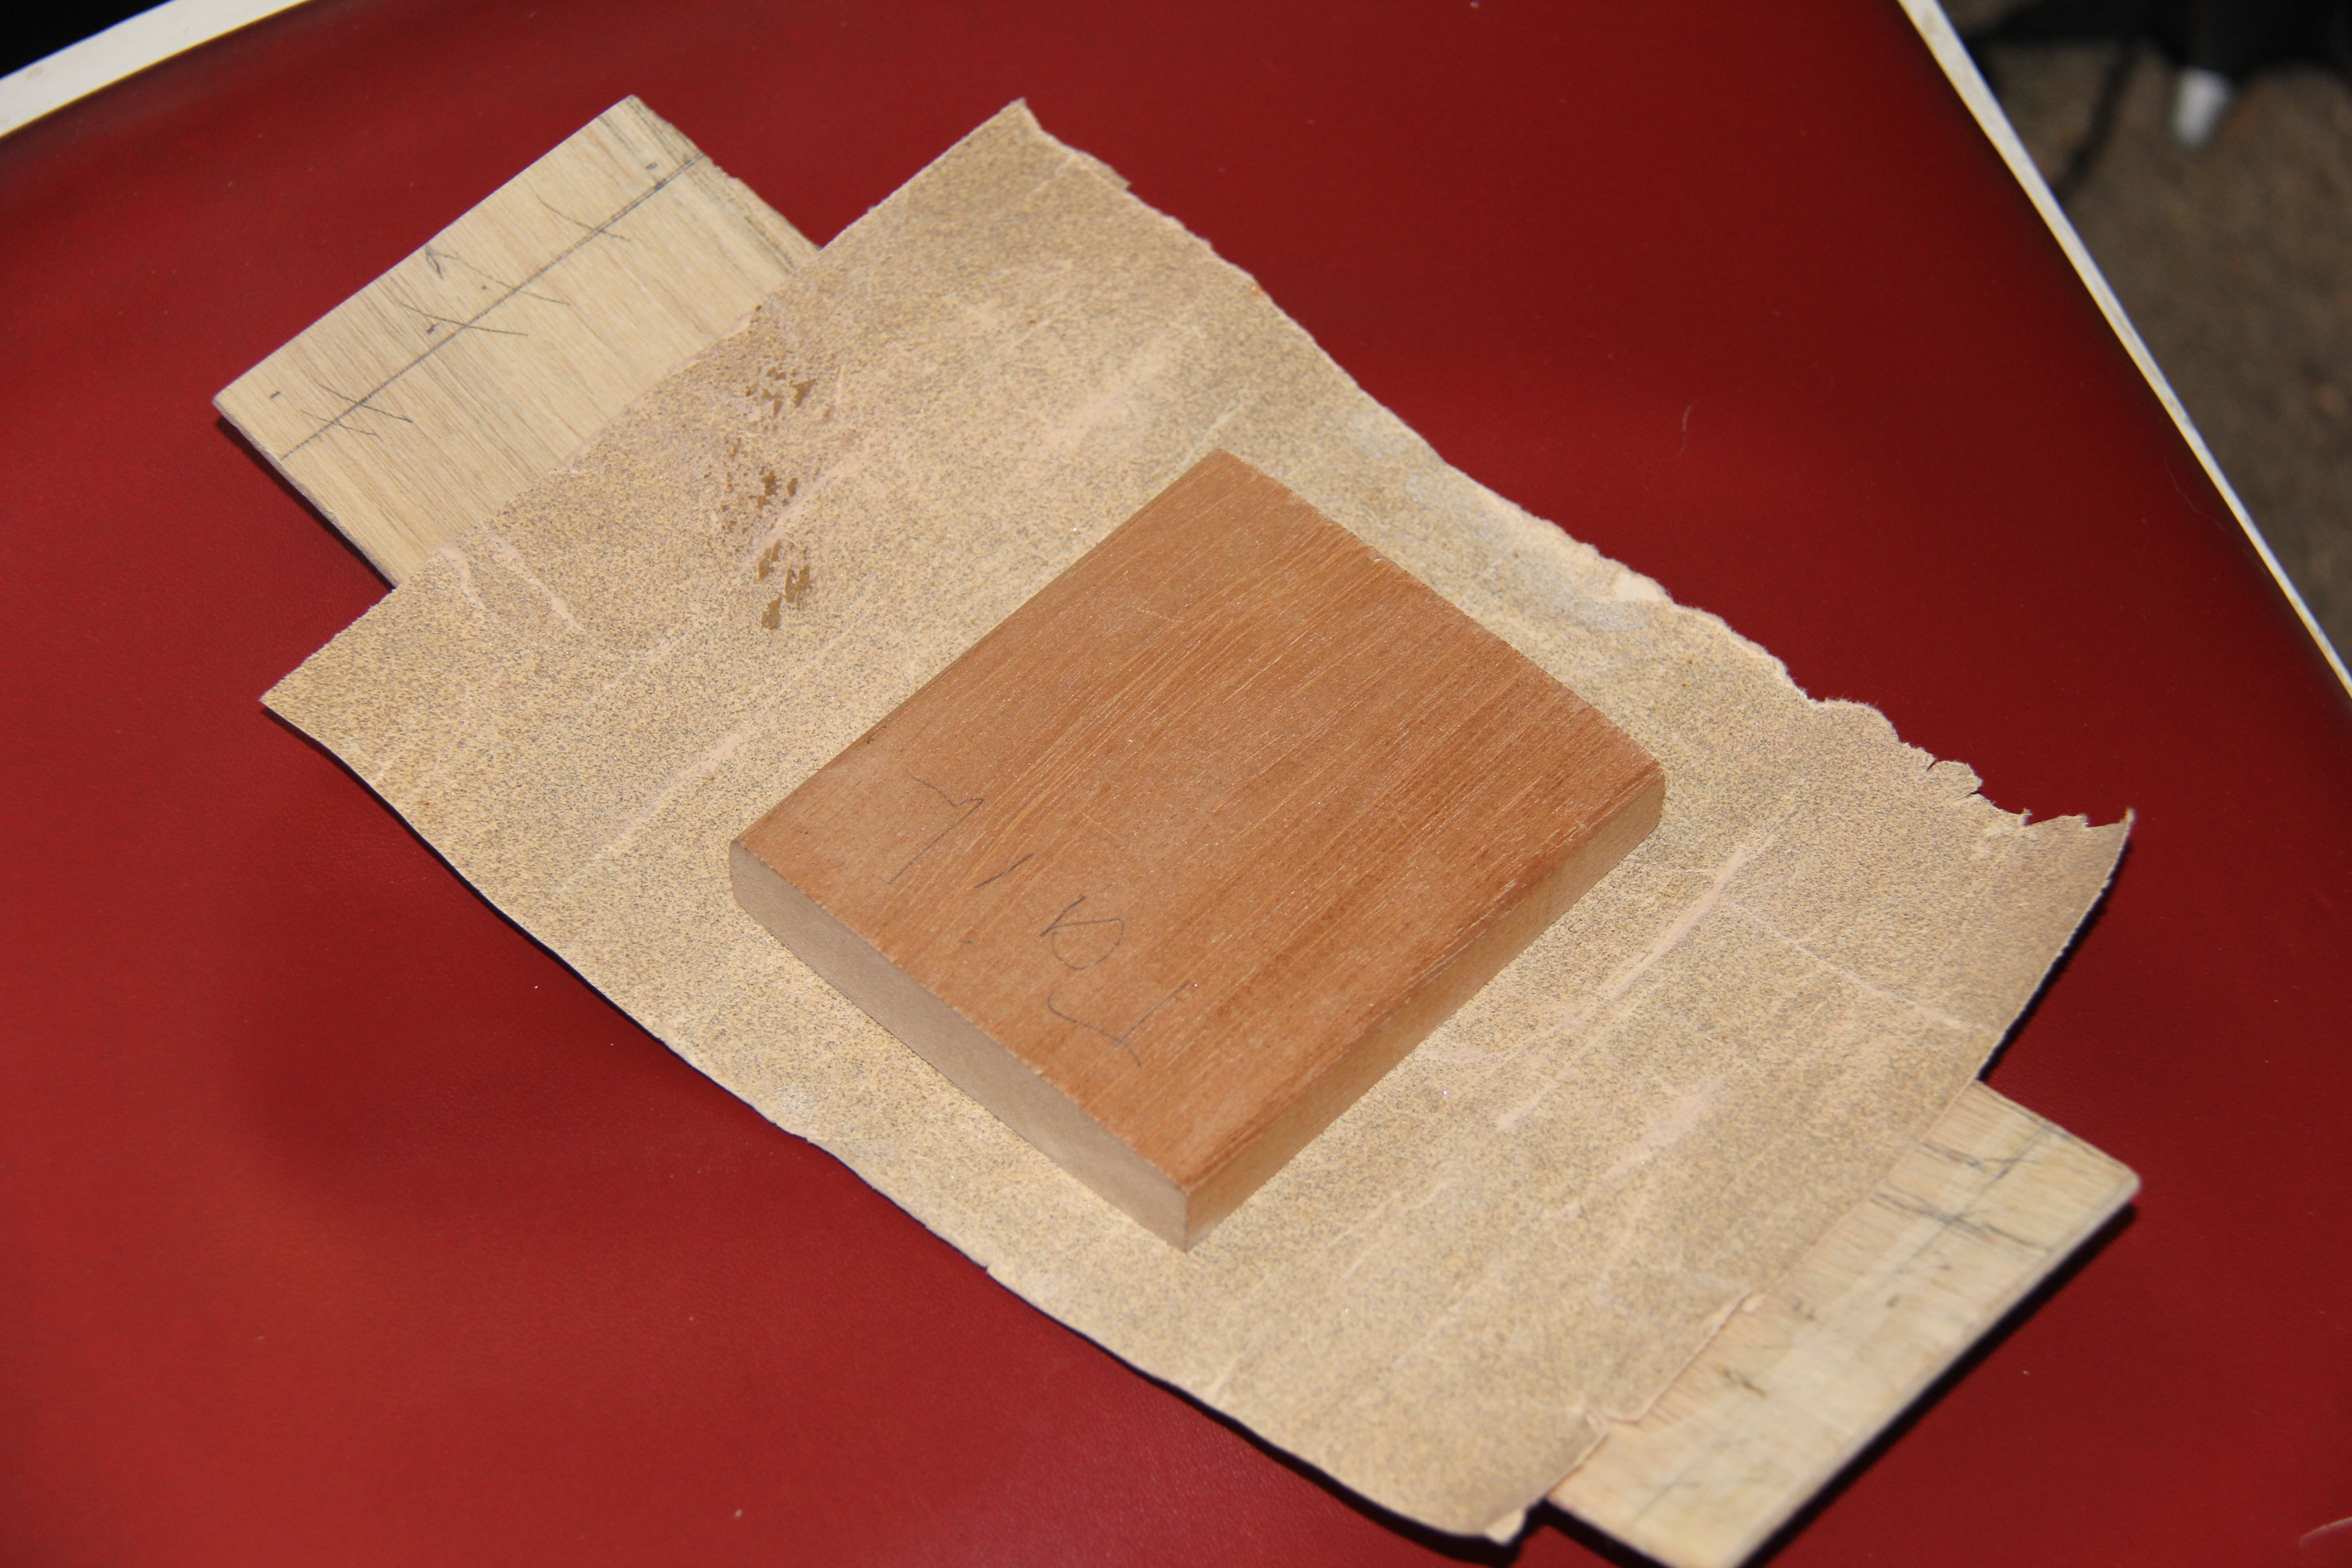
This is the sanding rig I am using. While the picture above makes it look like I am half way done... Each stroke takes less depth off as the sanded surface expands.
These pictures were taken two weeks ago now, but life has been busy since then.
Well thats it for this time... tune in next time when we... Well, do some more sanding anyway!
Previous page of the Mandocello build - Next page of the Mandocello build - Index of the Mandocello build