Page 5
Back to Page 4.
Back to Page 1.
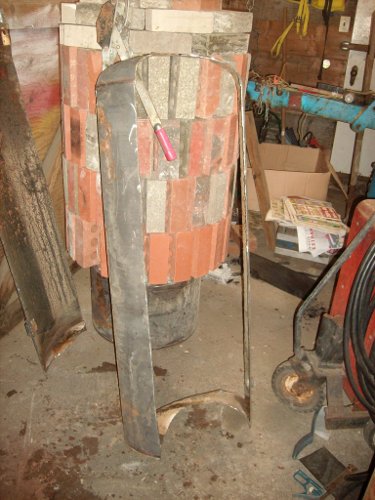
I had been thinking of using wood to make the case for my mass bench. However, It appears this is against code... or at least to make it code worthy would be more trouble than it is worth. So I will be using concrete block set "shiner" with insulation under the core.
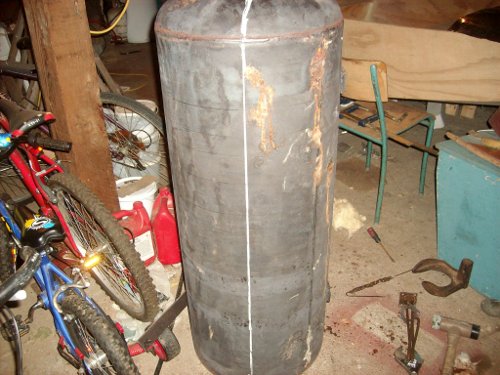
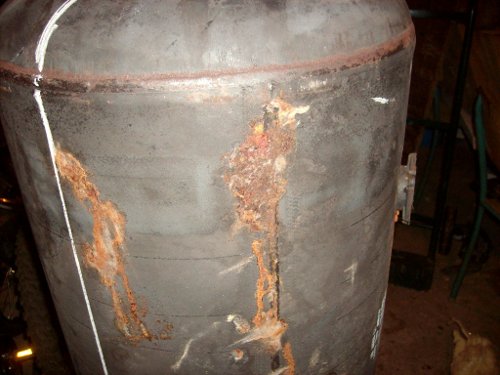
I have not been able to do much this week as I have had too much else to do. However, I have managed to pick up some more "junk". I have acquired another water tank (leaky) and some more pipe.
|
|
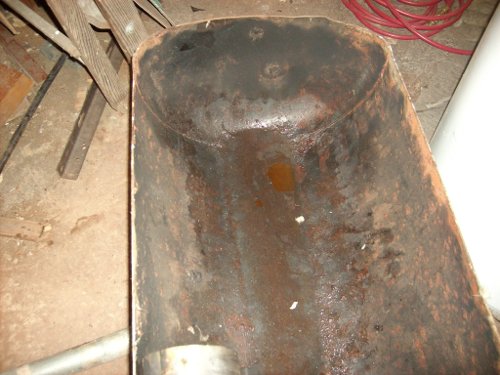
|
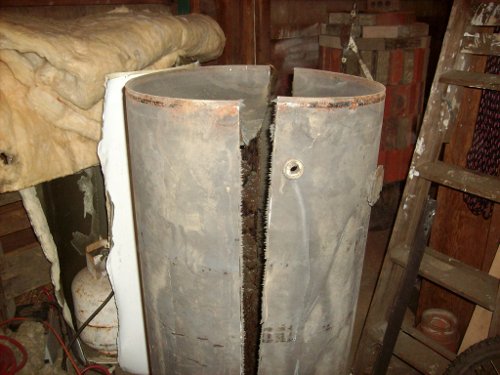
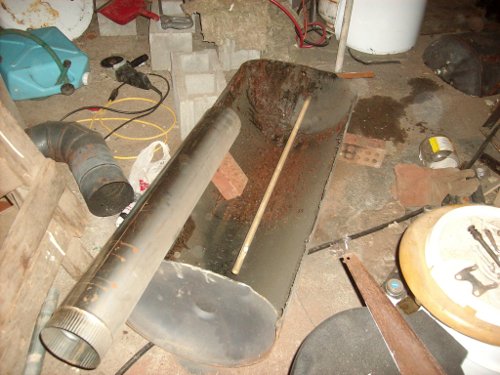
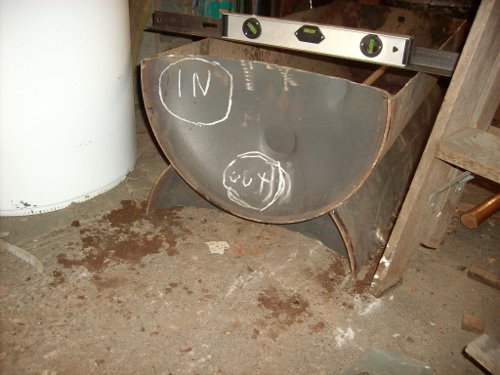
| As can be seen here, I have chosen to cut off centre so that the seat has a bit more volume. It is still 18inches wide. The end will have more room for connections too. |
|
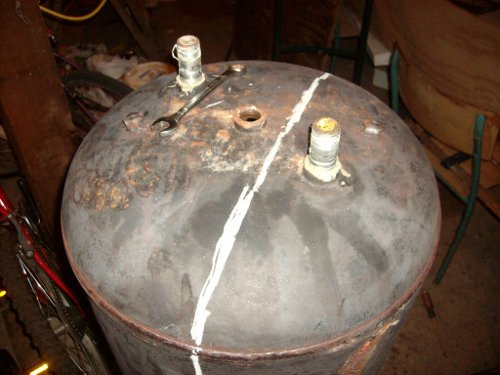
| I have chosen my cut line so I miss the leaks as well as the holes for the heater elements. |
|
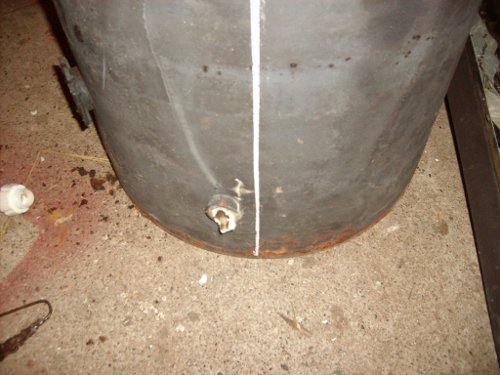
| And the drain too. All of the holes left to plug are on top. |
|
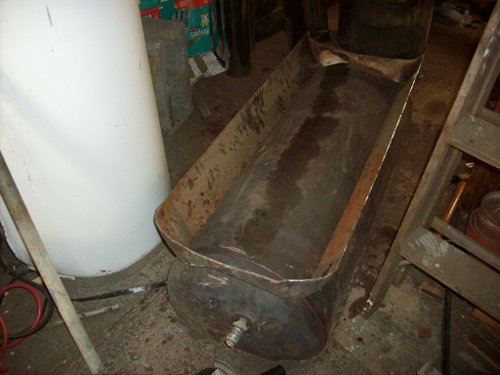
| November 14: Cut finished. |
|
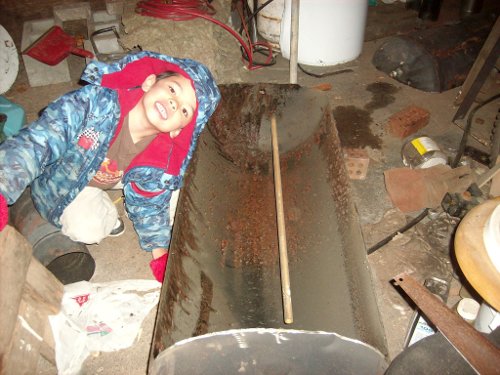
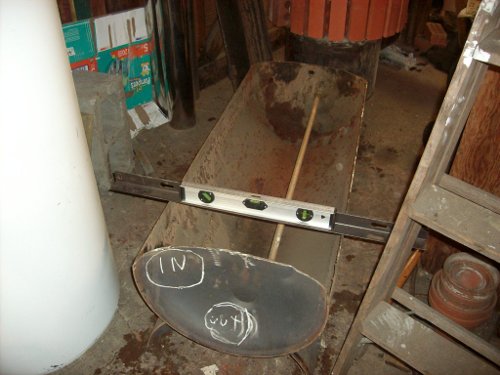
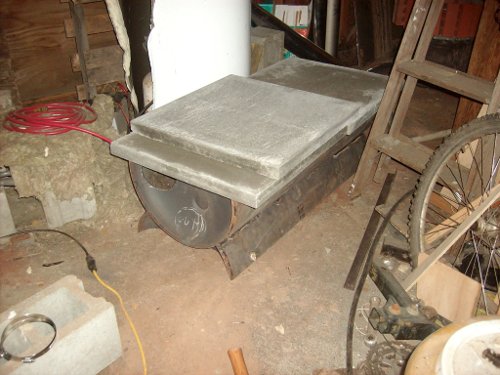
| Here is Tim showing off the bench as it will sit when finished. It will be covered with mass in the form of patio blocks. I am figuring 4 inch thick. This part is 10.5 inches high, so for a 16 inch high bench, I will have to raise this part about 2 inches. |
|
| To do that, I was thinking of cutting a hole in this piece and using it as the base. After cutting the core in half, I am not so sure I wish to do that... But I still might. |
|
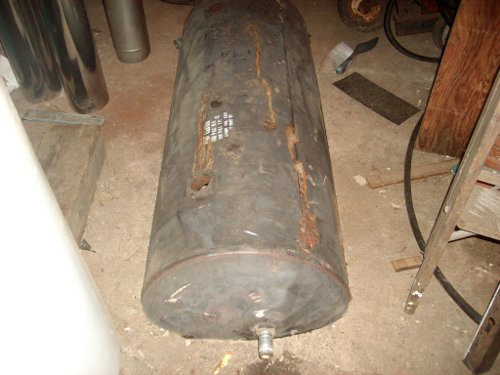
| I noticed that the ends are much thicker than the side walls. I noticed this while trying to cut the ends... they took longer. |
|
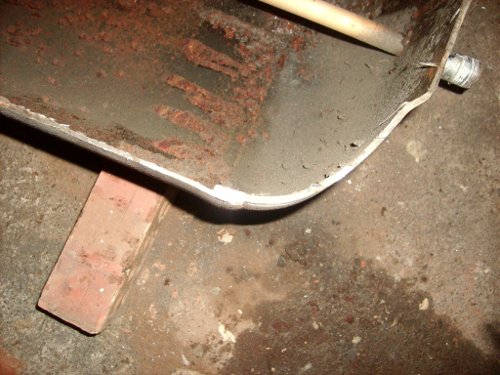
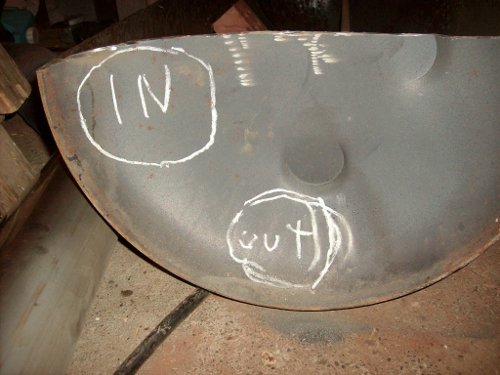
| The entrance pipe will go about half way into the chamber just under the mass. The exit will be at the bottom at the end. |
|
| This shows the placement of the pipes I plan to use. The intake is 5 inch and the exit is 4 inch. I had planned 6 inch intake... but I have 5 inch pipe. |
|
| Next will be the building of a base and cutting the pipe holes. I have seen what looks like some patio blocks that are no longer being used. I am waiting for the owner to be home so I can ask if they still want them. | Well, no blocks ... for free anyway... but more cutting and welding got done. |
| November 19: Here is the base all cut out and ready to go. |
|
| I set things together to see how it fits. BBQ? Bath tub? Planter? Feed trough? Could be any of those things right now ;-) |
|
| Closer view shows base better. |
|
| Flipped over for welding. If I didn't have a welder, I could use straps to hold it on or just put 4 bolts as legs. |
|
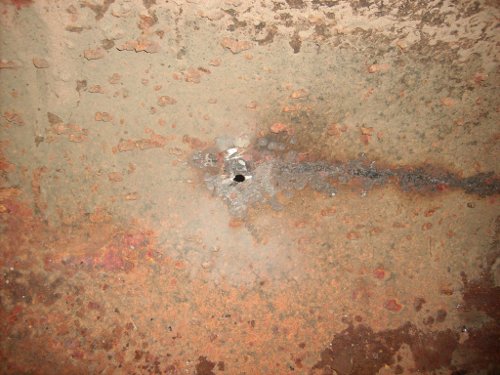
| Oops! Like I said... just learning to weld... Guess I got things a bit hot. Turned the current down and was able to patch this just fine. |
|
| Got it all welded and started to cut the holes. The ends are a lot thicker and harder to cut holes in. Gotta go and buy some bits too. | |
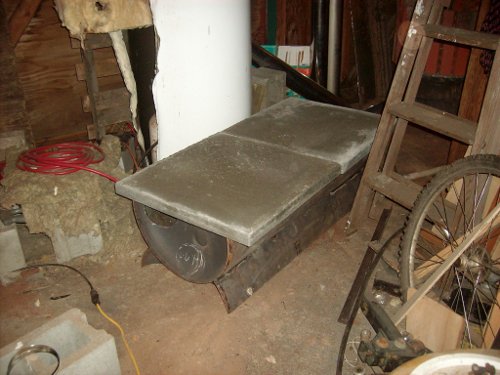
| Finally got the next bits... some mass. According to the wiki on concrete properties, each of these slabs is about 100 lbs. So there is 200lbs of mass here. |
|
| Want more mass? It is easy to add. Two more slabs would be 400lbs. But I will start with just the first two for now. I got 4 and a half slabs, two and a half are for underneath to protect the floor. |
|
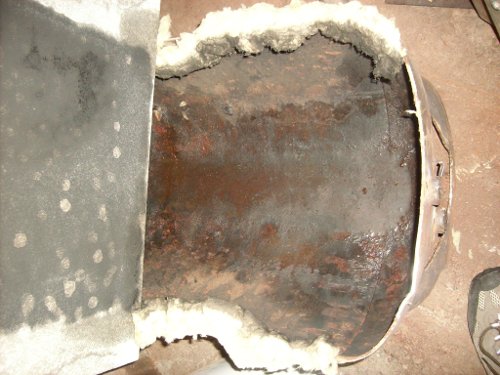
| I have now tested the bench with fire. It worked well, the system still draws well and the bench heats up nicely. The flue gas looses a lot of temperature too. You can see the result in this picture. All of those tiny circles were water droplets that formed on the cold surface before it warmed up. The fluffy stuff on the edges is what I used to seal the top. It worked well too, but I think I will do it differently for permanent installation. |
|
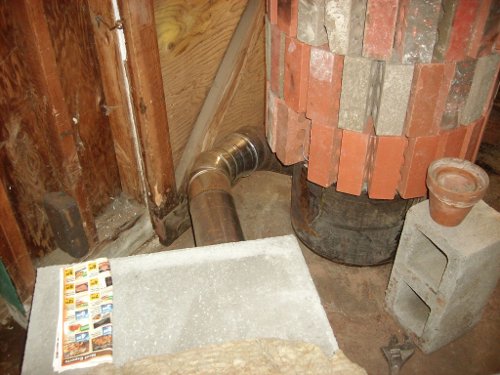
| I had to route the pipe funny to make things fit. It will be much straighter and shorter in it's final position. While firing the sliding door behind was wide open to keep the heater from being too close to the wood, this is after it was cool enough to handle. |
|
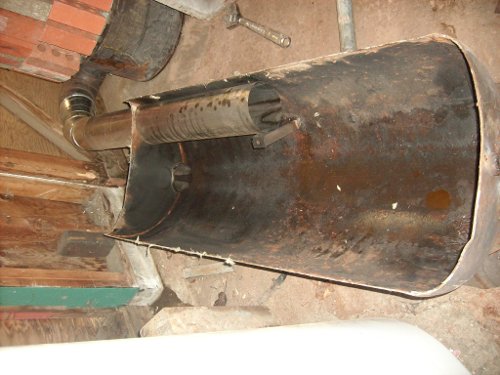
| Here the intake pipe can be seen along with it's support strut. I have put it towards the back of the bench because I want to heat the front more. The bench is a little cooler just above that pipe, but still warm. Having it more central may be better, but it would be harder to build a support and I wanted to make sure I didn't shadow the exhaust. The exhaust can be seen under the intake at the bottom center. |
|
| I don't know how clear this is, but I am trying to show the puddle of water left at the end of the burn. It is really not that much now that I look at it again. I could put a tap in to drain it, but first I want try insulating under so the bottom of the core has time to warm up. I don't want to heat the floor anyway for my application though there may be some applications where it makes sense. |
|