The next thing I have worked on has been milling the blocks for the body and I have also filled the tuner holes in the headpiece.
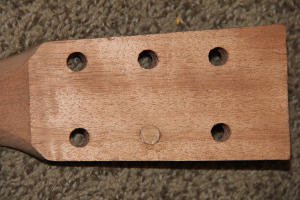
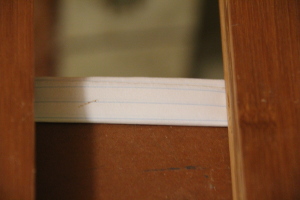
I had thought That I would be able to use at least four of the tuner holes in the headstock as the end holes did line up with my mandolin tuners. However, I found that the bushings are smaller than holes. The guitar neck is made for individual sealed tuners rather then the open back style. So it turns out I had to fill them all after all. So here is the first hole plugged. I have done the rest now as well. I have not yet redrilled the holes as it has been too cold in the shop. I have chosen to change the angle of the tuners for less string bend at the block. I will have to cover the front of the headstock with veneer to cover the plugs. The back of the plugs are much closer in colour but will be covered by the tuner plates. I made sure of that.
There are 4 blocks in this design:
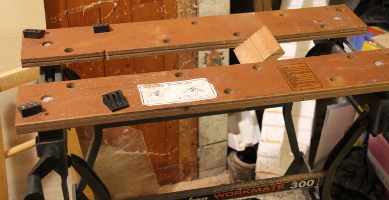
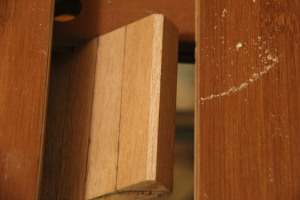
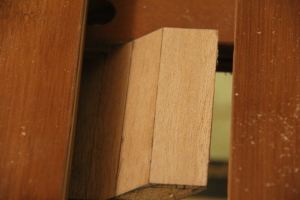
I at first thought to try using a dado blade to mill things flat as I do not have a power planer to do that. However, the end result was pretty rough. While I was in the shop, I noticed a small work bench that had once belonged to my dad. It has a vice in it. So I brought it inside. This allowed clamping the block in almost any position for milling with a router. Here is the neck block so far.
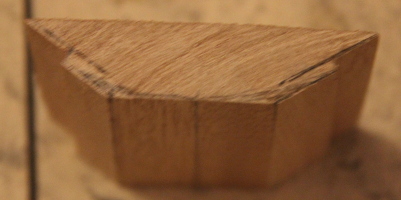
I purposely milled it to the outside dimensions so I could learn from mistakes in milling. So while the shape is quite good, it is too big by the thickness of the sides. This is good as I have learned to mill better since then already... I have an 1/8th inch to go on both sides. I have to angle the top and neck part as well and round off the back to fit the back skin.
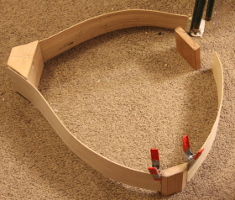
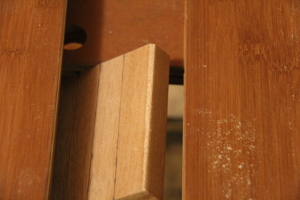
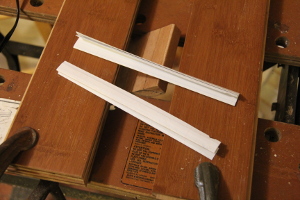
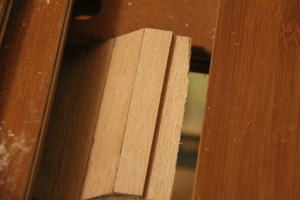
Here are the bits roughly assembled after finishing the first corner.
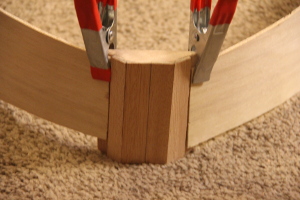
Here are some views of the corner itself:
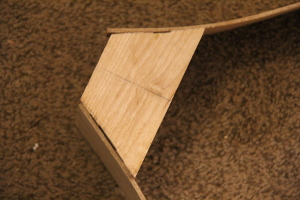
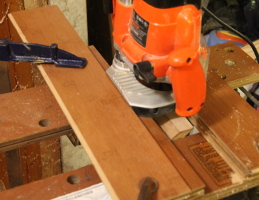
I had to think a bit about how to mill this out. It started like this:

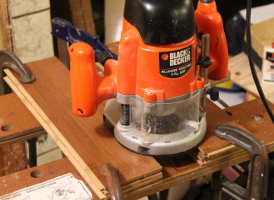
After a minimal pass, the alignment can be checked. Note that the cut is wider on one end than the other.
So... add shims under the router support till the width of cut is even.
Things not shown are, glasses, flashlight and ruler. Then the cut can be taken down to the line in steps... the last few steps being quite small.
Now I needed to cut out the relief for the skin. I needed a fence... no I am not looking for a pawn shop...
Well thats it for this time... tune in next time when we... do more sanding and milling.
Previous page of the Mandocello build - Next page of the Mandocello build - Index of the Mandocello build