2017-12-01
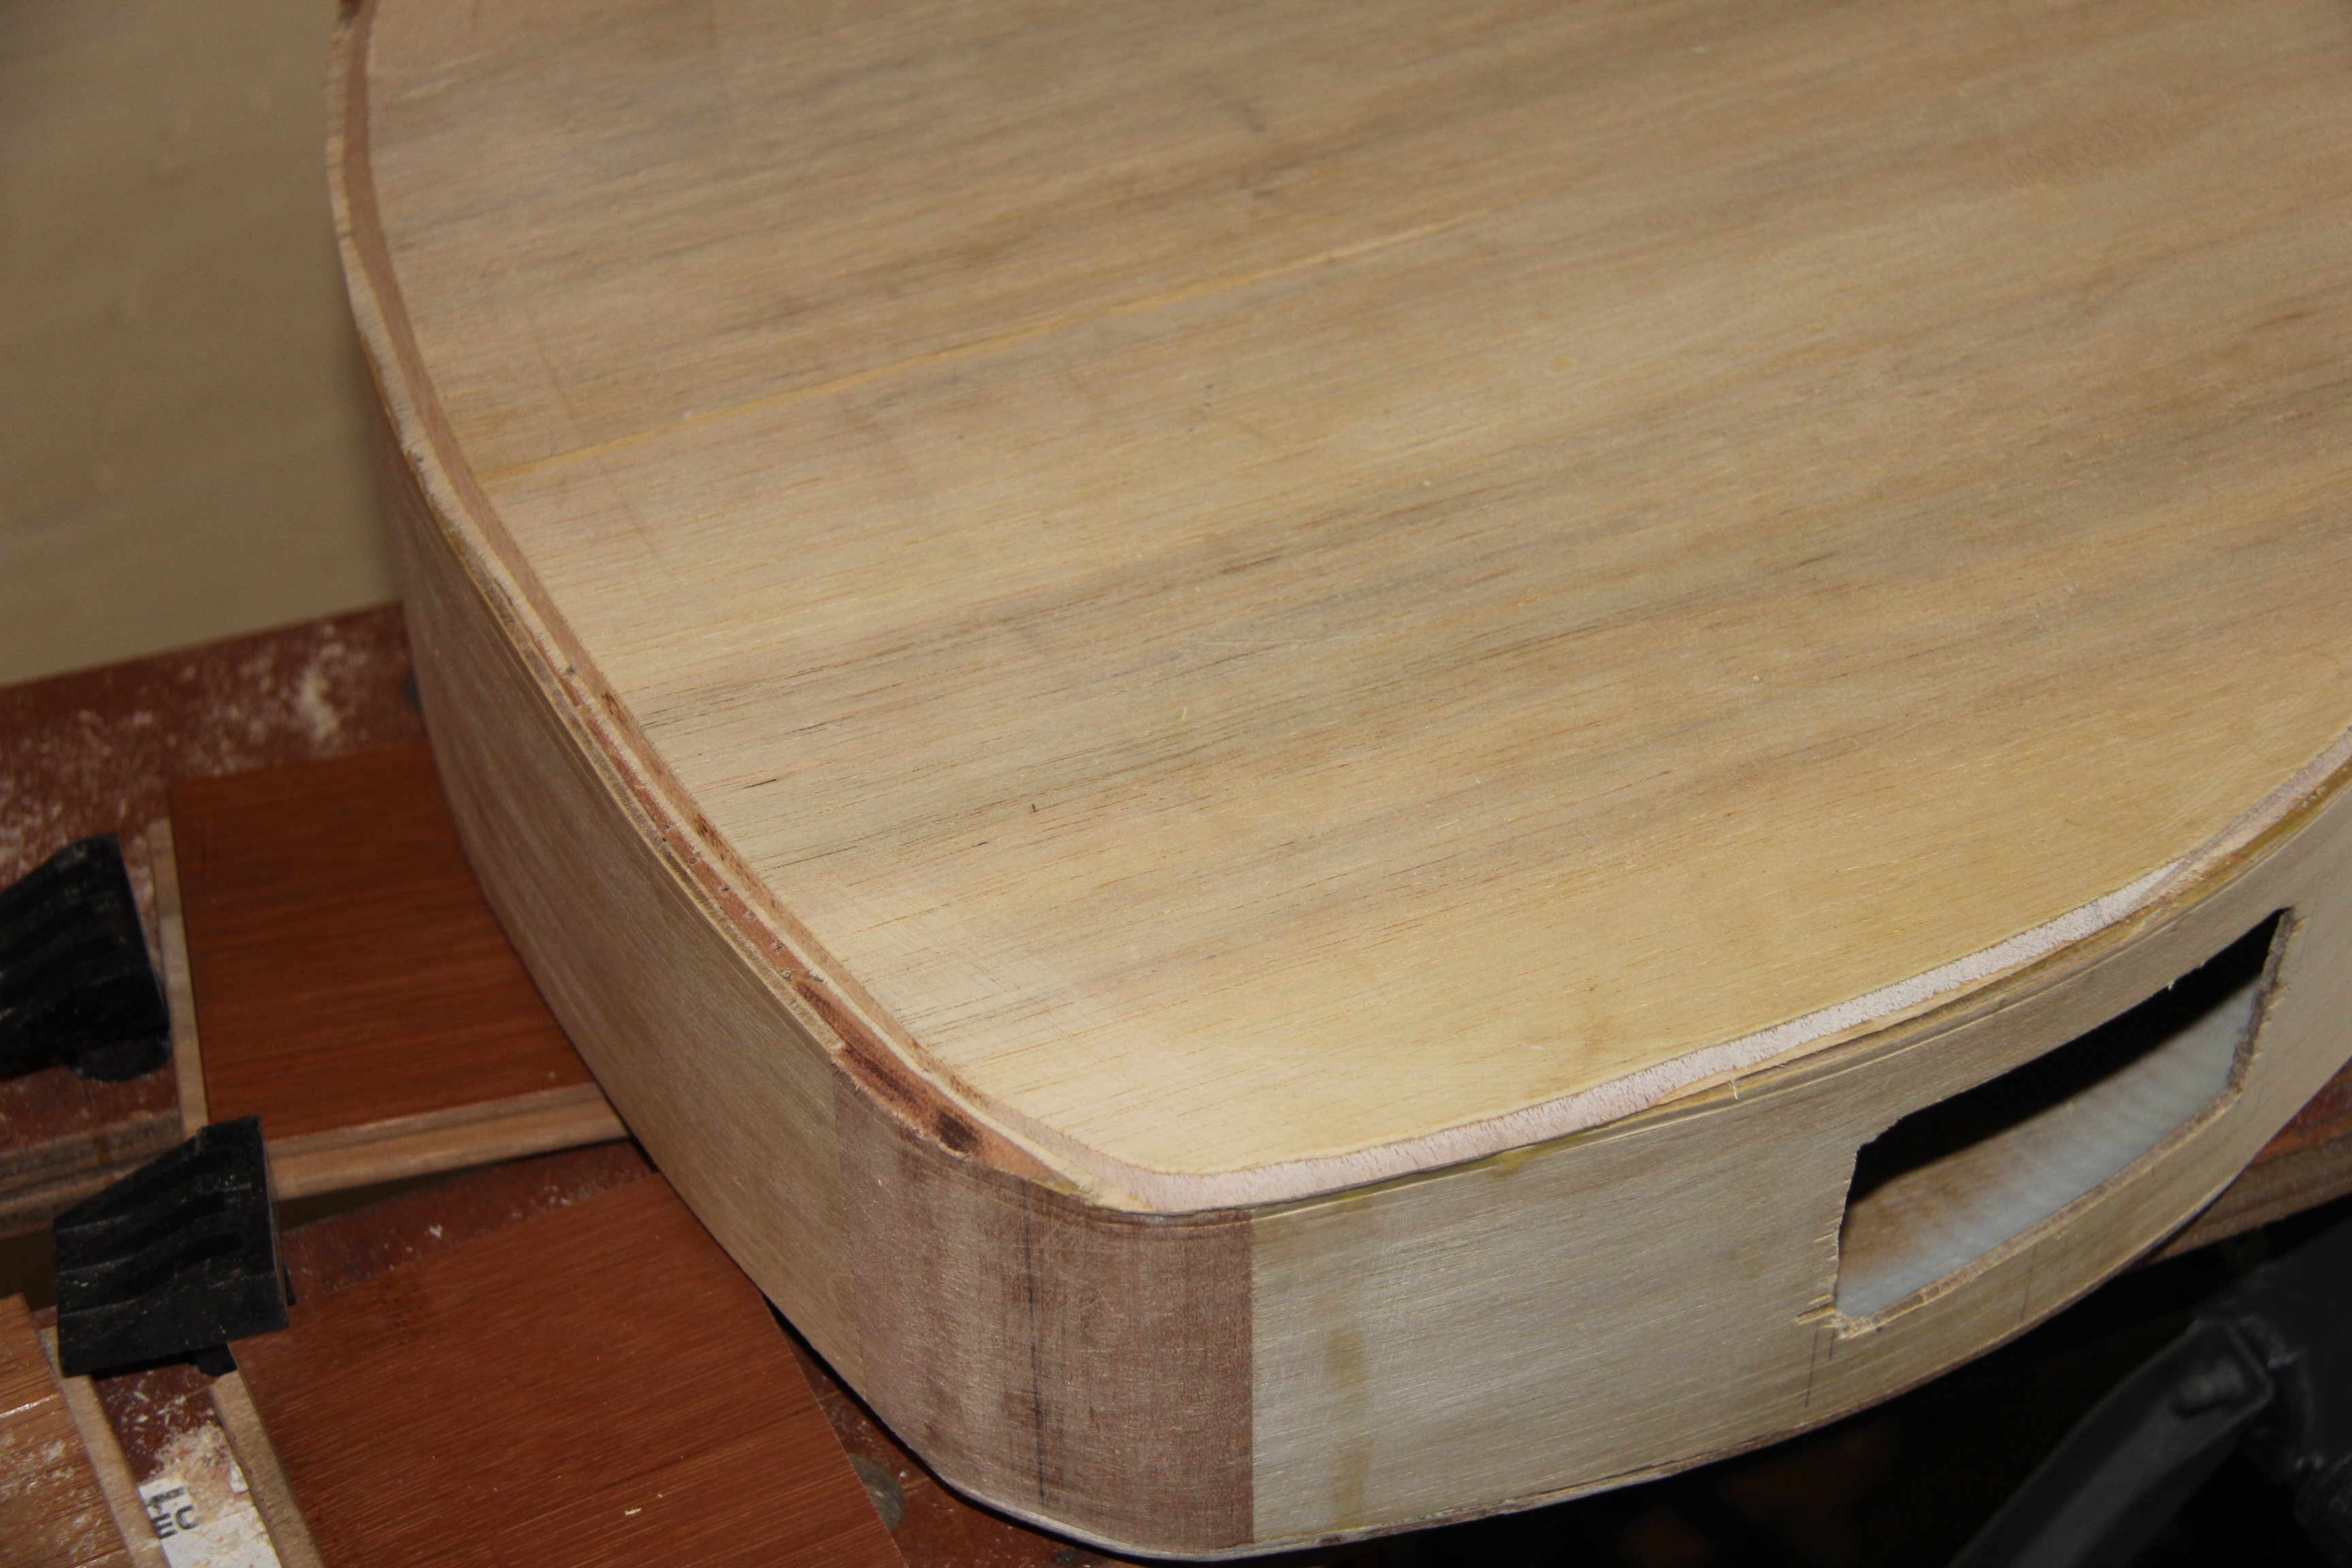
Previous page of the Mandocello build - Next page of the Mandocello build - Index of the Mandocello buildI think this is showing the lining before it is shaped (left) and after (left). It is hard to see, but the second picture the lining slopes inward and you can see the slots.
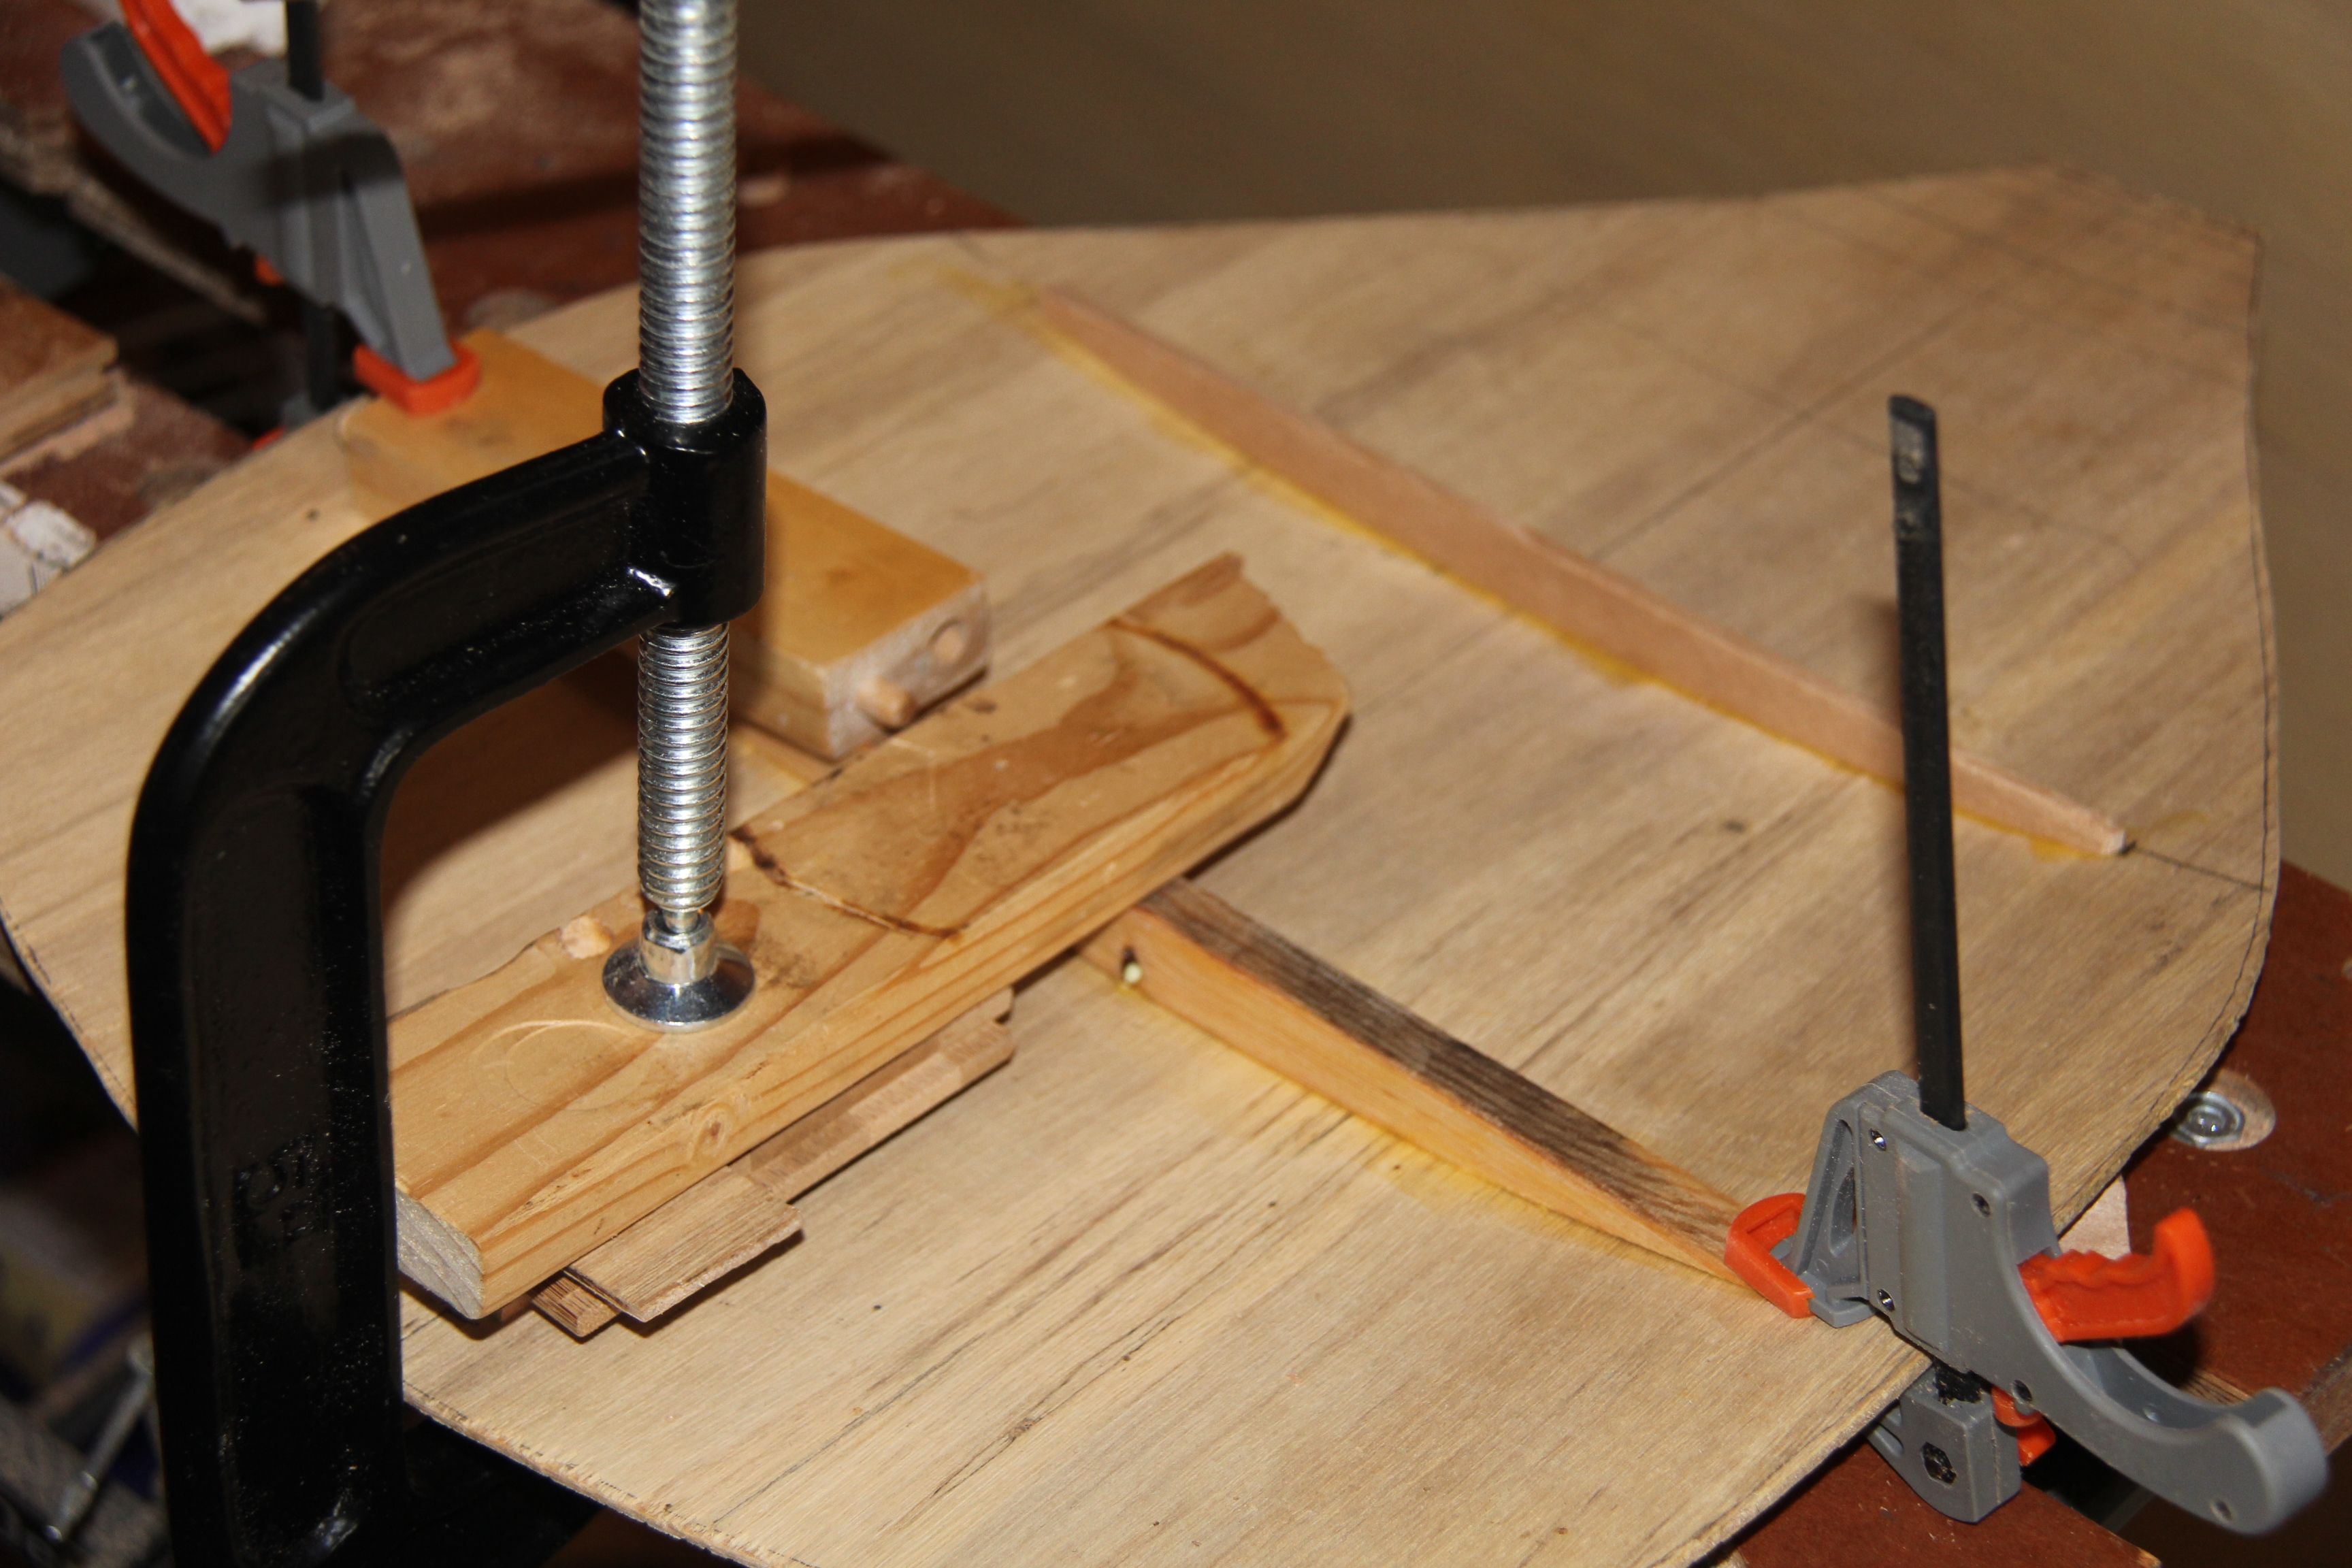
Before I can add the back it needs braces, two of them. It seems I have no long reach clamps so I had to improvise. It seems one can never have enough clamps for this sort of thing.
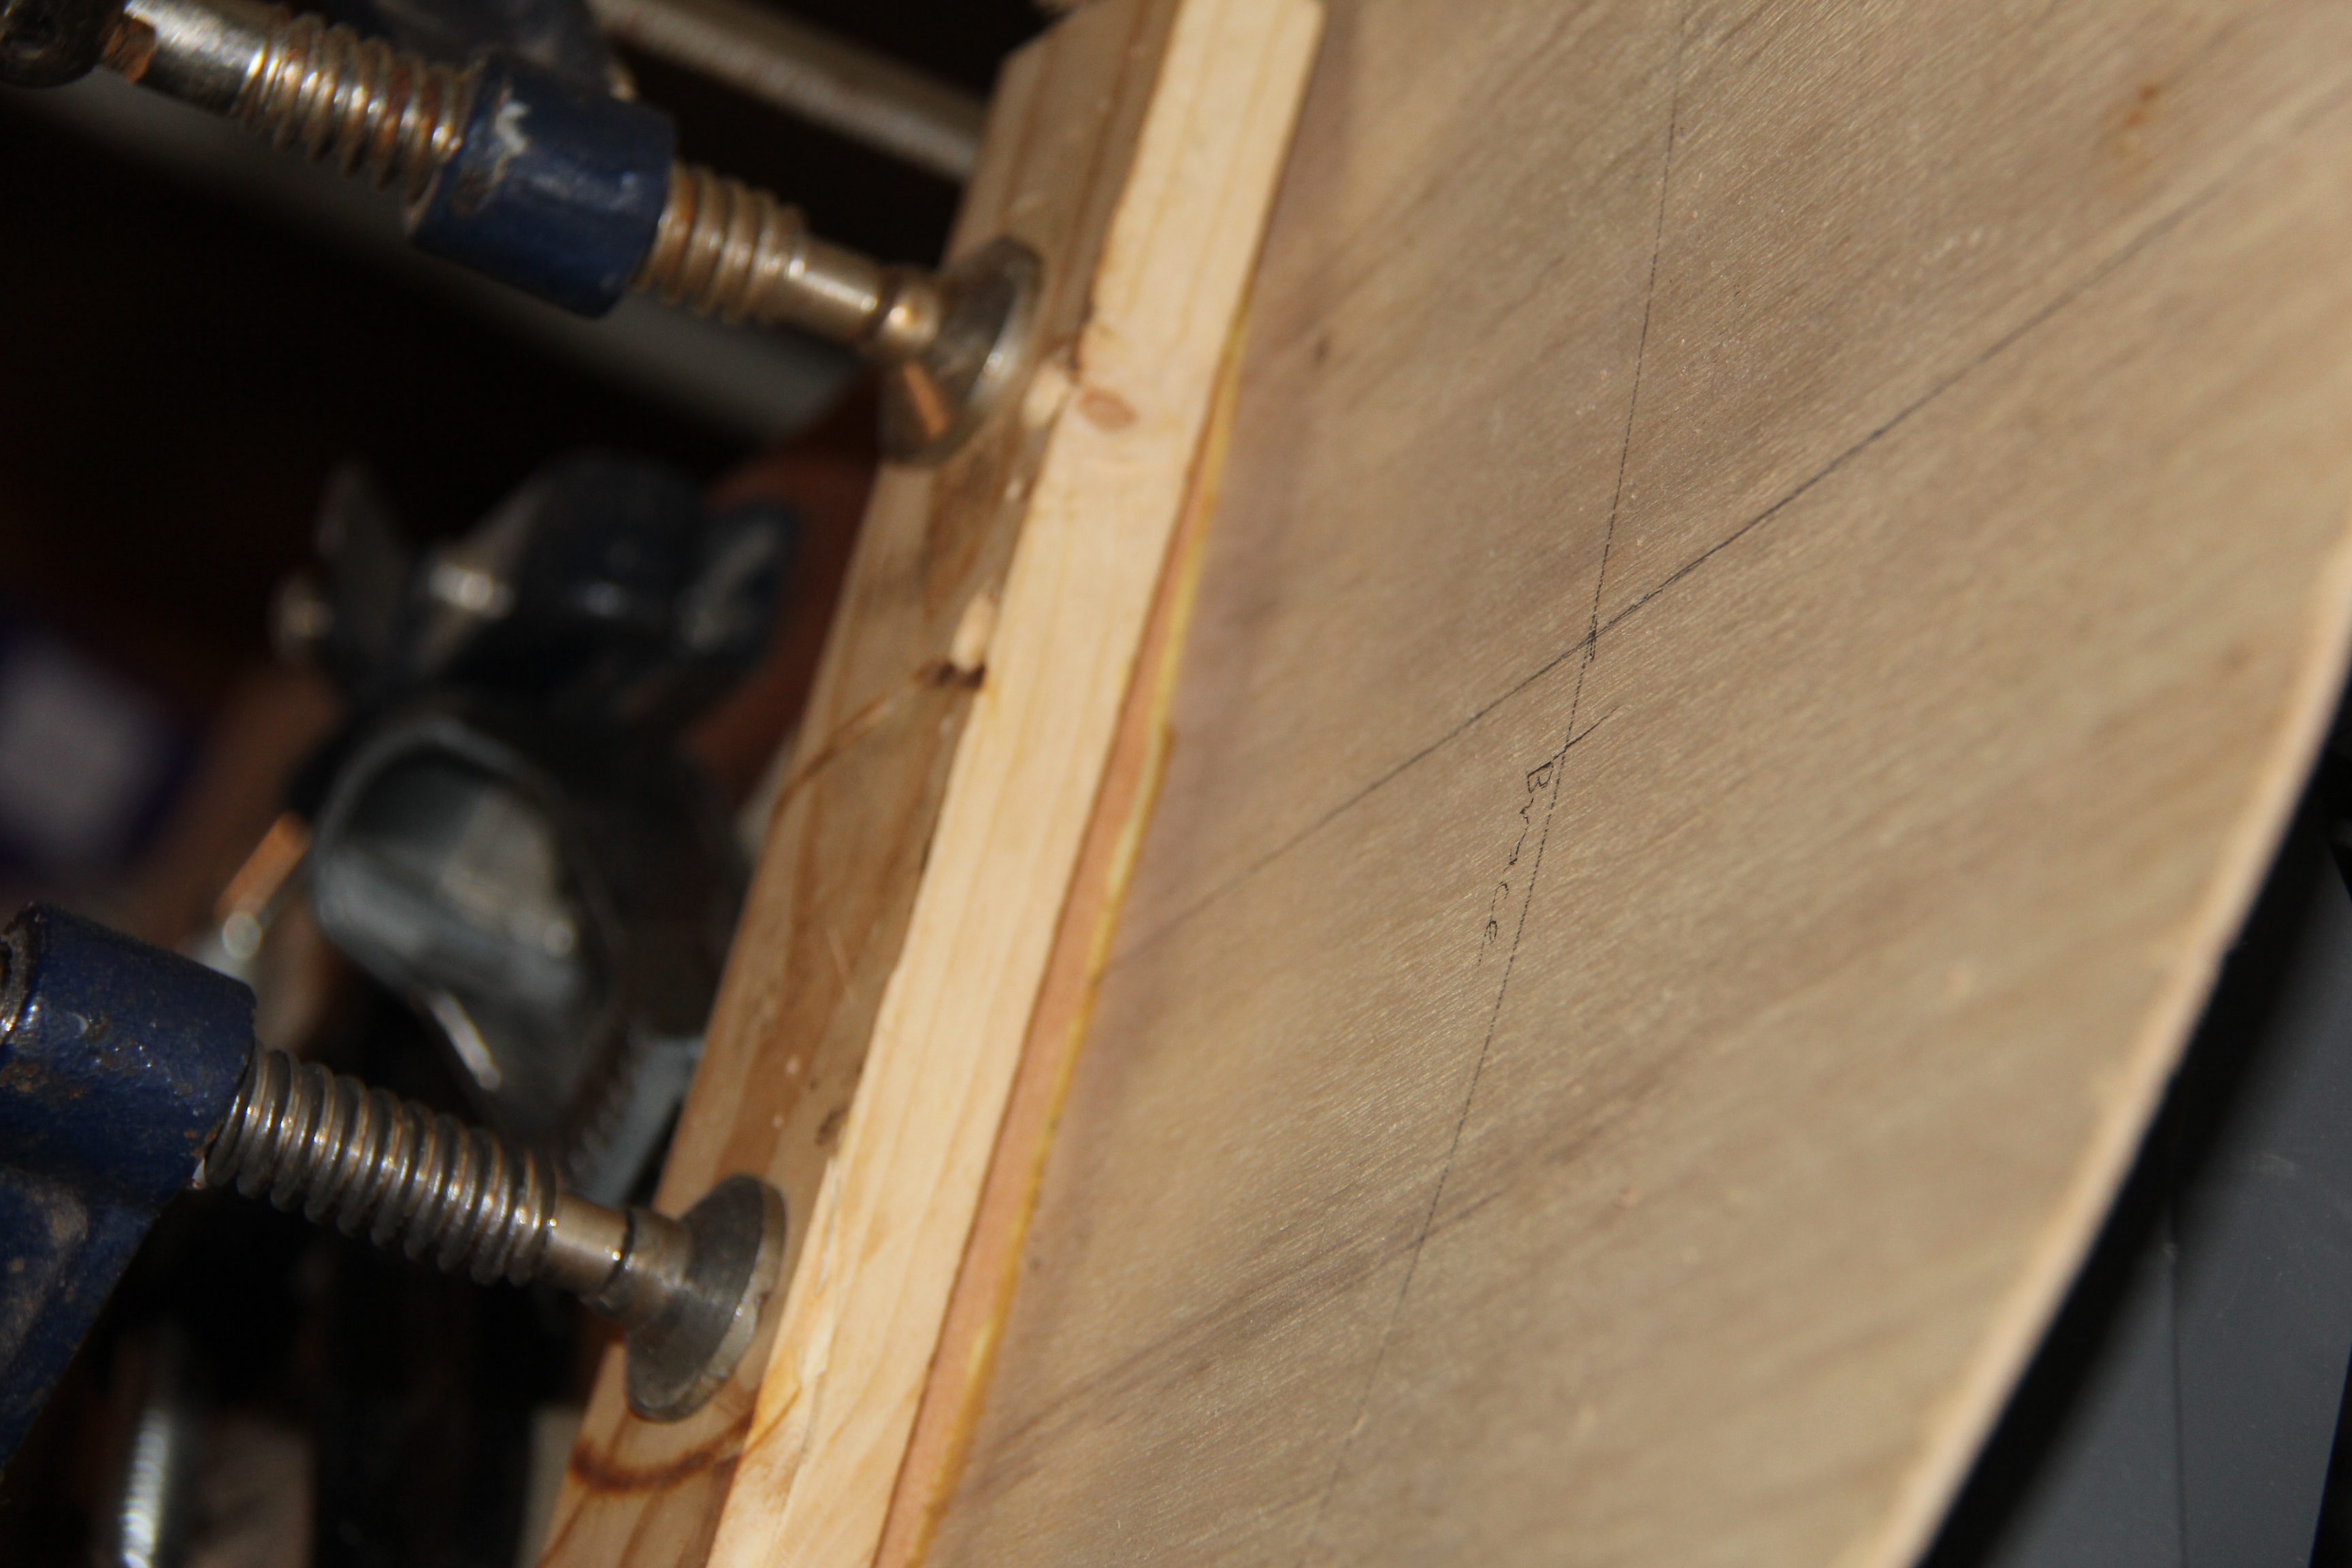
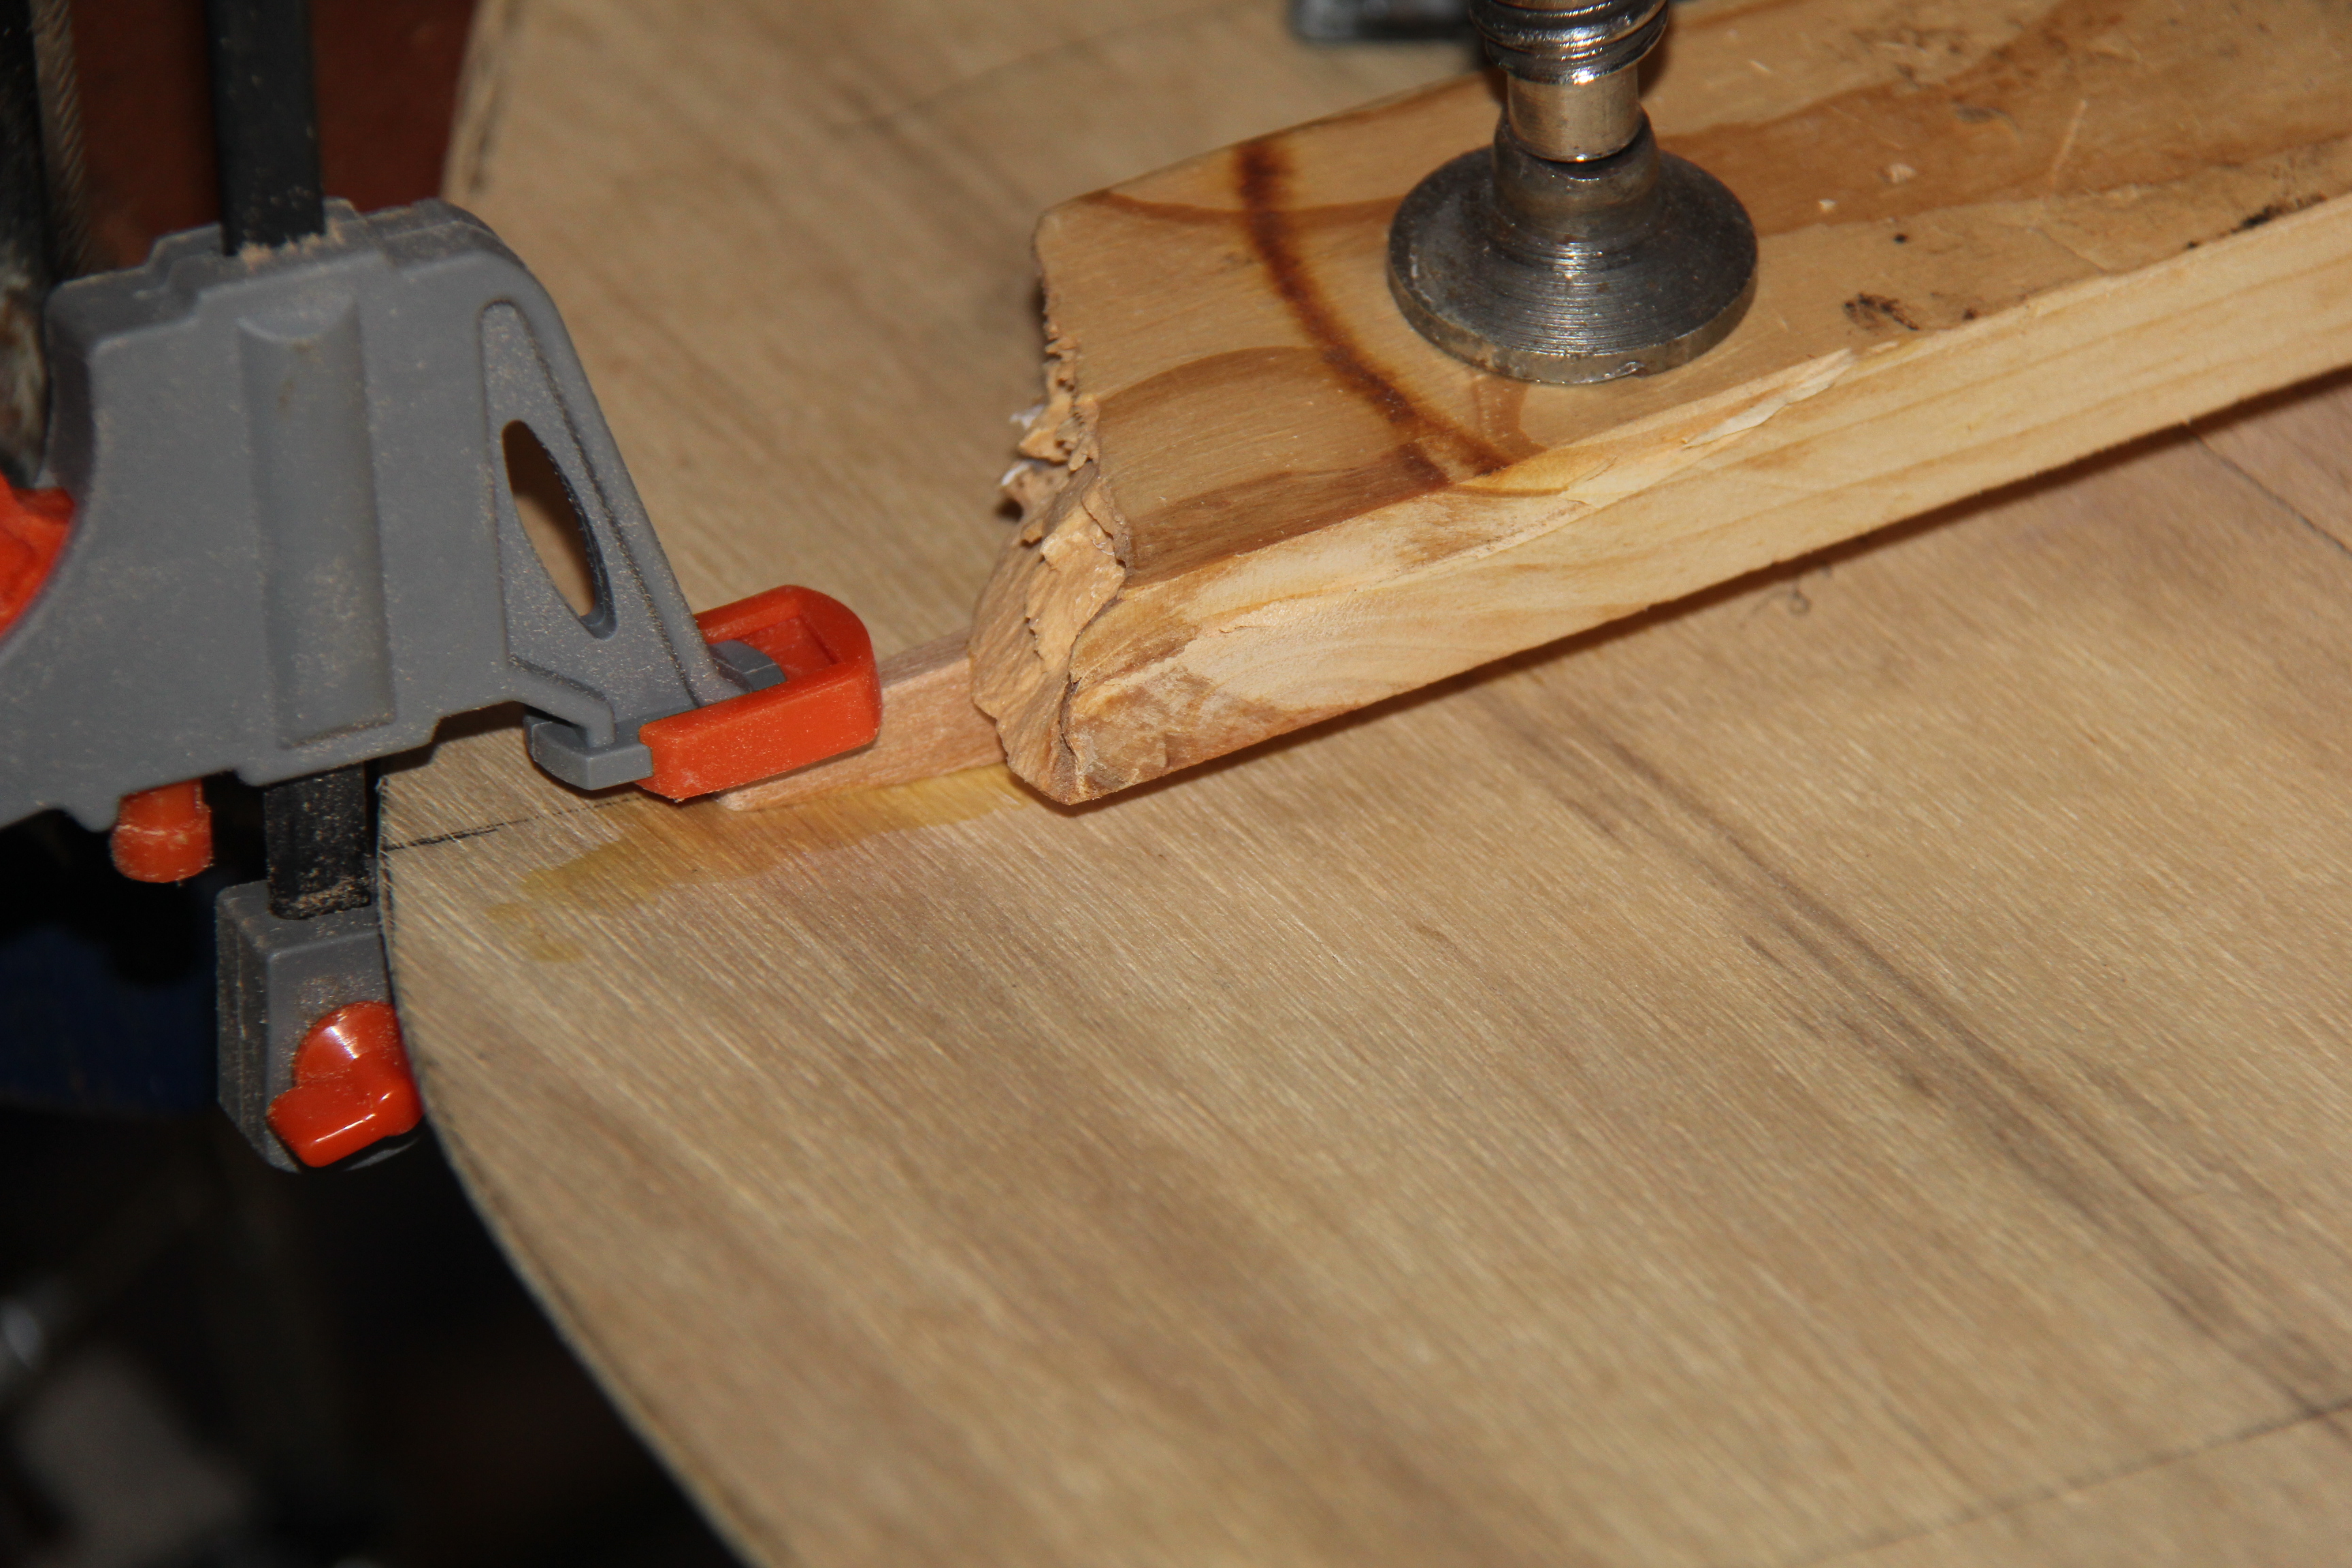
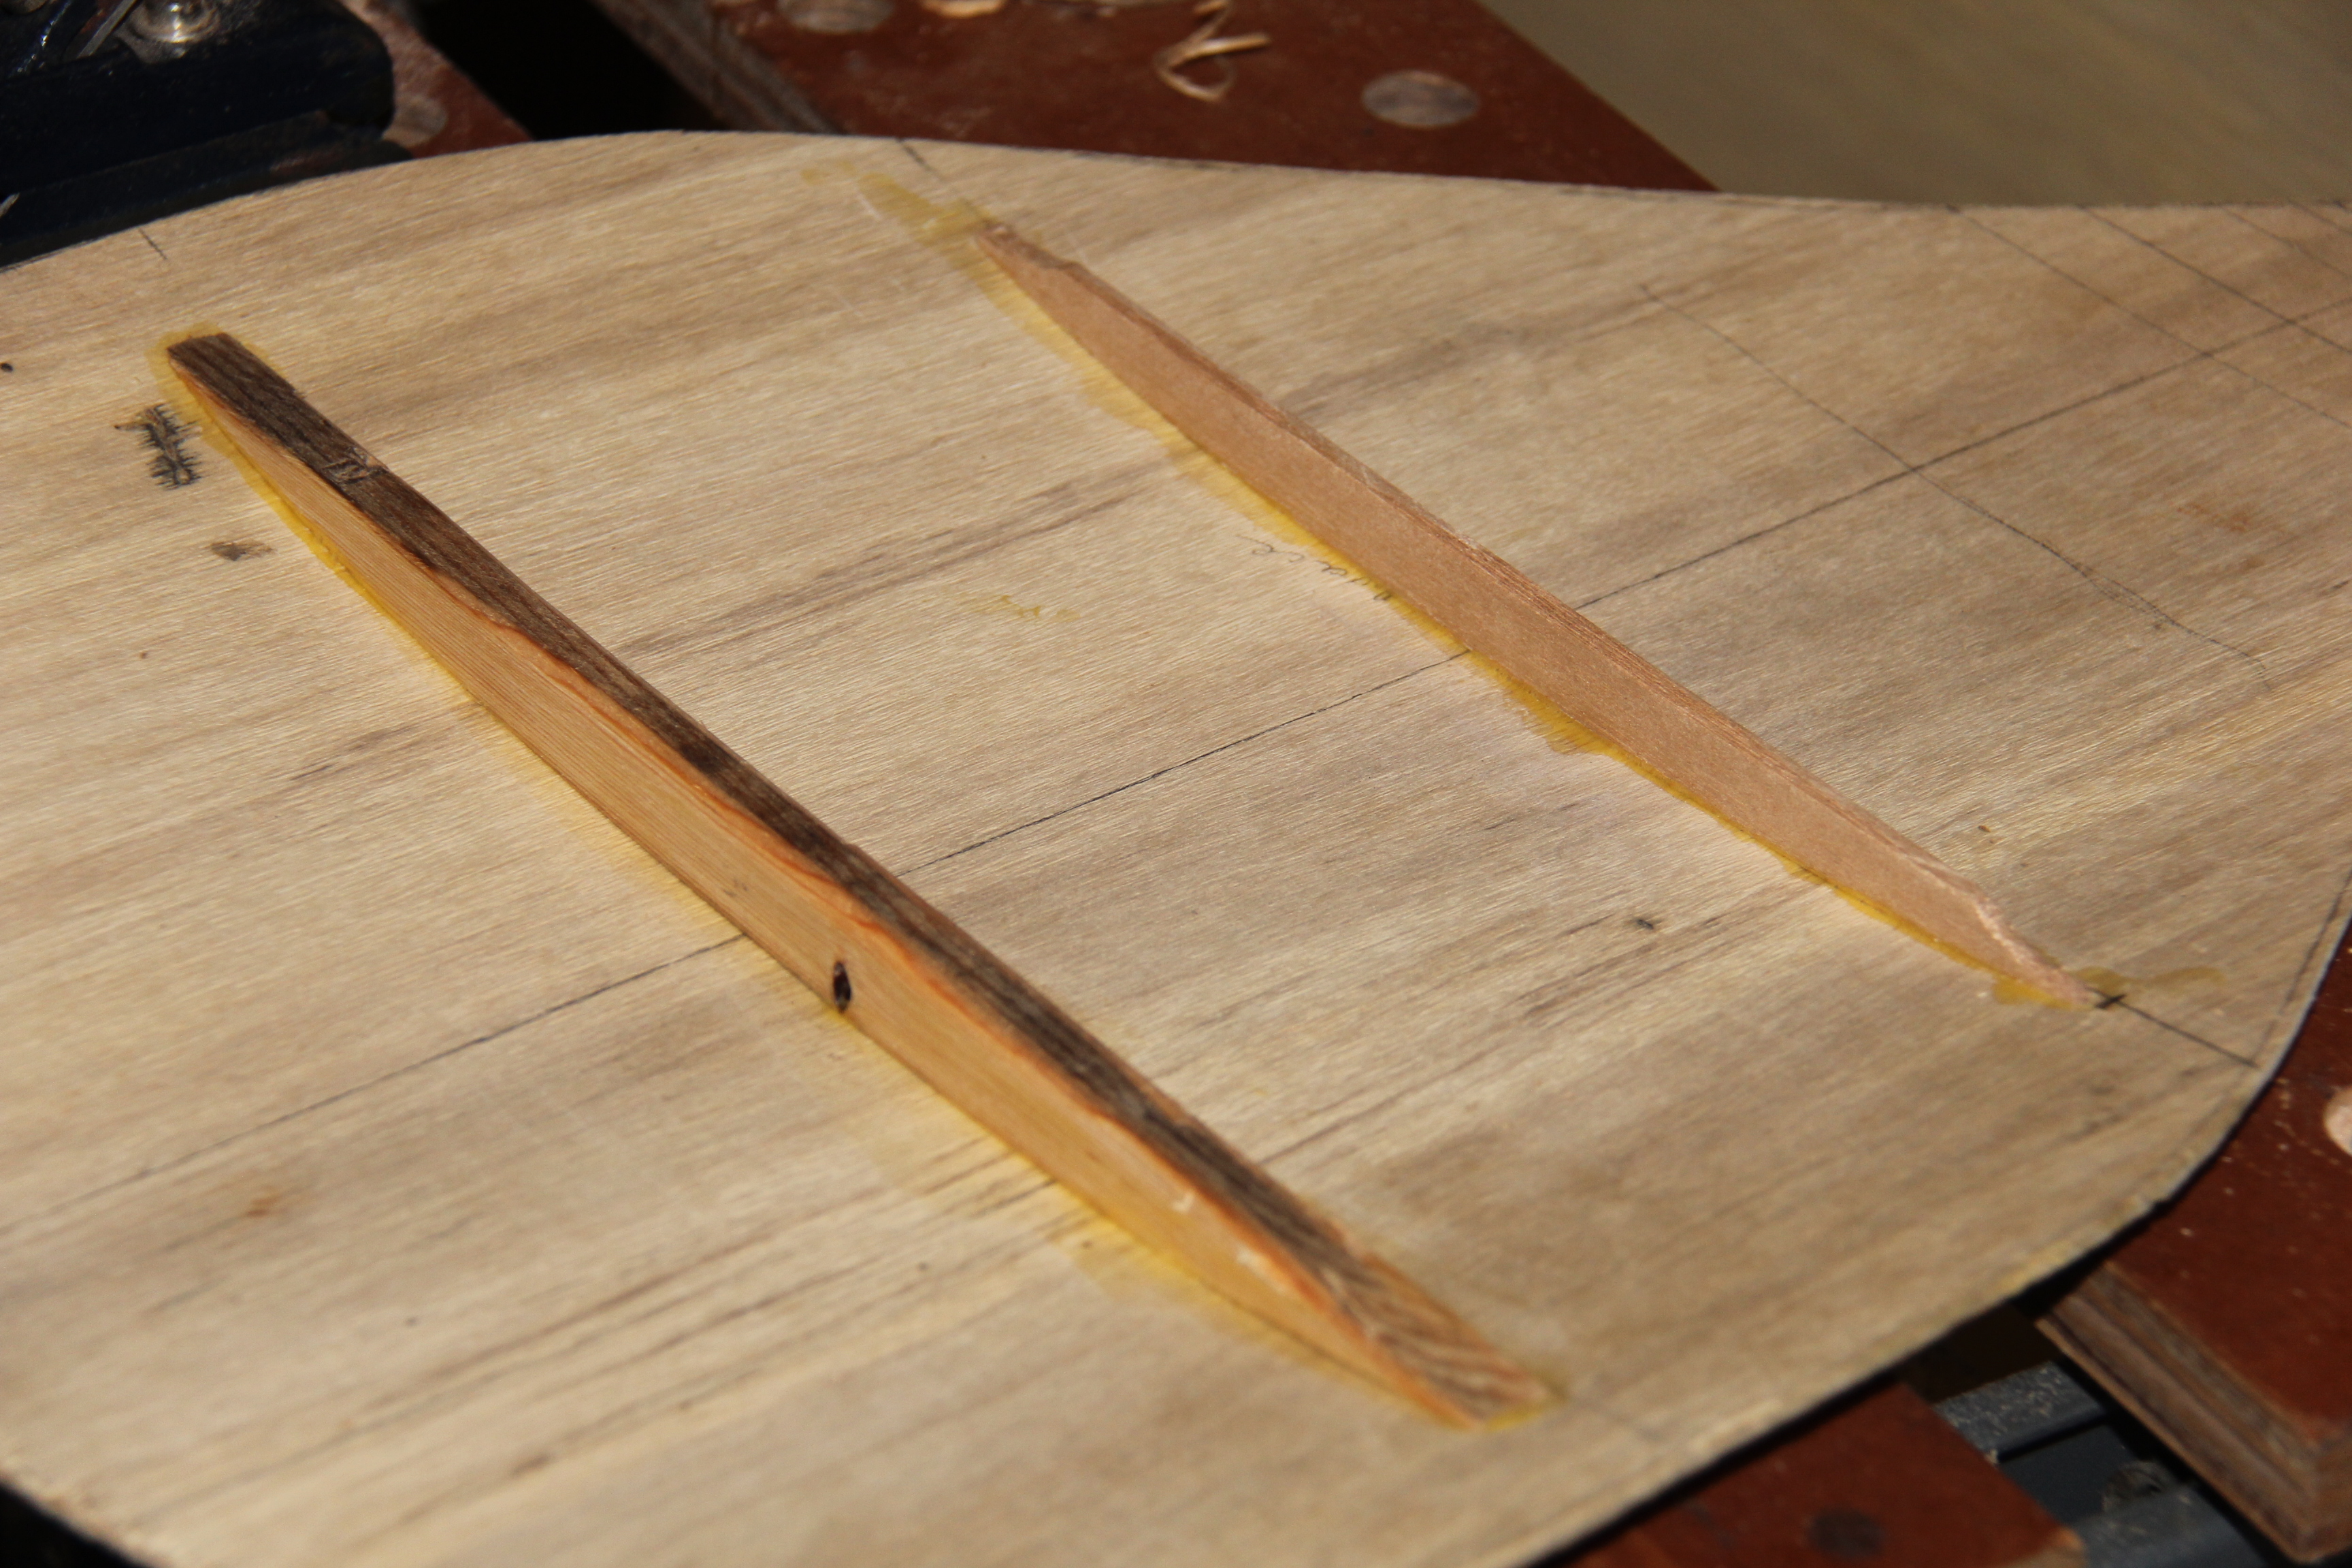
There they are...
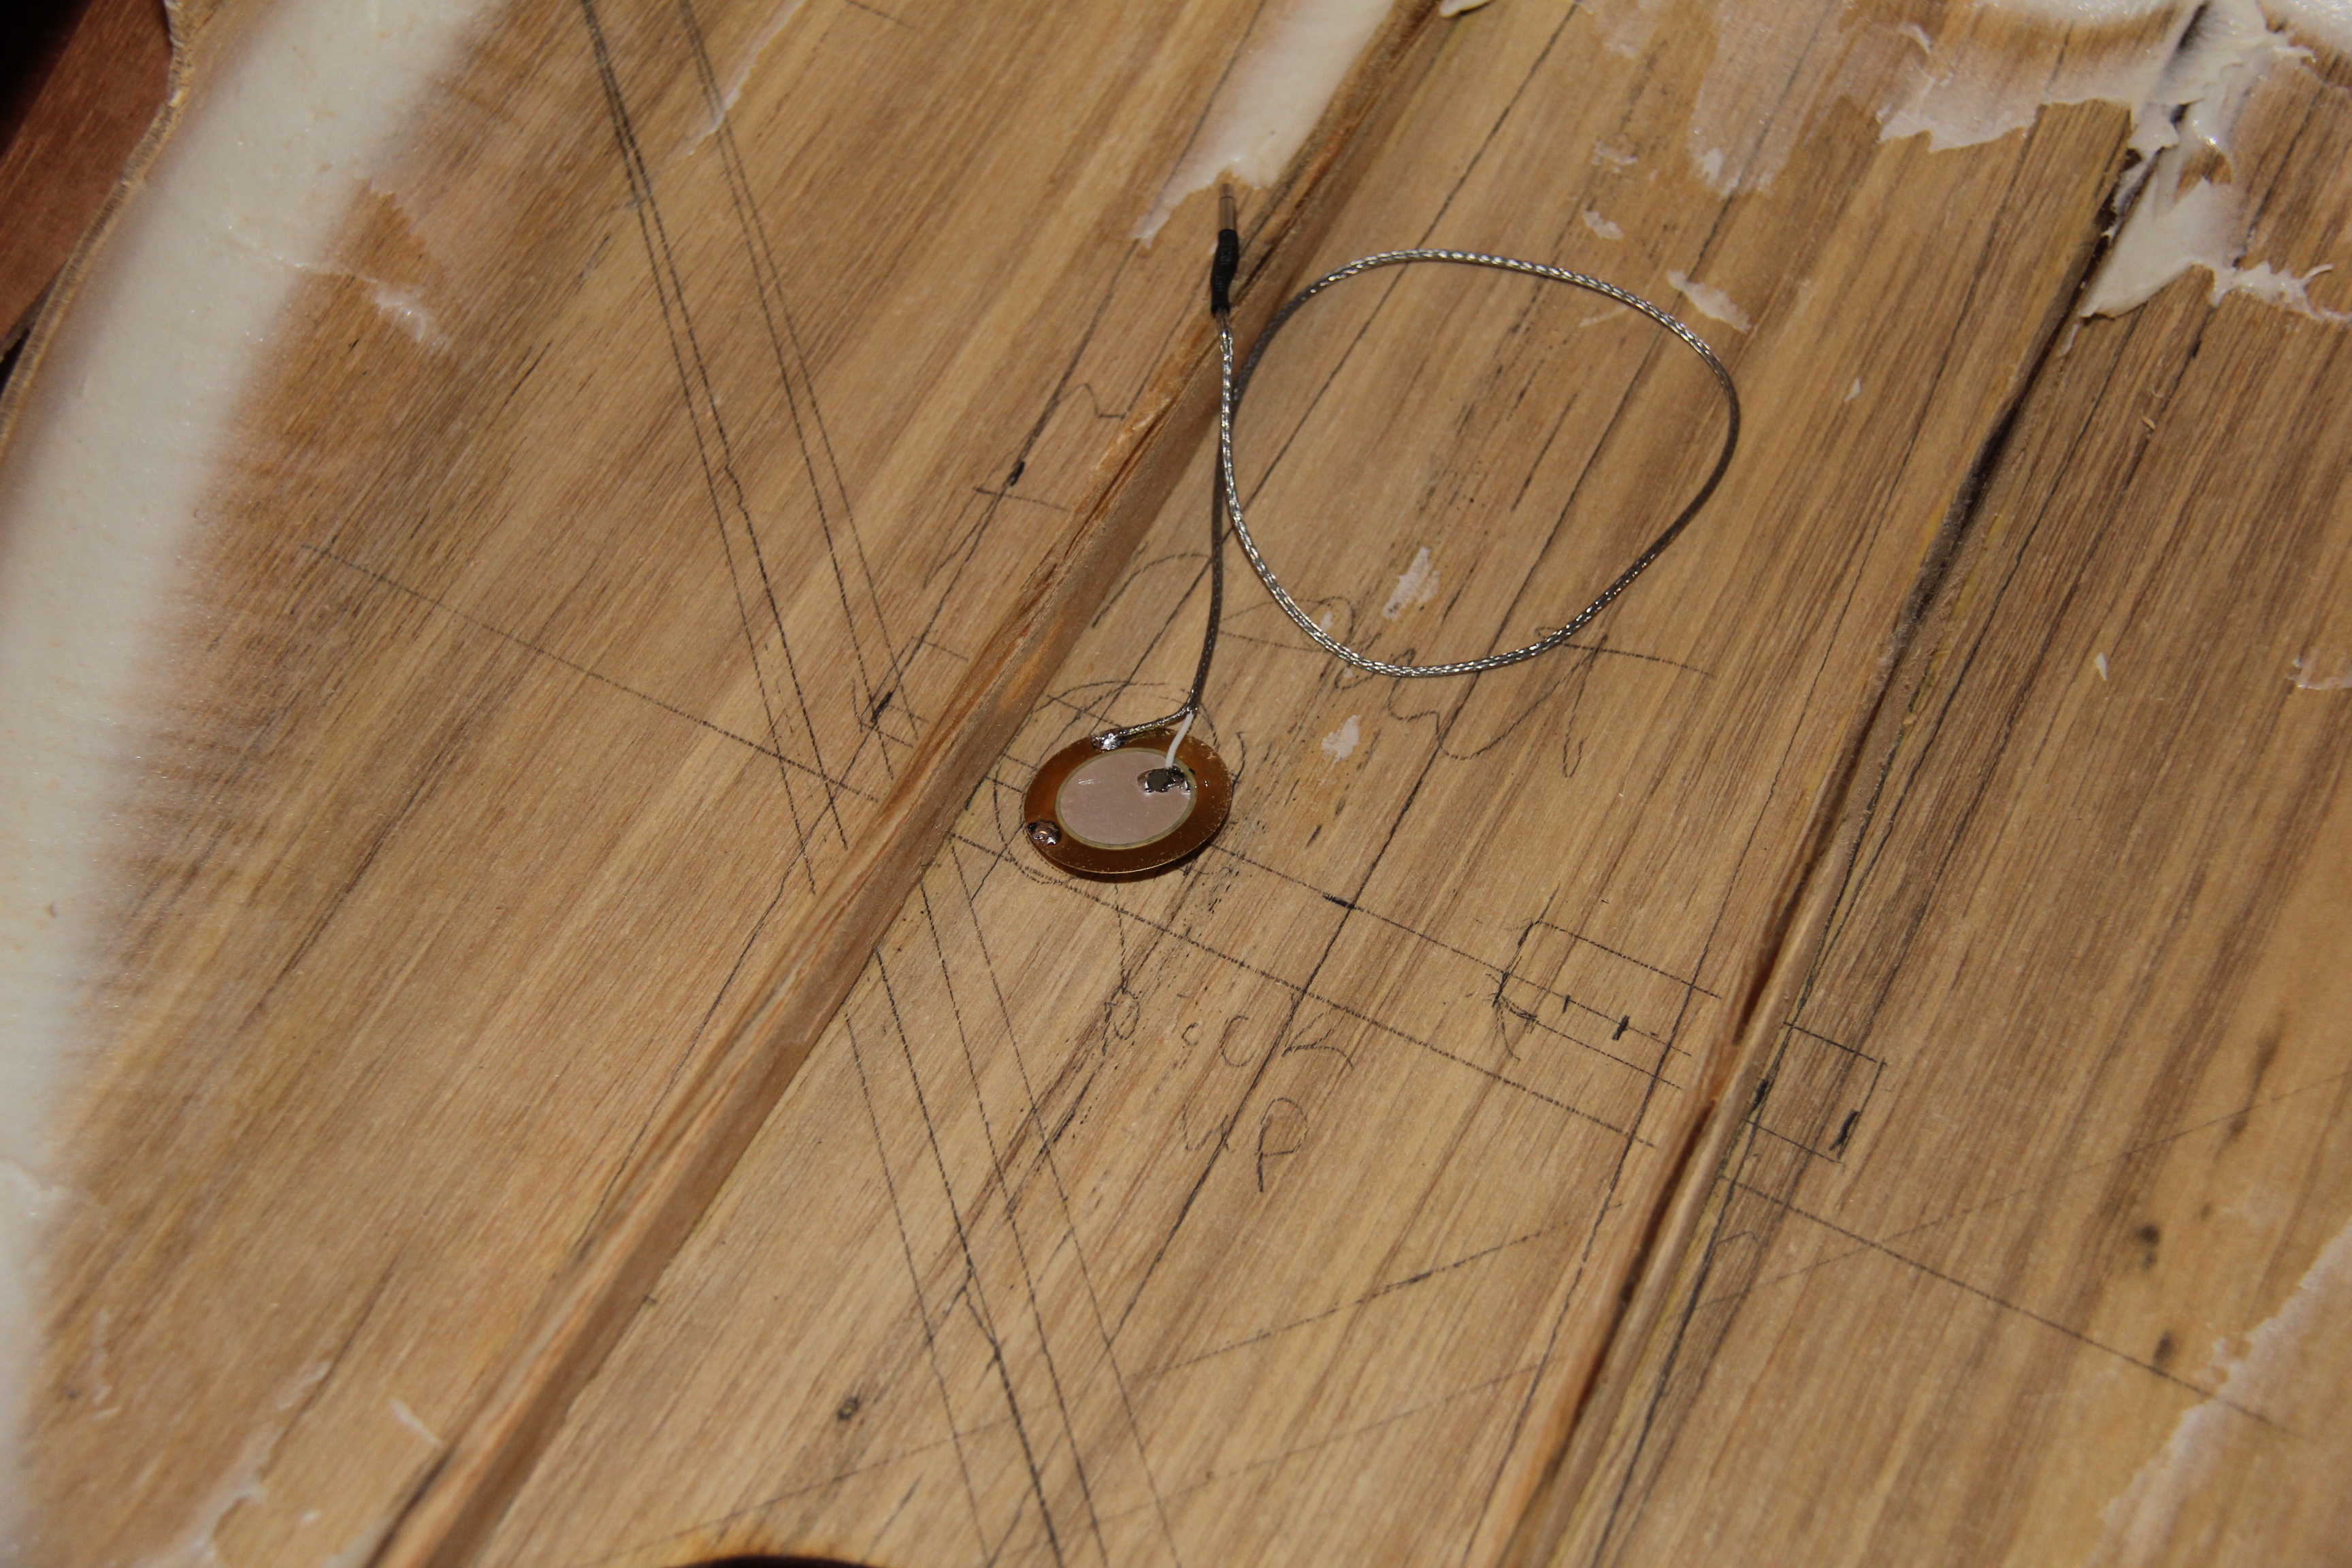
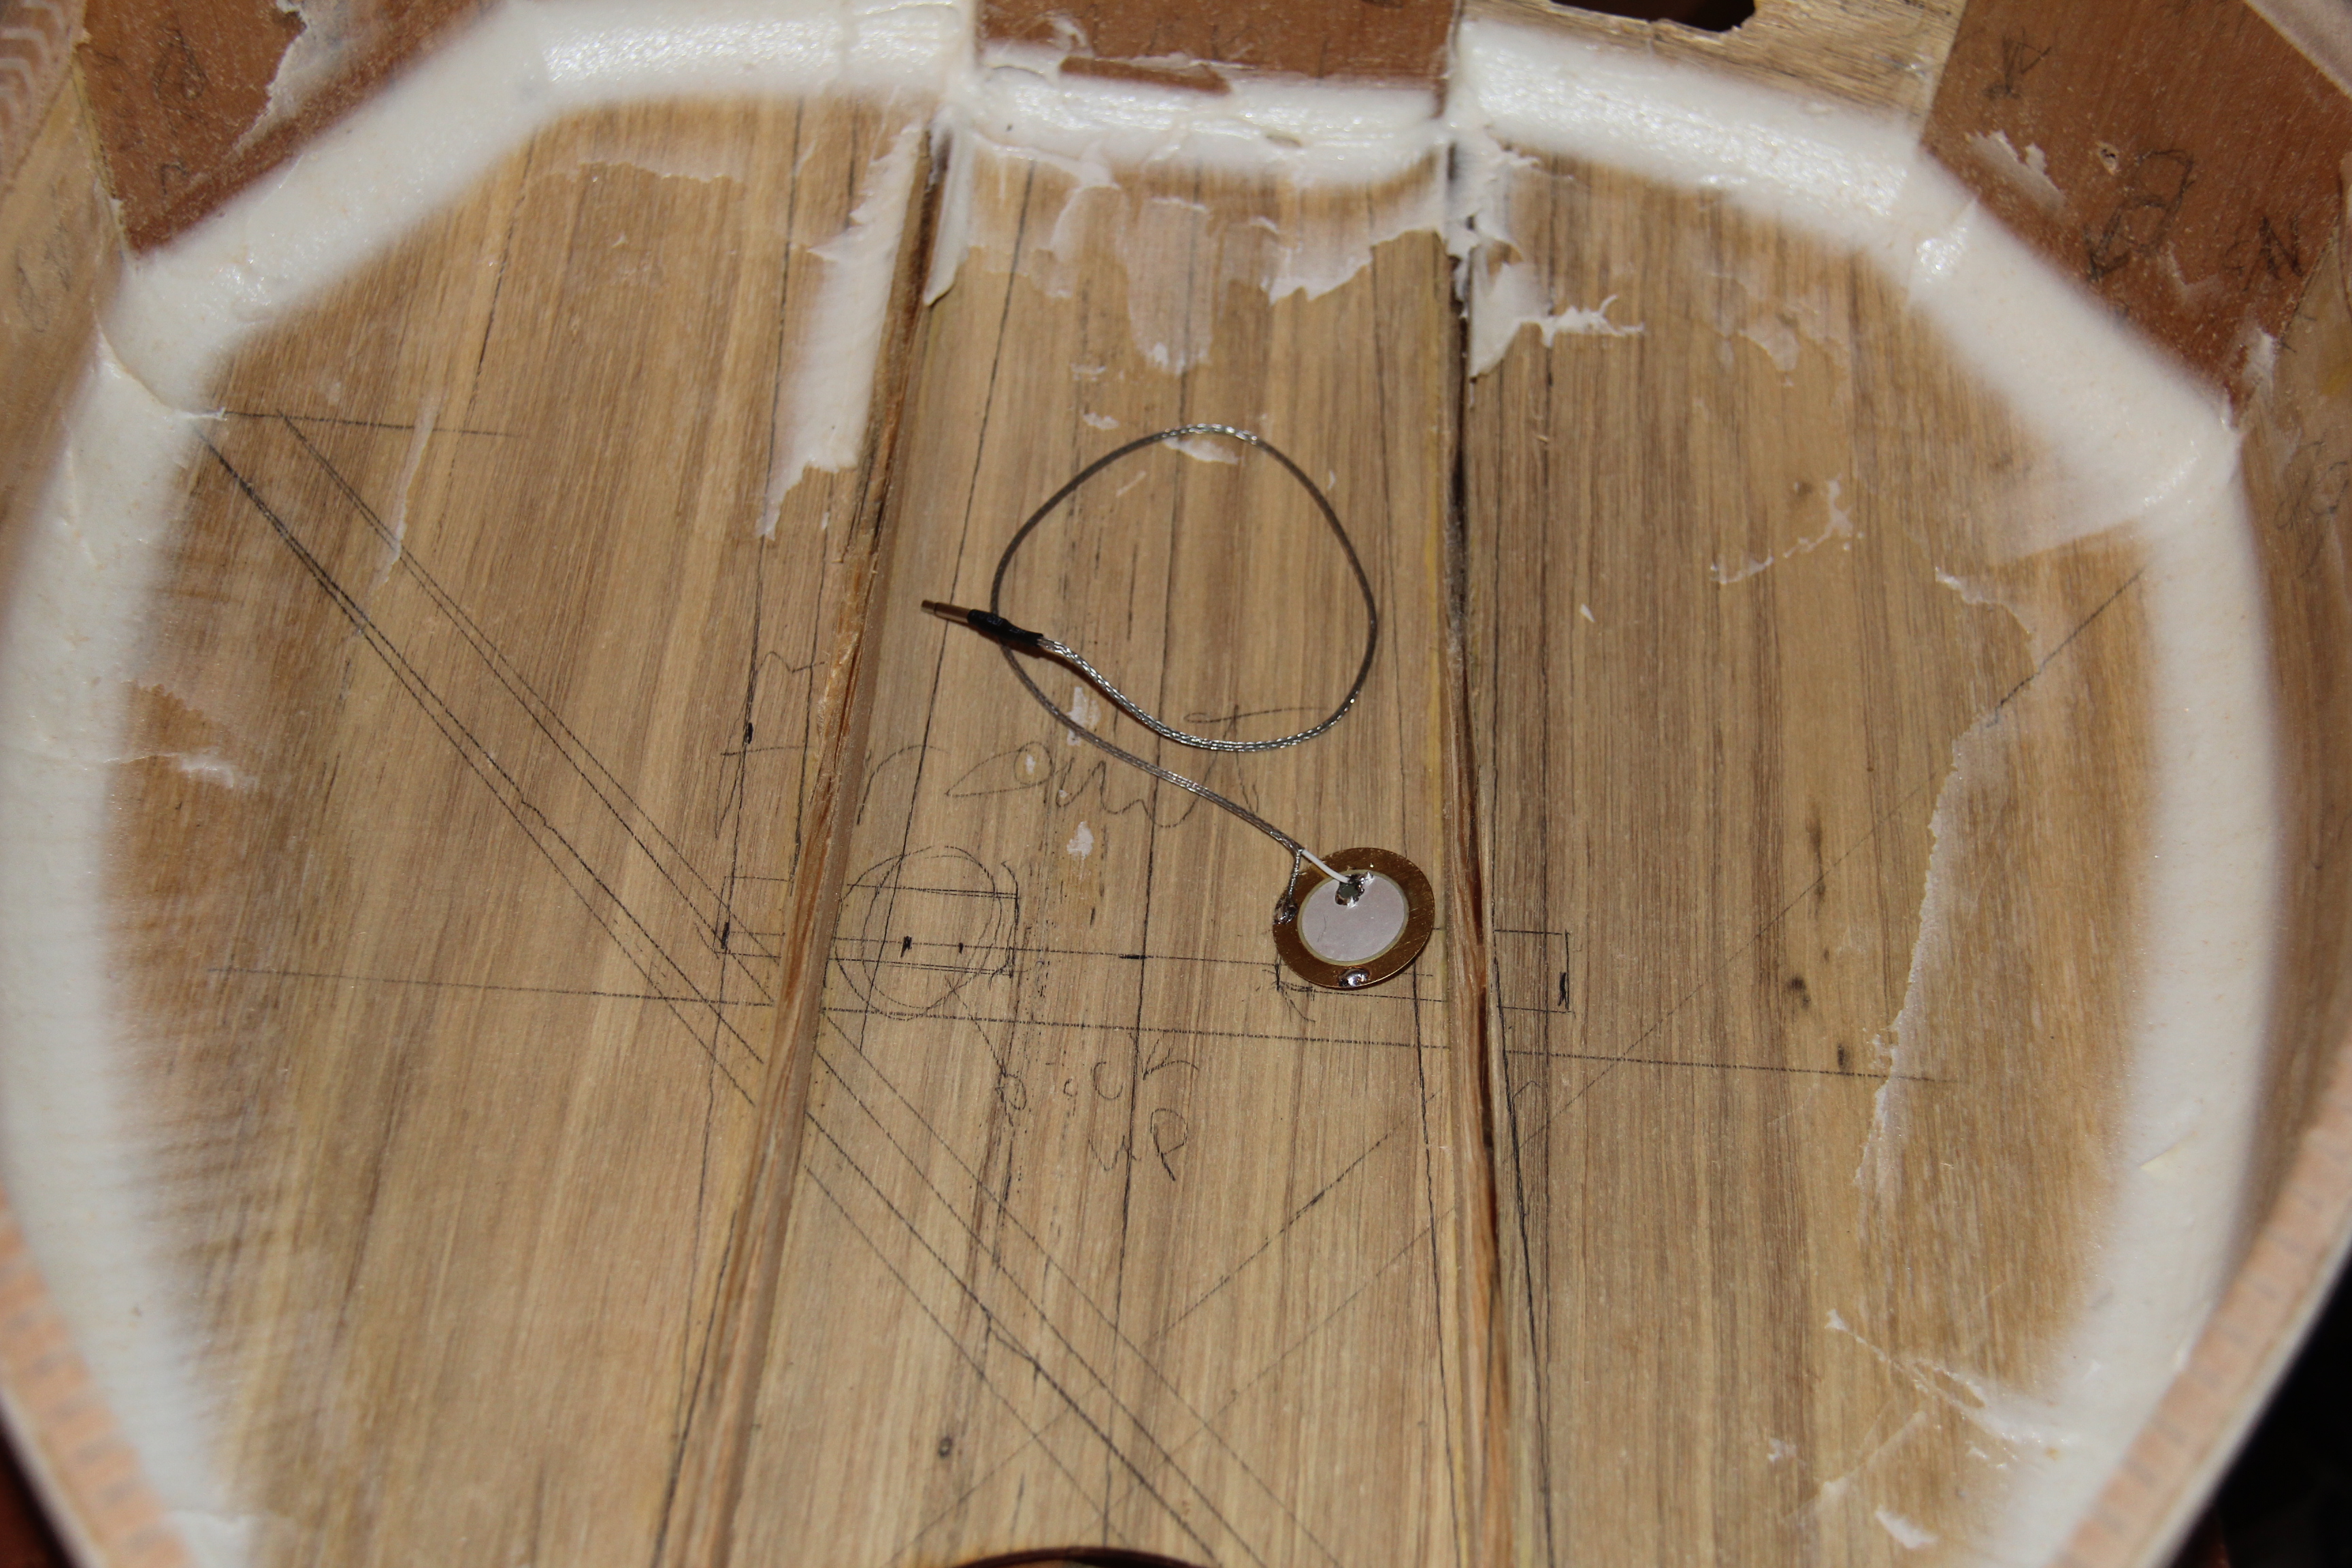
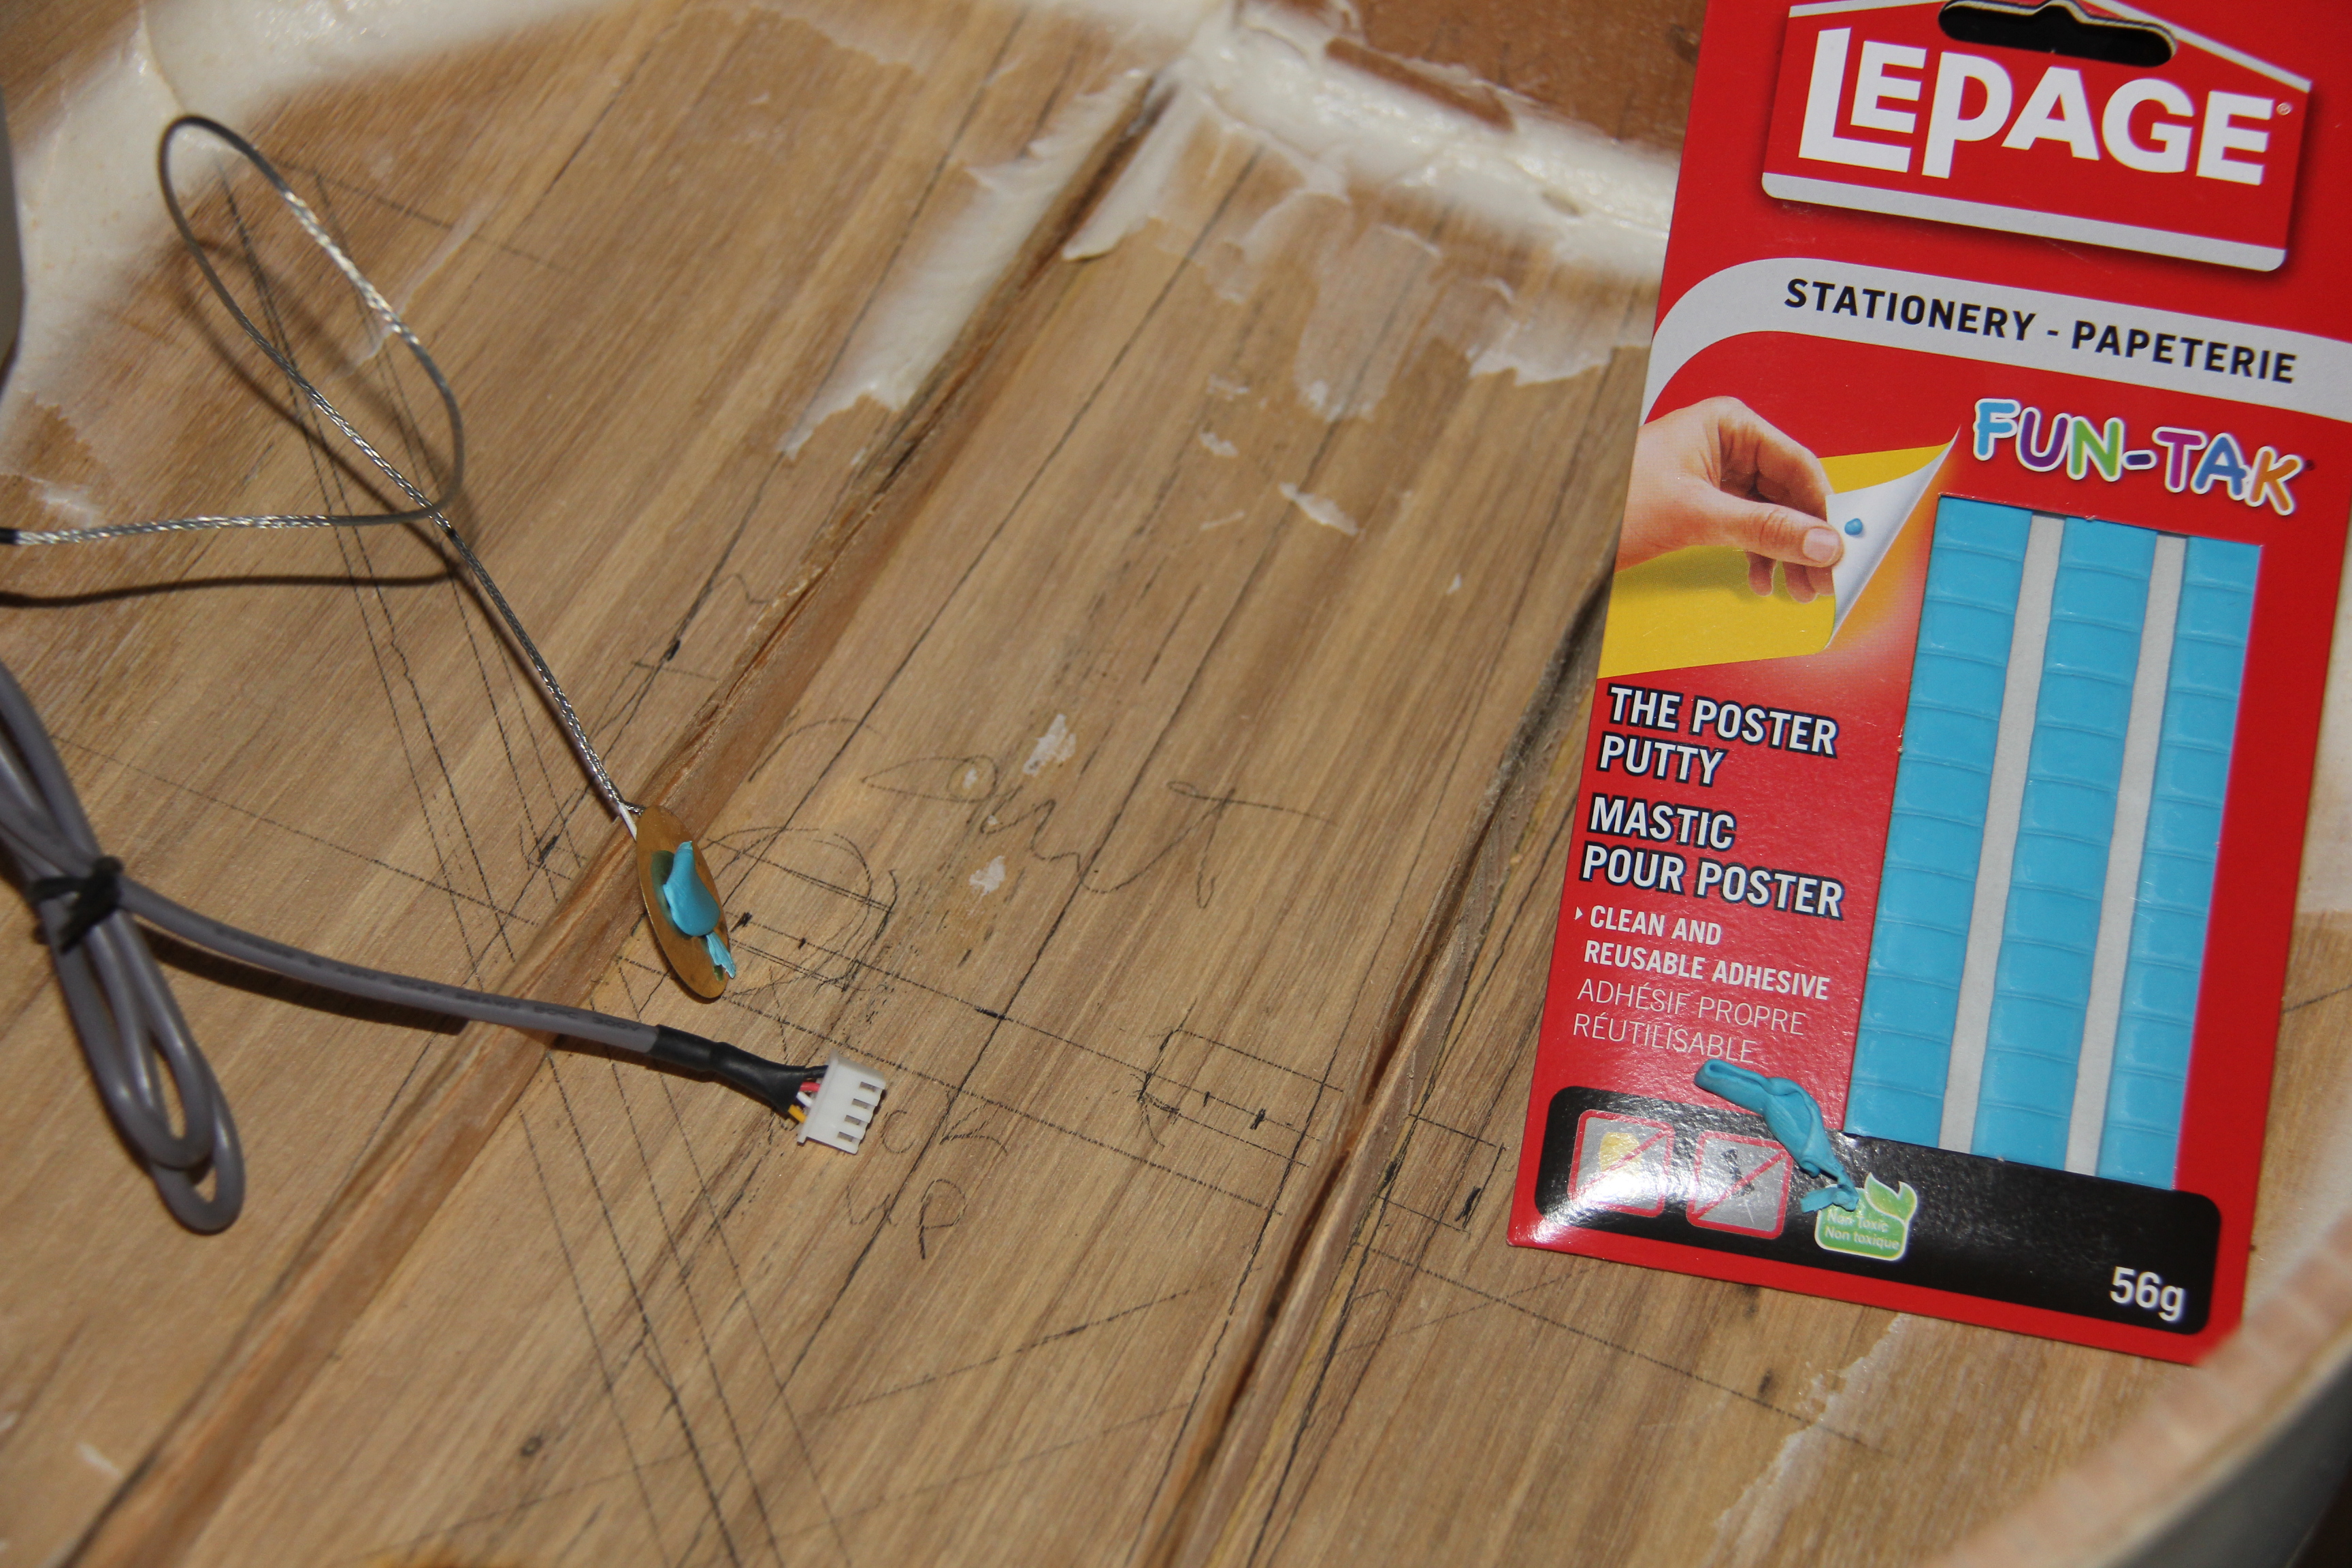
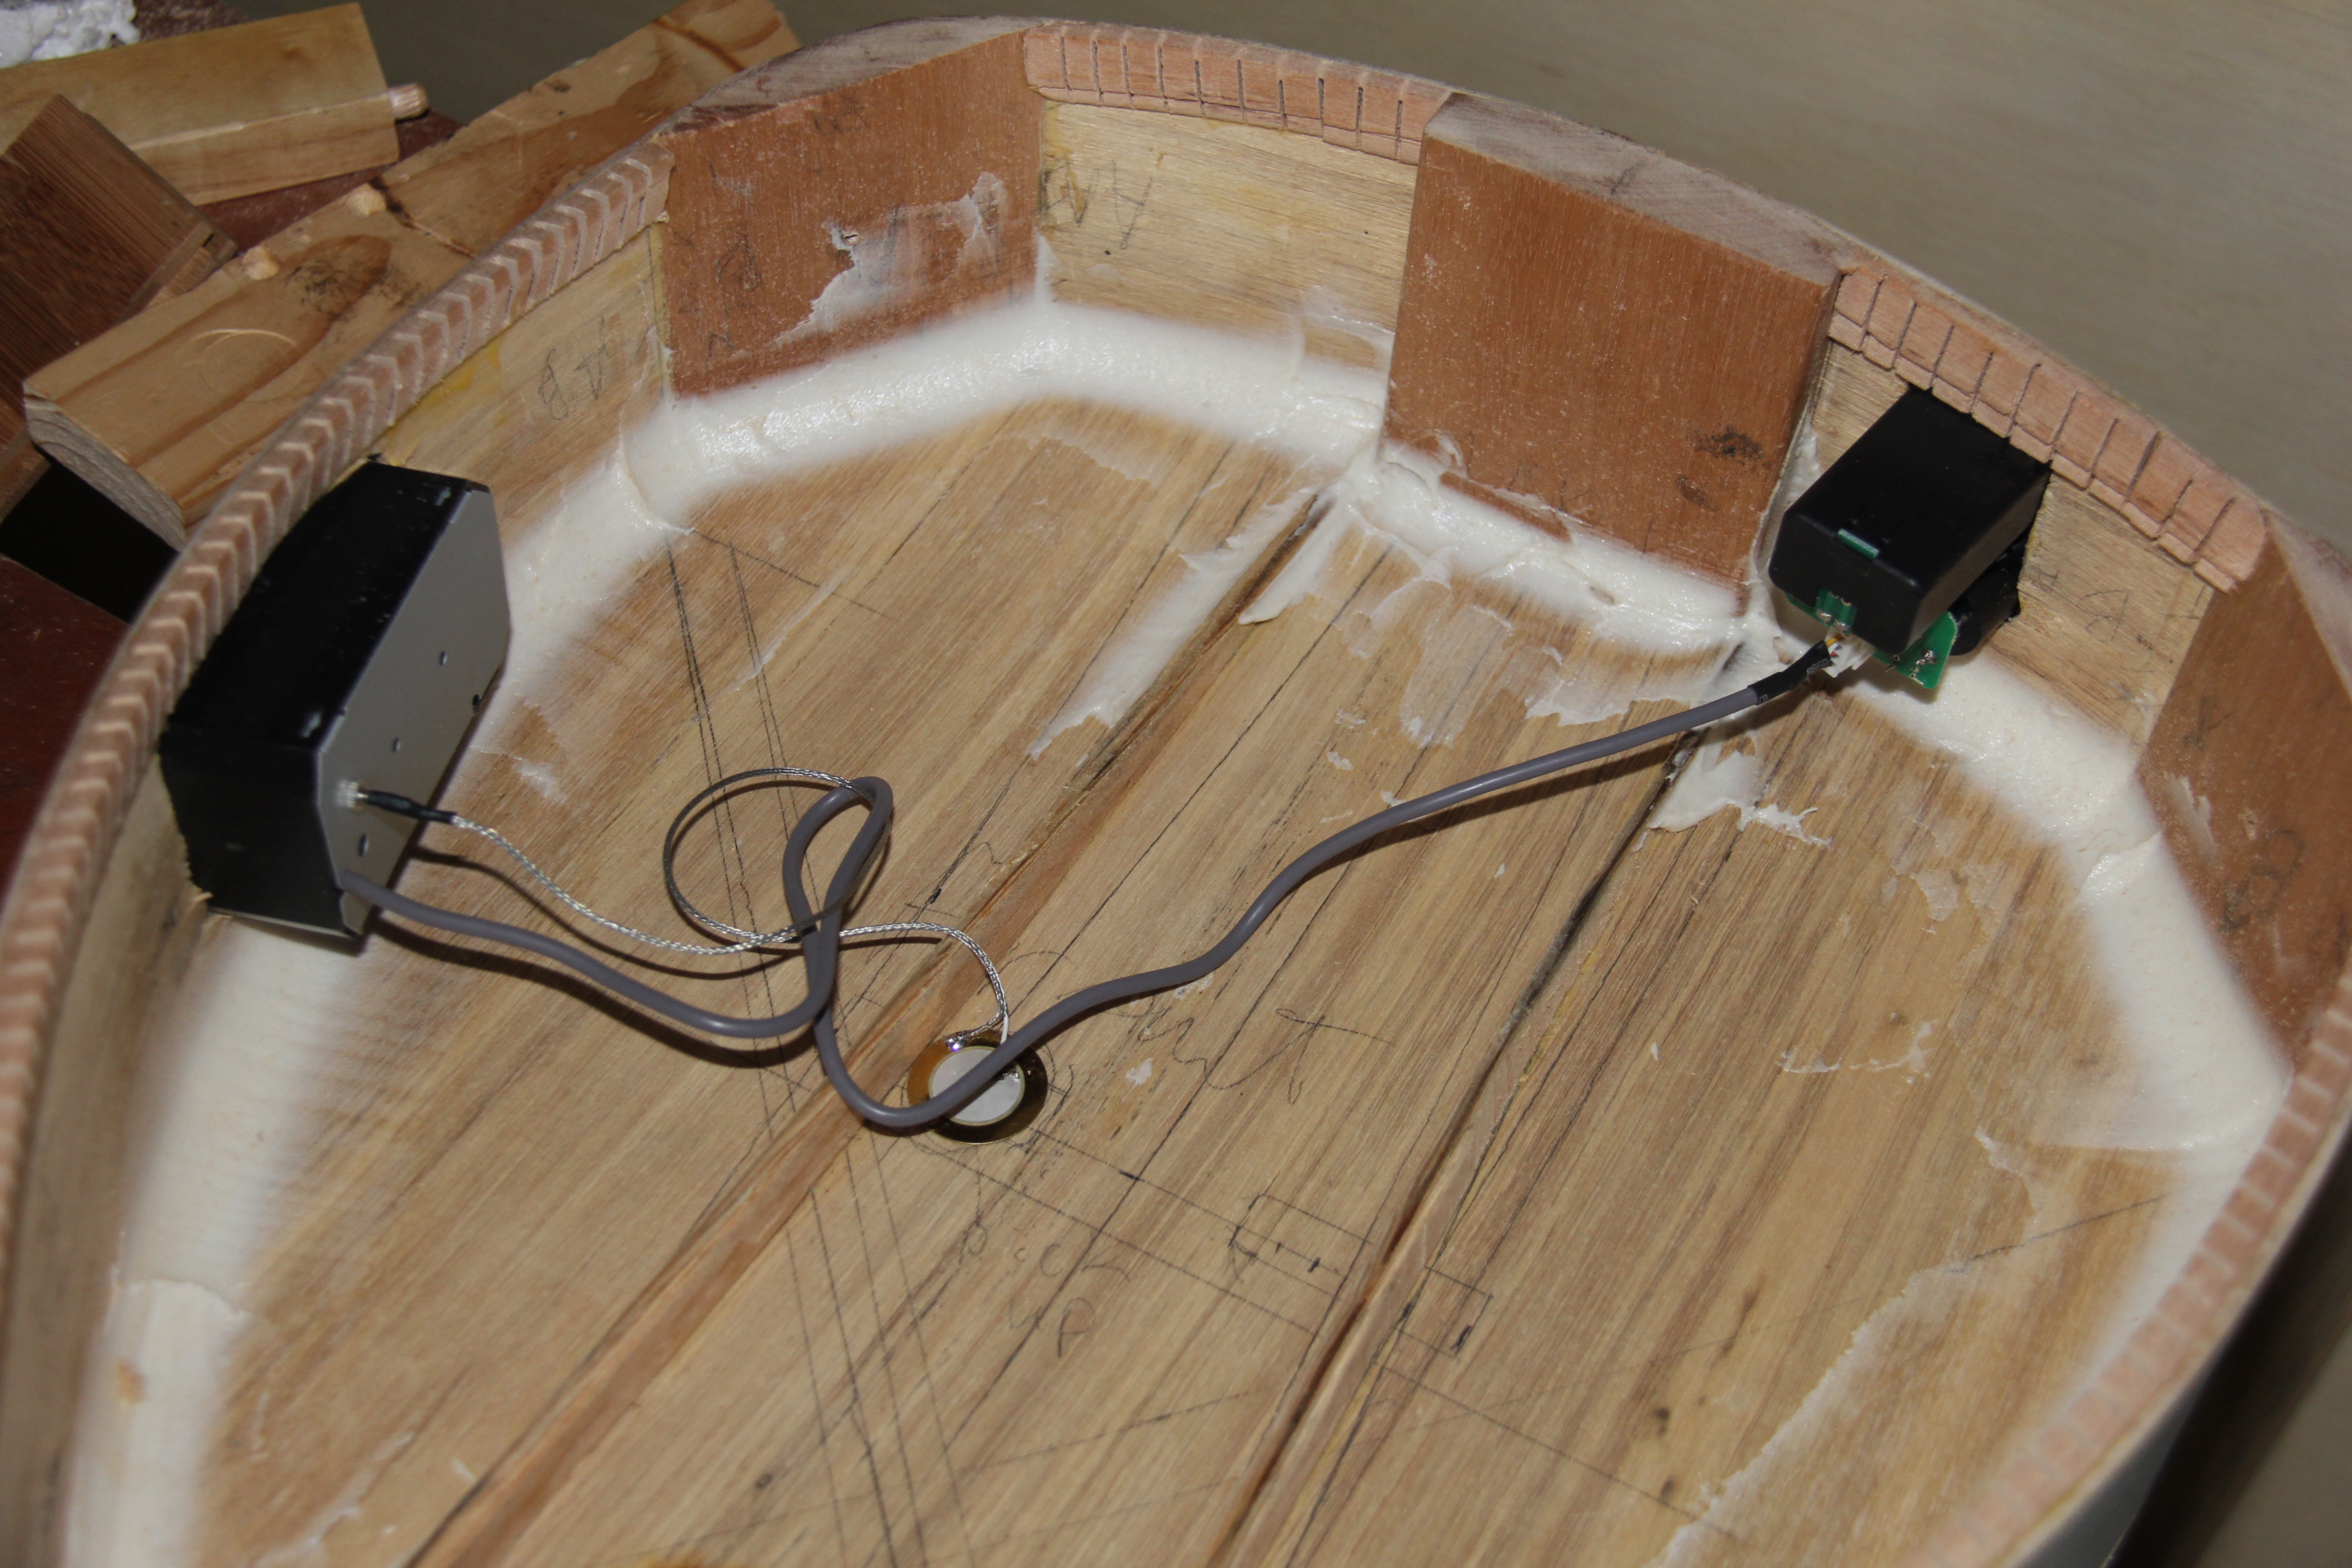
I also put the pickup in. The dollar sized bit is the pickup the L shaped bit in the bag is the one I cut off. Here I have everything wired for testing (works fine). Then here is where it will go, I have found under the bass string works best. Maybe one on this side too? (they were 10 for $5)
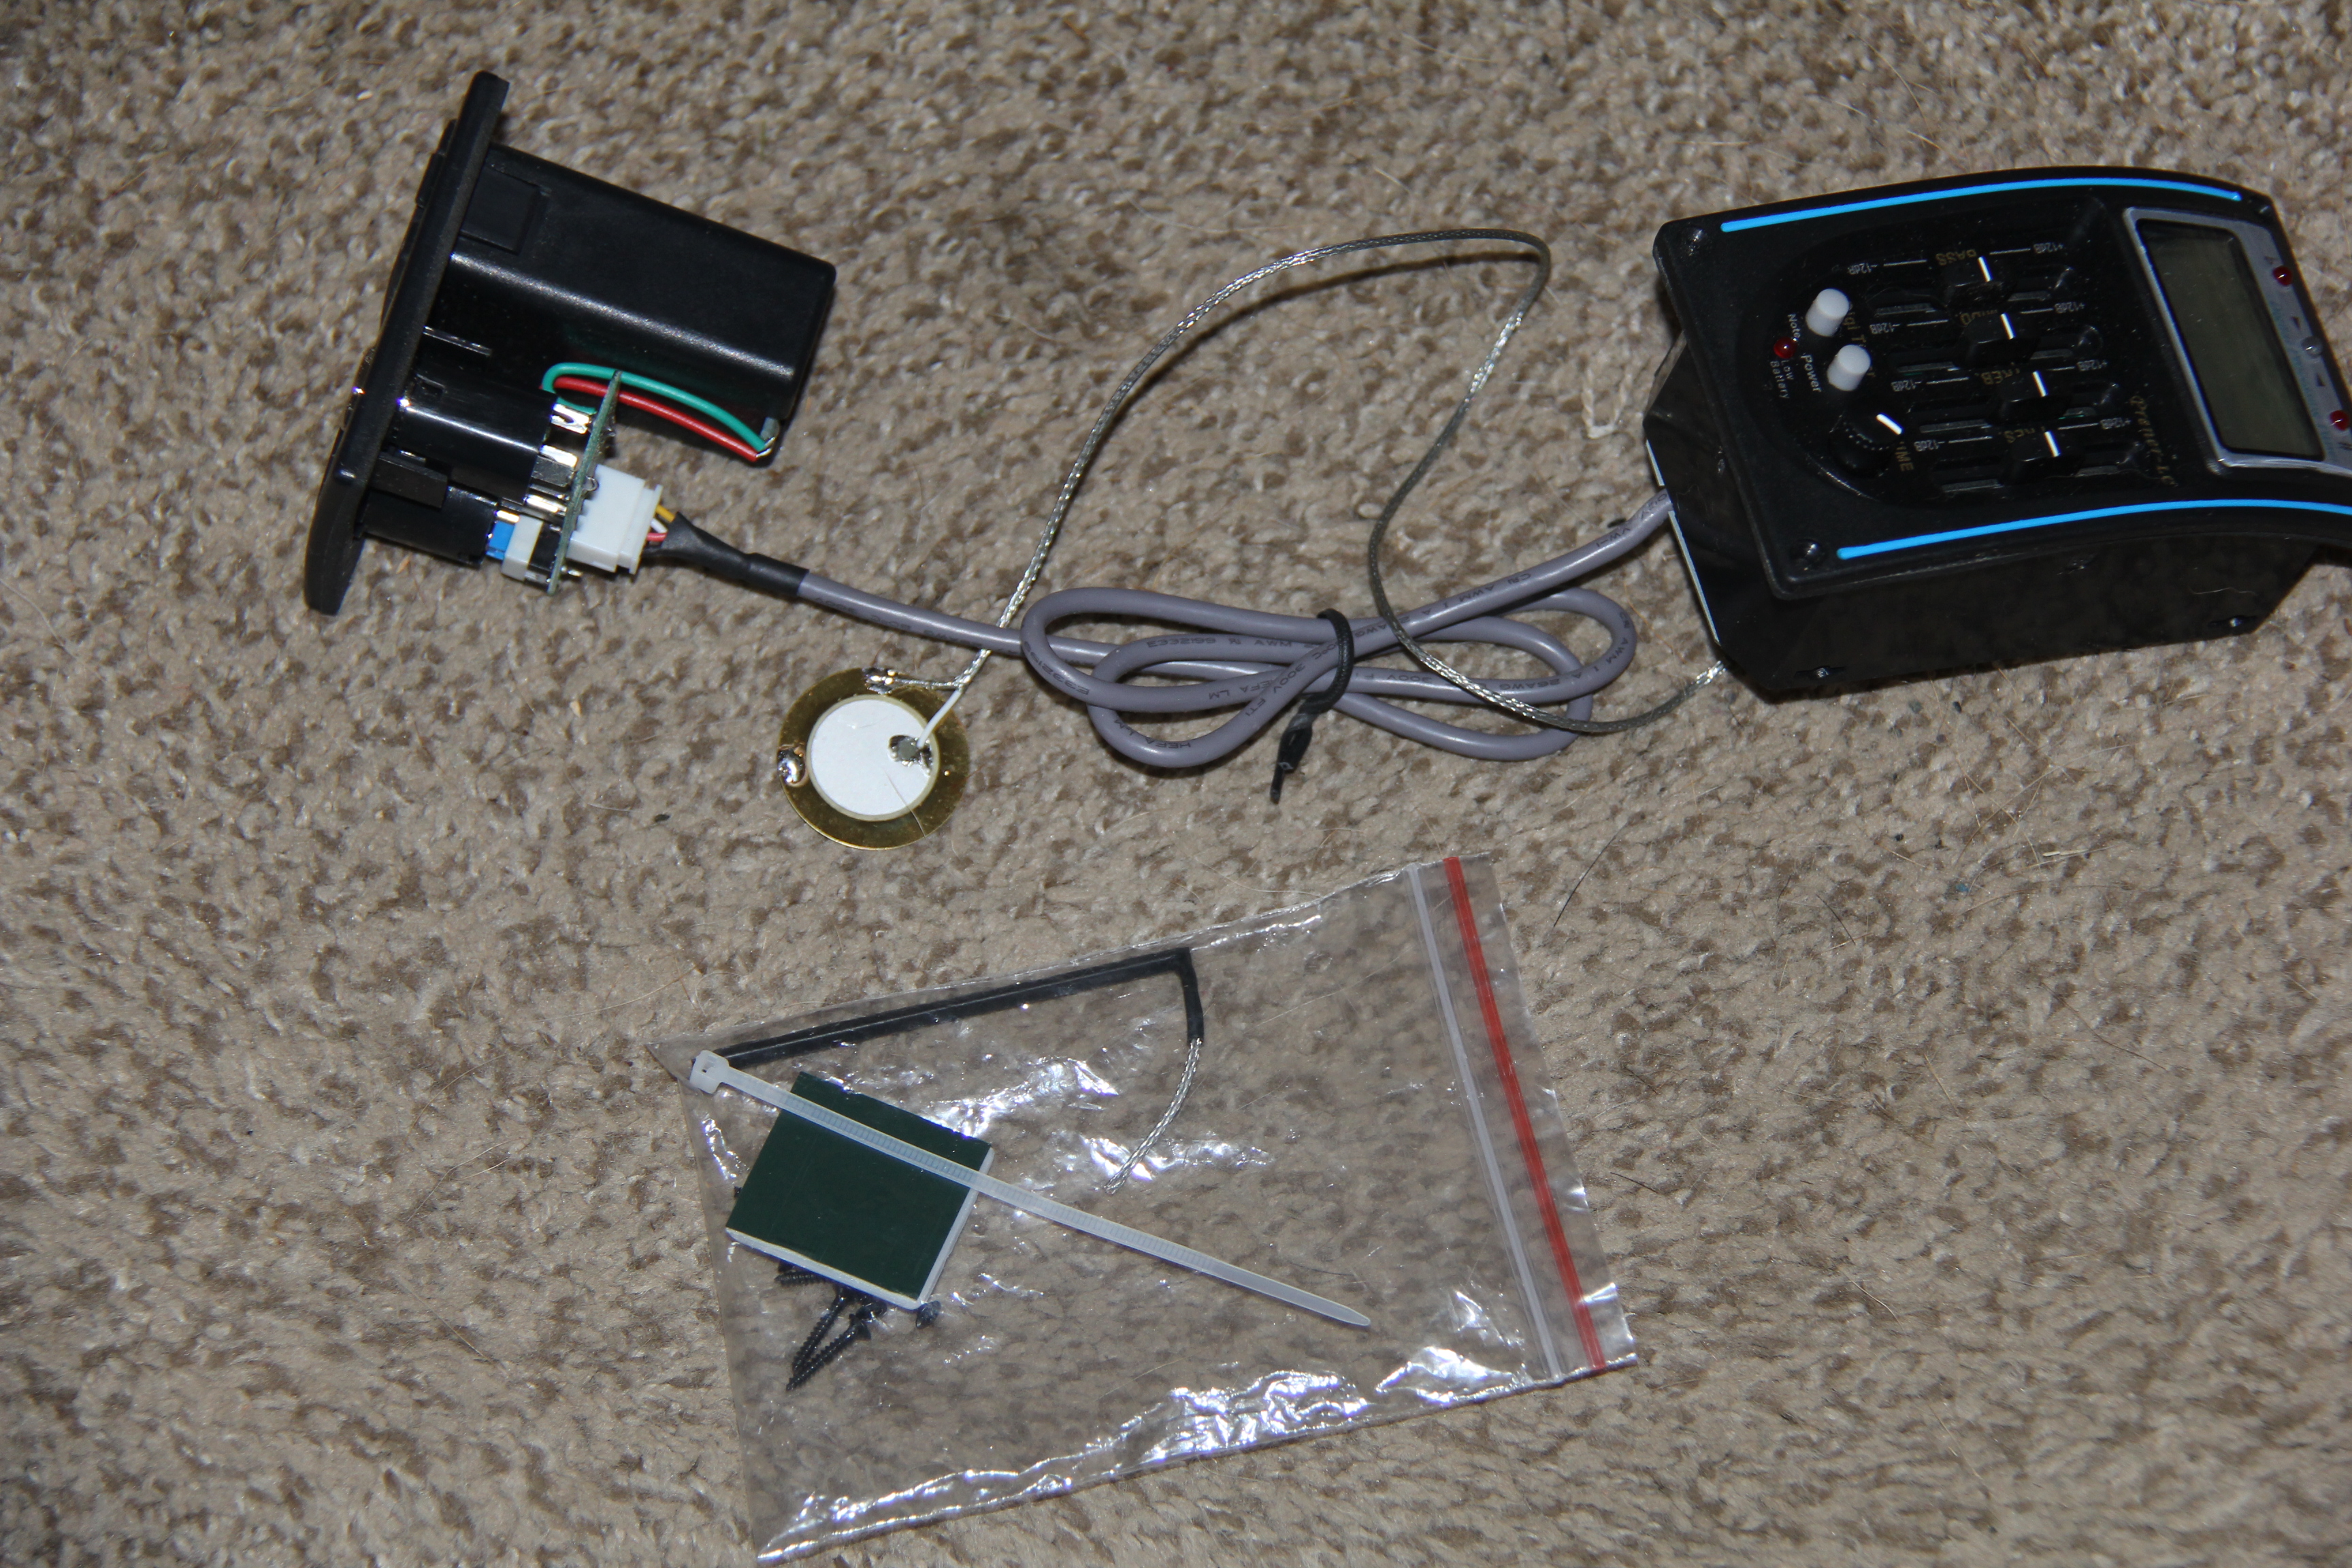
Here is what we stick it on with.
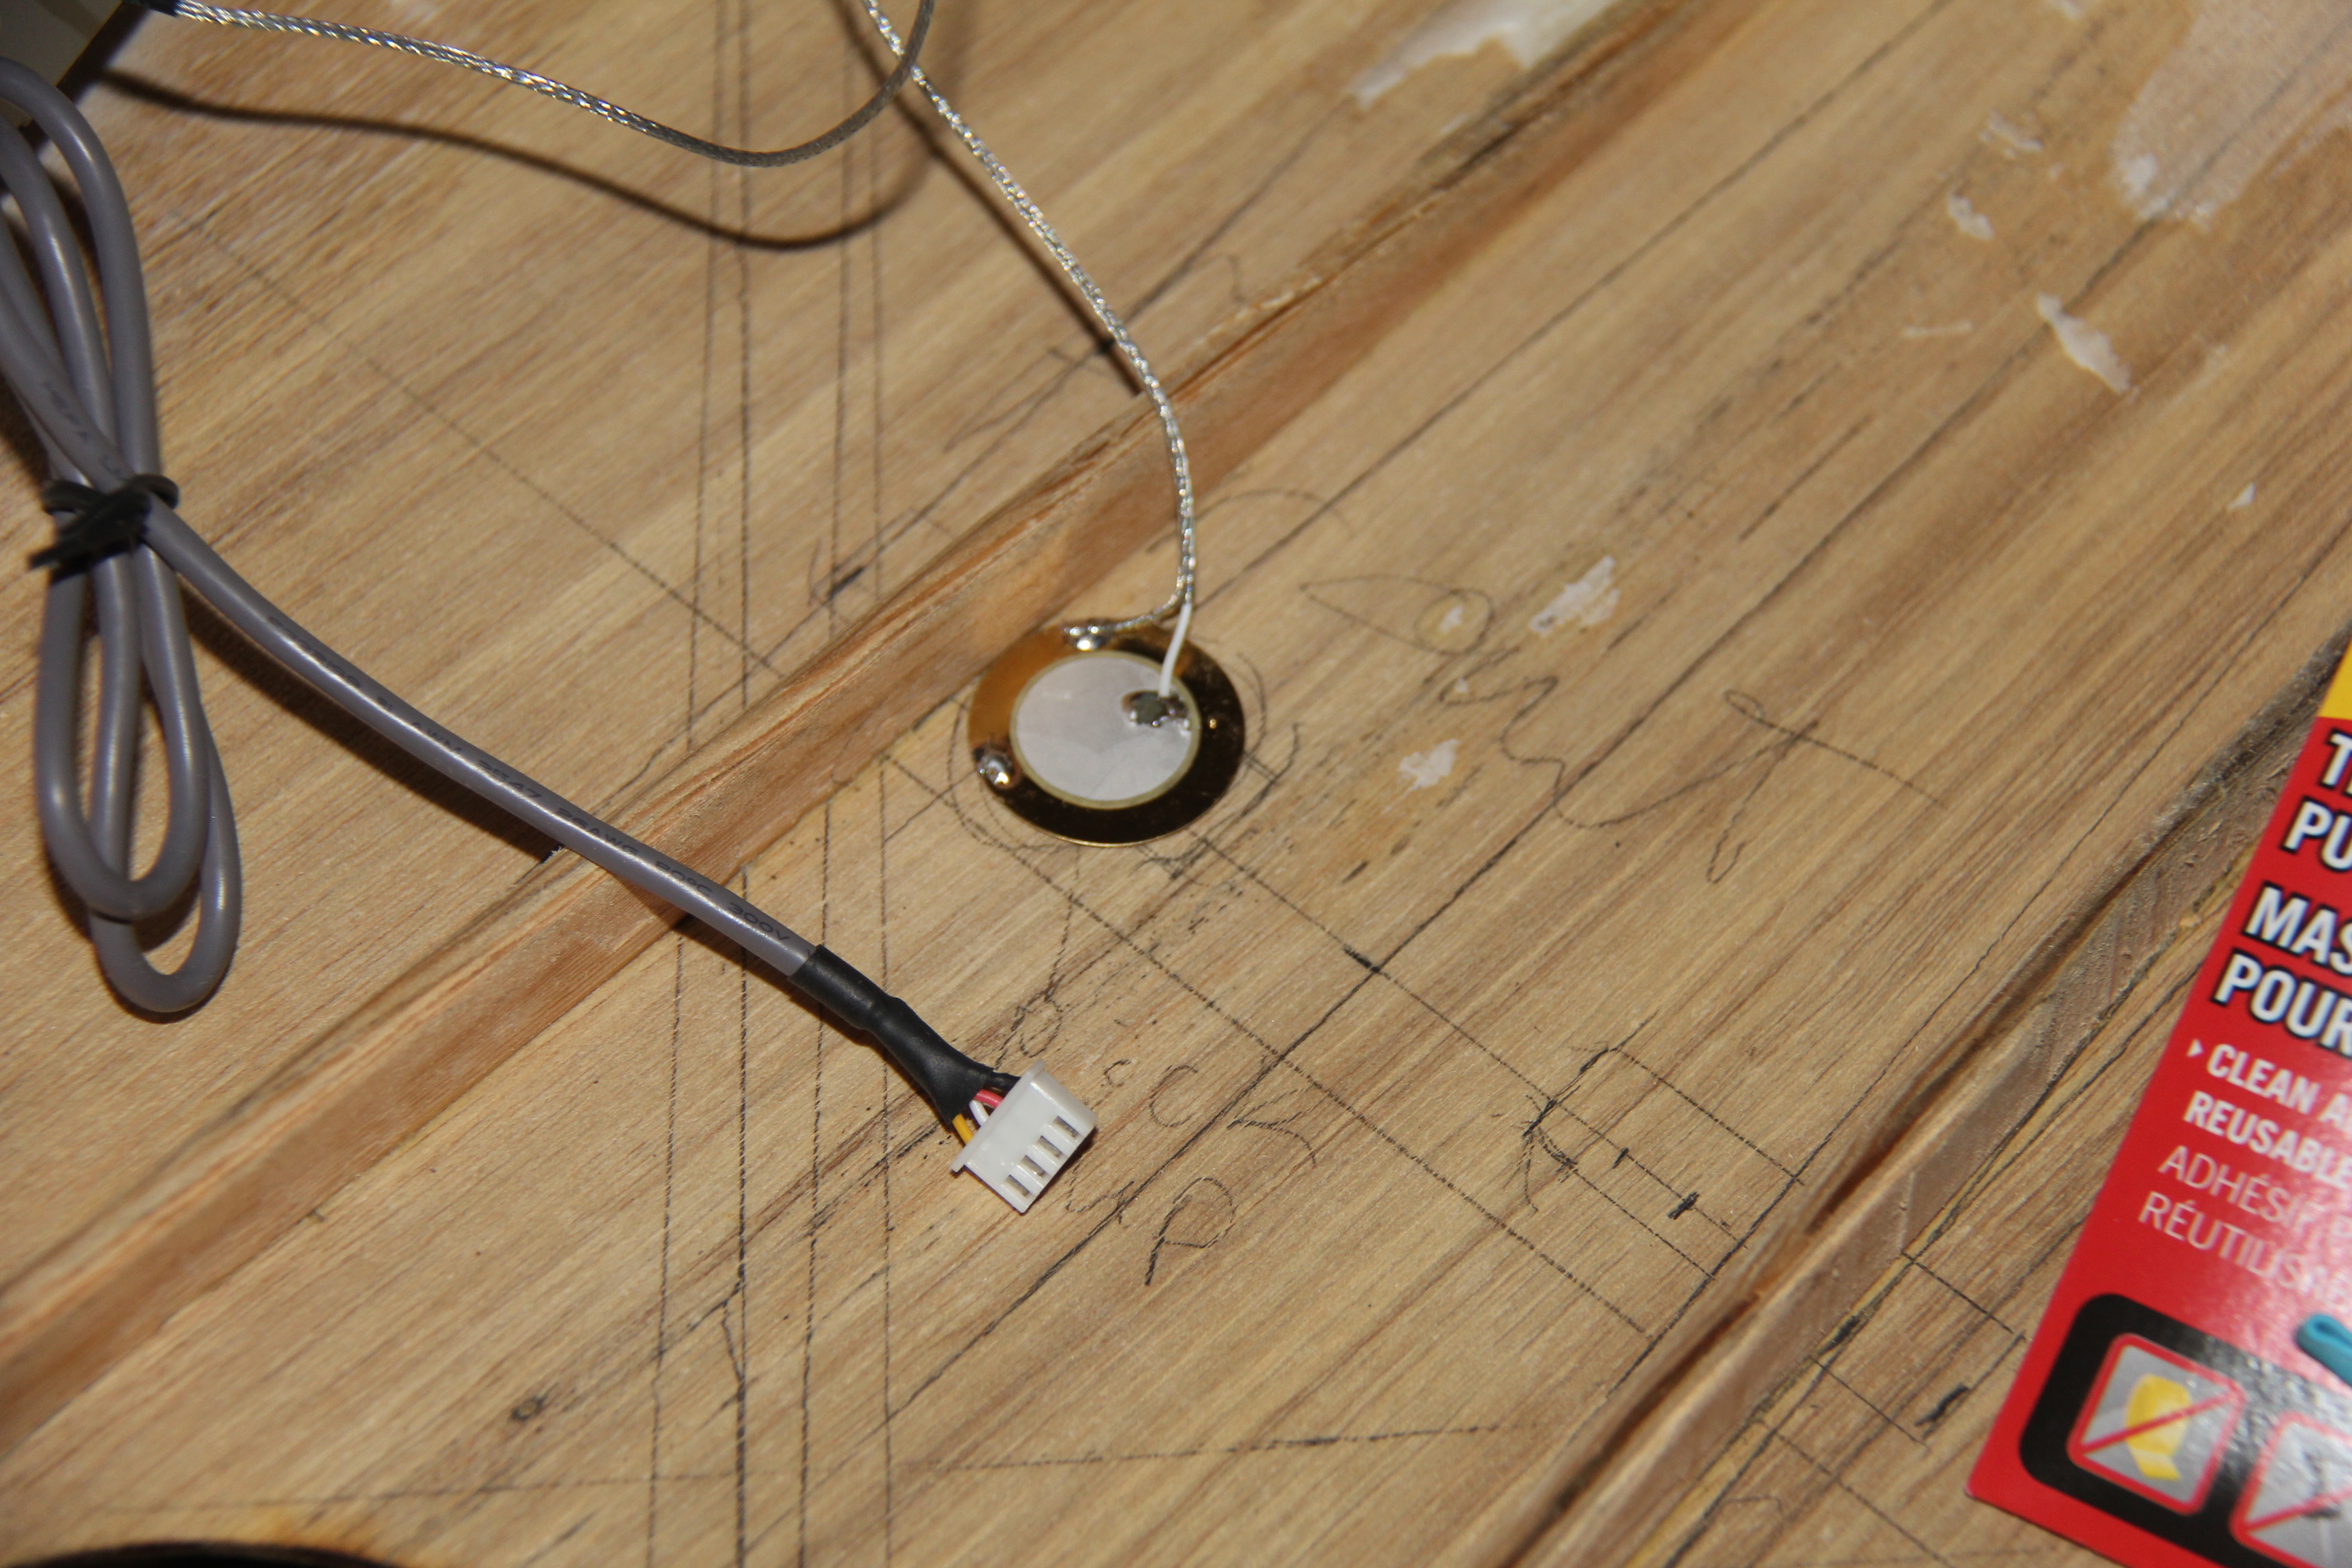
All the wires reach too.
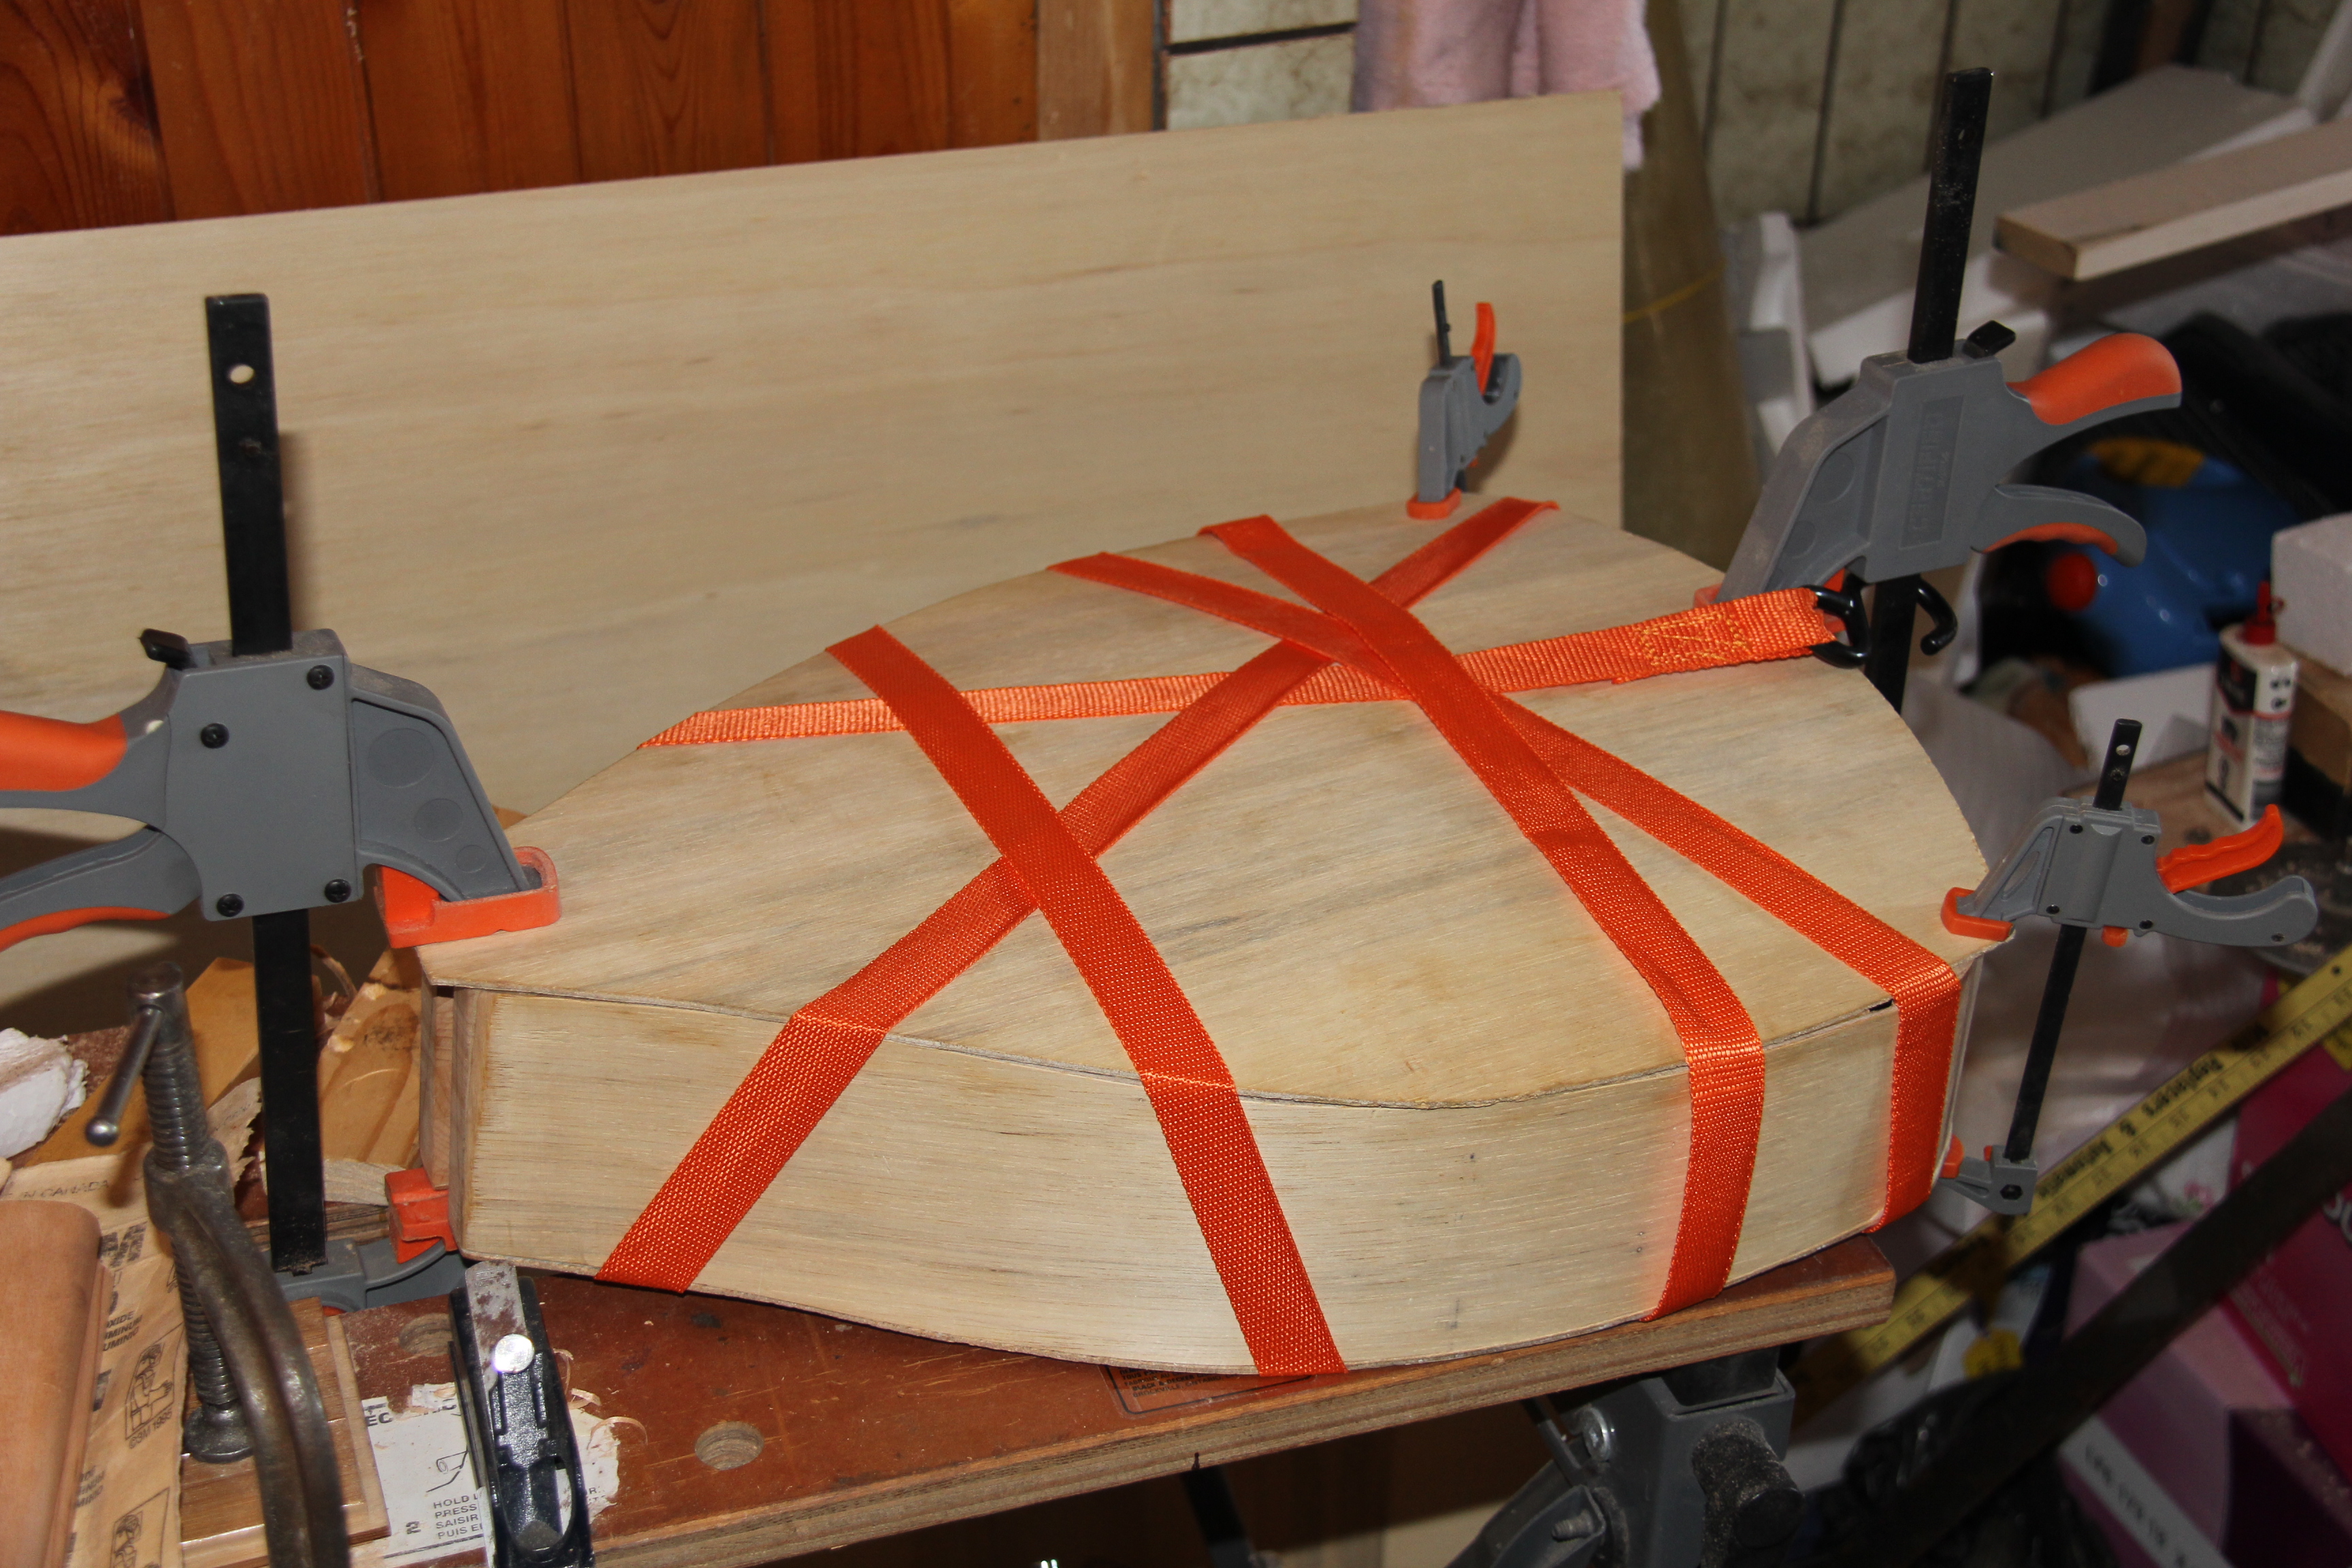
First try at a clamping solution. I have seen this used on other instruments but because of the shape of the front it will not work for me.
Lots of clamps! Not as many as I would like...

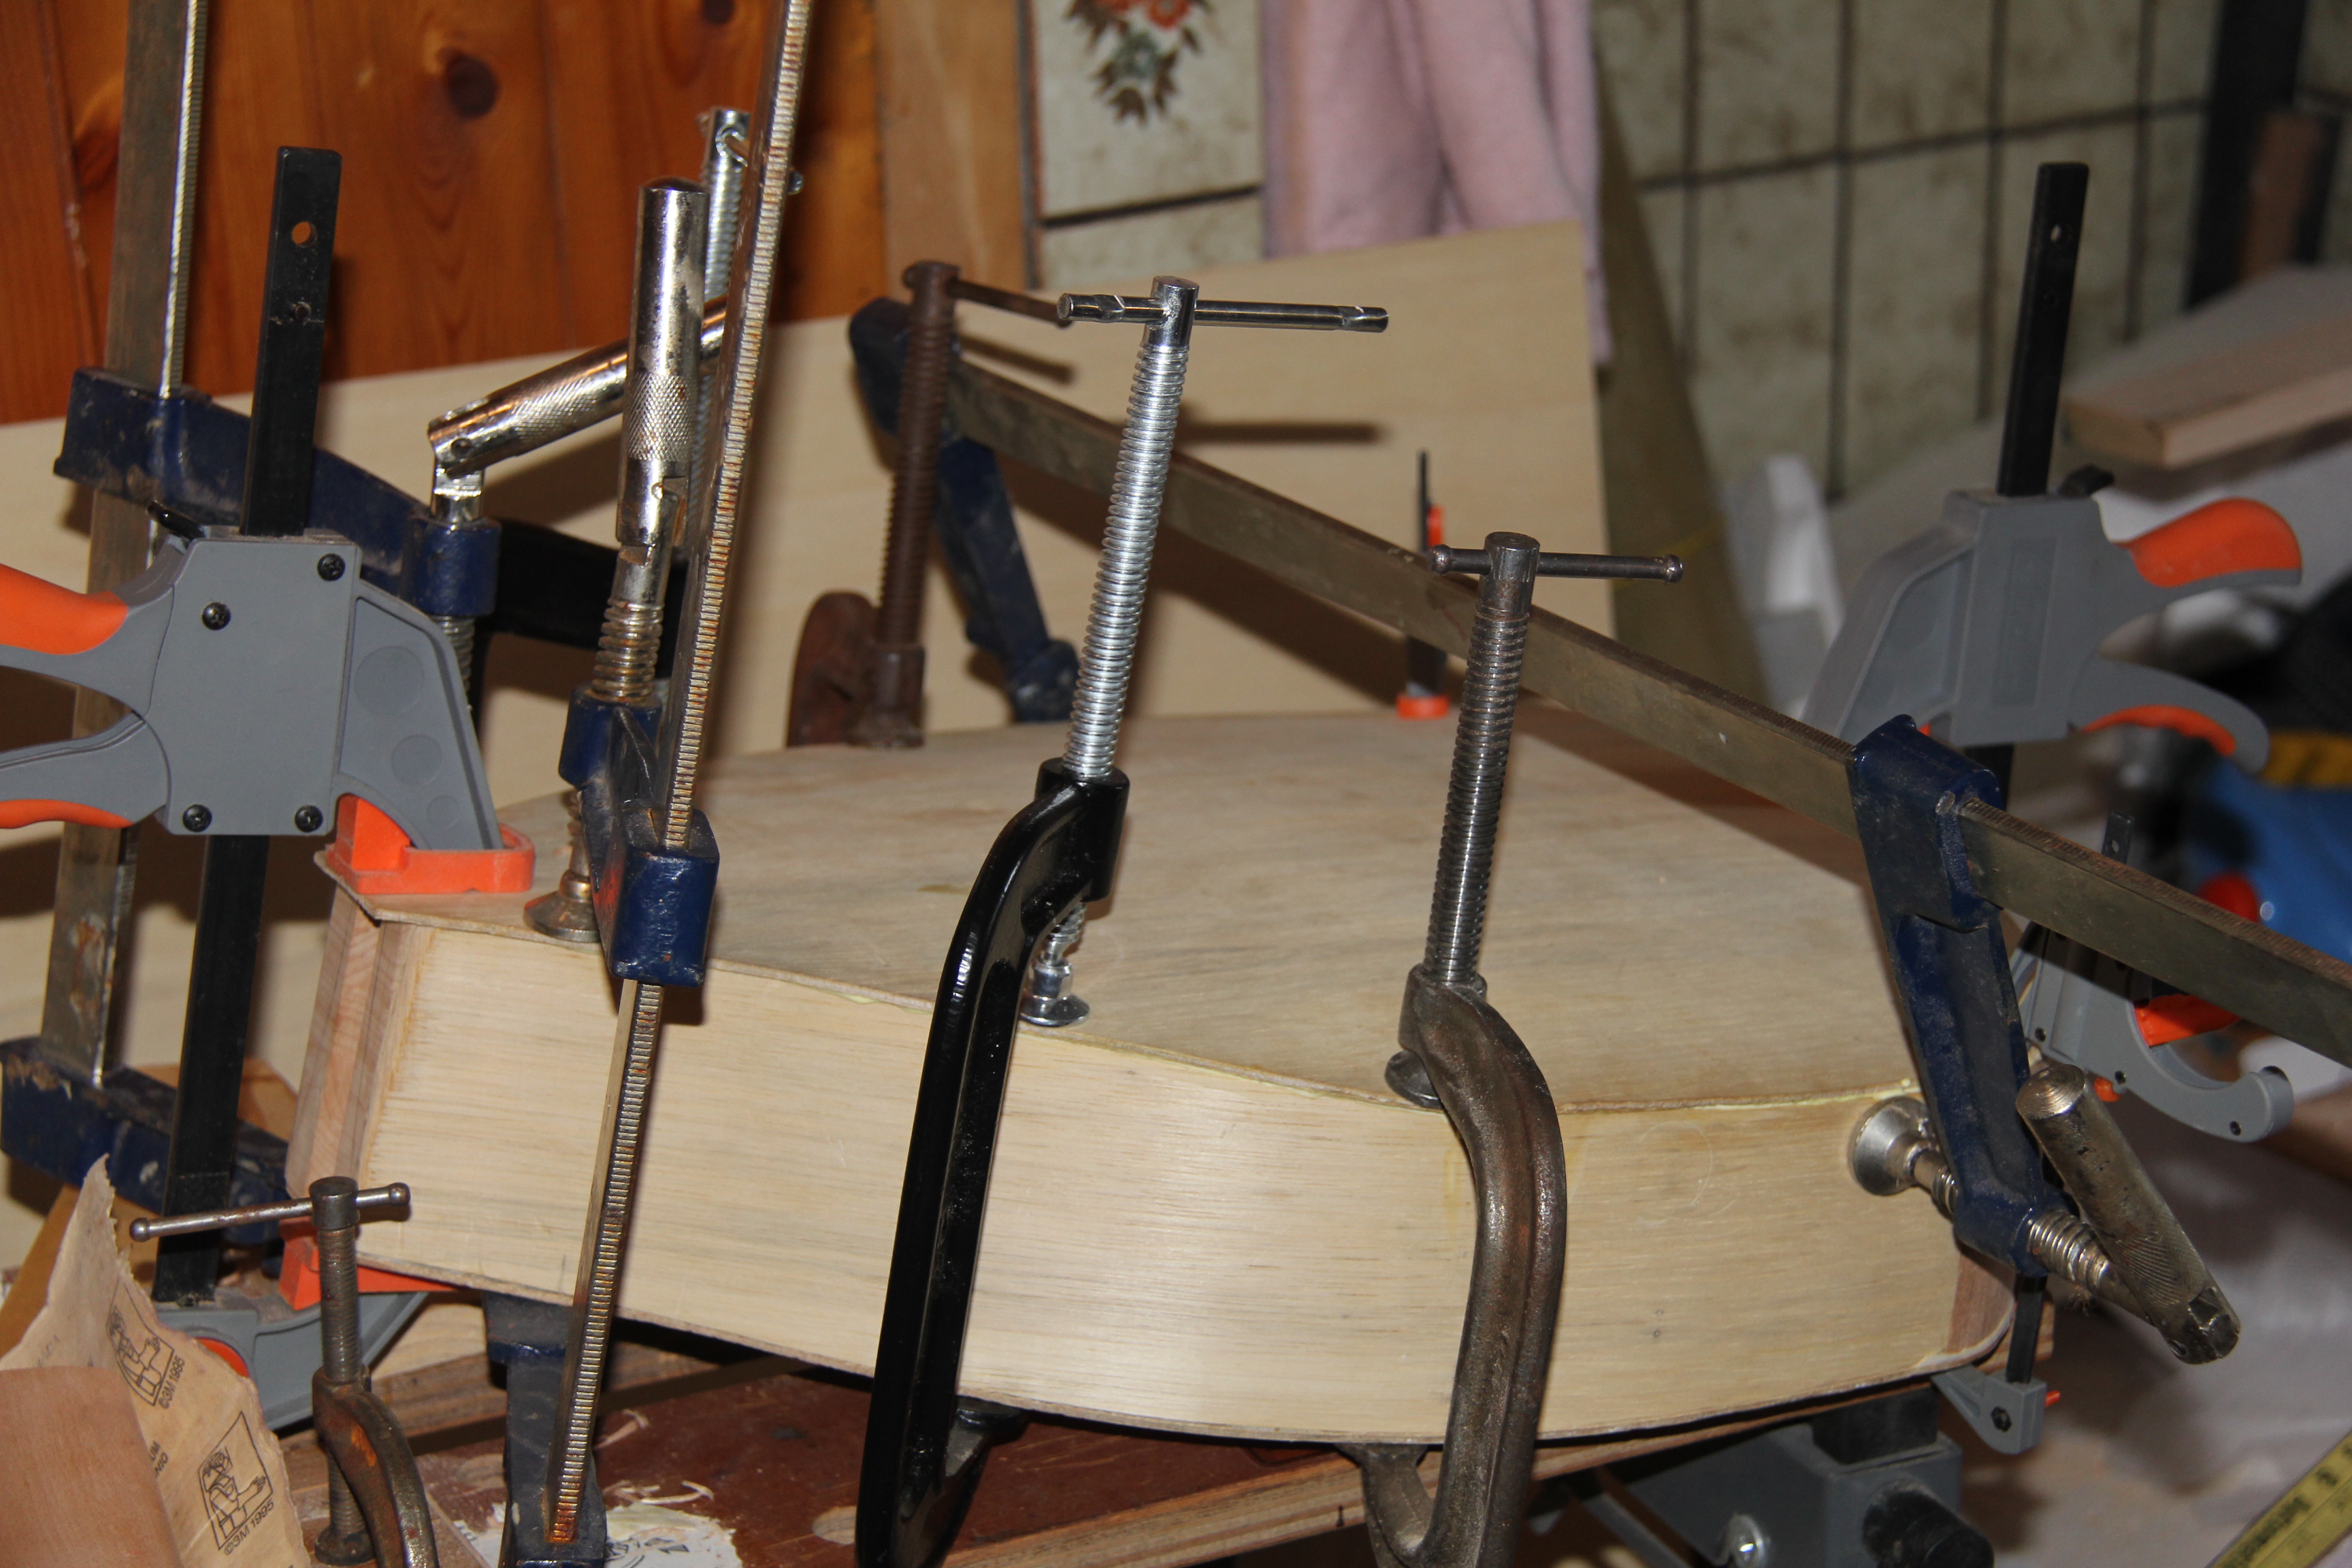
But it worked out just fine. The neck test fits fine too.
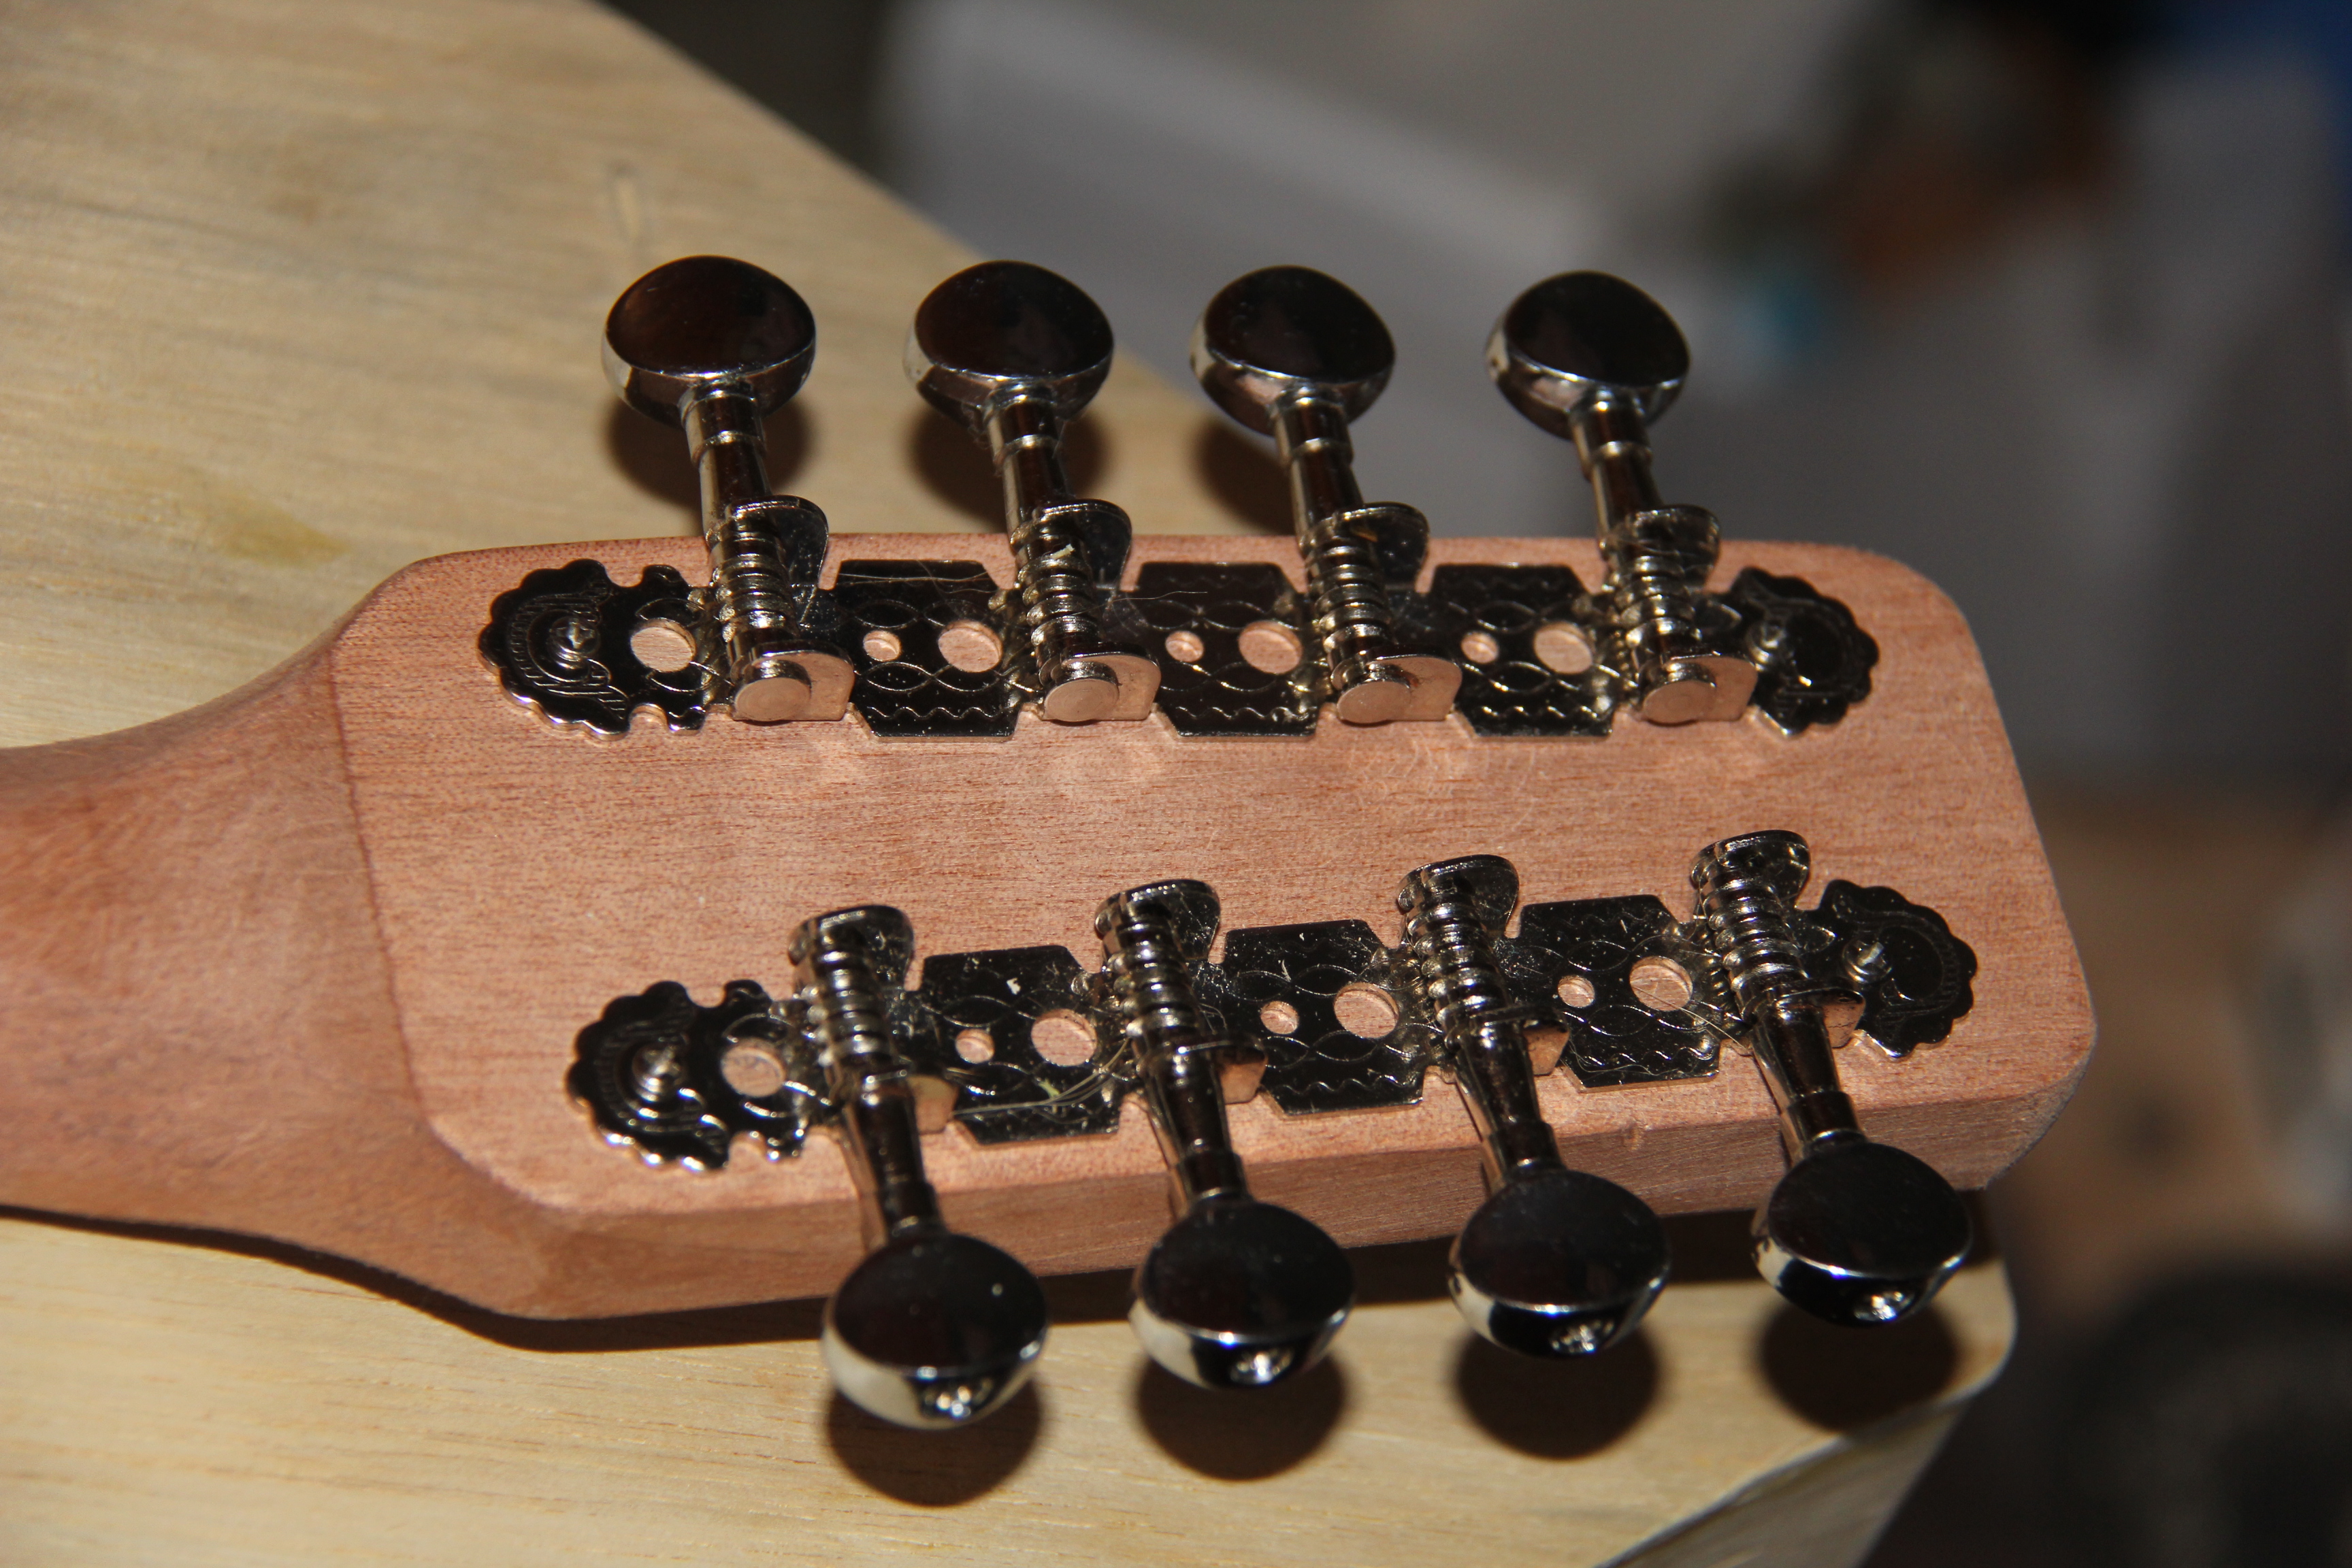
The machine heads will be here.
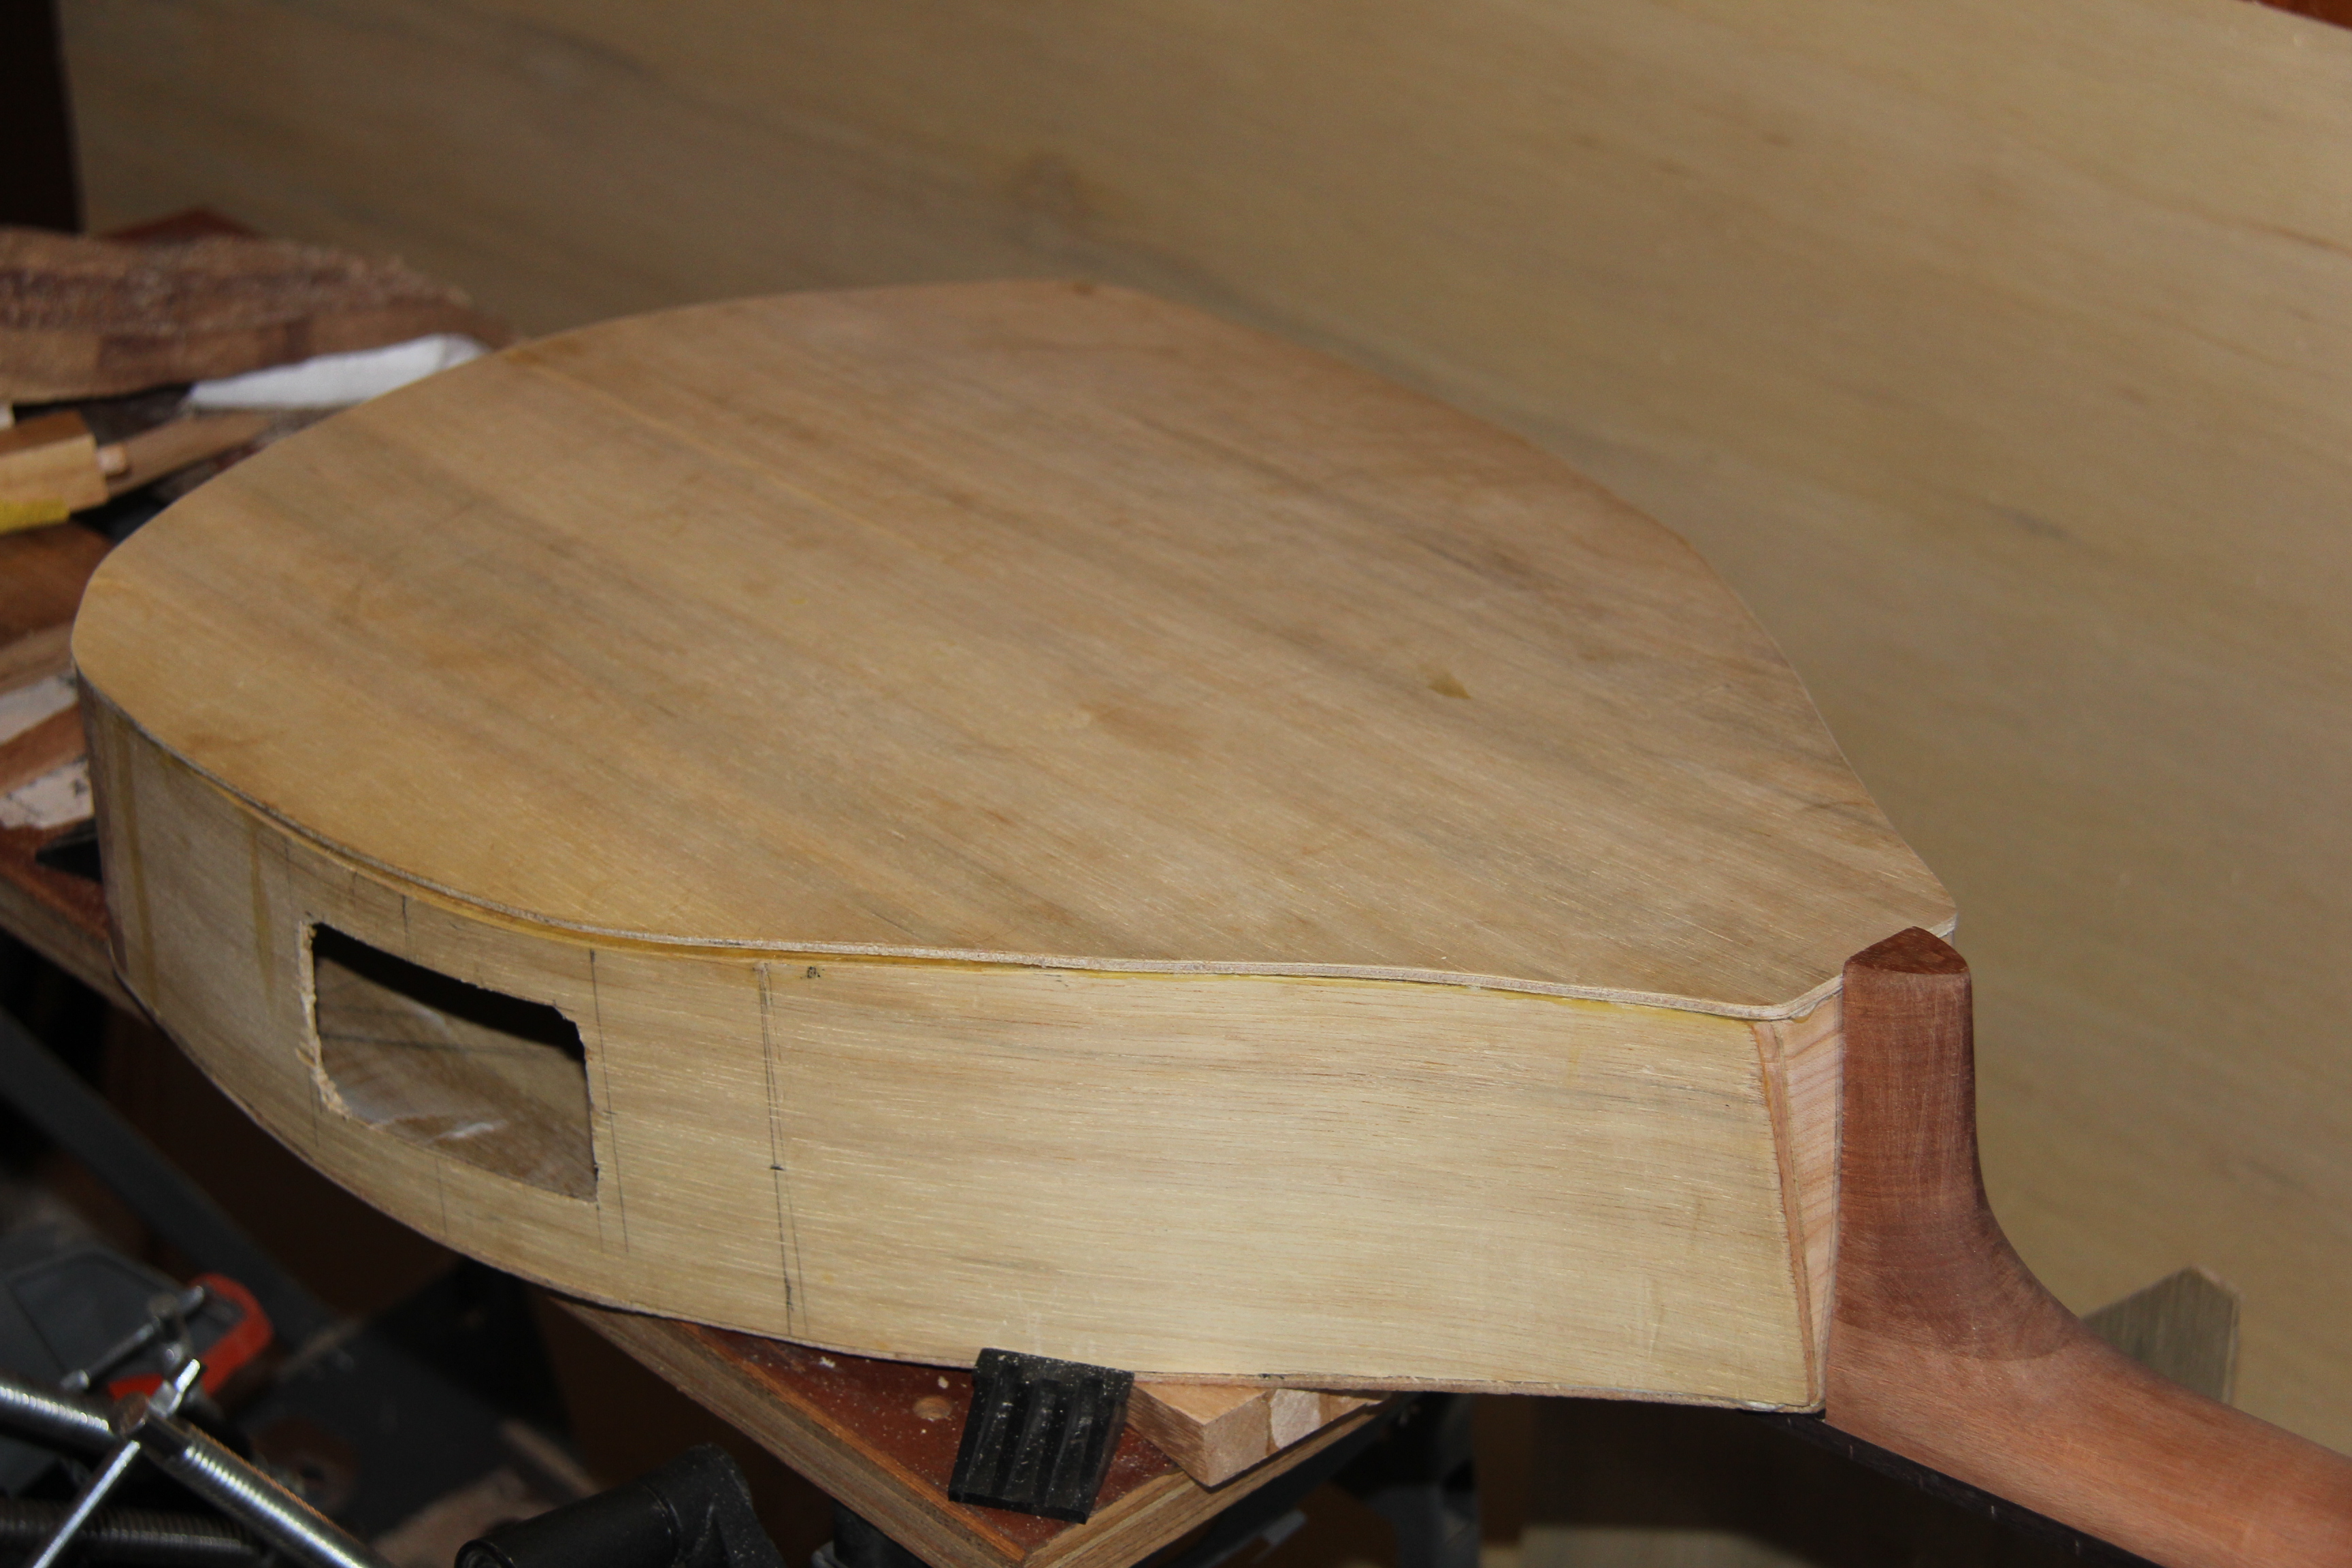
Routed out for the first layer of binding.
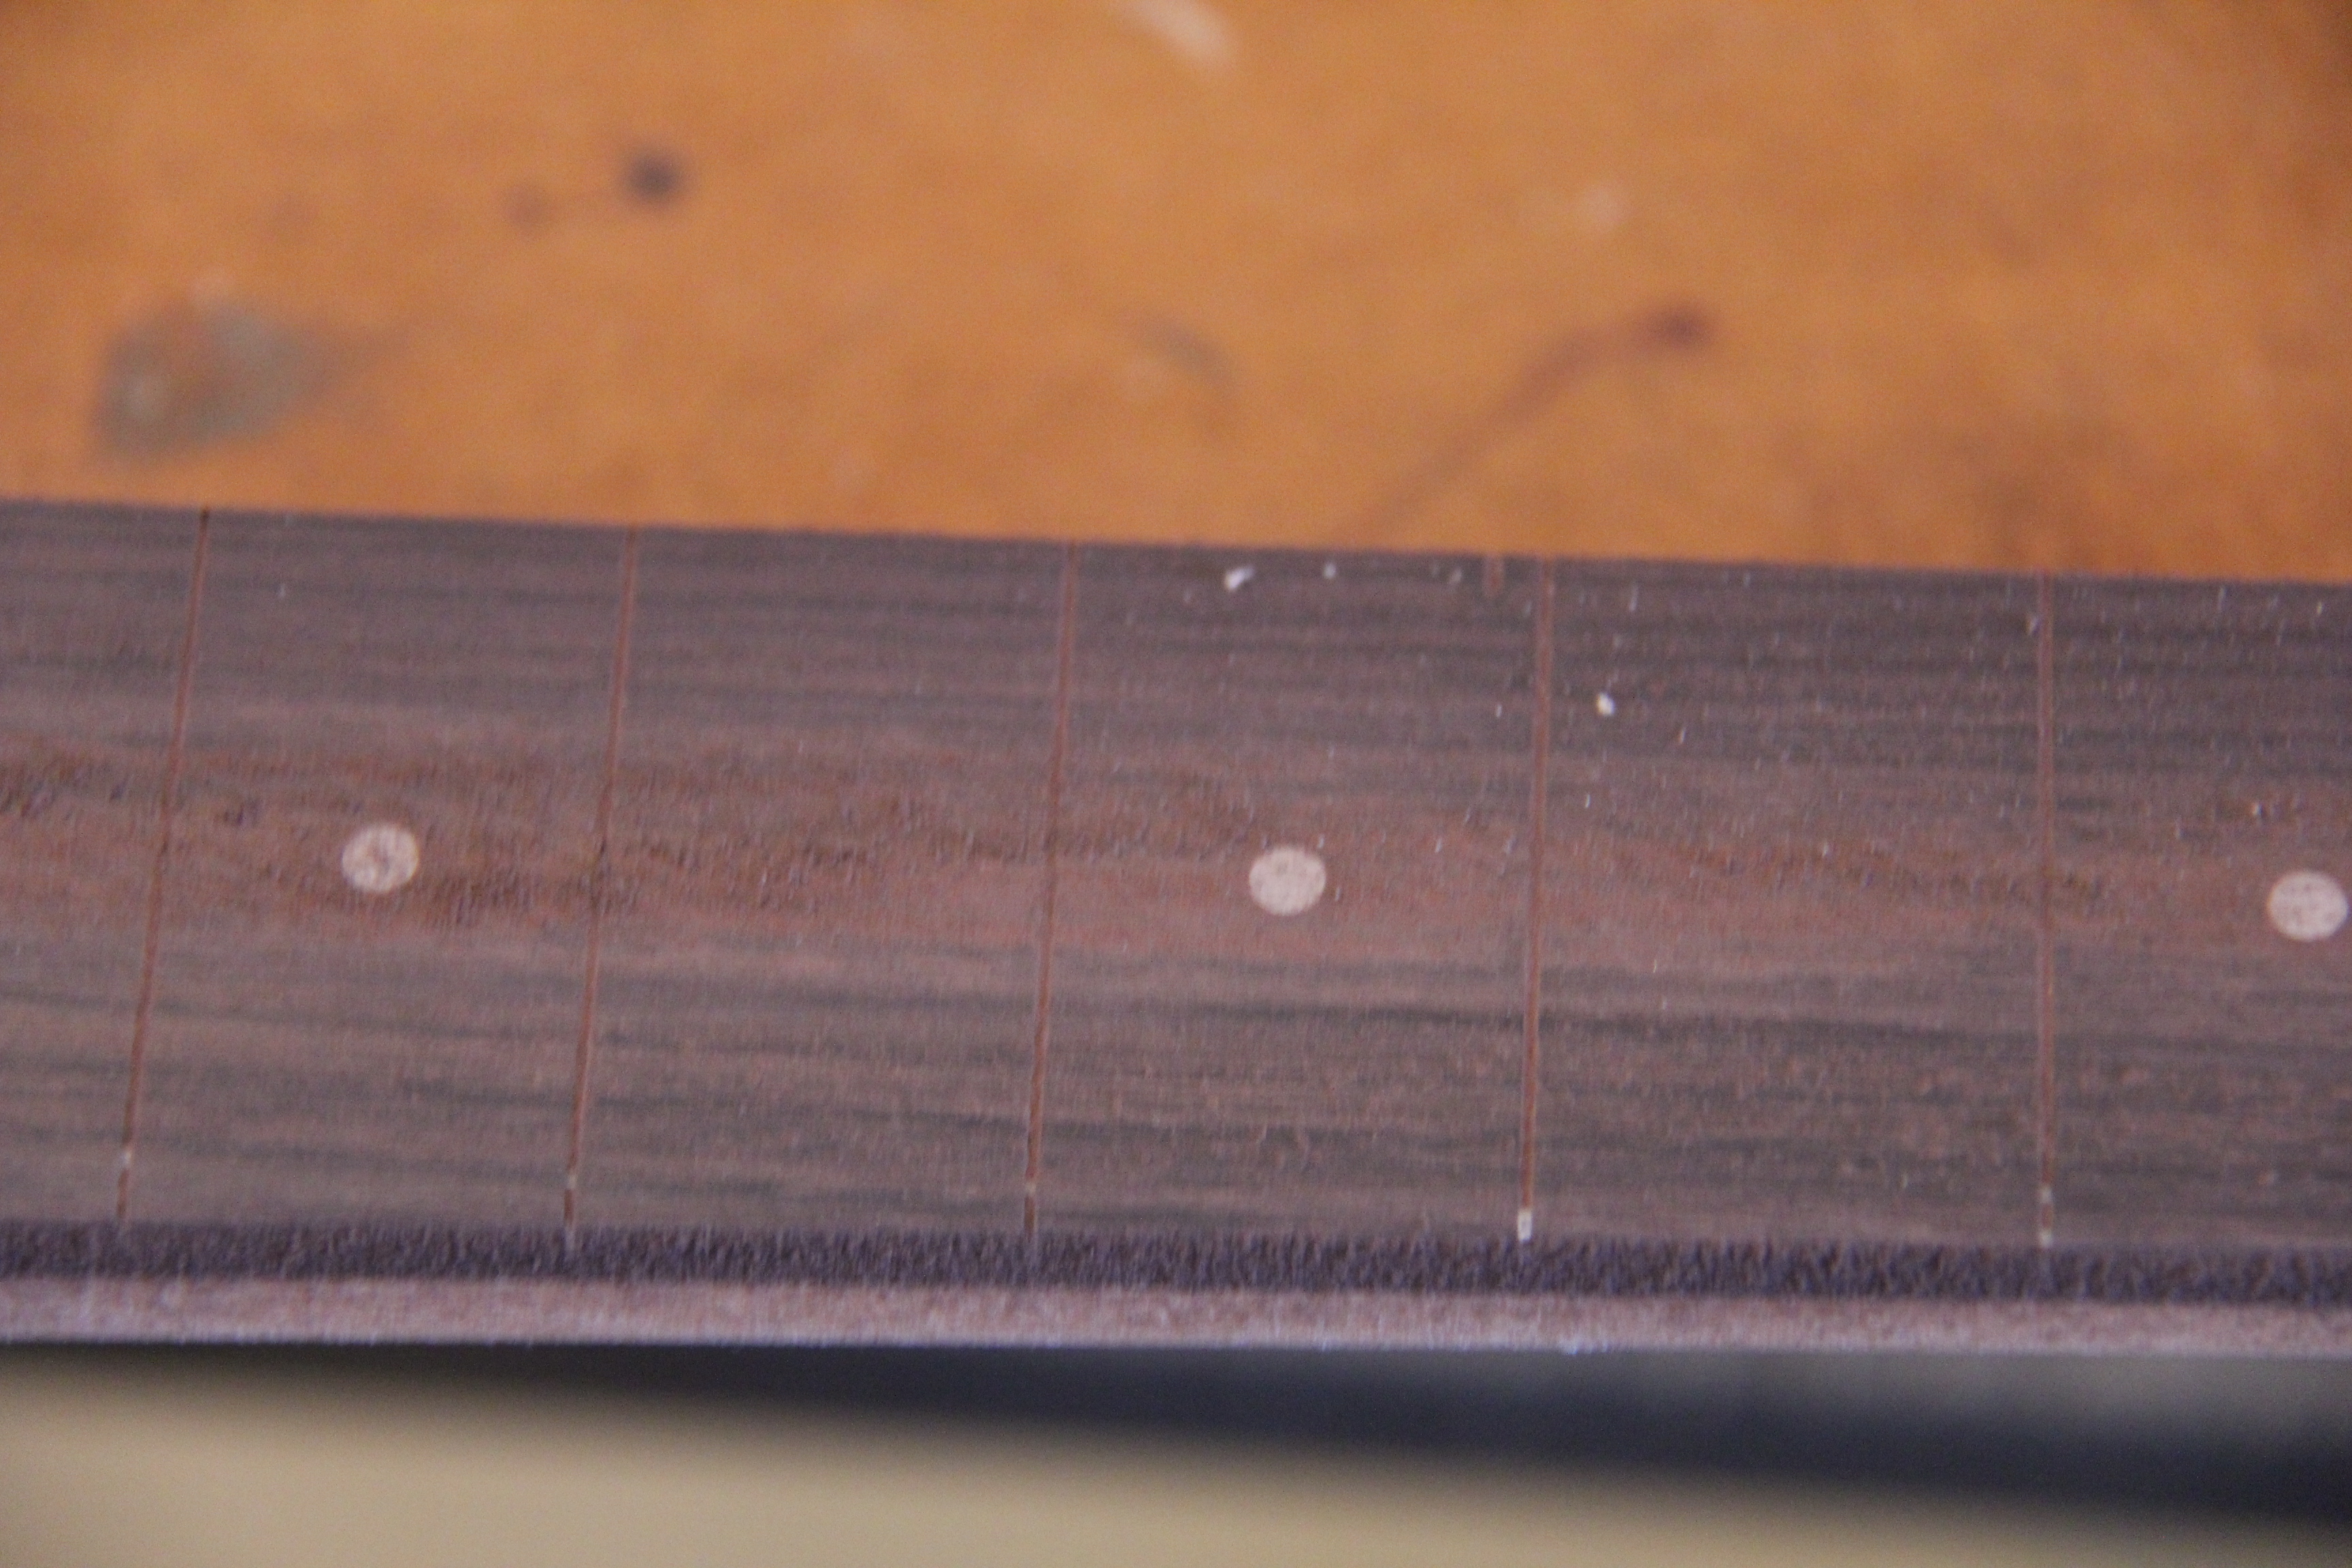
My neck Radius Sanding block has arrived. I have chosen a 14 inch radius which is flatter than the 12 inch radius that Fender uses but some what more curved than Gibson uses on the Les Paul. It can be seen that the centre of the neck is a different colour than the edges because the edges get sanded first. This is the neck about half shaped.
See you all next time...
Previous page of the Mandocello build - Next page of the Mandocello build - Index of the Mandocello build