Next page of the Mandocello build - Index of the Mandocello build
It turns out I can get a guitar neck mostly finished for less than any reasonable guitar. I have seen the complexity of building instruments and thought it was a bit much. However I do remember building a boat and some of the design software I have seen for a method called stitch and glue. So I designed the body for sheet material (plywood first) with only single plane bends. The "standard" mandolin shape is "arched" which actually means dome shaped the way I see things. Anyway, I decided that if I was going to arch the front, it should be neck to tail so that it would work well with a floating bridge and tail piece. I also thought that having the back arch top to bottom would be comfortable (we'll see). So using hulls.exe (free) I installed wine on my Linux machine so I could start.
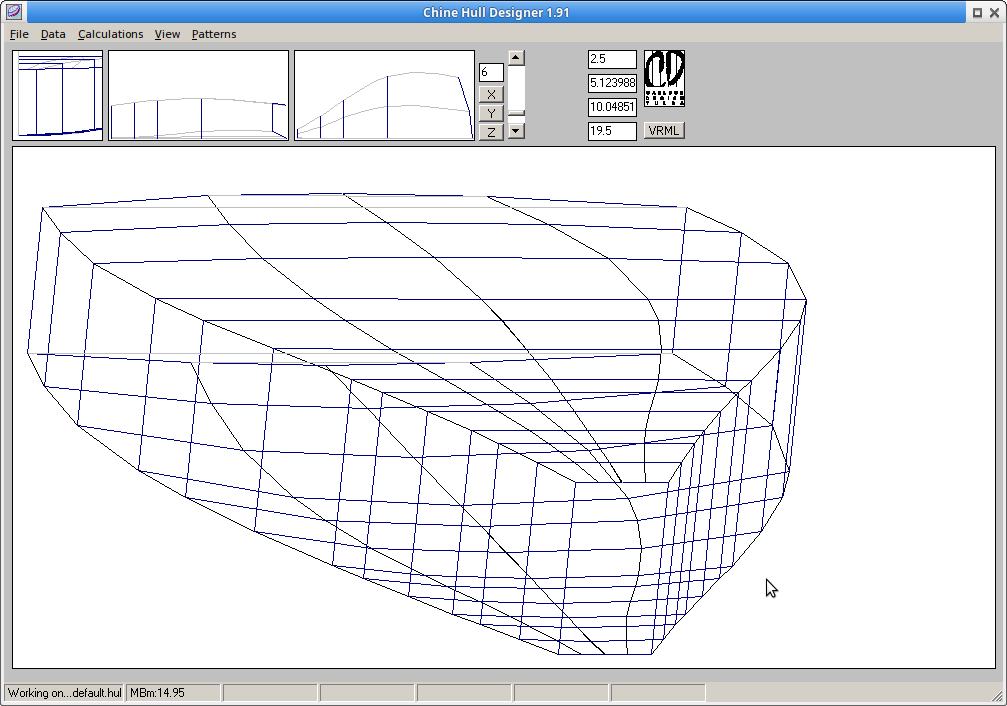
Now this SW has some decidedly unmandolin type terms in it. Things like chine, stem, and transom to name a few. The program allows one to select one of the top three windows and use the mouse to move the points around. Then it can be looked at in three D like above. They also have a Table of offsets (also very nautical) which I found very useful for final tweaks.
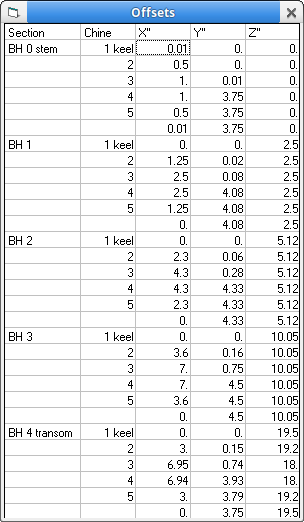
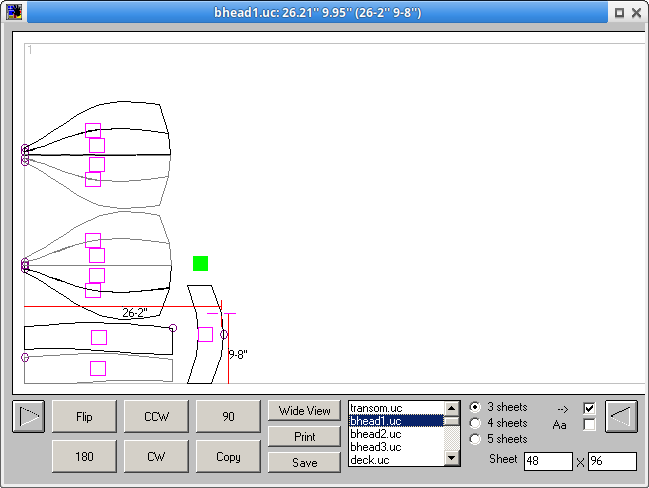
BH is bulkhead by the way. Then I can flatten the individual pieces and lay them out on sheets of plywood... As you can see it doesn't take much of a sheet of plywood.
It also gives me a (very long) list of coordinates (about 12 pages) which I was able to transfer to a pattern. I did this half size first on cardboard to check out how it would work out.
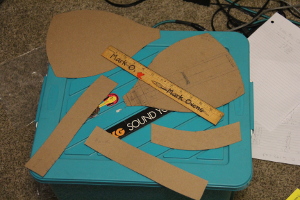
I am glad I did as I found errors in my thinking and in the program. I had the back shape wrong and the program does not seem to understand the transom very well (the transom being the tail end). I corrected my back shape and and decided to do the tail myself. I thought the width should be ok (it wasn't) and I could use values from my table of offsets for the rest (yup). So I cut out a paper pattern from the new offsets.

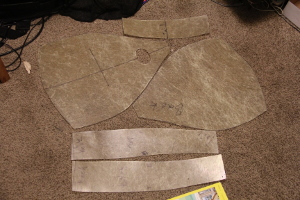
As you can see the tail does not look so much like a smiley face this time. I had some fiberglass sheet sitting around that used to be part of a green house kind of deal that was going to be thrown out so I cut out the shapes in that.
I then stitched them together as I had our boat from days gone by. A quick note about the boat which was built about 15 years ago with no frames and been tossed around in 4 foot waves with no failure and still gets used in the open ocean now. This is a very strong building method which is why I thought it would be good for this use too. (we'll see)
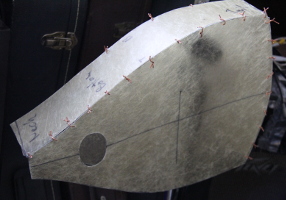
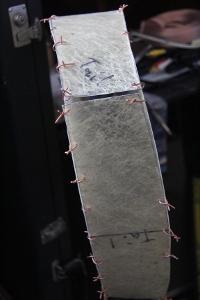
Well, two things. The FRP sheet is too flexable... I used it the wrong way as it was curved. You can also see that the Tail does not meet the side.
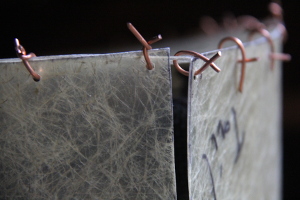
There is a quarter inch gap. I guess the program doesn't understand curved transoms too well.
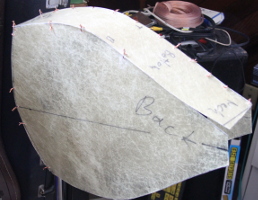
Thats OK. I now know to add 1/4inch to each side. I was able to see that (with help) the shape is what I wanted. There will be four wood blocks at the tail, neck and two lower corners. I may cut the skin back from these corners and round the blocks for a smoother finish too. So next to cut the wood (really plywood this time) and make the blocks and shape them. I don't have a bandsaw so it will be by hand mostly.