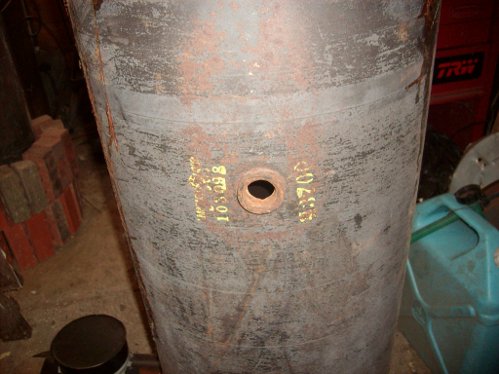
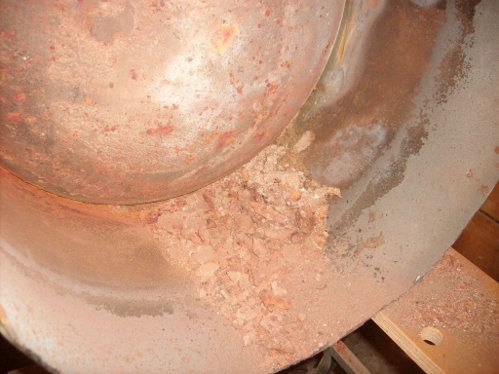
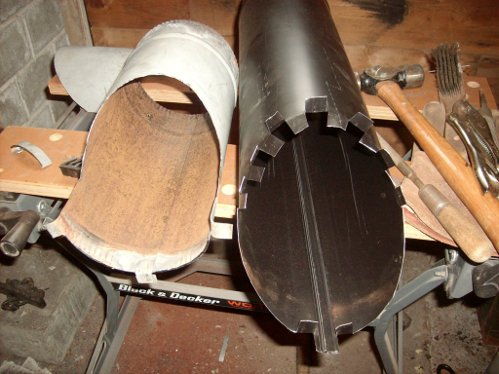
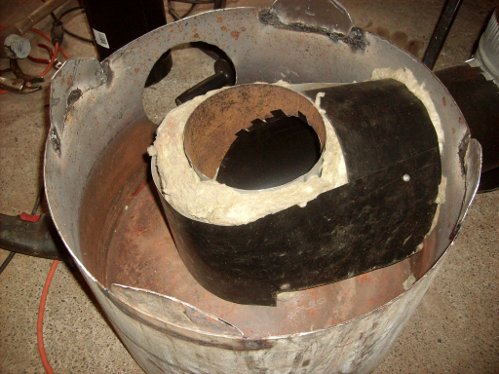
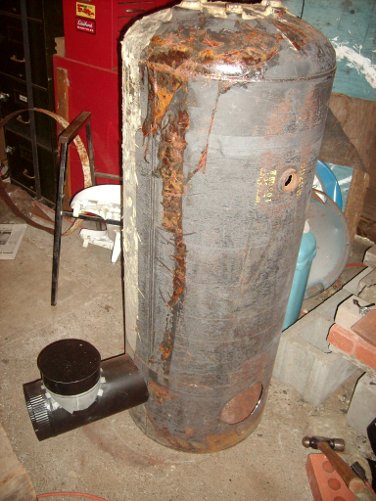
I started by cutting the core about 1 foot up from the bottom. One foot gives room for the 4 inch bottom dome, 6inch feed/exhaust, some extra so a good seal can be made where the two halves join. There was a lot of junk in the tank.
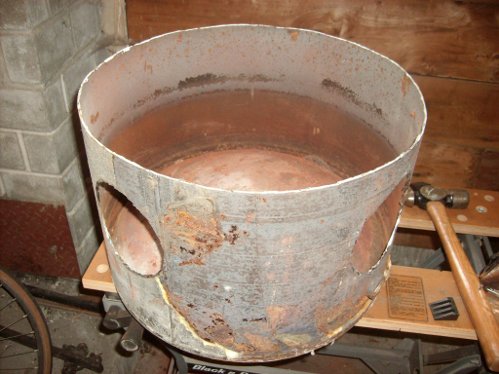
Then I cut out the holes for the feed and exhaust. I put them at 90 degrees to each other and at the same height so I can have the mass out either side without too much trouble. Here I need the exhaust on the right... when I move it may be on the left.
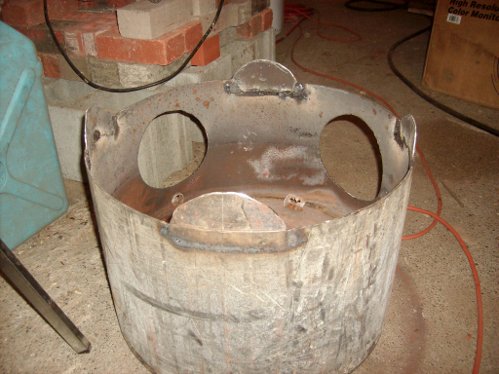
I used the cutouts to make tabs to align the top back on. I welded them on. (Don't look too close at the welds... ugly but strong enough to take lots of banging and bending to align them so the top fit back on.)
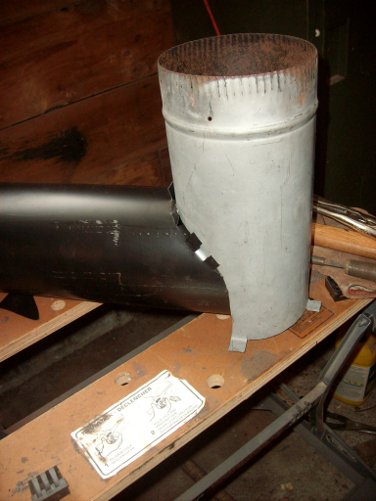
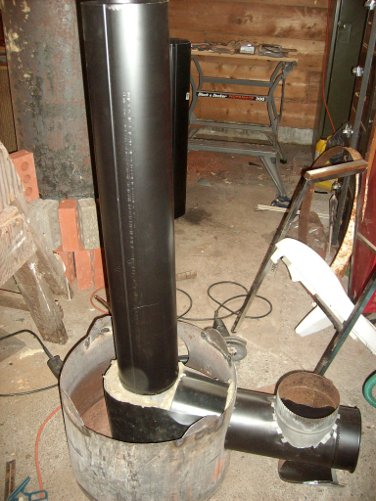
Next I made the burn tunnel and the bottom of the heat riser. The idea is to have the heat riser removable so I can experiment with different sizes if I choose. Also it may make cleaning and moving easier. The black pipe on the right is the burn tunnel and the grey one is the heat riser bottom. The tabs are for securing it to the bottom.
They fit together like this.... but tighter.
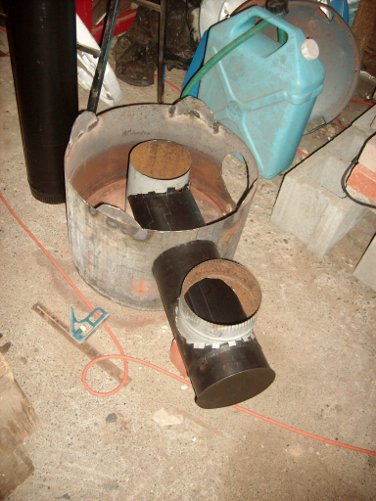
Here the burn tunnel has been installed in the bottom. The riser bottom is in place and the feed has been cut in. The gap from the barrel to the feed is for the mass that will fill that space. I don't know that there will be that much heat to collect right there, but it will support the mass higher up.
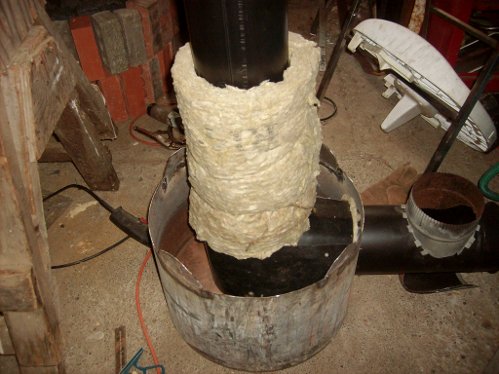
Here the screws that hold the riser can be seen. The burn tunnel has been insulated. The insulation is Roxul not fiberglass.
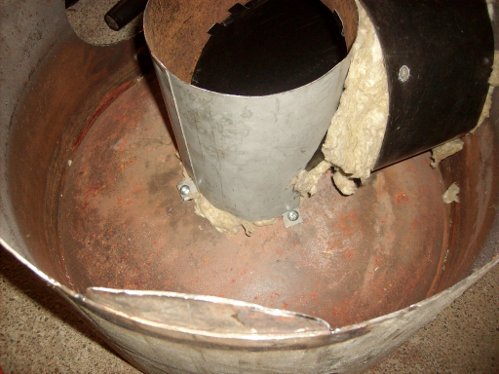
Riser bottom insulated.
The riser in place
Putting insulation on the riser. I used jute twine to hold it on. It will burn through I would guess, but hold the insulation in place long enough to get the cover on.
There it is all insulated. In the background, there is another water heater. The method of putting bricks against the barrel for mass is shown. Those are just loose... the real one will be fastened.
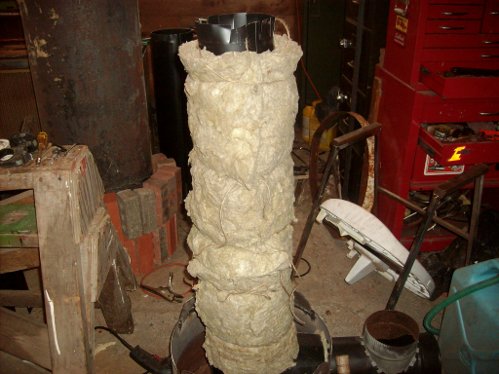
The riser cover in place. I ran a quick fire test at this point. It worked as it should. That is the smoke all went the right way.
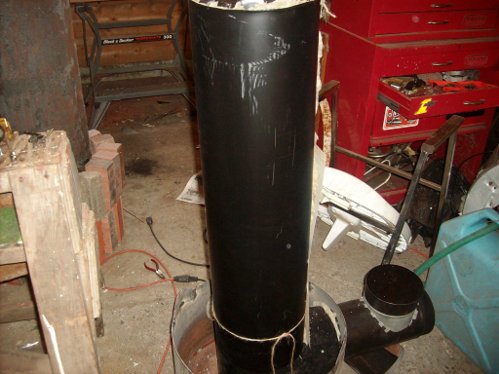
Here is the barrel on top. A bit of a hand full to get it on without hitting the riser but it all worked in the end. I did another short test burn.
Even with this big leak in the side it seems to work fine. I didn't get it hot enough to really try it out, but I would like to get all the plugs in first so there are no leaks. Time to set it aside for a bit.